
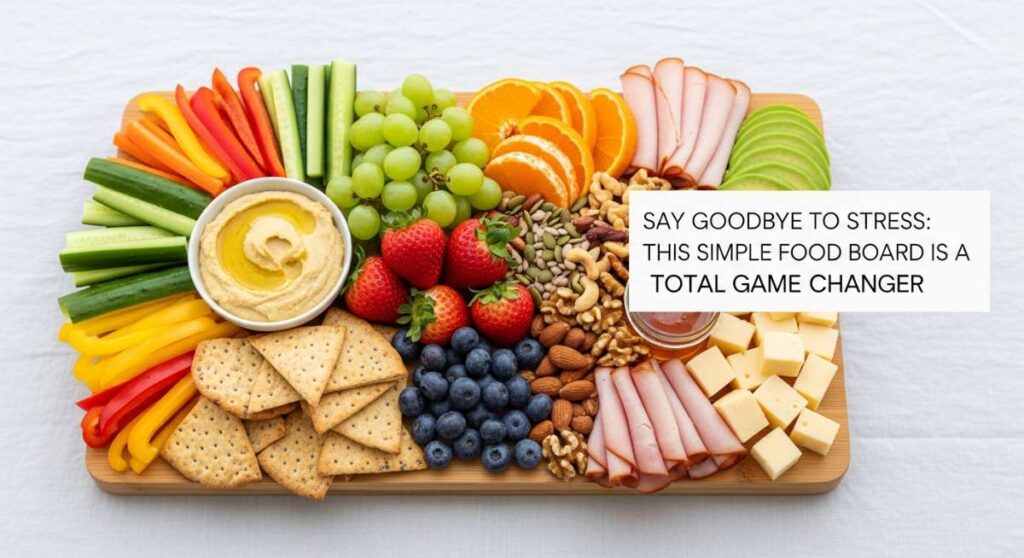
Say Goodbye to Stress: This Simple Food Board Is a Total Game Changer
You know those days where your to-do list feels like a mountain you’re climbing in flip-flops? Between the endless emails, the house chores, and the general noise of life, dinner often feels like just another chore to check off. But lately, I’ve found a secret weapon that turns my kitchen from a stress-zone into a sanctuary: the ultimate Chicken Thigh Food Board. It’s warm, it’s inviting, and it’s become the centerpiece of my most cherished weeknight memories.
There is something inherently healing about a massive wooden board piled high with golden-brown, aromatic proteins, surrounded by fresh herbs and bright dips. Instead of rigid plated meals, this board invites everyone to linger, to reach for their favorite piece, and to truly connect. It’s low-stress entertaining at its finest, proving that you don’t need a five-course meal to create a viral-worthy moment—just a few simple techniques and a lot of love.
How to Bake Juicy Thighs?

Why we love this
There is nothing quite as comforting as a perfectly baked chicken thigh that practically melts in your mouth. When the oven does the heavy lifting, the meat retains its natural juices, creating a tender texture that pairs beautifully with a glass of crisp white wine. As the kitchen fills with the savory, earthy aroma of roasting poultry, you’ll feel the stress of the day just melt away. It’s the ultimate soulful bite—succulent, warm, and deeply satisfying in its simplicity.
Ingredients
- 4-6 bone-in, skin-on chicken thighs
- 2 tablespoons olive oil
- 1 teaspoon sea salt
- 1/2 teaspoon cracked black pepper
- 1 teaspoon dried oregano
- Fresh lemon slices
How to make it
- Begin by preheating your oven to 400°F (200°C), ensuring the rack is in the center position for even heat distribution.
- Pat each chicken thigh bone-dry with paper towels; removing moisture is the secret to preventing the meat from steaming rather than roasting.
- In a small bowl, whisk together the olive oil, salt, pepper, and oregano to create a simple emulsion.
- Massage the oil mixture thoroughly over every inch of the chicken, making sure to get under the skin for maximum flavor penetration.
- Place the thighs on a rimmed baking sheet lined with parchment paper, ensuring they aren’t touching so the hot air can circulate freely.
- Bake for 30 to 35 minutes; you are looking for an internal temperature of 165°F (74°C) on a meat thermometer and juices that run clear when pierced.
- Let the meat rest for at least 5 minutes before serving to allow the juices to redistribute back into the fibers.
How to Make Crispy Chicken?

Why we love this
The audible crunch of perfectly crispy chicken skin is a sensory experience that instantly sparks joy. It’s that golden, crackling exterior that gives way to a tender interior, offering a contrast of textures that is absolutely addictive. Whether you’re serving it at a backyard gathering or a quiet night in, the rustic, bronzed look of crispy thighs makes the food board look like a professional catering spread. It smells like a high-end rotisserie and tastes like pure, unadulterated comfort.
Ingredients
- 1 lb chicken thighs (skin-on)
- 1 tablespoon baking powder (aluminum-free)
- 1 teaspoon garlic powder
- 1 teaspoon smoked paprika
- Cooking oil spray
How to make it
- Preheat your oven to 425°F (220°C). High heat is non-negotiable for achieving that signature shatter-crisp skin.
- Dry the chicken meticulously. Any leftover water will cause the skin to turn rubbery rather than crunchy.
- Whisk the baking powder, garlic powder, and paprika together; the baking powder works by raising the pH levels and breaking down the proteins in the skin.
- Lightly dust the skin side of the chicken with the mixture, tapping off any excess so it’s just a fine, translucent coating.
- Set a wire rack over a baking sheet and place the chicken on top; this allows the heat to hit the bottom of the thigh simultaneously.
- Mist the tops lightly with cooking oil spray to help the browning process.
- Roast for 40-45 minutes until the skin is bubbly, deeply golden, and sounds hollow when tapped with a fork.
How to Cook Crockpot Thighs?

Why we love this
Crockpot thighs are the definition of “set it and forget it” luxury, turning a busy Monday into a gourmet experience with zero effort. The long, slow braise allows the meat to become so tender that it literally falls off the bone with the slightest nudge of a fork. The aroma that wafts through the house all afternoon—a mix of slow-cooked onions and savory broth—is enough to lower anyone’s cortisol levels. It’s soft, rich, and incredibly moist, making it a favorite for kids and adults alike.
Ingredients
- 6 boneless chicken thighs
- 1 cup low-sodium chicken broth
- 1 onion, sliced
- 3 cloves garlic, smashed
- 1 teaspoon thyme
- 1/2 teaspoon salt
How to make it
- Layer your sliced onions and smashed garlic cloves at the bottom of the slow cooker to act as a natural “trivet” for the meat.
- Season the chicken thighs generously on both sides with salt and dried thyme before placing them on top of the aromatics.
- Pour the chicken broth around the sides of the slow cooker rather than directly over the meat to keep the seasoning from washing off.
- Cover and set the cooker to “Low” for 6 to 7 hours, or “High” for 3 to 4 hours. Low and slow is always preferred for the most delicate texture.
- Check the meat around the 6-hour mark; it should be opaque throughout and easily shredded with two forks.
- Carefully lift the thighs out using a slotted spoon to ensure they stay intact for the food board presentation.
How to Roast Chicken Legs?

Why we love this
Roasting chicken legs brings a wonderful sense of nostalgia to the table, reminding us of Sunday dinners and family traditions. These are the ultimate “hand-held” additions to your food board, offering a rich, dark meat flavor that stays juicy even under high heat. The way the skin tightens and browns over the drumstick creates a beautiful visual aesthetic that anchors the entire board. It’s rustic, hearty, and carries a deep, caramelized scent that is completely irresistible.
Ingredients
- 8 chicken drumsticks
- 2 tablespoons melted butter
- 1 tablespoon onion powder
- 1 teaspoon poultry seasoning
- Fresh rosemary sprigs
How to make it
- Start by preheating your oven to 400°F (200°C) and lining a heavy-duty roasting pan with foil for easy cleanup.
- Toss the drumsticks in a large bowl with the melted butter, onion powder, and poultry seasoning until they are glossy and fully coated.
- Arrange the legs in the pan with enough space between them to avoid crowding, which leads to uneven browning.
- Tuck fresh rosemary sprigs between the legs; as they roast, the oils from the herbs will perfume the meat beautifully.
- Roast for 35 to 40 minutes, turning the legs once halfway through the cooking time to ensure the underside gets as golden as the top.
- The chicken is ready when the internal temperature hits 175°F (80°C), as dark meat is often better when cooked slightly higher than white meat for tenderness.
How to Season Boneless Thighs?

Why we love this
The beauty of boneless thighs lies in their versatility and the way they soak up every ounce of flavor you throw at them. By focusing on a multi-layered seasoning approach, you transform a simple protein into a flavor powerhouse that hits every part of the palate. The aroma is a complex dance of spice and savory notes, while the texture remains buttery and soft. This is the part of the food board where you can really play with bold profiles, creating a bite that is vibrant and exciting.
Ingredients
- 1.5 lbs boneless, skinless chicken thighs
- 1 tablespoon smoked paprika
- 1 teaspoon cumin
- 1 teaspoon brown sugar
- 1/2 teaspoon chili powder
- 1/2 teaspoon onion powder
How to make it
- Trim any excess fat from the boneless thighs using kitchen shears for a cleaner presentation on your board.
- In a small jar, combine the paprika, cumin, brown sugar, chili powder, and onion powder, shaking well to break up any sugar clumps.
- The brown sugar is the secret ingredient here—it will caramelize under heat to create a beautiful mahogany crust.
- Apply the rub to the chicken, pressing it firmly into the flesh with your hands so it adheres well.
- Let the seasoned chicken sit at room temperature for about 15 minutes before cooking; this allows the salt in the rub to draw out moisture and then reabsorb it, flavoring the meat deeply.
- Grill or pan-sear the thighs over medium-high heat for 6-7 minutes per side until charred and cooked through.
How to Sear Chicken Thighs?

Why we love this
Searing is an art form that brings a professional, restaurant-quality finish to your home kitchen. The Maillard reaction creates a deep, savory crust that locks in all the natural fats, resulting in a flavor profile that is intense and sophisticated. There’s a certain thrill to the sizzle as the meat hits the hot pan, releasing a cloud of savory steam that signals a delicious meal is imminent. It’s elegant yet rustic, providing the perfect “main event” for your shared food board.
Ingredients
- 4 chicken thighs
- 2 tablespoons high-smoke point oil (like grapeseed or avocado oil)
- Flaky sea salt
- 2 cloves garlic (whole)
How to make it
- Heat a heavy cast-iron skillet over medium-high heat for at least 3-4 minutes until it is wisps of smoke are visible.
- Pat the chicken dry and season only with salt; other spices might burn at the high temperatures required for a proper sear.
- Add the oil to the pan, swirling to coat the bottom completely.
- Place the chicken skin-side down in the pan. Press down lightly with a spatula to ensure full contact with the hot metal.
- Leave the chicken alone for at least 6-8 minutes. Resist the urge to move it! It will release naturally from the pan once a golden crust has formed.
- Flip the thighs, toss in the whole garlic cloves to infuse the oil, and cook for another 5-6 minutes until finished.
How to Bake Garlic Chicken?

Why we love this
Garlic chicken is a classic for a reason—it’s bold, aromatic, and undeniably comforting. As the garlic roasts alongside the chicken, it loses its sharp bite and transforms into something sweet, mellow, and almost spreadable. The fragrance of garlic and herbs baking together is the ultimate “welcome home” scent, making your kitchen feel like the heart of the house. Every bite is infused with a rich, savory depth that lingers on the tongue, making it a highlight of the food board.
Ingredients
- 6 chicken thighs
- 6-8 cloves of garlic, minced
- 1/4 cup olive oil
- 1 tablespoon fresh parsley, chopped
- 1 teaspoon lemon zest
How to make it
- Preheat your oven to 375°F (190°C). A slightly lower temperature prevents the minced garlic from burning before the chicken is done.
- Whisk the minced garlic, olive oil, lemon zest, and half of the parsley in a bowl to create a thick garlic paste.
- Spread the paste generously over the chicken thighs, making sure to get into all the nooks and crannies of the meat.
- Arrange the chicken in a baking dish just large enough to hold them; keeping them snug helps the garlic oil pool around the base of the chicken.
- Bake for 35 to 40 minutes, basting the chicken with the garlic oil from the bottom of the dish halfway through.
- Garnish with the remaining fresh parsley immediately after removing from the oven for a bright pop of color and flavor.
How to Prep Juicy Chicken?
Why we love this
The secret to a viral-worthy food board isn’t just in the cooking—it’s in the preparation. Prepping your chicken properly ensures that every piece comes out consistently succulent and full of flavor. This step is like a spa day for your ingredients, allowing them to rest and absorb moisture before the heat of the kitchen hits. When you take the time to prep, the meat becomes noticeably more tender and the flavors are more balanced, resulting in a dish that feels intentional and high-quality.
Ingredients
- Raw chicken thighs
- Cold water
- 1/4 cup kosher salt
- 1/4 cup sugar
- Ice cubes
How to make it
- Create a simple brine by dissolving the salt and sugar in 2 cups of hot water, then adding ice cubes to cool it down instantly.
- Submerge the chicken thighs in the cool brine for at least 30 minutes, but no longer than 2 hours.
- Brining uses osmosis to pull seasoned moisture into the cell structure of the meat, ensuring it stays juicy even if slightly overcooked.
- Remove the chicken from the brine and rinse under cold water to remove excess surface salt.
- Pat the meat completely dry with paper towels; this is the most critical prep step for any cooking method.
- Let the chicken sit on a plate in the fridge, uncovered, for 1 hour before cooking to further dry out the skin for a better finish.
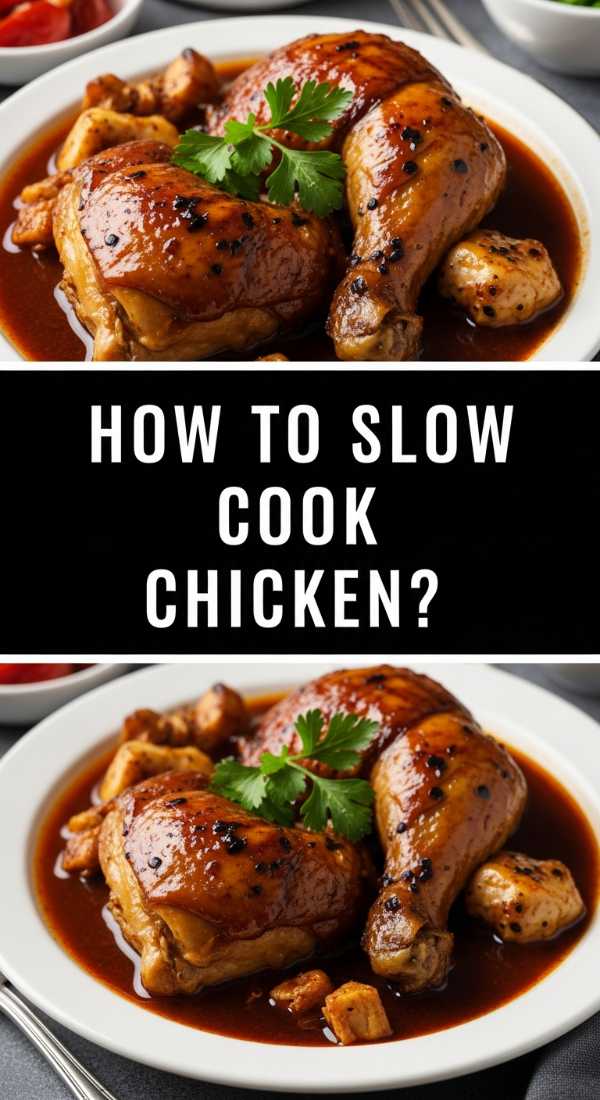
How to Slow Cook Chicken?

Why we love this
Slow cooking is like a warm hug in a pot. It’s the method that turns even the humblest cut of meat into a masterpiece of tenderness. There’s something so satisfying about watching the fibers of the chicken naturally separate, soaking up whatever savory sauce you’ve paired them with. It creates a rich, concentrated flavor that feels deep and complex, yet the process is entirely hands-off. It’s the perfect way to ensure your food board has a variety of textures, offering a soft, melt-in-your-mouth option.
Ingredients
- 1.5 lbs chicken thighs
- 1/2 cup BBQ sauce or teriyaki sauce
- 1/4 cup apple cider vinegar
- 1 onion, diced
How to make it
- Place the diced onions at the bottom of the slow cooker to provide a flavorful base and keep the chicken from sticking.
- Arrange the chicken thighs over the onions in a single layer if possible.
- Mix the sauce of your choice with the apple cider vinegar; the acidity in the vinegar helps break down the connective tissue even further.
- Pour the sauce over the chicken, using a brush to ensure every piece is coated.
- Cook on “Low” for 5-6 hours. Avoid opening the lid, as this releases the steam necessary for the slow-cooking process.
- Once finished, let the chicken sit in the warm sauce for 15 minutes before serving to ensure maximum moisture retention.
How to Glaze Chicken Thighs?
[IMAGE_10]
Why we love this
A beautifully glazed chicken thigh is the “jewelry” of your food board—it’s shiny, colorful, and visually stunning. The glaze provides a sticky, sweet, and savory coating that caramelizes into a finger-licking finish that everyone loves. As the glaze hits the hot meat, it creates a glossy sheen that looks incredible in photos and tastes even better. It’s that final touch of sweetness that balances the salty, savory elements of the board, making every bite feel like a celebration of flavor.
Ingredients
- 6 cooked chicken thighs
- 1/2 cup honey or maple syrup
- 2 tablespoons soy sauce
- 1 teaspoon sriracha
- 1 tablespoon ginger, grated
How to make it
- In a small saucepan, combine the honey, soy sauce, sriracha, and grated ginger over medium heat.
- Simmer the mixture for 5-8 minutes until it has reduced by about a third and coats the back of a spoon.
- Take your already cooked or nearly-finished chicken and brush a thick layer of the glaze over the top.
- Place the glazed chicken under the broiler for 2-3 minutes. Watch it very closely, as the sugar in the glaze can go from caramelized to burnt in seconds.
- Once the glaze is bubbling and slightly charred at the edges, remove from the oven.
- Apply one final thin coat of fresh glaze for that signature high-gloss viral look before placing on the board.
Conclusion: The Art of Stress-Free Gathering
Building a food board isn’t just about the recipe; it’s about the feeling of abundance and the joy of sharing. By mastering these different chicken techniques, you’re not just making dinner—you’re creating a centerpiece for connection. So, pour a glass of your favorite drink, arrange your golden-brown thighs on that big wooden board, and watch the stress of the day vanish as your loved ones dig in. Happy hosting!