
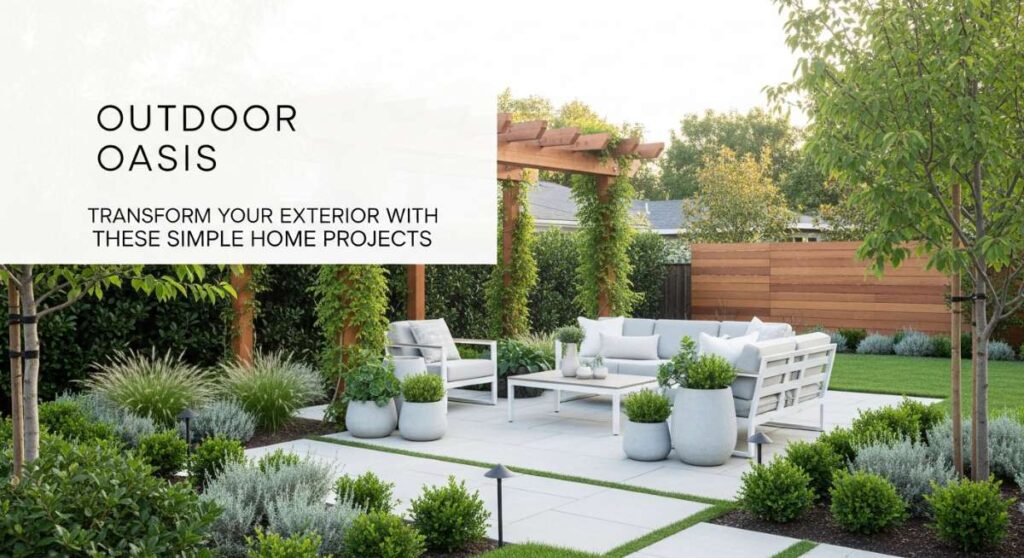
There is something truly magical about the moment you step out of your back door and feel the world expand. For many of us, our outdoor space has become more than just a patch of grass; it’s our sanctuary, our secondary living room, and the place where the most vibrant summer memories are etched into our hearts. Whether you have a sprawling emerald lawn or a cozy urban balcony, the potential for a personal oasis is right beneath your feet, waiting for a little bit of love and a dash of DIY magic.
I remember one specific evening last July, sitting on a mismatched set of chairs with a glass of iced tea, watching the fireflies begin their dance. The air was thick with the scent of blooming jasmine and woodsmoke, and in that moment, I realized that the best parts of life don’t happen in front of a screen—they happen in the breeze. Transforming your exterior isn’t just about property value; it’s about reclaiming your peace and creating a backdrop for the laughter of friends and the quiet sighs of a morning well-spent. Let’s dive into how we can make your dream outdoor living space a reality.
How to Create a Sustainable Garden for Low Maintenance Beauty

Why we love this
There is a profound sense of harmony that comes with a garden that works with nature rather than against it. We adore the sustainable approach because it invites a tapestry of local textures and colors—silvery sage, deep green succulents, and golden wildflowers—that thrive without constant hovering. Imagine walking out to a yard that smells of damp earth and rosemary, where the soil stays cool under a thick layer of cedar mulch and the only sound is the gentle hum of bees. It is the ultimate luxury for the soul that craves beauty without the burden of a grueling weekend chore list, offering a visual feast that changes gracefully with the seasons.
Essential Elements:
- Native plant species specific to your hardiness zone
- Organic cedar or hemlock mulch
- Drip irrigation system or soaker hoses
- Steel or stone garden edging
- High-quality compost and organic soil amendments
How to make it
- Begin by researching the native flora of your region; these plants are pre-programmed to thrive in your local climate and soil conditions, significantly reducing the need for chemical fertilizers or excessive watering.
- Clear your designated area of weeds and debris, then lay down a two-inch layer of organic compost to revitalize the soil biology, ensuring you don’t compact the earth by treading on it too heavily.
- Map out your planting scheme, placing taller shrubs at the back and shorter groundcovers at the front, leaving enough space for each plant to reach its mature width without overcrowding.
- Dig holes twice as wide as the root balls of your plants, gently teasing the roots before placing them in the ground to encourage outward growth into the surrounding soil.
- Install a simple drip irrigation line at the base of the plants, which delivers water directly to the roots and minimizes evaporation loss compared to overhead sprinklers.
- Apply a generous three-inch layer of wood mulch across the entire garden bed, keeping it a few inches away from the stems of the plants to prevent rot while effectively suppressing weeds and retaining moisture.
How to Build a Dream Play Space for Endless Childhood Joy
Why we love this
Creating a dedicated play space is like building a portal to another world where imagination reigns supreme. We love this project because it transforms a corner of the yard into a tactile wonderland filled with the scent of fresh pine and the soft crunch of play-grade bark. It’s a place where children can feel the cool grit of sand between their toes and the thrill of physical accomplishment, all while being safely ensconced in the beauty of the outdoors. The visual of a well-crafted play area, integrated with natural materials, brings a whimsical, storybook charm to any backyard that both kids and adults will cherish.
Essential Elements:
- Pressure-treated timber or cedar beams
- Play-grade sand or rubber mulch
- Weather-resistant climbing holds or a hemp rope swing
- Non-toxic outdoor wood stain
- Landscape fabric for weed prevention
How to make it
- Select a level area in your yard that is visible from the house and receives a mix of sun and shade throughout the afternoon.
- Excavate the area to a depth of six inches, removing all grass and roots to create a clean foundation for the play zone.
- Lay down heavy-duty landscape fabric to prevent weeds from poking through your soft surfacing material, securing the edges with U-shaped garden staples.
- Construct a sturdy border using 4×4 cedar beams, pre-drilling holes and securing them with long timber screws to create a defined perimeter for the sand or mulch.
- Assemble your primary play structure, such as a low climbing wall or a wooden teepee frame, ensuring all edges are sanded smooth and finished with a non-toxic, water-based outdoor sealant.
- Fill the interior with at least four inches of play-grade sand or certified playground mulch to provide a cushioned landing zone for active play.
How to Design a Private Oasis for Ultimate Evening Relaxation

Why we love this
As the sun dips below the horizon, there is nothing quite like retreating to a private nook that feels entirely removed from the stresses of the day. This project is a sensory delight, combining the soft glow of amber Edison bulbs with the plush texture of outdoor-rated velvets and linens. We love the way a private oasis creates a “room without walls,” where the air is cool and the gentle rustle of privacy screens provides a rhythmic background noise. It is the ultimate luxury—a space designed for quiet reflection, deep conversations, or simply getting lost in the pages of a favorite book under the stars.
Essential Elements:
- Lattice privacy panels or tall potted bamboo
- Comfortable weather-proof seating (sectional or oversized chairs)
- Outdoor rug with a soft, woven texture
- String lights or dimmable lanterns
- Propane or wood-burning fire table
How to make it
- Identify the most secluded corner of your deck or patio and establish boundaries using tall planters filled with fast-growing greenery or decorative wooden lattice panels to block sightlines from neighbors.
- Lay down a large, durable outdoor rug to define the “floor” of your oasis; look for polypropylene weaves that feel soft underfoot but can withstand rain.
- Arrange your seating in a conversational circle or a cozy L-shape, ensuring the cushions are deep enough for lounging and made of Sunbrella or similar fade-resistant fabric.
- Drape high-quality LED string lights overhead in a zigzag pattern to create a warm, celestial canopy that provides soft illumination without the harshness of floodlights.
- Place a central fire table or a cluster of large lanterns to serve as a focal point and provide a source of warmth during chilly evenings.
- Accessorize with weather-resistant throw pillows and a lightweight knit blanket stored in a waterproof wicker basket for easy access when the temperature drops.
How to Transform Your Outdoor Space for Chic Summer Entertaining
![]()
Why we love this
Entertaining outdoors should feel like a high-end garden party, regardless of your budget, and we love this transformation for its ability to blend sophistication with the effortless vibe of summer. Picture a long wooden table dressed in rumpled linen, the clink of ice in crystal glasses, and the aroma of grilled citrus and herbs wafting through the air. This setup invites guests to linger longer, moving from a vibrant dinner to a relaxed lounge setting as the twilight fades. It turns a simple meal into an event, making every Friday night feel like a celebrated occasion in a boutique Mediterranean resort.
Essential Elements:
- Large wooden trestle table or modular dining set
- Linen table runners and cloth napkins
- Galvanized metal beverage tub
- Unbreakable melamine dinnerware in organic shapes
- Potted herbs for table centerpieces
How to make it
- Clear your main patio area of any clutter and power-wash the surface to create a crisp, clean foundation for your dining furniture.
- Position your dining table in a central location, ensuring there is at least three feet of clearance on all sides for guests to move their chairs comfortably.
- Layer the table with a textured linen runner and set the places with heavyweight melamine plates that mimic the look of artisanal stoneware but won’t shatter on stone floors.
- Set up a dedicated “drink station” using a side table or a bar cart, stocking it with a galvanized tub filled with ice, pre-sliced garnishes like mint and lime, and a selection of glassware.
- Create low-profile centerpieces using terracotta pots filled with living basil, mint, or rosemary; these look beautiful and provide a fresh fragrance that also helps deter pests.
- Install a cantilever umbrella or a sail shade to provide protection from the afternoon sun, ensuring your guests stay cool until the evening breeze kicks in.
How to Boost Curb Appeal for a Welcoming Home Entrance
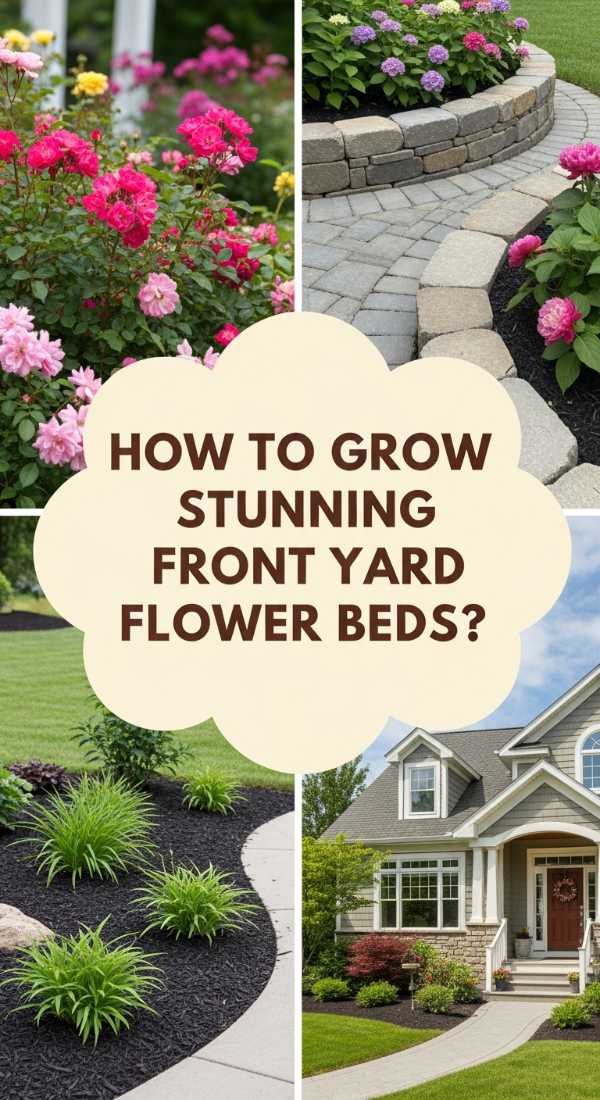
Why we love this
Your home’s entrance is the first handshake you offer to the world, and we love the immediate gratification of a curb appeal makeover. There is a specific joy in driving up to a house that looks cared for—where the front door pops with a fresh coat of bold paint and the path is lined with the vibrant colors of seasonal blooms. It’s about the tactile satisfaction of a heavy, high-quality brass knocker and the clean scent of a new coir doormat. A welcoming entrance sets the tone for everything inside, whispering a warm “welcome home” before you even turn the key.
Essential Elements:
- High-gloss exterior paint for the front door
- Modern or classic house numbers in a high-contrast finish
- Symmetrical oversized planters
- Updated exterior light fixtures
- Fresh mulch and defined lawn edges
How to make it
- Start by deep-cleaning the entire entryway, including scrubbing the siding, cleaning the windows until they sparkle, and sweeping away any cobwebs from the porch ceiling.
- Choose a sophisticated new color for your front door—think deep navy, sage green, or even a classic matte black—and apply two coats of high-quality exterior enamel for a professional finish.
- Replace dated hardware with a matching set of handles, locks, and a kickplate in a contemporary finish like brushed brass or oil-rubbed bronze.
- Install new house numbers that are large enough to be seen from the street, ensuring they are level and spaced evenly for a modern, architectural look.
- Place two large, identical planters on either side of the door, filling them with a “thriller, filler, and spiller” combination of plants for a lush, professional florist look.
- Swap out old, yellowing porch lights for updated fixtures that coordinate with your new hardware, using warm-toned LED bulbs to create a soft, inviting glow at night.
How to Organize Your Kitchen Storage for Stress Free Cooking

Why we love this
While often hidden behind cabinet doors, a perfectly organized kitchen storage system is the secret ingredient to a happy home. We love the visual serenity of uniform glass jars filled with grains and the tactile ease of a drawer that glides open to reveal perfectly nested tools. It removes the friction from meal prep, turning a chaotic Wednesday dinner into a rhythmic, sensory experience where everything has a home and the scent of spices isn’t clouded by the frustration of a messy cupboard. It’s about creating a functional sanctuary that supports your culinary creativity and keeps the heart of the home beating steadily.
Essential Elements:
- Clear glass or BPA-free plastic airtight canisters
- Expandable drawer dividers
- Lazy Susans for corner cabinets
- A label maker or aesthetic vinyl labels
- Over-the-door or pull-out pantry organizers
How to make it
- Empty every single cabinet and drawer, wiping down the interior surfaces and discarding any expired food items or kitchen gadgets you haven’t used in the past year.
- Categorize your items into “zones”: a baking zone, a coffee/tea station, a prep area, and a cleaning zone to ensure logical flow during cooking.
- Transfer dry goods like flour, pasta, and snacks into uniform clear containers; this not only looks beautiful but also keeps food fresh and allows you to see exactly when you’re running low.
- Apply clear, minimalist labels to all containers to ensure every family member knows where things go and to maintain the organizational system long-term.
- Utilize vertical space by adding stackable shelf inserts for plates or installing a pegboard for heavy pots and pans that take up too much cabinet room.
- Install a Lazy Susan in deep corner cabinets to prevent items from getting lost in the dark “dead zones,” making every spice and condiment easily accessible with a quick spin.
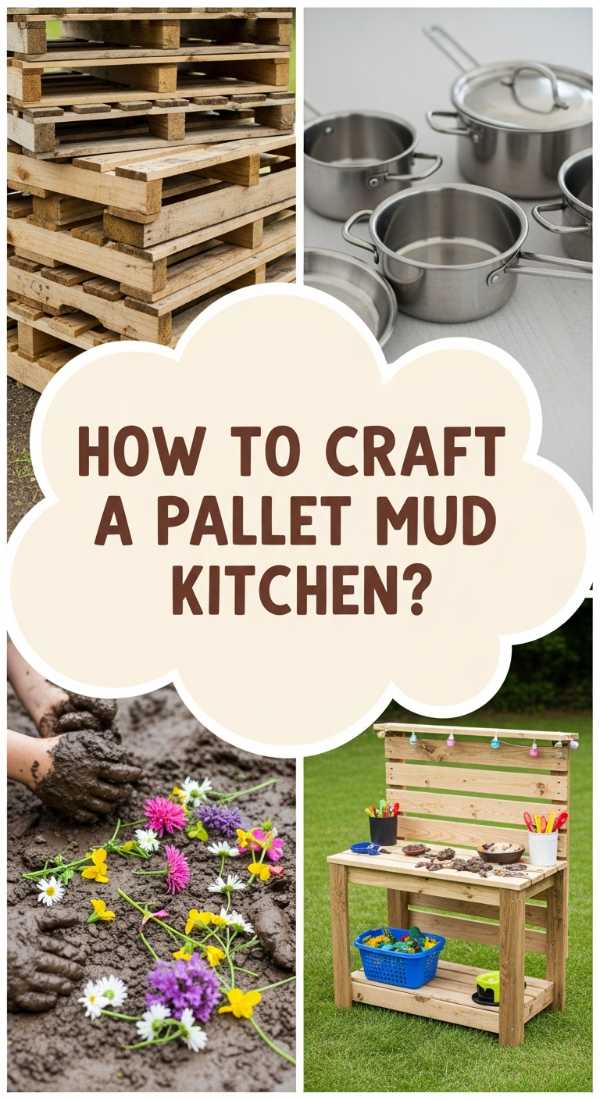
How to Encourage Outdoor Play for Happy Active Kids

Why we love this
Encouraging kids to trade the glow of a tablet for the glow of the afternoon sun is one of the most rewarding transformations you can make. We love this approach because it turns the backyard into a living laboratory where curiosity is the currency. From the rough texture of a climbing rope to the smooth surface of a sidewalk chalk masterpiece, these projects foster physical health and creative spirit. It creates a space where the air is filled with laughter and the rustle of leaves, reminding us that childhood is at its best when it’s a little bit messy and entirely adventurous.
Essential Elements:
- Weather-proof storage bin for outdoor toys
- Nature scavenger hunt kits or magnifying glasses
- Sidewalk chalk and giant outdoor games (like Jenga or Connect Four)
- Low-impact activity stations (like a mud kitchen)
- Inflatable or pop-up goal posts
How to make it
- Designate specific “activity zones” in the yard to prevent the entire space from becoming a toy graveyard; use a large, ventilated deck box to store balls, jump ropes, and chalk.
- Build a simple “mud kitchen” using upcycled wooden pallets and an old sink, providing a sensory station where kids can “cook” with dirt, water, and flower petals.
- Create a permanent “game court” on a flat section of the driveway or patio using outdoor-rated paint to outline hopscotch, four-square, or a mini basketball key.
- Set up a nature exploration station with a small table, magnifying glasses, and jars for observing (and then releasing) interesting bugs or collecting unique stones.
- Install a low-hanging bird feeder or a butterfly house near the play area to encourage kids to observe wildlife and learn about the local ecosystem while they play.
- Rotate the available toys every two weeks; by putting some items in storage and bringing others out, you keep the environment feeling “new” and exciting for young minds.
How to Invite Nature Close for a Serene Morning View
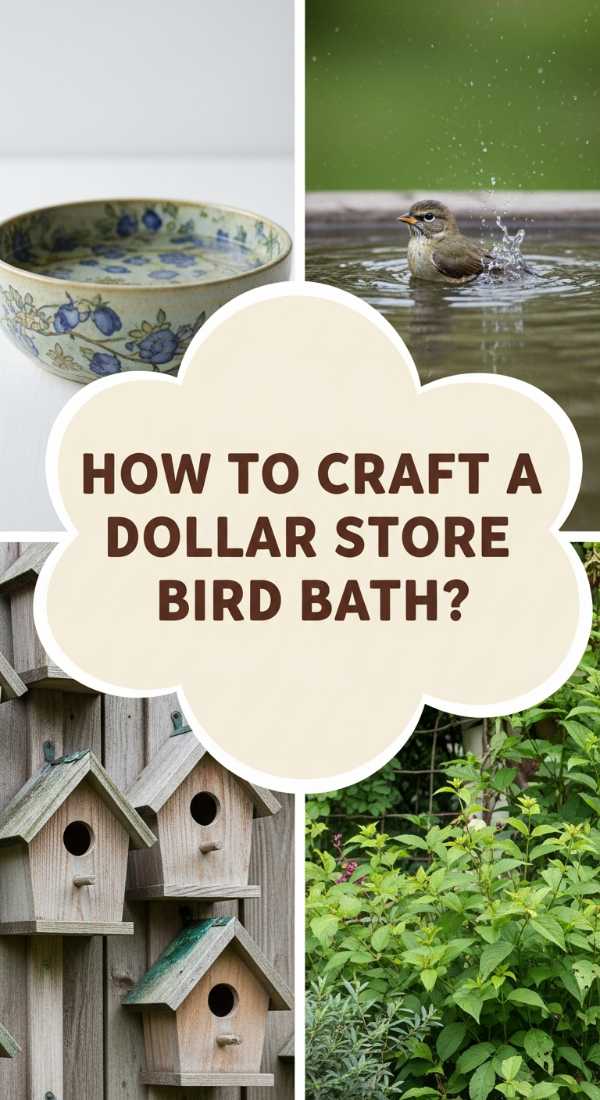
Why we love this
There is a quiet, meditative quality to starting your day with a view of the natural world just inches from your window. We love this project for the way it bridges the gap between the indoors and outdoors, bringing the flash of a cardinal’s wing or the delicate flutter of a monarch butterfly right to your eye level. The scent of nectar-rich flowers like lavender and salvia wafting through an open window, paired with the soft chirping of birds at a feeder, creates a peaceful ritual that grounds you before the day’s busyness begins. It’s like having a living painting that changes every single morning.
Essential Elements:
- Bird feeders (tube, hopper, or suet styles)
- A stone or copper birdbath
- Pollinator-friendly window boxes
- Squirrel-proof baffle or mounting poles
- High-quality wildflower seed mix
How to make it
- Identify the windows where you spend your mornings—perhaps the breakfast nook or the home office—and plan your nature-friendly additions within direct sightlines.
- Mount a sturdy bird feeder pole at least ten feet away from jumping points for squirrels, or use suction-cup window feeders for an up-close view of smaller songbirds.
- Install window boxes beneath your main viewing windows, filling them with a mix of trailing lobelia and upright petunias to provide a vibrant color splash and a snack for hummingbirds.
- Place a birdbath in a visible but slightly sheltered spot; ensure it has a rough bottom for grip and keep the water depth to no more than two inches for bird safety.
- Plant a “pollinator pocket” of native perennials like milkweed and coneflowers directly under the window to attract butterflies and beneficial insects throughout the summer months.
- Keep a pair of binoculars and a local bird guide on the windowsill to help you identify and appreciate the diverse visitors that your new sanctuary attracts.
How to Add Artistic Flair to Your Garden Structures

Why we love this
A garden should be more than just plants; it should be an expression of your personality, and adding artistic flair turns functional structures into sculptural masterpieces. We love the way a simple trellis or a plain garden gate can become a conversation piece when treated with a bit of creativity. Whether it’s the glint of a mosaic tile catching the sun or the weathered patina of an antique iron ornament, these details add layers of visual interest and texture. It transforms your outdoor space from a standard yard into a curated gallery where every corner holds a delightful, handcrafted surprise.
Essential Elements:
- Cedar or metal garden trellises
- Exterior-grade acrylic paints or stains
- Mosaic tiles and outdoor adhesive
- Copper wire or decorative finials
- Solar-powered accent spotlights
How to make it
- Select a focal point structure, such as a wooden arbor or a plain fence panel, and give it a thorough cleaning to ensure paint or adhesive will bond properly.
- Apply a “wash” of diluted exterior paint in a soft blue or grey to a wooden trellis to give it an aged, French-country look while still showing the wood grain.
- Create a DIY mosaic on a garden bench or a set of stepping stones using broken ceramic plates or glass gems, securing them with thin-set mortar and finishing with outdoor-grade grout.
- Intertwine thin copper wire around your trellis structures; over time, the copper will develop a beautiful turquoise patina that adds an old-world charm to your climbing roses.
- Attach decorative metal finials or vintage glass doorknobs to the tops of fence posts or gate entries to create custom architectural details that look bespoke and expensive.
- Position small, low-voltage solar spotlights at the base of your artistic structures to cast dramatic shadows and highlight the textures of your work after the sun goes down.
How to Create a Nostalgic Retreat for the Ultimate Cozy Vibe

Why we love this
In a fast-paced digital world, there is a deep, primal comfort in the “nostalgic retreat”—a space that feels like a cherished memory from a simpler time. We love the cozy vibe of crackling wood fires, heavy wool blankets, and the soft, flickering light of real candles. This project is all about warmth and soul; it’s the smell of toasted marshmallows and the feeling of weathered wood against your back. It’s a place designed for storytelling and slow living, where the atmosphere is so thick with comfort that the rest of the world simply melts away into the shadows.
Essential Elements:
- Classic Adirondack chairs or a porch swing
- Cast iron fire pit or a stone hearth
- Pendleton-style wool blankets and outdoor quilts
- Enamelware mugs for cocoa or tea
- Hurricane lanterns with beeswax candles
How to make it
- Create a circular “seating cove” in a quiet part of the yard, using gravel or decomposed granite to create a rustic, permeable floor that crunches satisfyingly underfoot.
- Arrange classic wooden Adirondack chairs around a central fire pit, ensuring they are spaced far enough for safety but close enough for intimate conversation.
- Sand the wood of your chairs and apply a high-quality oil finish that enhances the natural grain, making the furniture feel organic and timeless rather than plastic.
- Set up a “cozy station” nearby—a vintage trunk or a covered wicker basket filled with heavy-duty outdoor blankets that guests can pull over their laps as the night cools.
- Incorporate elements of “slow lighting,” such as real wax candles inside glass hurricane lanterns or a string of low-wattage Edison bulbs that mimic the warm glow of an old-fashioned streetlamp.
- Complete the experience with a set of durable enamelware mugs and a dedicated spot to rest them, encouraging the simple pleasure of a warm drink shared by the fire.
Creating Your Forever Oasis
Transforming your outdoor space doesn’t require a landscape architect or a million-dollar budget; it requires a vision for how you want to feel when you step outside. By layering these projects—from the practical organization of your kitchen to the whimsical joy of a children’s play space—you create a home that breathes with you. Your exterior is an extension of your life’s best moments. So, grab a shovel, pick a paint color, and start building the oasis you’ve always dreamed of. Your future summer self will thank you.