
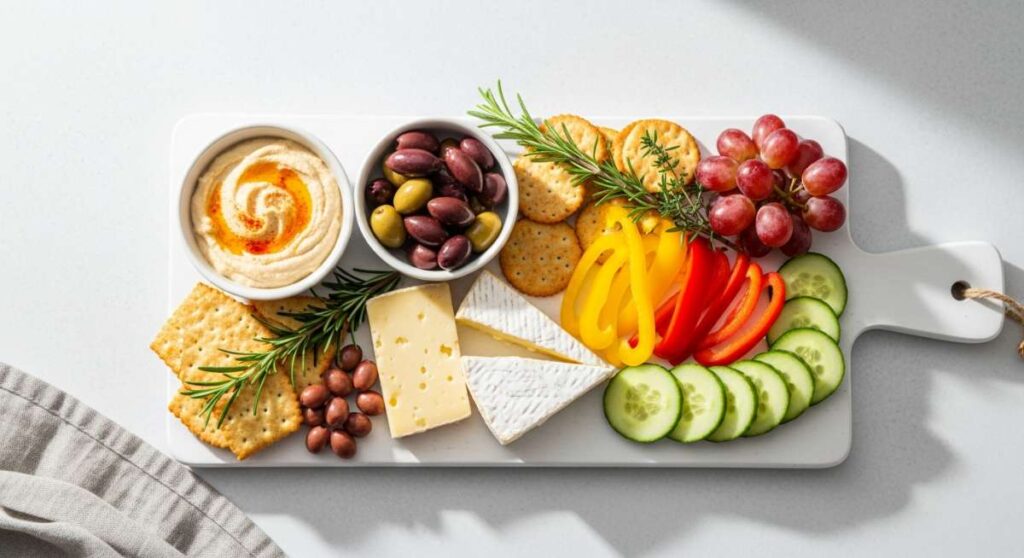
Minimalist & Delicious: The Viral Food Board You Need to Try
There is something inherently magical about the way summer transforms our dining habits. Gone are the heavy, labor-intensive stews of winter, replaced by a yearning for lightness, color, and ease. If you have been scrolling through social media lately, you have likely seen the ‘viral food board’—a minimalist yet decadent spread that celebrates fresh ingredients without the fuss of traditional plating. It is more than just a meal; it is a lifestyle statement about slowing down and savoring the season with the people you love.
My journey into the world of minimalist hosting began on a particularly humid Tuesday when the thought of standing over a hot stove felt like a chore. I decided to assemble various small plates into one cohesive, beautiful board. The result was a stunning array of textures and flavors that felt like a vacation on a platter. Today, I am sharing the secrets to creating your own viral food board, featuring everything from zesty pastas to the perfect backyard refreshments.
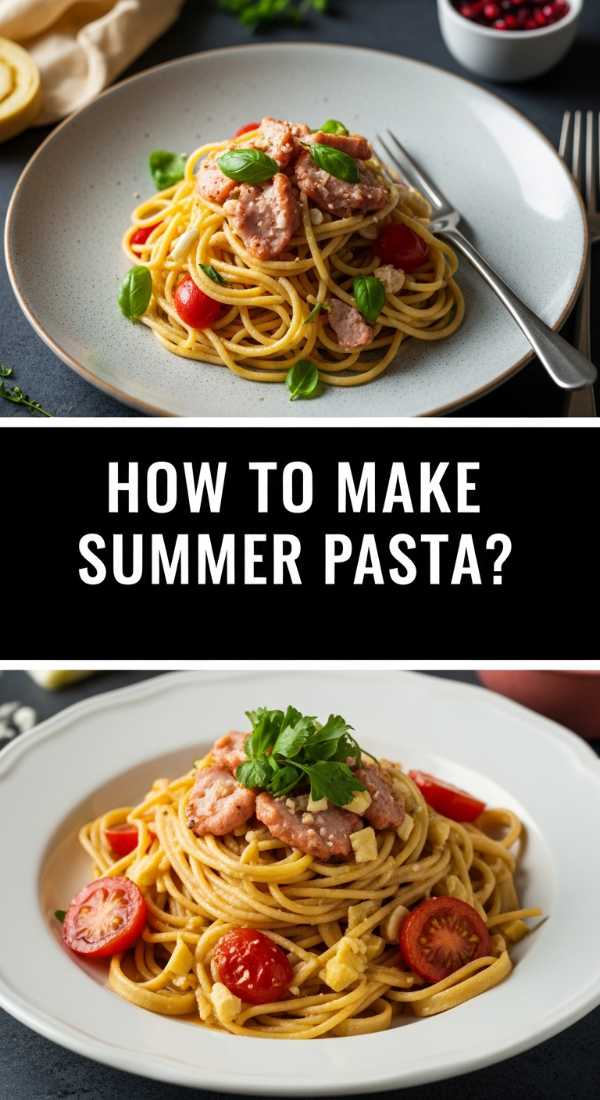
How to make summer pasta?
Why we love this
This summer pasta is the epitome of garden-to-table elegance, offering a sensory explosion of sun-ripened tomatoes and aromatic basil. As you toss the warm noodles, the scent of garlic lightly sautéing in premium olive oil fills the kitchen, evoking memories of alfresco dinners on the coast. The texture is a delightful balance between the silky pasta and the occasional burst of a blistered cherry tomato, creating a mouthfeel that is both light and incredibly satisfying. It is the kind of dish that feels like a warm hug from the sun itself.
Ingredients
- 1 lb Angel Hair or Spaghetti pasta
- 2 cups cherry tomatoes, halved
- 4 cloves garlic, thinly sliced
- 1/2 cup extra virgin olive oil
- 1 cup fresh basil leaves, torn
- 1/2 cup shaved Parmesan cheese
- Red pepper flakes, salt, and black pepper to taste
How to make it
- Bring a large pot of heavily salted water to a rolling boil. The water should taste like the sea to properly season the pasta from the inside out. Add the pasta and cook for 1-2 minutes less than the package directions to achieve a perfect al dente bite.
- While the pasta cooks, place a large skillet over medium-low heat. Add the extra virgin olive oil and the sliced garlic. Allow the garlic to gently infuse the oil for about 3-4 minutes until it turns a very pale golden color—be careful not to burn it, as bitter garlic will ruin the delicate flavor profile.
- Increase the heat to medium and add the halved cherry tomatoes. Sauté them for about 5 minutes, pressing down lightly with a wooden spoon until they begin to release their juices and form a light, rustic sauce.
- Use tongs to transfer the pasta directly from the boiling water into the skillet. This allows some of the starchy pasta water to join the sauce, which helps it emulsify and coat every strand perfectly.
- Add the torn basil and a generous pinch of red pepper flakes. Toss everything together vigorously for 60 seconds over medium heat.
- Remove from heat, top with shaved Parmesan, and serve immediately on your food board with a final drizzle of fresh oil.
How to mix summer cocktails?

Why we love this
A perfectly mixed summer cocktail is the ultimate accessory for any food board, providing a crisp, cold counterpoint to savory bites. Imagine the sound of ice cubes clinking against thin glass and the bright, citrusy aroma of freshly squeezed lime zest hitting the air. Each sip is a refreshing journey of tart fruit notes balanced by a hint of botanical sweetness, leaving a clean finish on the palate. It is the liquid version of a cooling breeze on a mid-July afternoon, visually stunning with its vibrant hues and floating herbal garnishes.
Ingredients
- 2 oz Gin or Vodka (optional for mocktails)
- 1 oz fresh lime juice
- 3/4 oz elderflower liqueur
- 4-5 fresh raspberries or strawberries
- Club soda to top
- Fresh mint sprigs for garnish
How to make it
- In a sturdy cocktail shaker, combine the fresh berries and lime juice. Use a muddler to gently crush the fruit until the juices are fully released and the mixture looks vibrant and pulpy.
- Add the spirit of your choice and the elderflower liqueur to the shaker. Fill the shaker about three-quarters full with high-quality, clear ice cubes.
- Seal the shaker tightly and shake vigorously for at least 15-20 seconds. You want the outside of the shaker to feel frost-cold and see a condensation layer forming; this ensures the drink is properly chilled and diluted.
- Double strain the mixture through a fine-mesh sieve into a tall glass filled with fresh ice. Double straining is crucial to remove the small berry seeds and pulp for a smooth drinking experience.
- Top the glass with chilled club soda, pouring slowly to maintain the carbonation.
- Slap a sprig of mint between your palms to release the aromatic oils and tuck it into the glass along with a few whole berries for a professional, viral-ready look.
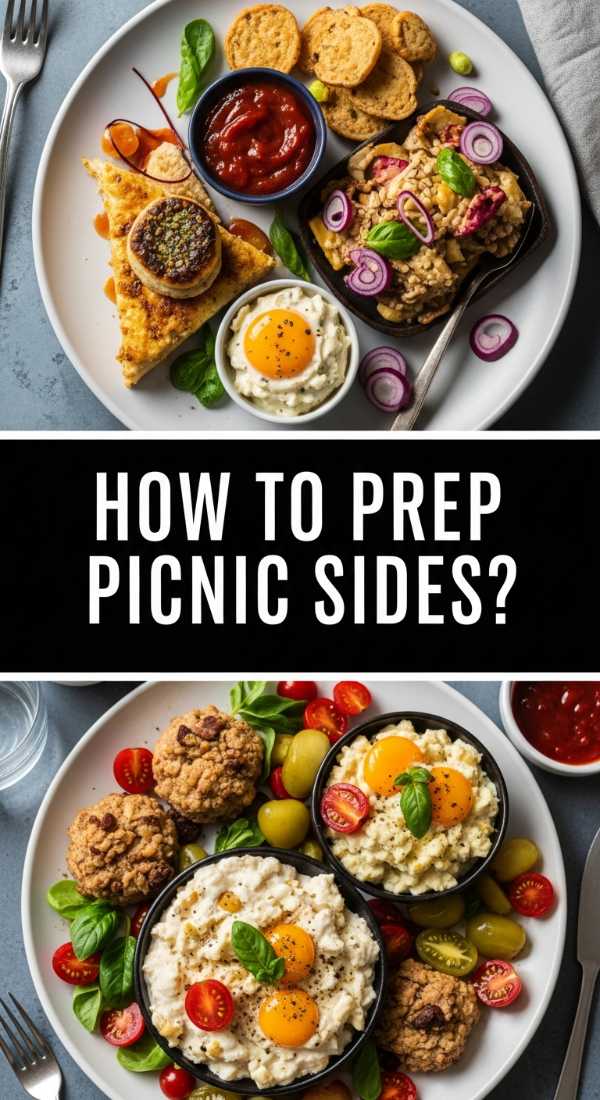
How to prep picnic sides?
Why we love this
Picnic sides are the unsung heroes of the food board, offering crunch and variety that keep the meal interesting. We love the vibrant snap of fresh snap peas and the creamy, tangy depth of a well-made herb dip that invites repeated dunking. There is a rustic charm to seeing these components nestled in small ceramic bowls, their bright greens and earthy tones creating a visual feast. The combination of cool, crisp vegetables and savory, whipped textures provides a refreshing break from heavier grilled items.
Ingredients
- 1 lb sugar snap peas, trimmed
- 1 cup Greek yogurt (full fat)
- 1 tbsp fresh dill, minced
- 1 tbsp fresh chives, snipped
- 1 tsp lemon zest
- Sea salt and cracked black pepper
How to make it
- Prepare an ice bath by filling a medium bowl with cold water and a handful of ice cubes. This is essential for locking in the bright green color of the vegetables.
- Bring a small pot of water to a boil. Add the snap peas and blanch them for exactly 60-90 seconds. You want them to turn bright green but remain very crunchy. Immediately plunge them into the ice bath to stop the cooking process.
- In a separate small mixing bowl, combine the Greek yogurt, minced dill, chives, and lemon zest. Whisk together until the mixture is light and airy.
- Taste the dip and season with a generous pinch of sea salt and black pepper. Let the dip sit in the refrigerator for at least 20 minutes before serving to allow the herbal flavors to meld with the creamy yogurt base.
- Drain the snap peas and pat them completely dry with a clean kitchen towel. Any excess water will make the dip runny, so ensuring they are dry is a key professional tip.
- Arrange the peas around the bowl of dip on your board, perhaps adding a sprinkle of smoked paprika over the yogurt for a pop of color.
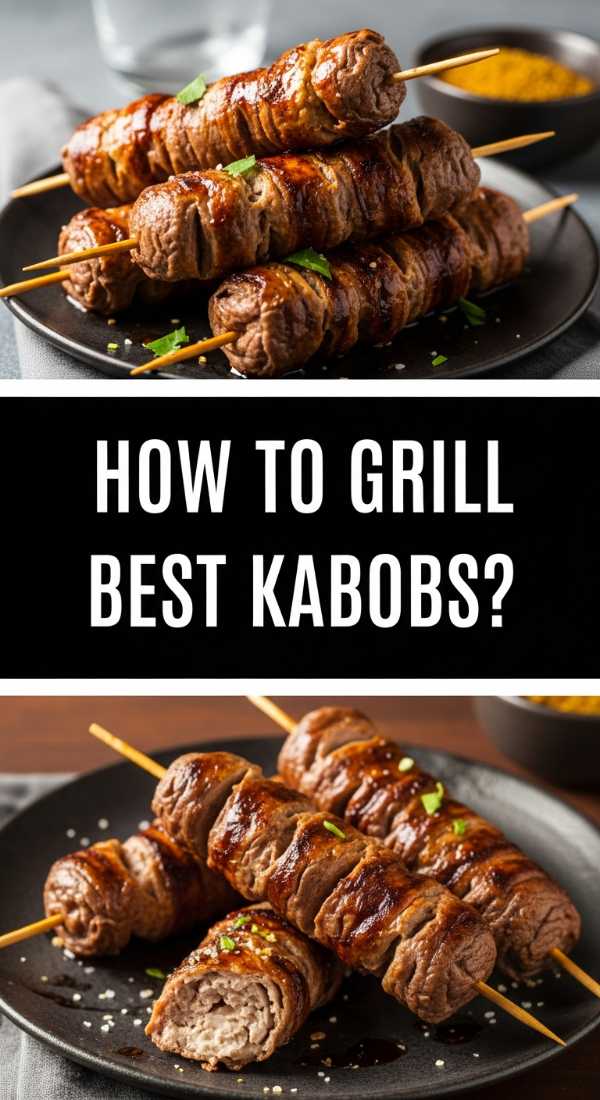
How to grill best kabobs?
Why we love this
Kabobs bring a smoky, charred depth to the food board that is simply irresistible to the senses. The sight of perfectly squared beef or chicken nestled between vibrant peppers and onions, all marked with dark grill lines, promises a savory experience. When you bite into a well-grilled kabob, the exterior offers a slight caramelization while the inside remains tender and juicy, releasing a medley of spices and smoke. The aroma of char and marinade wafting from the board is the universal signal that a great meal is about to begin.
Ingredients
- 1.5 lbs top sirloin or chicken breast, cut into 1-inch cubes
- 2 bell peppers (mixed colors), cut into 1-inch pieces
- 1 large red onion, cut into wedges
- 1/4 cup soy sauce
- 2 tbsp honey
- 2 tbsp olive oil
- 1 tbsp minced ginger
- Wooden or metal skewers
How to make it
- If using wooden skewers, soak them in water for at least 30 minutes prior to use. This prevents them from splintering or catching fire on the hot grill.
- In a large bowl, whisk together the soy sauce, honey, olive oil, and minced ginger to create a marinade. Reserve 2 tablespoons of this mixture for later. Add the meat cubes to the bowl, toss to coat, and refrigerate for at least 1 hour (up to 4 hours for maximum flavor absorption).
- Thread the meat and vegetables onto the skewers, alternating between protein, pepper, and onion. Don’t pack them too tightly; leaving a tiny bit of space between items allows the hot air to circulate and cook everything evenly.
- Preheat your grill to medium-high heat (about 400°F). Clean and lightly oil the grates to ensure the kabobs don’t stick.
- Place the kabobs on the grill. Cook for about 8-10 minutes, turning every 2-3 minutes. Look for the meat to reach an internal temperature of 145°F for beef or 165°F for chicken using a digital thermometer.
- During the last 2 minutes of grilling, brush the reserved marinade over the kabobs to create a glossy, flavorful glaze. Remove from the grill and let them rest for 5 minutes before placing them on the board.
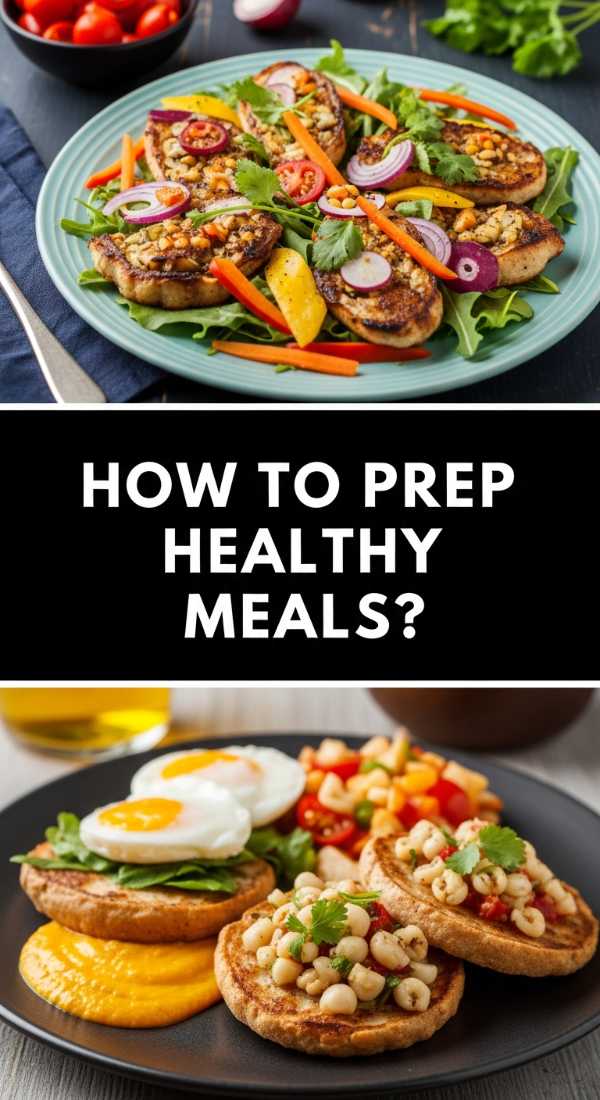
How to prep healthy meals?
Why we love this
A healthy addition to a food board doesn’t have to be boring; in fact, it should be the most colorful part of the display. We love the earthy, nutty base of quinoa paired with the vibrant crunch of raw vegetables and a creamy avocado dressing. It provides a sense of balance to the meal, ensuring you feel energized rather than weighed down after eating. The play of textures—from the fluffy grains to the creamy healthy fats—creates a sophisticated palate that proves minimalist eating can be incredibly rich and rewarding.
Ingredients
- 1 cup dry quinoa, rinsed
- 1 cup shredded carrots
- 1 cup edamame, shelled
- 1 ripe avocado
- Juice of 1 lime
- 1/4 cup cilantro, chopped
- 2 tbsp toasted pumpkin seeds (pepitas)
How to make it
- Combine the rinsed quinoa with 2 cups of water or vegetable broth in a small saucepan. Bring to a boil, then reduce heat to low, cover, and simmer for 15 minutes. The key visual cue is when the ‘tails’ of the quinoa become visible and the water is fully absorbed.
- Remove the quinoa from the heat and let it sit, covered, for 5 minutes. This steaming phase is crucial for fluffiness. After 5 minutes, fluff gently with a fork and spread it out on a baking sheet to cool to room temperature.
- In a blender or food processor, combine the flesh of one avocado, lime juice, and half of the cilantro. Pulse until a smooth, creamy dressing forms. If it’s too thick, add a teaspoon of water at a time until it reaches a pourable consistency.
- In a large mixing bowl, toss the cooled quinoa with the shredded carrots, edamame, and the remaining cilantro.
- Drizzle the avocado dressing over the mixture and fold it in gently so the grains are evenly coated but not mashed.
- Transfer to a bowl for your board and top with toasted pumpkin seeds for an essential crunch that ties the healthy elements together.
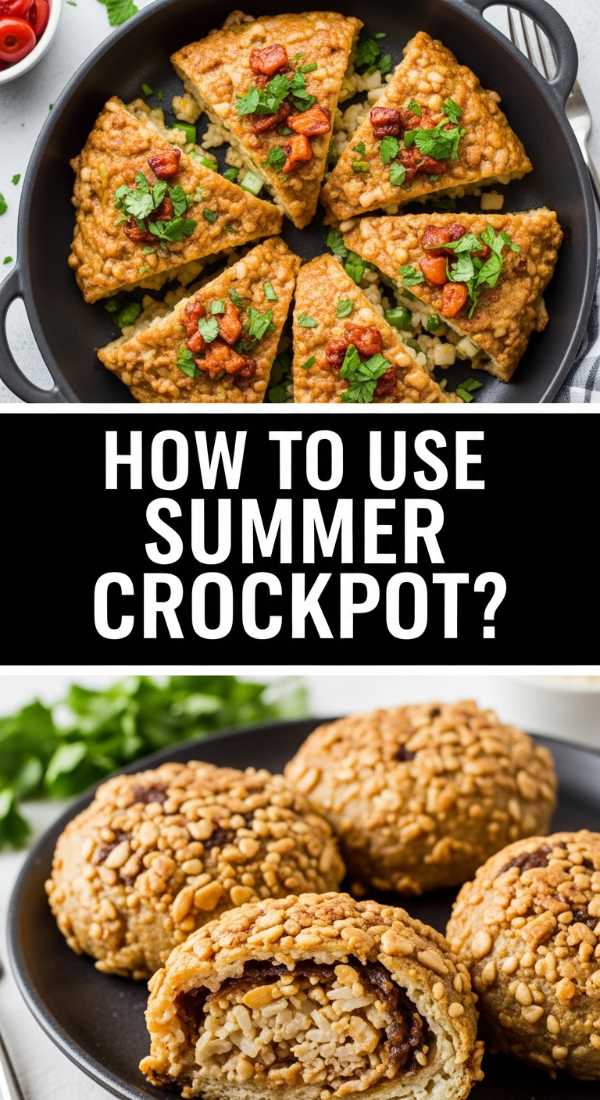
How to use summer crockpot?
Why we love this
Using a crockpot in the summer is a brilliant minimalist hack that keeps your kitchen cool while delivering incredibly tender, succulent meats for your board. There is something deeply satisfying about ‘set it and forget it’ cooking that results in pork or chicken that practically melts in your mouth. The slow-cooking process allows flavors to penetrate deep into the fibers of the meat, creating a rich, savory profile that pairs beautifully with fresh, raw accompaniments. It is the ultimate way to serve a crowd without breaking a sweat, providing a hearty anchor to your viral spread.
Ingredients
- 2-3 lbs pork shoulder or boneless chicken thighs
- 1 cup pineapple juice
- 1/4 cup brown sugar
- 2 tbsp apple cider vinegar
- 1 tbsp smoked paprika
- 1 tsp garlic powder
- Salt and pepper
How to make it
- Pat the meat dry with paper towels and season generously on all sides with salt, pepper, smoked paprika, and garlic powder. Searing the meat in a pan beforehand is optional but recommended if you want a deeper color and flavor profile.
- Place the seasoned meat into the slow cooker. In a separate jar, whisk together the pineapple juice, brown sugar, and apple cider vinegar until the sugar is mostly dissolved.
- Pour the liquid over the meat. Set the slow cooker to ‘Low’ and cook for 6-8 hours. Using the low setting is vital; high heat can toughen the proteins, whereas a slow simmer ensures the collagen breaks down into a silky texture.
- Once the cooking time is up, use a meat thermometer to ensure an internal temperature of at least 195°F for pork, which is the ‘shredding’ point.
- Transfer the meat to a cutting board and use two forks to pull it apart into bite-sized shreds. Remove any large pieces of fat.
- Return the shredded meat to the slow cooker for 15 minutes to soak up some of the concentrated juices before piling it onto your serving board alongside small buns or wraps.
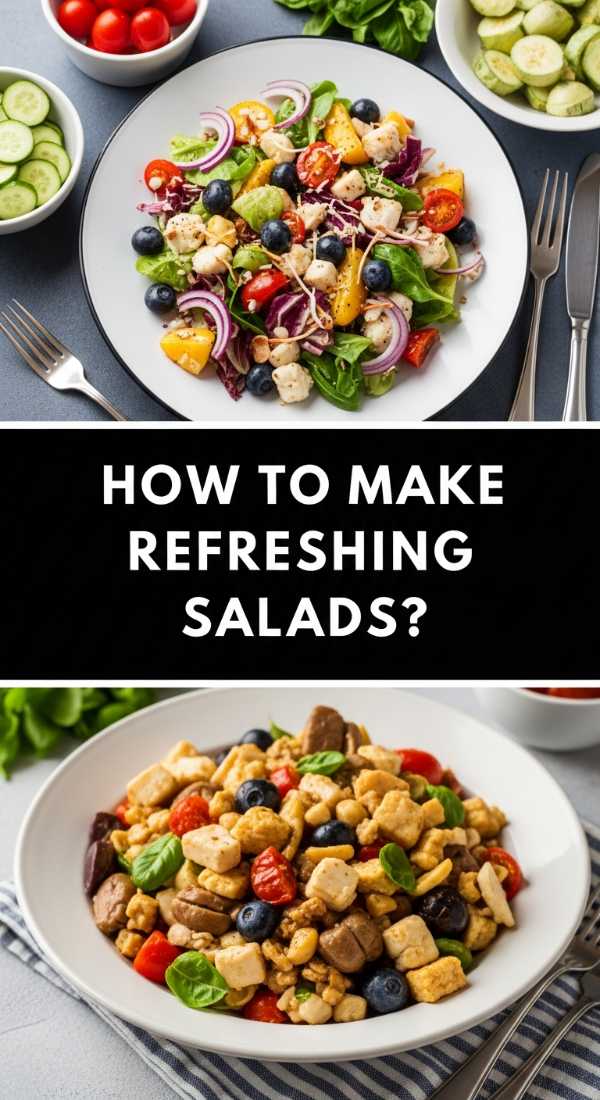
How to make refreshing salads?
Why we love this
A truly refreshing summer salad should be a celebration of contrast—think the cold, watery sweetness of watermelon paired with the salty, crumbly bite of feta cheese. This combination is a viral favorite because it challenges the traditional savory salad norm, offering a palate cleanser that is both beautiful and bold. The addition of fresh mint provides a cooling sensation that lingers, while a drizzle of balsamic glaze adds a sophisticated tang. It is the visual star of any board, with its vibrant reds, whites, and greens demanding attention and sparking conversation.
Ingredients
- 4 cups cubed seedless watermelon (chilled)
- 1 cup feta cheese, crumbled
- 1/2 red onion, very thinly sliced
- 1/2 cup fresh mint leaves, chiffonade
- 2 tbsp extra virgin olive oil
- Balsamic glaze for drizzling
How to make it
- Begin by cubing a chilled watermelon into uniform 1-inch squares. Keeping the fruit cold is the most important step for the ‘refreshing’ factor, so don’t take it out of the fridge until you are ready to assemble.
- Soak the thinly sliced red onions in a small bowl of ice water for 10 minutes. This professional technique removes the harsh ‘bite’ of the onion, leaving it crisp and mild so it doesn’t overpower the fruit.
- Drain the onions and pat them dry. In a large, shallow bowl or directly on the board, layer the watermelon cubes.
- Scatter the feta cheese and the red onion slices over the watermelon. Don’t toss too aggressively, or the feta will coat the watermelon in a white film, ruining the vibrant colors.
- Sprinkle the fresh mint over the top. The ‘chiffonade’ cut (stacking leaves, rolling them like a cigar, and slicing thinly) ensures even distribution of the herb.
- Just before serving, drizzle with the olive oil and a artistic swirl of balsamic glaze to add that viral-ready finishing touch.
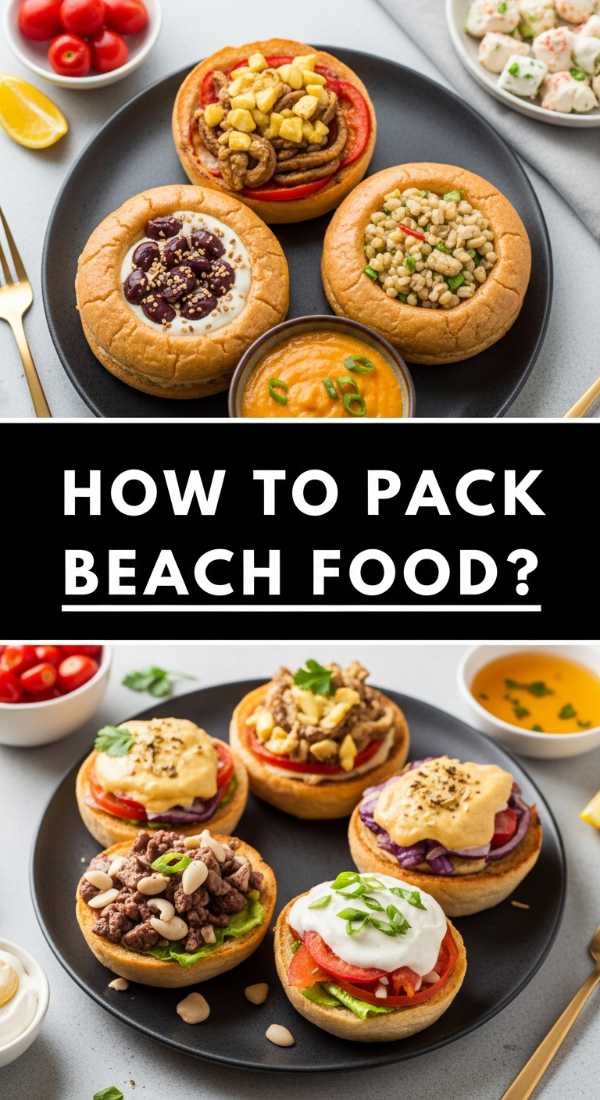
How to pack beach food?
Why we love this
Beach food needs to be durable, sand-resistant, and incredibly easy to eat with your hands, and these pressed Mediterranean wraps fit the bill perfectly. We love how the flavors improve as they sit, with the juices from the roasted peppers and hummus soaking slightly into the tortilla without making it soggy. There is a sense of adventure in unwrapping a tightly packed, colorful wrap while the sun is out and the waves are crashing nearby. They are the ultimate minimalist beach meal—compact, nutritious, and mess-free, making them a staple for any outdoor food board.
Ingredients
- 4 large flour tortillas
- 1 cup classic hummus
- 1 cup baby spinach
- 1/2 cup roasted red peppers, sliced
- 1/4 cup kalamata olives, chopped
- 1/2 cup cucumber, sliced into thin matchsticks
- Parchment paper and twine
How to make it
- Lay a tortilla flat on a clean surface. Spread 2 generous tablespoons of hummus over the center, leaving a 1-inch border around the edges. The hummus acts as the ‘glue’ that keeps the wrap together.
- Layer the spinach, roasted peppers, olives, and cucumber matchsticks in the center. Avoid overfilling; if the wrap is too bulky, it will tear when you try to roll it.
- Fold in the sides of the tortilla first, then roll from the bottom up as tightly as possible. This ‘burrito-style’ fold is essential for beach eating to ensure nothing falls out the bottom.
- Wrap the finished roll tightly in a piece of parchment paper. This provides a second layer of protection against sand and keeps the wrap from drying out.
- Use a piece of twine to tie the parchment paper in place. If you have time, place the wrapped rolls under a heavy cutting board in the fridge for 30 minutes. This ‘presses’ the wrap, making it more structural and easier to slice.
- When ready to serve on your board or pack for the beach, slice the rolls in half diagonally through the paper for a beautiful, clean cross-section.
How to make hummingbird nectar?
Why we love this
While not for human consumption, hummingbird nectar is the ‘mood setter’ for a viral outdoor food board experience. Attracting these tiny, glittering jewels to your backyard adds an element of nature-focused luxury that elevates any meal. The process of making it is wonderfully simple, reflecting the minimalist philosophy of using pure, basic ingredients to achieve something beautiful. Watching a hummingbird hover near your table while you enjoy your spread is a sensory delight that makes the whole afternoon feel like a scene from a dream.
Ingredients
- 1 cup granulated white sugar
- 4 cups water
How to make it
- Combine 1 cup of white granulated sugar and 4 cups of water in a small saucepan. Do not use honey, brown sugar, or artificial sweeteners, as these can be fatal to hummingbirds. Only plain white sugar mimics the sucrose found in natural flower nectar.
- Heat the mixture over medium heat, stirring constantly until the sugar is completely dissolved. You don’t need to bring it to a full rolling boil, but a gentle simmer for 1-2 minutes helps remove impurities from the water.
- Remove from the heat and let the mixture cool completely to room temperature. This is a vital step; pouring hot nectar into a feeder can warp the plastic or harm the birds.
- Never add red food coloring. The red parts of your bird feeder are enough to attract them, and the dye can be harmful to their delicate systems.
- Fill your clean bird feeder with the cooled nectar and store any leftovers in a sealed jar in the refrigerator for up to two weeks.
- Hang the feeder near your outdoor dining area, making sure it’s in a shaded spot to prevent the nectar from fermenting too quickly in the summer heat.
How to make cookout sides?
Why we love this
No food board is complete without the golden, buttery goodness of grilled corn on the cob. This cookout classic is loved for its charred sweetness and the satisfying snap of each kernel. When slathered in a herb-infused butter, the corn becomes a decadent treat that appeals to everyone at the table. The aroma of sweet corn hitting the grill grates is iconic, instantly evoking a sense of celebration and community. It provides a rustic, handheld element to your board that encourages guests to dig in and get their hands a little messy.
Ingredients
- 4-6 ears of corn, husks removed
- 4 tbsp unsalted butter, softened
- 1 tbsp fresh parsley, finely chopped
- 1/2 tsp smoked paprika
- 1/2 tsp garlic salt
- Lime wedges for serving
How to make it
- Preheat your grill to medium-high heat. While the grill warms, prepare your herb butter by mashing the softened butter, parsley, smoked paprika, and garlic salt together in a small bowl until well combined.
- Clean the corn thoroughly, ensuring all the silk is removed. Lightly brush each ear of corn with a tiny bit of plain vegetable oil to prevent sticking.
- Place the corn directly on the grill grates. Close the lid and cook for about 10-12 minutes.
- The secret to perfect grilled corn is frequent turning. Every 2-3 minutes, use tongs to rotate the ears a quarter turn. You are looking for even charring—blackened spots scattered across the golden kernels.
- Once cooked, remove the corn from the grill and immediately brush generously with the prepared herb butter while the corn is still steaming hot. This allows the butter to melt into every crevice.
- Arrange the corn on your board and serve with fresh lime wedges to squeeze over the top, which cuts through the richness of the butter and highlights the corn’s natural sweetness.
Conclusion
Creating a viral-worthy food board is less about following a strict set of rules and more about embracing the spirit of the season. By focusing on high-quality ingredients, vibrant colors, and simple techniques, you can turn a basic meal into a memorable event. Whether you’re tossing a fresh summer pasta or mixing up a batch of refreshing cocktails, the goal is to keep things minimalist yet delicious. So, grab your largest platter, gather your favorite people, and start building your own masterpiece. Happy hosting!
Frequently Asked Questions
Have more questions about building the perfect summer spread? Check out these common tips and tricks to make your hosting experience even smoother.