
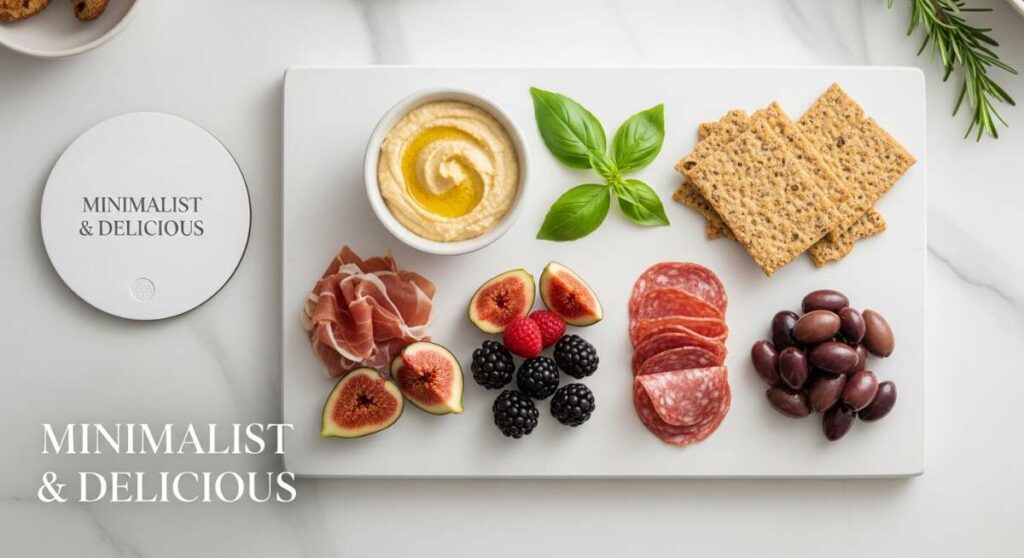
There is something inherently magical about a table filled with small bites, vibrant colors, and the promise of a shared meal. Lately, I’ve found myself leaning away from the stress of formal three-course dinners and toward the effortless charm of the “Simple Food Board.” It’s more than just a trend; it’s a lifestyle shift that prioritizes connection over perfection, allowing us to spend less time hovering over a hot stove and more time laughing with the people who matter most. Whether it’s a sun-drenched afternoon on the porch or a cozy evening in the living room, these boards bring a sense of ease and beauty to every gathering.
I remember the first time I set out a spread like this—it was a humid July evening, and the thought of turning on the oven felt impossible. I gathered what I had: some fresh veggies, a warm dip, and a pile of grilled kabobs. The way my friends gravitated toward the board, picking and choosing their favorites while the conversation flowed naturally, convinced me that this is the ultimate way to eat. It’s casual, it’s gorgeous, and it’s surprisingly delicious. Let’s dive into some of my absolute favorite components to create the ultimate minimalist food board.
How to make the ultimate cheesy rotel dip

Why we love this
This dip is the quintessential soul of any gathering, offering a thick, molten embrace of liquid gold that clings perfectly to every chip. The aroma is a heavenly mix of savory melted cheese and the bright, zesty tang of canned tomatoes infused with green chilies. As you pull a chip through the bowl, you get that satisfying, heavy resistance of a perfectly melted dip, followed by a burst of spicy heat that lingers just long enough to make you reach for another bite. It’s warm, comforting, and has that nostalgic flavor that instantly makes any room feel like a party.
Ingredients
- 16 oz Velveeta or similar processed cheese, cubed
- 1 can (10 oz) Ro-Tel Diced Tomatoes and Green Chilies (undrained)
- 1/2 lb ground breakfast sausage or lean ground beef
- 1/2 tsp garlic powder
- Fresh cilantro for garnish
- Sturdy tortilla chips for serving
How to make it
- Start by browning your choice of protein (sausage or beef) in a medium skillet over medium-high heat. Use a spatula to break the meat into very fine crumbles, as smaller pieces ensure a better cheese-to-meat ratio in every bite. Cook until no pink remains and the meat has developed a slight golden-brown crust.
- Carefully drain the excess grease from the skillet to prevent the dip from becoming oily. If using sausage, you may want to pat the crumbles with a paper towel.
- In a medium saucepan or a slow cooker set to low heat, add the cubed cheese and the entire can of Ro-Tel (do not drain the liquid, as the tomato juice helps create the perfect consistency).
- Stir in the cooked meat and garlic powder. Maintain a low, steady heat; if the temperature is too high, the cheese can scorch or become grainy.
- Continue to stir every 2-3 minutes until the cheese is completely smooth and the mixture begins to slowly bubble. The dip is ready when it flows like lava off a spoon.
- Transfer to a warm serving bowl and garnish with freshly chopped cilantro for a pop of color and freshness.
How to bake a classic strawberry pie

Why we love this
A classic strawberry pie is like capturing the essence of a summer sunset in a buttery, flaky crust. The scent of simmering berries fills the kitchen with a sweet, floral perfume that is utterly irresistible. When you slice into it, the bright red glaze shimmers like rubies, holding together plump, juicy berries that burst with flavor against the richness of the pastry. It’s a texture play of soft, jammy fruit and the crisp, salted crunch of the crust, topped perhaps with a cloud of whipped cream that melts slowly into the warm fruit filling.
Ingredients
- 1 pre-baked 9-inch pie crust
- 4 cups fresh strawberries, hulled and halved
- 1 cup granulated sugar
- 3 tbsp cornstarch
- 1 cup water
- 3 oz package strawberry gelatin
- Whipped cream for topping
How to make it
- Begin by preparing your pie crust. Bake it according to package or recipe instructions until it is a deep golden brown. It must be completely cooled before you add the filling to ensure the bottom doesn’t get soggy.
- In a medium saucepan, whisk together the sugar and cornstarch until no lumps remain. Gradually pour in the water, whisking constantly over medium heat.
- Bring the mixture to a boil. You will notice it transition from cloudy to translucent and thick. Let it boil for about 1 minute while stirring vigorously to ensure the cornstarch is fully activated.
- Remove from heat and immediately stir in the strawberry gelatin powder until it is fully dissolved. Let the glaze cool for about 15-20 minutes until it is lukewarm but still pourable.
- Arrange the fresh strawberry halves in the cooled pie crust, piling them high in the center.
- Slowly pour the gelatin glaze over the berries, ensuring every crevice is filled and the fruit is well-coated. Chill in the refrigerator for at least 3-4 hours until the filling is firm and set.
How to toss a fresh tomato cucumber salad
Why we love this
This salad is the ultimate palate cleanser—a crisp, cooling explosion of garden-fresh goodness. The crunch of the cucumbers against the soft, yielding flesh of sun-ripened tomatoes creates a satisfying mouthfeel that feels light and restorative. It’s dressed in a sharp, acidic vinaigrette that wakes up your taste buds, while the aroma of fresh dill or parsley adds an earthy, herbaceous note. Every bite feels like a breath of fresh air, making it the perfect acidic counterpoint to the richer, cheesier elements on your food board.
Ingredients
- 3 large English cucumbers, sliced into half-moons
- 1 pint cherry tomatoes, halved
- 1/2 red onion, thinly sliced
- 1/4 cup extra virgin olive oil
- 2 tbsp red wine vinegar
- 1 tsp dried oregano
- Salt and cracked black pepper to taste
- Fresh feta cheese crumbles (optional)
How to make it
- Start by prepping your vegetables. Use an English cucumber because the skin is thinner and the seeds are smaller, providing a better crunch without the bitterness. Slice them into consistent 1/4-inch half-moons.
- In a small glass jar or bowl, whisk together the olive oil, red wine vinegar, dried oregano, salt, and pepper. Emulsify the dressing until it looks slightly thickened and cloudy.
- Place the cucumbers, cherry tomatoes, and red onion in a large wooden bowl. The red onion should be sliced paper-thin to provide flavor without overpowering the delicate vegetables.
- Pour the dressing over the vegetables and toss gently with large spoons. You want to coat every surface without bruising the tomatoes.
- Let the salad sit at room temperature for about 15 minutes before serving. This allows the salt to draw out a bit of the vegetable juices, which mingle with the oil and vinegar to create a delicious “sauce” at the bottom of the bowl.
- Top with feta cheese just before serving if you desire a salty, creamy finish.
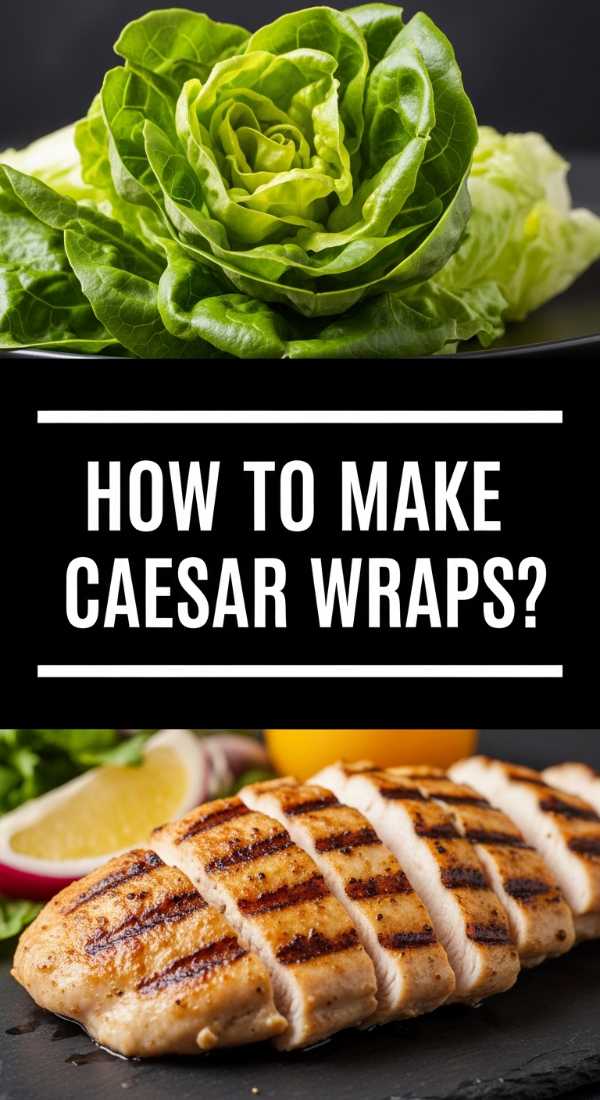
How to wrap the perfect chicken caesar

Why we love this
A Chicken Caesar wrap is a masterclass in handheld perfection. Imagine biting into a soft, flour tortilla to find the crunch of chilled romaine lettuce, the savory punch of parmesan, and the creamy, garlic-heavy richness of Caesar dressing. The warm, seasoned chicken provides a hearty base that satisfies your hunger, while the overall experience remains light enough for a summer afternoon. It’s a portable meal that smells of toasted grain and savory cheese, offering a balanced profile of salty, creamy, and crisp textures in every single bite.
Ingredients
- 2 large flour tortillas
- 1 cup cooked chicken breast, sliced into strips
- 2 cups romaine lettuce, chopped into bite-sized pieces
- 1/4 cup shredded parmesan cheese
- 3 tbsp creamy Caesar dressing
- 1/2 cup croutons, slightly crushed
- Black pepper to taste
How to make it
- Warm your flour tortillas slightly in a dry pan or microwave for 10 seconds. A warm tortilla is more pliable and less likely to tear during the rolling process.
- In a medium mixing bowl, toss the chopped romaine, parmesan, chicken, and Caesar dressing together. By pre-mixing the salad, you ensure that the dressing is evenly distributed and the chicken is well-coated.
- Place a generous amount of the mixture in the center of the tortilla, leaving about two inches of space on the sides.
- Sprinkle the crushed croutons over the top. Crushing them slightly ensures they don’t poke holes in the tortilla while still providing that signature crunch.
- Fold the sides of the tortilla inward toward the center. While holding the sides, use your thumbs to pull the bottom edge over the filling and tuck it tightly as you roll forward.
- Place the wrap seam-side down on a cutting board and slice diagonally with a sharp serrated knife for a beautiful presentation on your board.
How to prep a vibrant pasta salad

Why we love this
Pasta salad is the colorful chameleon of the food board, offering a medley of textures that keep you coming back for more. The rotini pasta spirals are designed to catch every drop of zesty Italian dressing, ensuring each forkful is bursting with flavor. You get the snap of fresh bell peppers, the briny kick of sliced olives, and the soft chew of mozzarella pearls. It smells of dried herbs and vinegar, a bright and inviting scent that screams “picnic.” It’s a hearty, satisfying dish that stays fresh for hours, making it a reliable staple for any gathering.
Ingredients
- 16 oz rotini pasta, cooked and cooled
- 1 cup Italian vinaigrette dressing
- 1 cup cherry tomatoes, halved
- 1/2 cup diced green bell pepper
- 1/2 cup sliced black olives
- 1 cup fresh mozzarella pearls
- 1/4 cup fresh parsley, chopped
How to make it
- Cook the pasta in a large pot of heavily salted water. Boil until it is just “al dente” (firm to the bite). Overcooking the pasta will make it mushy once it absorbs the dressing.
- Drain the pasta and immediately rinse it under cold running water. This stops the cooking process and removes excess starch, preventing the noodles from sticking together.
- In a large bowl, combine the cooled pasta with half of the Italian dressing. Let it sit for 10 minutes; the pasta will soak up the flavor.
- Add the tomatoes, bell peppers, olives, and mozzarella pearls to the bowl. Fold the ingredients together gently using a large rubber spatula.
- Pour the remaining half of the dressing over the salad just before serving. This ensures the salad looks glossy and tastes fresh rather than dry.
- Garnish with chopped parsley and a final dusting of black pepper. For the best flavor, let it chill in the fridge for an hour before placing it on your board.
How to grill the best veggie kabobs

Why we love this
There is nothing quite like the smoky, charred aroma of vegetables hitting a hot grill. These kabobs are a celebration of natural sweetness, as the high heat caramelizes the edges of bell peppers and red onions while keeping the centers tender and juicy. The visual appeal is stunning—a rainbow of colors threaded onto a stick, glistening with a light herb oil. Each bite offers a mix of textures, from the slight snap of a zucchini to the soft, meaty feel of a grilled mushroom, all infused with a hint of woodsmoke and sea salt.
Ingredients
- 2 large zucchini, sliced into thick rounds
- 2 bell peppers (red and yellow), cut into 1-inch chunks
- 1 red onion, cut into wedges
- 8 oz whole button mushrooms
- 1/4 cup olive oil
- 2 cloves garlic, minced
- 1 tsp dried thyme and 1 tsp salt
- Wooden or metal skewers
How to make it
- If using wooden skewers, soak them in water for at least 30 minutes before grilling to prevent them from catching fire.
- In a large bowl, whisk together the olive oil, minced garlic, thyme, and salt. Add all the chopped vegetables and toss until every piece is thoroughly glazed in the herb oil.
- Thread the vegetables onto the skewers, alternating colors and types. Avoid packing them too tightly; a little space between pieces allows the heat to circulate and creates those sought-after char marks.
- Preheat your grill to medium-high heat (about 400°F). Clean the grates thoroughly and lightly oil them to prevent sticking.
- Place the kabobs on the grill and cook for 10-12 minutes. Turn them every 3-4 minutes using tongs. You are looking for the vegetables to soften and develop dark, blistered grill marks on all sides.
- Remove from the heat and let them rest for 2 minutes before serving. The residual heat will finish softening the interior of the thicker vegetables.
How to mix refreshing summer cocktails
Why we love this
A summer cocktail is the ultimate refreshment, a frosty glass of liquid sunshine that instantly lowers your temperature. The sound of ice clinking against glass is the universal signal for relaxation. These drinks usually lead with a bright, citrusy acidity followed by the subtle sweetness of fruit syrups and the botanical notes of your favorite spirit. Whether it’s a gin bramble or a classic mojito, the aroma of slapped mint and squeezed lime zest is incredibly invigorating. It’s the perfect, sophisticated companion to a food board, cutting through salty snacks with a clean, crisp finish.
Ingredients
- 2 oz your choice of spirit (Gin, Vodka, or Tequila)
- 1 oz fresh squeezed lime juice
- 3/4 oz simple syrup
- Handful of fresh berries or mint leaves
- Splash of club soda
- Plenty of crushed ice
How to make it
- Begin by “muddling” your fresh elements. Place the berries or mint in the bottom of a sturdy glass or cocktail shaker and gently press them with a muddler to release the oils and juices. Do not pulverize them; you want flavor, not debris.
- Add the lime juice, simple syrup, and your spirit of choice to the shaker.
- Fill the shaker with ice cubes and shake vigorously for about 15 seconds. The shaker should feel painfully cold to the touch, indicating the drink is properly chilled and diluted.
- Strain the mixture into a glass filled with fresh crushed ice. Crushed ice melts faster, which is actually desirable in high-proof summer drinks as it keeps them refreshing and balanced.
- Top with a splash of club soda for a bit of effervescence and stir gently with a long spoon.
- Garnish with a wheel of lime or a sprig of mint to aromatically enhance every sip.
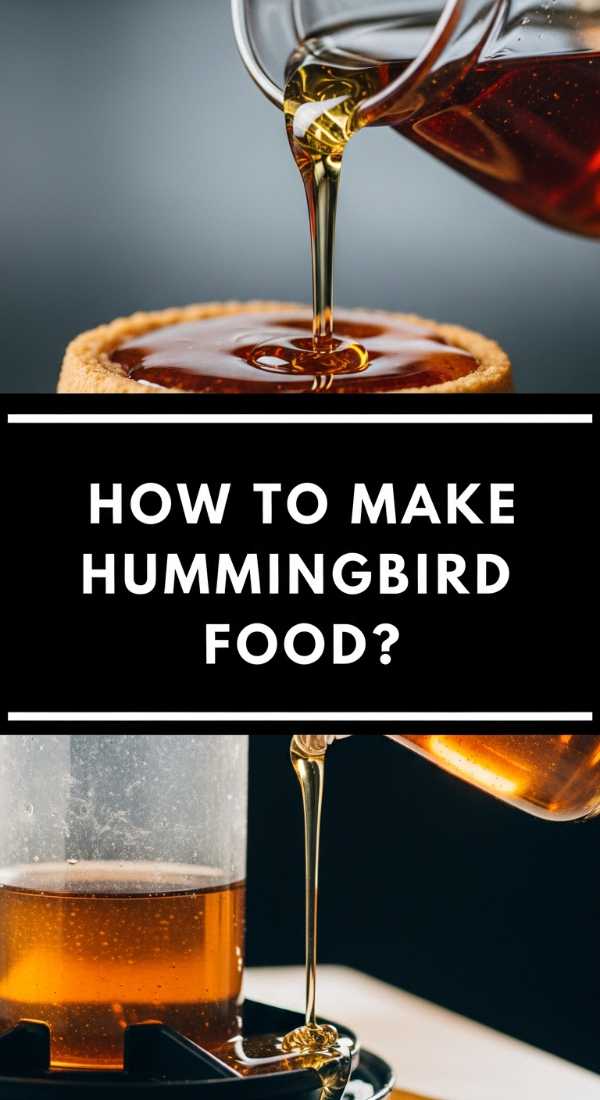
How to create homemade hummingbird nectar

Why we love this
While not for the food board itself, creating hummingbird nectar is a beautiful way to enhance the atmosphere of an outdoor gathering. There is a quiet joy in watching these tiny, iridescent jewels dart around your garden while you eat. The process of making nectar is simple and pure—just clear, sweet water that mimics the flowers they love. It brings a sense of harmony and nature to your lifestyle, reminding us to slow down and appreciate the small, fast-moving wonders of the world right outside our window.
Ingredients
- 1 cup granulated white sugar
- 4 cups water
- No red dye (it’s harmful to the birds!)
How to make it
- Combine the sugar and water in a medium pot. It is vital to use only plain white granulated sugar, as honey, brown sugar, or sugar substitutes can be toxic or cause fungal infections in hummingbirds.
- Heat the mixture over medium-high heat, stirring constantly until the sugar is completely dissolved.
- Bring the solution to a light boil for about 1-2 minutes. This helps to slow the growth of bacteria and mold in the nectar once it’s outside.
- Remove from the heat and allow the nectar to cool to room temperature. Never put hot nectar into a feeder, as it can warp the plastic and harm the birds.
- Fill your hummingbird feeder and store any extra nectar in a clean, sealed container in the refrigerator for up to two weeks.
- Clean your feeder every 3-5 days (more often in hot weather) to keep your feathered visitors healthy and happy.
How to use a crockpot for summer meals

Why we love this
The crockpot is the unsung hero of summer entertaining, allowing you to create incredibly tender, flavor-packed dishes without heating up your kitchen. The low and slow cooking process breaks down proteins until they are succulent and fall-apart tender, all while the lid traps every bit of moisture and aroma. Walking into a house that smells of slow-cooked pulled pork or savory beans while the sun is still shining is a unique kind of comfort. It allows you to be a guest at your own party, knowing the main component of your board is taking care of itself.
Ingredients
- 3-4 lb pork shoulder or beef roast
- 1 cup BBQ sauce or broth
- 1 onion, sliced
- 2 tbsp spice rub (salt, pepper, paprika, garlic powder)
- 1/4 cup apple cider vinegar
How to make it
- Pat your meat dry with paper towels. Rub the spice blend into all sides of the meat, pressing firmly so it adheres. This creates a “bark” of flavor as it cooks.
- Place the sliced onions at the bottom of the crockpot to act as a natural rack, preventing the meat from sitting directly on the heating element and adding deep flavor.
- Place the meat on top of the onions and pour the apple cider vinegar around the sides. The acidity helps break down the connective tissue for a more tender result.
- Cover and cook on LOW for 8-10 hours. Avoid the temptation to lift the lid; every time you do, you release heat and add 20 minutes to the cooking time.
- The meat is done when it registers at least 195°F internally and shreds easily with two forks.
- Remove the meat, shred it, and toss with a little bit of the cooking liquid or your favorite BBQ sauce before serving warm on your food board.
How to forage for dandelion jelly
[IMAGE_10]
Why we love this
Dandelion jelly is a hidden treasure of the foraging world, often called “sunshine in a jar.” It has a delicate, honey-like flavor with subtle floral undertones that feel sophisticated and whimsical. The process of gathering the bright yellow petals from a sunny field is a grounding, meditative experience that connects you to the seasons. When spread on a cracker or a piece of warm bread on your food board, it’s a conversation starter—a beautiful, golden spread that proves beauty and flavor can be found in the most unexpected places.
Ingredients
- 2 cups dandelion petals (yellow parts only)
- 4 cups boiling water
- 1/4 cup lemon juice
- 1 package powdered pectin
- 4 cups granulated sugar
How to make it
- Gather your dandelions from a clean area free of pesticides. Pull the yellow petals away from the green base (the sepals). It is crucial to remove all green parts, as they are very bitter and will ruin the delicate flavor of the jelly.
- Place the petals in a heat-proof jar and pour the boiling water over them. Let this “tea” steep for at least 2 hours, or overnight in the fridge for a deeper flavor.
- Strain the liquid through a fine-mesh sieve or cheesecloth, squeezing the petals to get every drop of dandelion essence. You should have about 3-4 cups of yellow liquid.
- In a large pot, combine the dandelion tea, lemon juice, and pectin. Bring to a full rolling boil that cannot be stirred down.
- Add the sugar all at once and stir constantly. Bring it back to a rolling boil and let it boil hard for exactly one minute.
- Remove from heat, skim off any foam, and pour into sterilized jars. Let the jelly set at room temperature for 24 hours. The result is a translucent, golden jelly that tastes like a summer meadow.
The Art of the Simple Board
Creating a minimalist food board isn’t just about the recipes; it’s about the intention. It’s about taking these individual elements—the spicy dip, the fresh salad, the sweet jelly—and arranging them in a way that feels abundant yet approachable. When we strip away the formality of traditional dining, we make room for more authentic moments. I hope these recipes inspire you to clear off your table, grab a big wooden board, and invite someone over to share in the simple, delicious joys of the season. Happy snacking!