
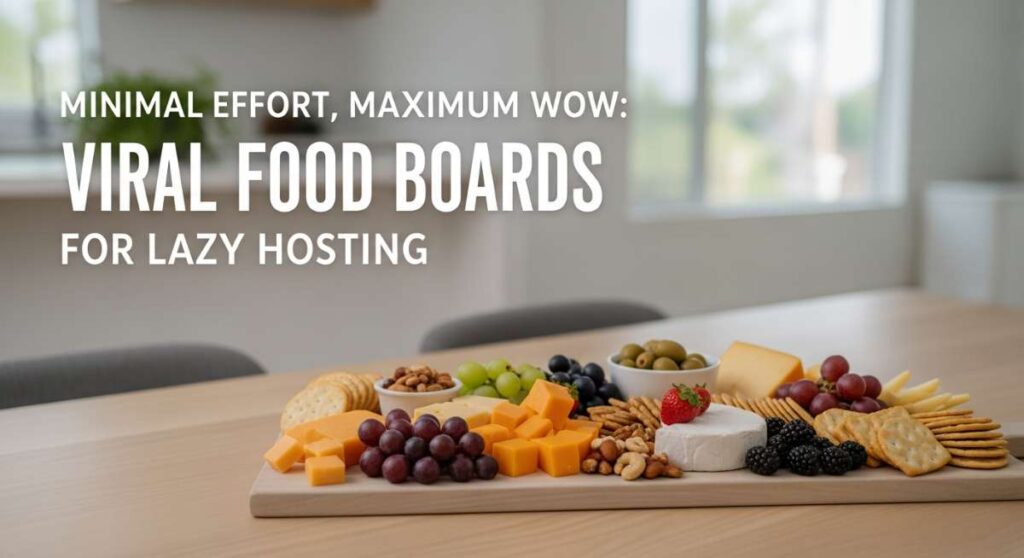
We’ve all been there—the doorbell is about to ring, your favorite playlist is looping, and you realize the elaborate five-course meal you planned is just not happening. Hosting should be about the laughter shared over a glass of wine, not the stress of timing a soufflé. That is exactly why I’ve fallen head-over-heels for the viral food board trend. It’s the ultimate ‘lazy hosting’ hack that looks like a million bucks but takes minimal effort.
By arranging simple, delicious components on a large wooden board or platter, you create an interactive experience that invites guests to graze and mingle. From savory grilled meats to refreshing summer salads and sweet finishes, these boards turn basic ingredients into a visual feast. Today, I’m sharing my favorite viral-worthy recipes that you can mix and match to build the most epic hosting spread of the season.
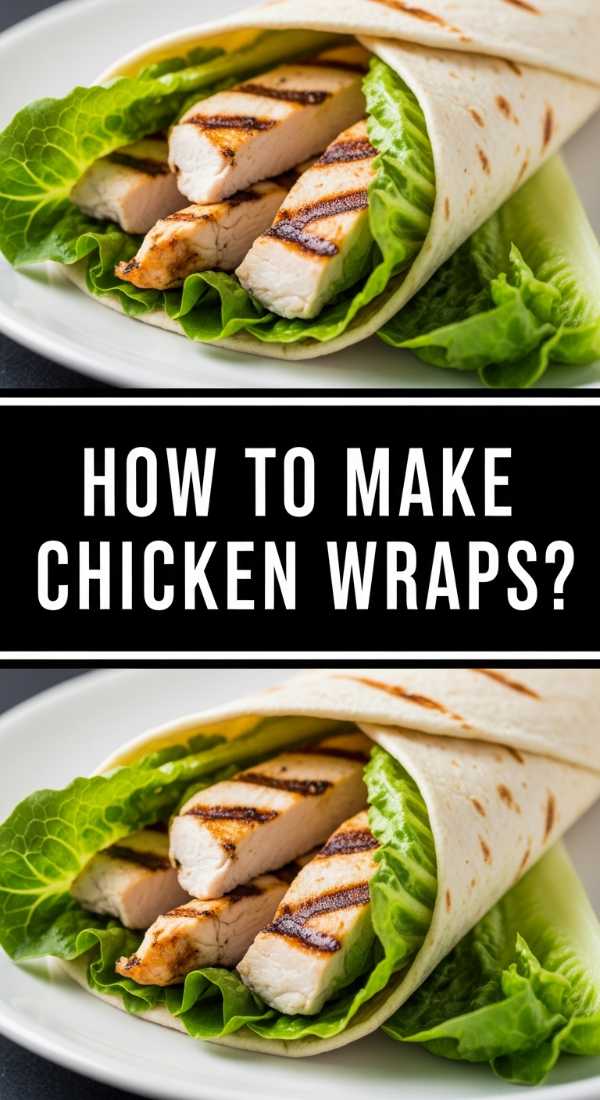
How to make chicken wraps?
Why we love this
There is something incredibly satisfying about the crunch of a fresh tortilla wrapping around tender, seasoned chicken and crisp greens. These wraps are the ultimate versatile addition to any food board because they offer a complete bite-sized meal that guests can grab with one hand. The aroma of toasted flour tortillas combined with the zesty kick of a creamy dressing makes them an instant crowd-pleaser that feels both wholesome and indulgent at the same time.
Ingredients
- Large flour tortillas
- Cooked chicken breast, sliced into strips
- Shredded romaine lettuce
- Diced tomatoes
- Sliced avocado
- Shredded cheddar cheese
- Creamy ranch or buffalo sauce
How to make it
- Warm your tortillas in a dry skillet over medium heat for about 15-20 seconds per side. This makes them pliable and prevents them from cracking when you roll them.
- Lay the tortilla flat on a clean surface and spread a tablespoon of your chosen sauce down the center, leaving about two inches at the bottom and top.
- Layer a generous handful of romaine lettuce, followed by the chicken strips, tomatoes, avocado, and a sprinkle of cheese. Be careful not to overfill, as this will make rolling difficult.
- Fold the bottom edge of the tortilla up over the filling, then fold in both sides. Roll tightly from the bottom up to the top to create a secure cylinder.
- Place the wrap seam-side down on a cutting board and slice diagonally with a sharp serrated knife. Arrange them upright on your board to show off the colorful interior layers.
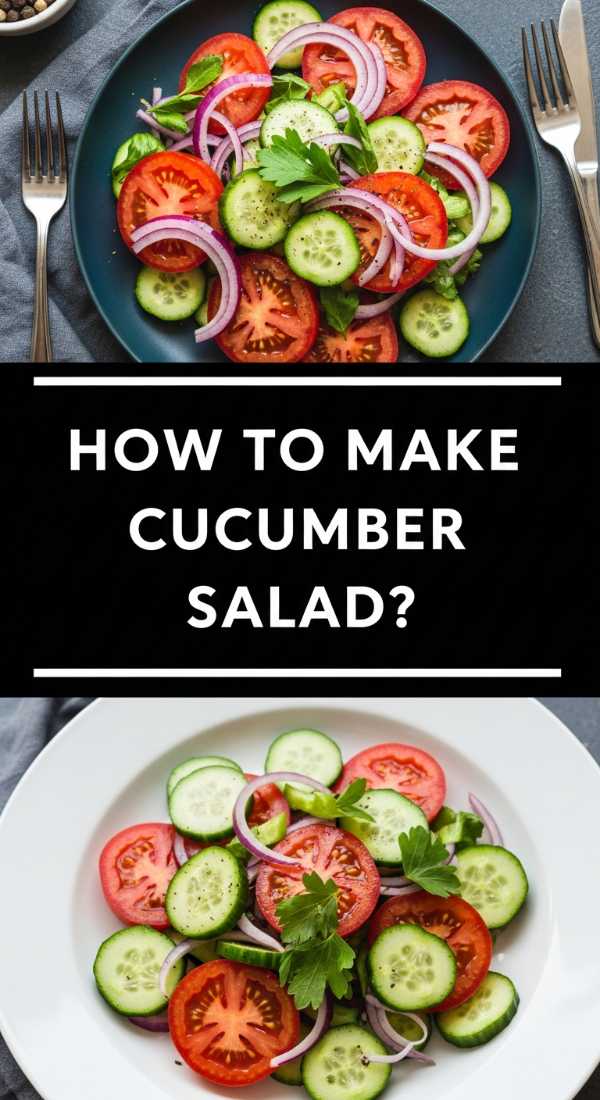
How to make cucumber salad?
Why we love this
This salad is the definition of refreshing, acting as the perfect palate cleanser between heavier bites on your board. The sharp, vinegary tang hits your tongue first, followed quickly by the cooling crunch of thinly sliced cucumbers and the subtle sweetness of red onion. It’s a bright, vibrant dish that smells of fresh dill and summer gardens, adding a necessary pop of green and a zesty acidity that makes every other flavor on the platter stand out.
Ingredients
- 2 large English cucumbers
- 1/2 red onion, thinly sliced
- 1/2 cup rice vinegar
- 2 tablespoons sugar
- 1 teaspoon salt
- 2 tablespoons fresh dill, chopped
- 1/2 teaspoon red pepper flakes (optional)
How to make it
- Wash the cucumbers thoroughly and slice them into very thin rounds using a mandoline or a sharp knife. English cucumbers are preferred because they have thinner skin and fewer seeds.
- In a medium glass bowl, whisk together the rice vinegar, sugar, and salt until the sugar and salt are completely dissolved. This creates a quick brine that will pickle the vegetables slightly.
- Add the sliced cucumbers and red onions to the bowl, tossing them gently to ensure every slice is coated in the liquid.
- Stir in the fresh chopped dill and red pepper flakes. The dill adds a floral aroma while the flakes provide a very subtle heat.
- Cover and refrigerate for at least 30 minutes before serving. This resting period is crucial as it allows the cucumbers to release some moisture and absorb the flavors of the dressing. Drain excess liquid before placing in a small bowl on your food board.
How to use blackstone grills?

Why we love this
Using a Blackstone or flat-top griddle transforms hosting into a theatrical performance. There’s a specific, addictive sizzle that happens the moment food hits that large, seasoned surface, and the aroma of caramelizing proteins fills the backyard instantly. It allows you to cook massive quantities of food—like a mountain of hibachi-style veggies or dozens of sliders—all at once, ensuring everything stays hot and juicy while you stay part of the conversation.
Ingredients
- High smoke-point oil (avocado or grapeseed)
- Assorted proteins (steak tips, shrimp, or burger patties)
- Sliced bell peppers and onions
- Salt, pepper, and garlic powder
- Butter for finishing
How to make it
- Preheat your griddle by turning all burners to medium-high. Let it heat for at least 10 minutes until you see a light wisps of smoke rising from the surface, indicating it is ready for searing.
- Apply a thin layer of oil across the surface using a squeeze bottle. Use your griddle spatula to spread the oil evenly, ensuring the entire cooking area is well-lubricated to prevent sticking.
- Place your proteins on the hottest part of the grill. For steak or burgers, let them sit undisturbed for 3-4 minutes to develop a deep, crusty sear before flipping.
- Move the cooked proteins to a cooler zone on the edge of the griddle and toss your vegetables into the center. Add a splash of water and cover with a basting dome for 60 seconds to steam them quickly until tender-crisp.
- Finish by tossing a pat of butter over the entire pile and seasoning generously with salt and pepper. Use your long spatulas to toss everything together one last time before scraping it directly onto a serving platter for the center of your board.
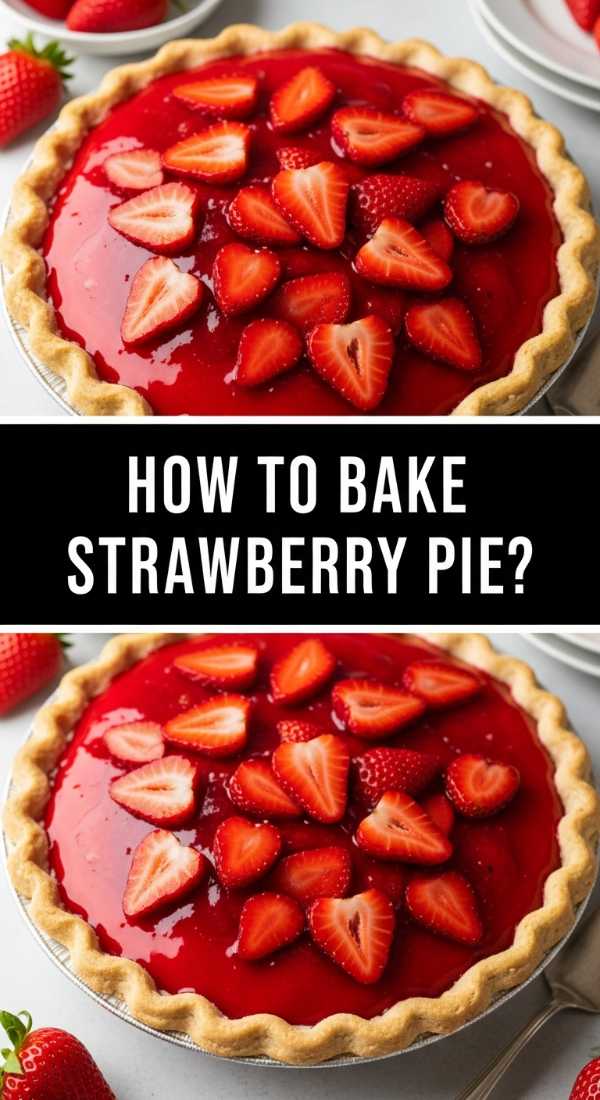
How to bake strawberry pie?
Why we love this
Nothing says “warm welcome” like the scent of a strawberry pie bubbling in the oven, filling the house with the aroma of toasted butter and jammy fruit. When sliced and placed on a dessert board, the vibrant red filling and the golden, flaky crust provide a stunning focal point. Each bite is a harmony of textures: the crisp, sugary snap of the lattice top melting into the soft, sweet-tart explosion of summer berries.
Ingredients
- 2 store-bought or homemade pie crusts
- 5 cups fresh strawberries, hulled and halved
- 3/4 cup granulated sugar
- 1/4 cup cornstarch
- 1 tablespoon lemon juice
- 1 teaspoon vanilla extract
- 1 egg (for egg wash)
How to make it
- Preheat your oven to 425°F (220°C). Roll out one pie crust and fit it into a 9-inch pie plate, trimming the edges so they hang about half an inch over the rim.
- In a large mixing bowl, gently toss the strawberries with sugar, cornstarch, lemon juice, and vanilla. The cornstarch is essential as it thickens the juices that the berries release during baking, preventing a soggy bottom.
- Pour the strawberry mixture into the prepared crust, mounding them slightly in the center.
- Cut the second crust into 1-inch strips and weave them over the top of the berries to create a lattice pattern. Fold the bottom crust over the strips and crimp the edges tightly with a fork or your fingers to seal.
- Brush the lattice with a beaten egg and sprinkle with a little extra sugar. Bake for 15 minutes at 425°F, then reduce the heat to 375°F and bake for another 35-40 minutes until the crust is deep golden brown and the filling is bubbling thick. Let it cool completely for at least 3 hours before slicing so the filling sets.
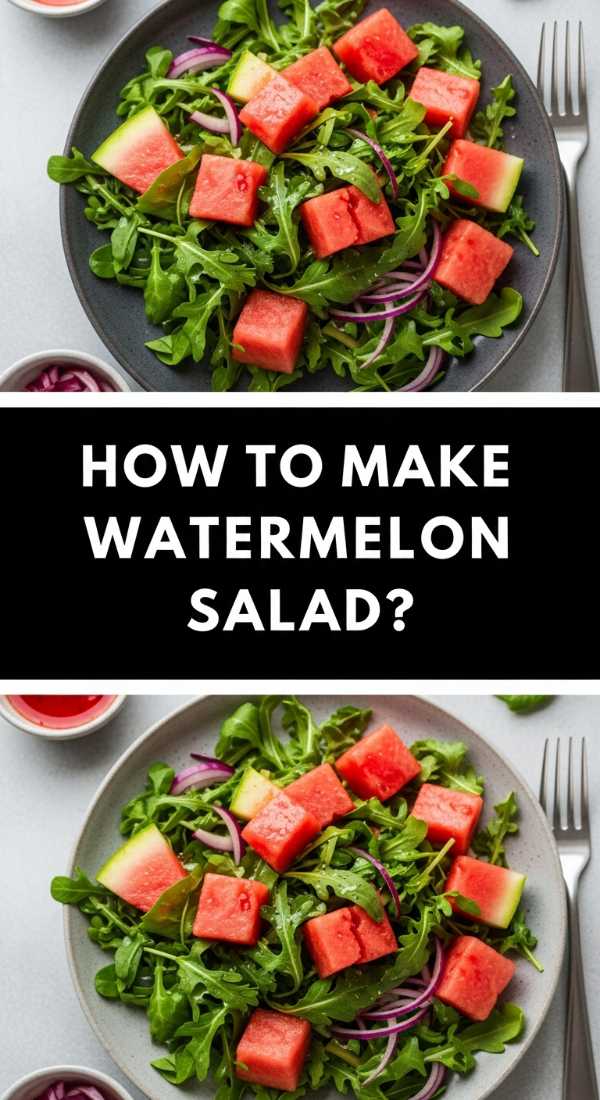
How to make watermelon salad?
Why we love this
This salad is a masterclass in flavor contrast, bringing together the icy sweetness of watermelon with the salty, creamy punch of feta cheese. It’s an incredibly visual dish; the bright pink cubes against the white cheese and green mint look like a piece of art on your board. The texture is equally exciting, moving from the juicy, water-heavy crunch of the fruit to the soft, crumbling dairy finish that lingers on the tongue.
Ingredients
- 6 cups seedless watermelon, cubed
- 1 cup feta cheese, crumbled
- 1/2 red onion, very thinly sliced
- 1/4 cup fresh mint leaves, torn
- 2 tablespoons extra virgin olive oil
- 1 tablespoon lime juice
- Flaky sea salt
How to make it
- Chill your watermelon in the refrigerator for at least 4 hours before cutting. A cold watermelon is much easier to cube and provides a more refreshing mouthfeel.
- Cut the watermelon into uniform 1-inch cubes and place them in a large, shallow serving bowl. Avoid using a deep bowl so the weight of the fruit doesn’t crush the pieces at the bottom.
- Scatter the thinly sliced red onions and crumbled feta cheese over the top of the watermelon. Do not toss vigorously, as the feta will turn the salad cloudy.
- In a small jar, whisk together the olive oil and lime juice until emulsified. Drizzle this dressing evenly over the salad.
- Just before serving, scatter the torn mint leaves and a pinch of flaky sea salt over the top. The salt actually enhances the sweetness of the watermelon, while the mint provides a cooling aromatic finish.
How to bake pound cake?

Why we love this
Pound cake is the sturdy, reliable hero of the dessert board, providing a dense and buttery base for fruit, whipped cream, or chocolate drizzles. Its aroma is pure nostalgia—vanilla and toasted sugar—and its golden-brown exterior offers a slight crust that gives way to a velvety, tight-crumbed interior. It feels substantial and elegant, making it the perfect anchor for a sweet-themed hosting platter.
Ingredients
- 1 cup unsalted butter, softened
- 1 cup granulated sugar
- 4 large eggs, room temperature
- 2 cups all-purpose flour
- 1 teaspoon vanilla extract
- 1/2 teaspoon salt
How to make it
- Preheat your oven to 325°F (165°C). Grease and flour a 9×5 inch loaf pan thoroughly, tapping out any excess flour to ensure the cake releases easily after baking.
- In a large bowl, cream together the softened butter and sugar using a hand mixer or stand mixer on medium-high speed for at least 5 minutes. The mixture should become pale yellow and very fluffy; this aeration is what gives the dense cake its lift.
- Add the eggs one at a time, beating well after each addition. If the batter looks like it’s curdling, add a tablespoon of the flour to help it emulsify. Stir in the vanilla extract.
- Turn the mixer to low and gradually add the flour and salt. Mix only until the white streaks of flour disappear. Over-mixing at this stage will develop too much gluten and result in a tough, rubbery cake.
- Pour the batter into the prepared pan and smooth the top with a spatula. Bake for 60-70 minutes, or until a wooden skewer inserted into the center comes out clean. Let the cake cool in the pan for 15 minutes before inverting it onto a wire rack to cool completely.
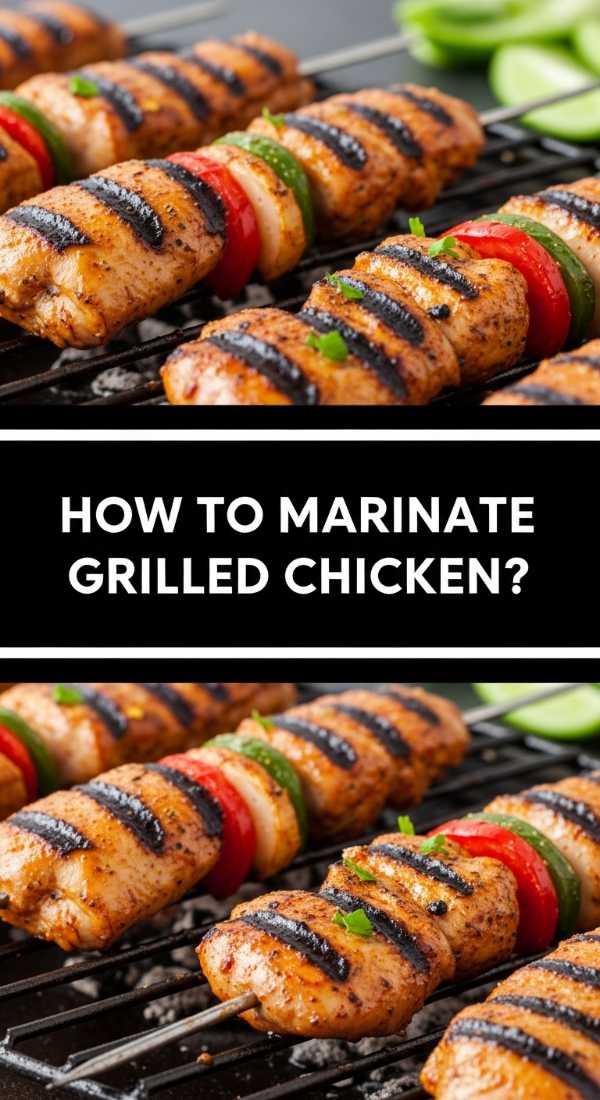
How to marinate grilled chicken?
Why we love this
A good marinade is the secret to chicken that is so tender it practically melts, infused with layers of garlic, herbs, and bright citrus. When sliced onto a food board, this chicken serves as the savory protein anchor that pairs with everything from wraps to salads. The smell of the marinade caramelizing over an open flame is enough to make anyone’s mouth water, promising a smoky, juicy experience in every single bite.
Ingredients
- 1.5 lbs chicken thighs or breasts
- 1/4 cup olive oil
- 3 tablespoons soy sauce
- 2 tablespoons honey
- 3 cloves garlic, minced
- 1 tablespoon fresh rosemary, chopped
- Juice of 1 lemon
How to make it
- Place the chicken in a large Ziploc bag or a glass container. If using chicken breasts, pound them to an even thickness using a meat mallet so they cook at the same rate.
- In a small bowl, whisk together the olive oil, soy sauce, honey, minced garlic, rosemary, and lemon juice. The acid in the lemon tenderizes the meat, while the honey helps create those beautiful charred grill marks.
- Pour the marinade over the chicken, seal the bag while pressing out as much air as possible, and massage the liquid into the meat.
- Refrigerate for at least 2 hours, though 6-8 hours is ideal for maximum flavor penetration. Do not exceed 24 hours, or the lemon juice will begin to break down the muscle fibers too much, resulting in a mushy texture.
- Preheat your grill to medium-high (about 400°F). Remove the chicken from the marinade and grill for 6-8 minutes per side. Use a meat thermometer to ensure the internal temperature reaches 165°F. Let the meat rest for 5 minutes before slicing to keep the juices locked inside.
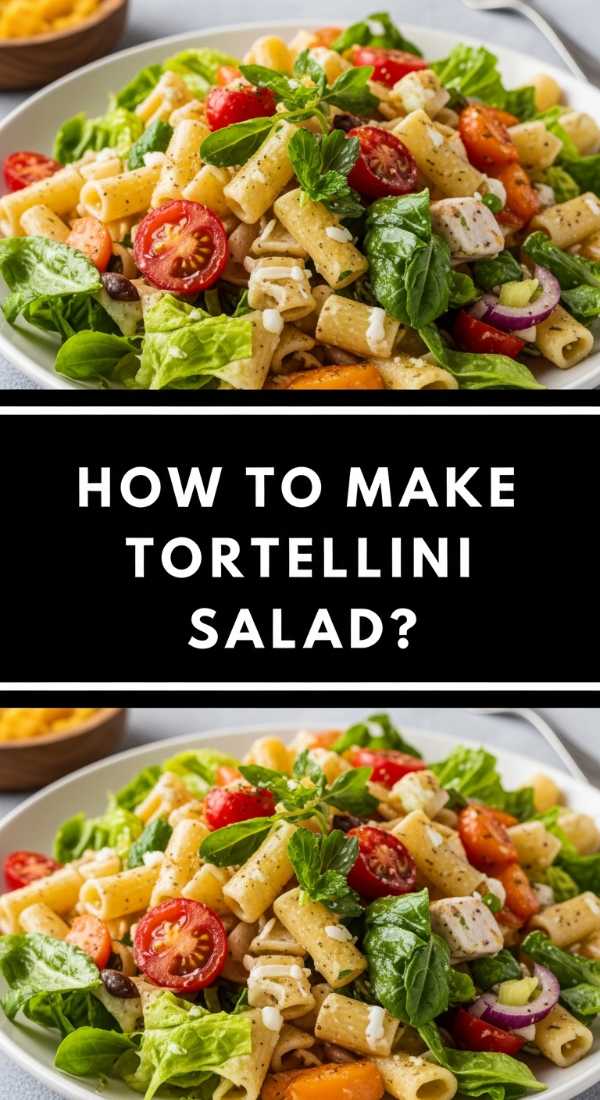
How to make tortellini salad?
Why we love this
Tortellini salad takes the concept of a pasta salad and elevates it with cheese-filled pockets of joy. It’s a hearty, colorful addition to a food board that combines the chewiness of pasta with the snap of fresh vegetables and the silkiness of an herb vinaigrette. Every forkful is a discovery of different textures—olives, sun-dried tomatoes, and creamy mozzarella pearls—making it a sophisticated yet effortless side dish.
Ingredients
- 1 lb refrigerated cheese tortellini
- 1/2 cup Italian dressing
- 1 cup cherry tomatoes, halved
- 1/2 cup cucumber, diced
- 1/2 cup mozzarella pearls
- 1/4 cup sliced black olives
- 1/4 cup fresh parsley, chopped
How to make it
- Bring a large pot of salted water to a boil. Add the refrigerated tortellini and cook according to the package directions, usually about 2-4 minutes. Be careful not to overcook them; they should be ‘al dente’ so they hold their shape in the salad.
- Immediately drain the pasta and rinse it under cold running water. This stops the cooking process and prevents the tortellini from sticking together or becoming mushy.
- In a large mixing bowl, combine the cooled tortellini with the cherry tomatoes, cucumbers, mozzarella pearls, and olives.
- Drizzle the Italian dressing over the mixture and toss gently with a large spoon. The pasta will absorb some of the dressing as it sits, so feel free to be generous.
- Stir in the fresh parsley for a burst of color and aroma. For the best flavor, let the salad sit in the fridge for 1 hour before serving on your board. This allows the dressing to permeate the pasta shells.
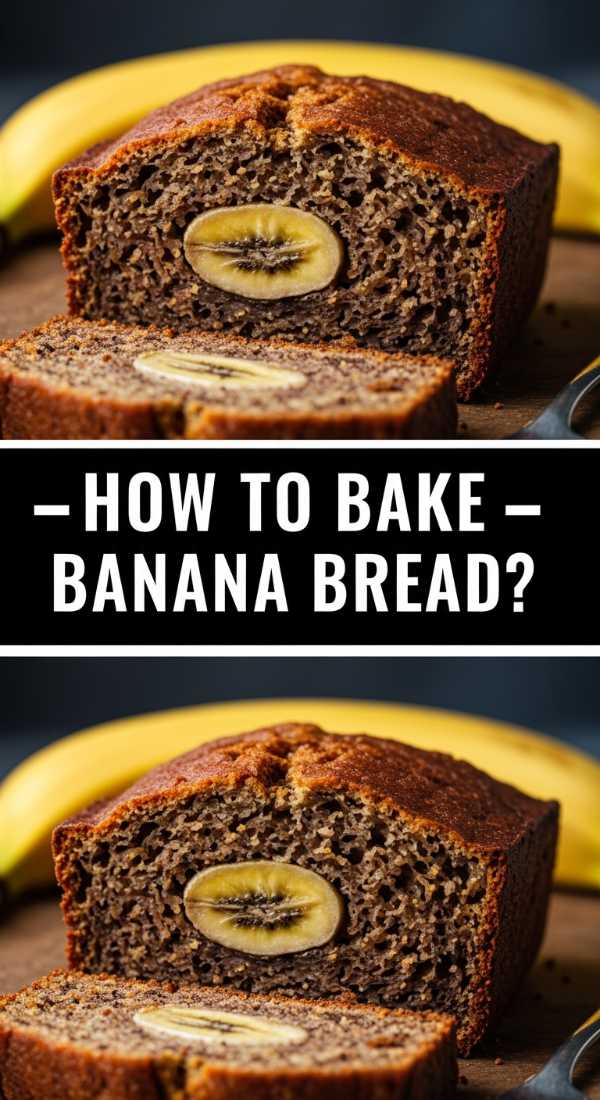
How to bake banana bread?
Why we love this
The smell of banana bread baking is the ultimate olfactory hug, filling the kitchen with notes of cinnamon, caramelized fruit, and toasted nuts. It’s the perfect addition to a brunch-themed food board, offering a moist, sweet, and slightly dense slice that pairs beautifully with a smear of salted butter or a drizzle of honey. It’s comfort food in its purest form, and its rustic, cracked top adds a cozy, homemade charm to your presentation.
Ingredients
- 3 very ripe bananas, mashed
- 1/3 cup melted butter
- 1/2 cup sugar
- 1 egg, beaten
- 1 teaspoon vanilla extract
- 1 teaspoon baking soda
- Pinch of salt
- 1.5 cups all-purpose flour
- 1/2 cup chopped walnuts (optional)
How to make it
- Preheat your oven to 350°F (175°C) and butter a 4×8 inch loaf pan. Using very ripe bananas—those with plenty of brown spots—is key, as they are sweeter and easier to mash.
- In a large mixing bowl, mash the ripe bananas with a fork until they are mostly smooth with just a few small chunks for texture.
- Stir the melted butter into the mashed bananas. Add the sugar, beaten egg, and vanilla extract, mixing until fully incorporated and the batter is a uniform pale brown color.
- Sprinkle the baking soda and salt over the wet mixture and stir. Gently fold in the flour using a spatula. Mix just until you no longer see white flour; over-mixing will make the bread tough rather than tender.
- Fold in the chopped walnuts if using, then pour the batter into your prepared loaf pan. Bake for 50 to 60 minutes. Check for doneness by inserting a toothpick into the center—if it comes out clean or with just a few moist crumbs, it’s done. Let it cool on a rack before slicing.
How to make summer drinks?

Why we love this
No food board is complete without a refreshing beverage to wash it all down. Summer drinks are all about the clink of ice cubes, the fizz of sparkling water, and the bright, sunny spray of citrus oils. They provide a cooling contrast to grilled meats and add a festive, celebratory vibe to your gathering. Whether it’s a fruit-infused lemonade or a bubbly spritz, these drinks are the sparkling jewels of your hosting spread.
Ingredients
- Fresh strawberries and lemons
- Fresh mint sprigs
- Sparkling water or club soda
- Simple syrup (equal parts sugar and water)
- Ice cubes
- Optional: Gin or Vodka for an adult version
How to make it
- Prepare your fruit garnishes first by slicing lemons into thin wheels and quartering fresh strawberries. Having these ready makes assembly quick and beautiful.
- In the bottom of a sturdy glass or a large pitcher, muddle a few strawberry slices and mint leaves with a splash of simple syrup. Use a muddler or the back of a wooden spoon to press down firmly, releasing the juices and aromatic oils.
- Fill the glass or pitcher to the brim with ice. The more ice you use, the slower it melts, keeping your drink cold without diluting it too quickly.
- Pour in your base liquid—whether it’s chilled lemonade, tea, or a spirit—filling the glass about three-quarters of the way full.
- Top with sparkling water for that signature summer fizz. Stir gently with a long spoon to pull the muddled fruit up from the bottom, garnish with a lemon wheel and a fresh mint sprig, and serve immediately.
The Art of Lazy Hosting
At the end of the day, the best part of a food board isn’t just the delicious recipes—it’s the freedom it gives you as a host. By preparing these viral-worthy components ahead of time and arranging them with a bit of flair, you move the focus away from the kitchen and back to your guests. Whether you’re piling up chicken wraps or slicing into a fresh strawberry pie, remember that the goal is connection, not perfection. So grab your biggest platter, try out these simple steps, and get ready to enjoy your own party for once!