
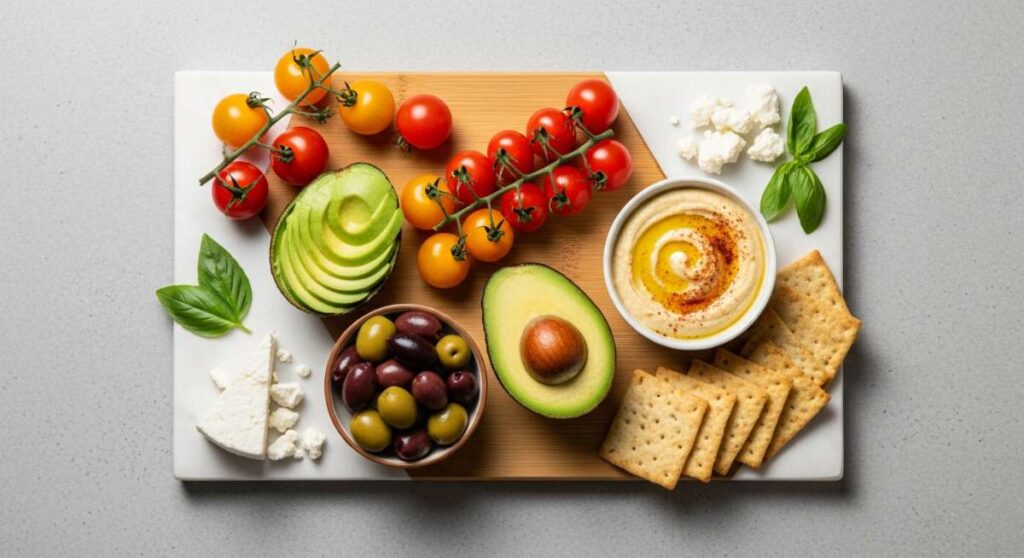
Minimal Effort, Maximum Viral Vibes: The Simple Food Board Guide
We’ve all been there—scrolling through feeds filled with impossibly beautiful charcuterie boards and thinking, “I could never.” But what if I told you that the secret to that viral, high-vibe aesthetic isn’t hours of intricate carving or expensive delicacies? It’s about celebrating the seasons, the colors, and the joy of sharing a meal that looks like a million bucks but feels like a warm, effortless hug. The ‘Simple Food Board’ isn’t just a trend; it’s a lifestyle shift toward making every day feel like a special occasion.
Think of this guide as your creative permission slip. We’re moving beyond just cheese and crackers into the realm of full-meal boards that satisfy every craving from sun-drenched beach snacks to the perfect backyard dinner. Whether you’re hosting a crowd or just treating yourself to a slow Tuesday night, these boards are designed to be photographed and then immediately devoured. Let’s dive into the textures, aromas, and vibrant colors that make food not just sustenance, but an experience.
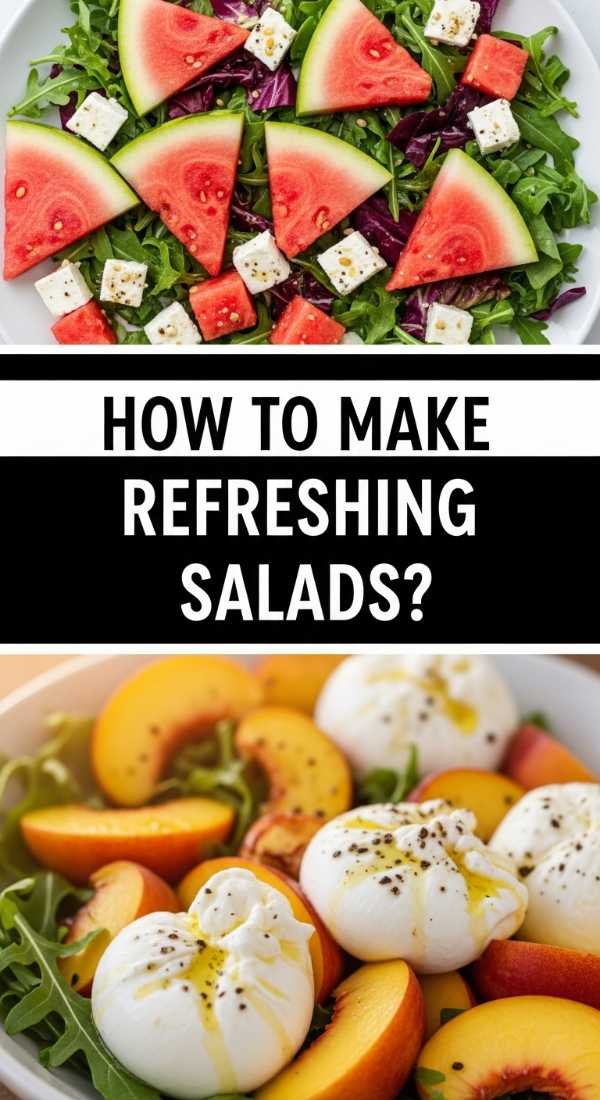
How to make refreshing salads
Why we love this
There is nothing quite like the cooling crunch of a perfectly assembled salad board to break the afternoon heat. Imagine the vibrant contrast of emerald greens against ruby-red tomatoes, all drizzled with a vinaigrette that catches the light like liquid gold. The aroma of freshly torn basil and mint mingles with the sharp, salty tang of crumbled feta, creating a sensory experience that feels like a summer breeze. Every bite offers a different texture—from the snappy bite of cucumber to the buttery softness of avocado—making it a refreshing masterpiece that’s as beautiful as it is nourishing.
Ingredients
- Fresh mixed greens (arugula, spinach, or romaine)
- English cucumbers, sliced thinly
- Heirloom cherry tomatoes, halved
- Feta cheese or goat cheese crumbles
- Toasted pine nuts or sunflower seeds
- Extra virgin olive oil and balsamic glaze
- Fresh herbs (basil, mint, or dill)
- Flaky sea salt and cracked black pepper
How to make it
- Start by thoroughly washing and spinning your greens until they are bone dry; water is the enemy of a crisp salad. Pat them with a paper towel if necessary to ensure the dressing will cling to the leaves later.
- Spread the greens across a wide wooden board, creating a lush, feathered bed that serves as your canvas. Avoid packing them down; you want height and volume for that viral look.
- Layer your heavier ingredients, like the cucumber slices and halved heirloom tomatoes, in organized clusters rather than tossing them randomly. This creates visual focal points that draw the eye.
- Prepare a simple emulsion by whisking three parts olive oil to one part balsamic vinegar in a small bowl until the mixture is thick and glossy. Do not pour it over yet; place the bowl directly on the board to prevent wilting.
- Sprinkle your seeds and cheese crumbles across the top to add varied heights and textures. Finish with a generous pinch of flaky sea salt and freshly cracked pepper to make the natural flavors pop.
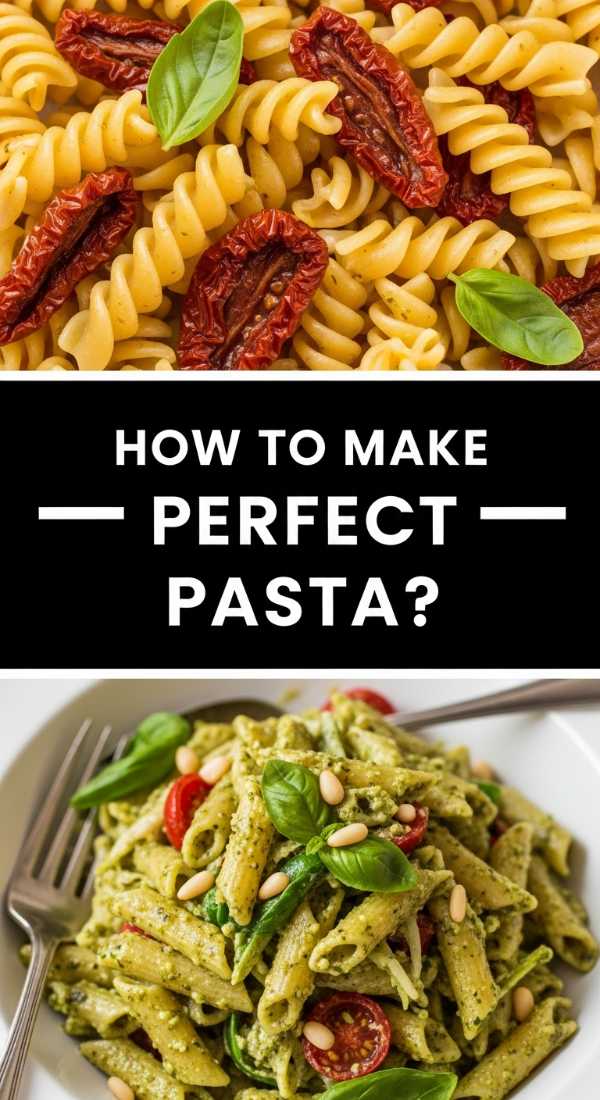
How to make perfect pasta
Why we love this
A pasta board is the ultimate comfort food flex, bringing a rustic, Italian-countryside charm right to your kitchen table. The sight of golden, glossy strands of pasta swirled into nests, steaming with the scent of roasted garlic and aged parmesan, is enough to make anyone’s mouth water. You can almost feel the silkiness of the sauce as it coats the noodles, punctuated by the occasional pop of a blistered tomato or the earthy crunch of toasted breadcrumbs. It’s a communal feast that invites everyone to twirl their forks together, sharing in the warmth and hearty satisfaction of a meal made with love.
Ingredients
- 1 lb high-quality dried pasta (linguine or pappardelle)
- 4 cloves garlic, thinly sliced
- 1/2 cup high-quality olive oil
- 1 pint cherry tomatoes
- Freshly grated Parmigiano-Reggiano
- Red pepper flakes
- Fresh parsley, chopped
- Reserved pasta water
How to make it
- Bring a large pot of heavily salted water to a rolling boil—it should taste like the sea to properly season the pasta from the inside out. Add your pasta and cook until it is ‘al dente,’ which usually means draining it 1-2 minutes before the package directions suggest.
- While the pasta cooks, heat olive oil in a wide skillet over medium-low heat. Add the sliced garlic and red pepper flakes, cooking slowly until the garlic is golden and fragrant, but be careful not to burn it or it will turn bitter.
- Add the cherry tomatoes to the oil and increase the heat slightly. Cook until the skins begin to burst and release their sweet juices, creating a light, natural sauce.
- Crucial Step: Before draining the pasta, reserve at least one full cup of the starchy pasta water. This is the secret to a silky, viral-worthy sauce that clings to every strand.
- Transfer the pasta directly into the skillet. Add half of the reserved water and a generous handful of grated cheese. Toss vigorously over medium heat until a creamy, glossy emulsion forms. Arrange the pasta in beautiful, swirling mounds on your board and garnish with fresh parsley.
How to mix summer drinks

Why we love this
There is a specific kind of magic in the sound of ice cubes clinking against a glass pitcher on a humid July afternoon. A summer drink board is an explosion of citrus zest and botanical aromas, featuring wedges of lime, sprigs of rosemary, and the deep, rich colors of muddled berries. The first sip is always a revelation—a sharp, cold burst of refreshment that cuts through the heat and leaves a trail of sweetness on the tongue. It’s the visual centerpiece of any gathering, inviting guests to customize their glass with garnishes that look like edible jewels.
Ingredients
- Fresh citrus (lemons, limes, and oranges)
- Seasonal berries (strawberries, blueberries, or raspberries)
- Fresh herbs (mint, basil, or rosemary)
- Sparkling water or club soda
- Simple syrup (1:1 sugar and water)
- Ice cubes (extra large or floral-infused)
- Optional: Gin, Vodka, or Tequila
How to make it
- Create a simple syrup by heating equal parts sugar and water in a small saucepan until the sugar is completely dissolved. Let it cool entirely before using; a warm syrup will melt your ice too quickly and dilute the flavors.
- Prepare your garnishes with precision. Slice the citrus into uniform rounds or wedges, and pick the prettiest herb sprigs. Arrange these in small, separate bowls on your drink board to keep the aesthetic clean and organized.
- Muddle your fruit of choice in the bottom of a glass or a large pitcher. Use a firm pressing and twisting motion to release the essential oils and juices without pulverizing the fruit into a pulp.
- Fill your glasses to the brim with ice. For a professional look, use large clear ice spheres or cubes that contain frozen edible flowers. This keeps the drink colder for longer and adds a high-end touch.
- Pour in your base liquid (sparkling water or spirits), add a splash of your cooled simple syrup, and stir gently with a long spoon to combine the layers without losing the carbonation. Top with a sprig of slapped mint to release its aroma.
How to prep baseball snacks

Why we love this
Baseball snacks are pure nostalgia, evoking memories of sun-baked bleachers, the crack of a bat, and the simple joy of salty treats. A snack board dedicated to the game is all about that perfect balance of savory and sweet, featuring the golden hue of buttered popcorn and the earthy, roasted scent of peanuts in the shell. There’s something deeply satisfying about the tactile experience of cracking open a sunflower seed or dipping a soft, warm pretzel into tangy mustard. It’s a casual, fun-loving spread that captures the essence of American summer afternoons.
Ingredients
- Soft pretzels (frozen or bakery-fresh)
- Roasted peanuts in the shell
- Gourmet popcorn (sea salt or caramel)
- Beef jerky or slim sticks
- Cracker Jacks or caramel corn
- Yellow mustard and honey mustard for dipping
- Sunflower seeds
How to make it
- Preheat your oven to 350°F and bake the soft pretzels until they are toasted on the outside but pillowy and soft on the inside. Immediately brush them with a tiny bit of melted butter and a sprinkle of coarse salt while they are still steaming.
- Partition your board using small parchment paper liners or cardboard dividers to keep the “dry” snacks like popcorn from getting soggy if they touch the moister items.
- Scatter the peanuts in their shells across one corner of the board. Leaving them in the shell adds a rustic, authentic ballpark feel and encourages guests to interact with the food.
- Place small ramekins of different mustards in the center of the board. To get that viral swirl, use a toothpick to marinate a bit of honey into the yellow mustard for a decorative pattern.
- Fill the remaining gaps with piles of sunflower seeds and jerky. The key to a great snack board is “abundance,” so make sure there are no empty spaces showing on the board.
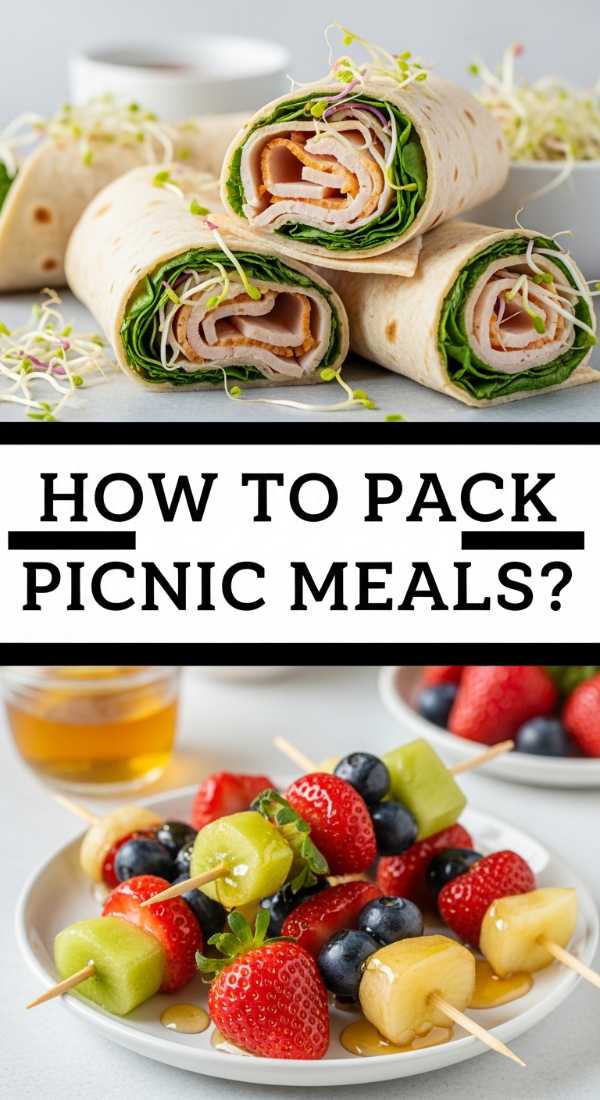
How to pack picnic meals
Why we love this
The perfect picnic board is an invitation to slow down and enjoy the great outdoors, turning a simple patch of grass into a five-star dining room. We love the portability of neatly wrapped sandwiches and the vibrant colors of crisp vegetable batons paired with creamy hummus. There’s a wonderful tactile pleasure in unrolling a wax-paper-wrapped wrap to reveal layers of fresh ingredients, all while the scent of wild grass and summer flowers surrounds you. It’s food that is meant to be eaten with your hands, messy and carefree, under the dappled shade of a sprawling oak tree.
Ingredients
- Flour tortillas or sturdy wrap bread
- Sliced turkey, ham, or chickpeas for protein
- Hard cheeses like cheddar or provolone
- Sliced bell peppers, carrots, and cucumbers
- Individual jars of hummus or ranch
- Grapes or apple slices
- Sturdy crackers or pita chips
How to make it
- The secret to a non-soggy picnic wrap is ‘moisture barriers.’ Lay down your cheese or large lettuce leaves first, covering the bread completely before adding wetter ingredients like tomatoes or sauces.
- Roll the wraps tightly, tucking in the ends like a burrito. Wrap each one in parchment paper and tie with a bit of kitchen twine. This keeps them secure during transport and makes them look incredibly chic on the board.
- Slice the wraps on a sharp diagonal. This exposes the colorful internal layers, which is essential for that appetizing, social-media-ready look.
- Pre-portion your dips into small, lidded glass jars. Not only does this prevent spills, but it also allows you to nestle the jars directly into the board among the veggies.
- Choose fruits and vegetables that hold their structure. Avoid soft berries that might crush; instead, go for grapes, snap peas, and carrot sticks that will maintain their snap even after an hour in the picnic basket.
How to cook easy dinners
Why we love this
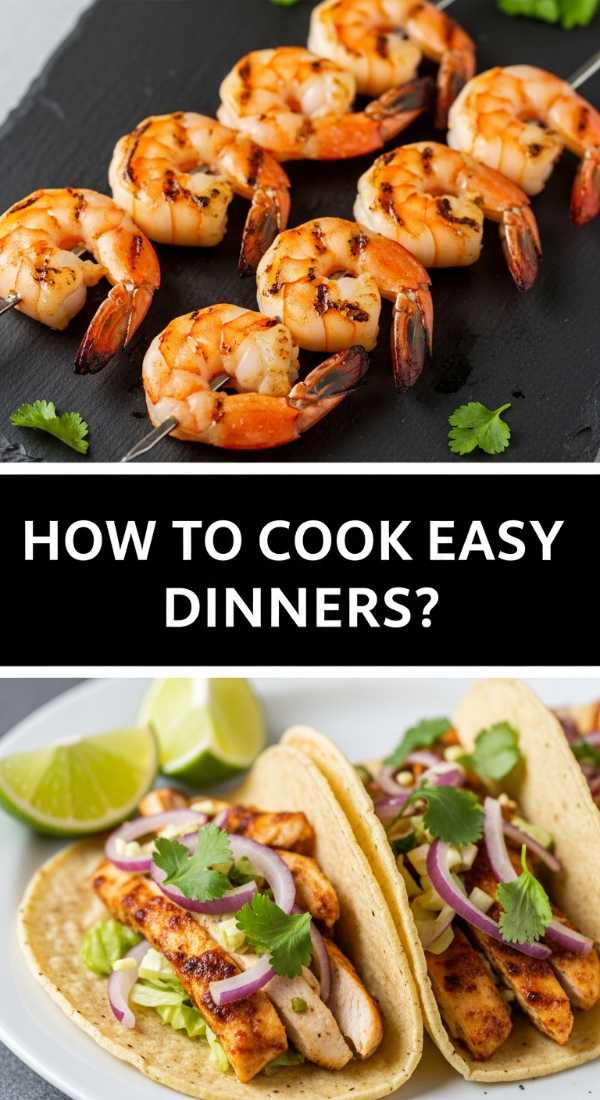
Easy dinner boards are the ultimate weeknight hack, proving that a “real meal” doesn’t require five different pots and pans. There’s something incredibly appetizing about a sheet-pan spread featuring charred sausages, roasted sweet potatoes, and caramelized onions, all served right on a large cutting board. The aroma of roasting meat and herbs fills the house, signaling that the day’s work is done and it’s time to unwind. It’s a rustic, hearty way to eat that emphasizes quality ingredients and simple techniques, making the transition from kitchen to table seamless and stylish.
Ingredients
- Sheet pan sausages (Italian, bratwurst, or plant-based)
- Mixed baby potatoes, halved
- Bell peppers and red onions, chopped
- Asparagus spears or broccoli florets
- Olive oil, garlic powder, and dried oregano
- Fresh lemon wedges
- Dipping sauce (like aioli or grainy mustard)
How to make it
- Preheat your oven to 400°F (200°C). High heat is necessary to achieve that beautiful caramelization (the Maillard reaction) that provides deep flavor and great photos.
- Toss the potatoes and sausages in olive oil and seasonings first, as they take the longest to cook. Spread them in a single layer on a parchment-lined sheet pan, ensuring they aren’t crowded so they roast rather than steam.
- Roast for about 15-20 minutes, then add the quicker-cooking vegetables like peppers and asparagus to the pan. Toss them with the juices already on the pan to coat them in flavor.
- Continue roasting for another 10-15 minutes. You are looking for visual cues: the sausage skins should be taut and browned, and the potato edges should be golden-crisp.
- Slide the entire contents of the pan onto your serving board. Arrange them in clusters, squeeze fresh lemon juice over the greens to brighten the flavors, and place a small bowl of your favorite dipping sauce right in the middle.
How to grill summer sides
Why we love this
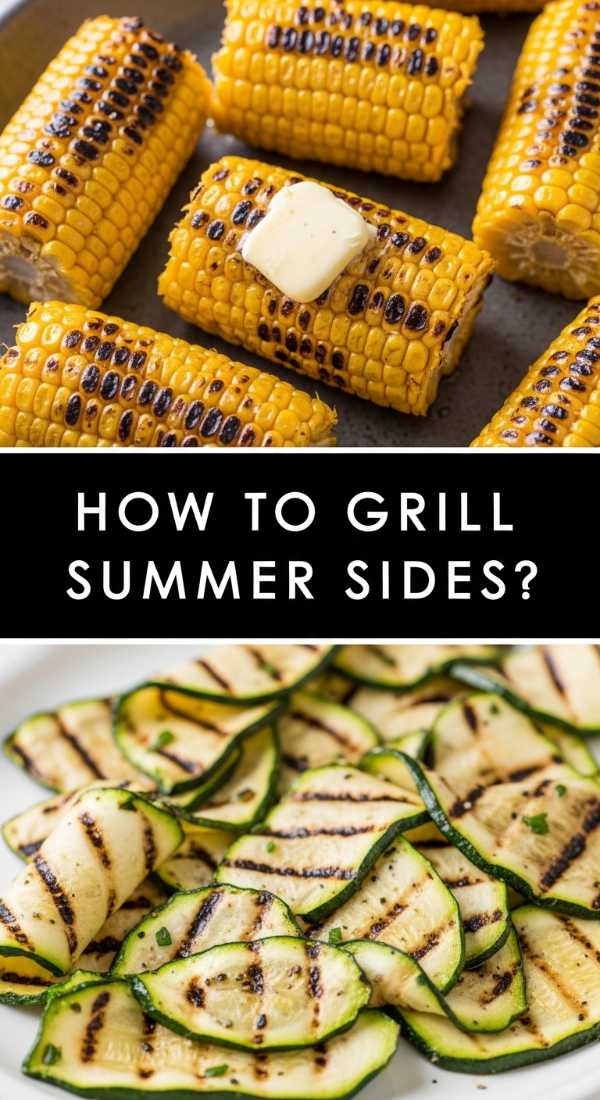
Grilling transforms simple vegetables into something smoky, charred, and utterly irresistible. A board of grilled summer sides—like corn on the cob with lime and chili, or thick slices of zucchini with grill marks—carries the unmistakable scent of a backyard barbecue. The texture of the vegetables becomes tender yet retains a slight bite, with the smoky char adding a sophisticated depth of flavor. It’s the perfect accompaniment to any main dish, bringing the heat and energy of the grill directly to your plate in a colorful, organized display of summer bounty.
Ingredients
- Corn on the cob (husked)
- Zucchini and yellow squash, sliced lengthwise
- Large portobello mushrooms
- Asparagus spears
- Balsamic glaze or chimichurri sauce
- Crumbled cotija cheese and chili powder
- Lime wedges
How to make it
- Clean your grill grates thoroughly and lightly oil them to prevent sticking. Preheat the grill to medium-high heat.
- Brush all your vegetables with a light coating of oil and season generously with salt. Do not use pepper yet, as it can burn and turn bitter over high heat.
- Place the corn and mushrooms on the hottest part of the grill first. Rotate the corn every 2 minutes to get even charring across all the kernels. For the mushrooms, grill until they are tender and have released some of their moisture.
- Add the thinner vegetables, like zucchini and asparagus, during the last 5 minutes of grilling. You want distinct, dark grill marks, so place them down and leave them alone for 2-3 minutes before flipping.
- Assemble the vegetables on the board. For the corn, sprinkle with cotija cheese and chili powder. Drizzle the other greens with balsamic glaze or a vibrant green chimichurri for a professional finish.
How to make cold soup
Why we love this
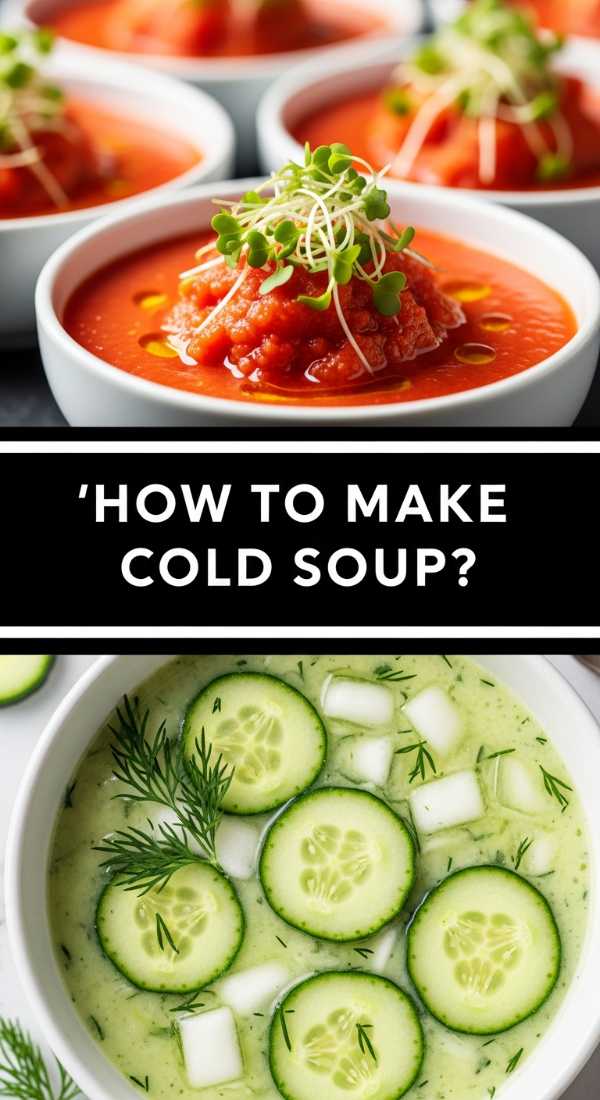
Cold soup, especially a classic gazpacho or a chilled cucumber soup, is like a spa day in a bowl. The texture is velvety and smooth, providing an instant cooling sensation that is incredibly refreshing on a sweltering day. We love the bright, acidic pop of tomato and bell pepper, balanced by the creaminess of a swirl of yogurt or a drizzle of fine olive oil. It’s a sophisticated addition to a food board, served in small shooters or bowls, surrounded by crunchy garnishes like croutons and microgreens that add a delightful contrast to the liquid base.
Ingredients
- 6 large ripe tomatoes
- 1 cucumber, peeled and seeded
- 1 red bell pepper
- 1 small red onion
- 2 cloves garlic
- 2 tbsp sherry vinegar or red wine vinegar
- Top-tier extra virgin olive oil
- Microgreens or fresh sprouts for garnish
How to make it
- Roughly chop all your vegetables. Since we are blending them, the shapes don’t have to be perfect, but use the ripest produce you can find for the best flavor.
- Place the vegetables, garlic, and vinegar into a high-powered blender. Blend on high until the mixture is completely smooth and liquid. For a truly professional, viral-worthy texture, pass the soup through a fine-mesh sieve to remove any remaining bits of skin or seeds.
- Season with salt and pepper to taste, then—and this is the most important step—chill the soup in the refrigerator for at least 4 hours, or ideally overnight. Cold soup must be served truly cold to be effective.
- Just before serving, give the soup a quick stir. Pour it into small glass tumblers or decorative bowls and place them on your board.
- Garnish each serving with a single drop of olive oil and a few microgreens. Surround the bowls with toasted baguette slices or savory crackers to provide a crunch that complements the smooth soup.
How to pack beach snacks
Why we love this
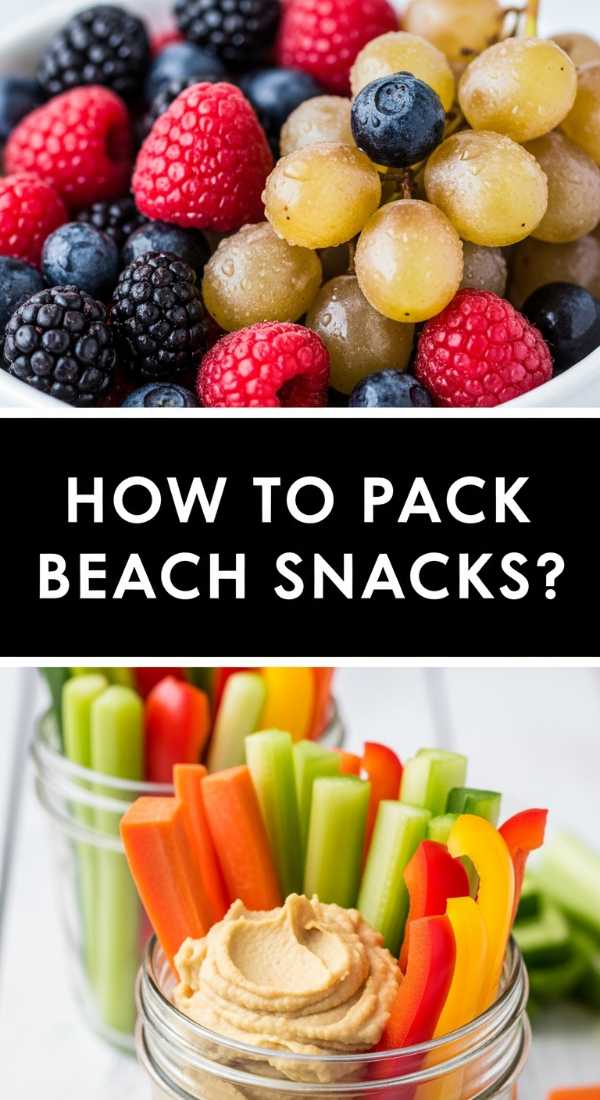
Beach snacks need to be resilient, refreshing, and easy to eat without getting sand everywhere. We love the simplicity of a beach-ready board featuring frozen grapes that act as mini ice packs, and salty nuts that help replenish electrolytes after a dip in the ocean. The smell of the salty air combined with the sweetness of fresh watermelon slices creates the ultimate vacation vibe. It’s all about bright, hydrating foods that look like a tropical paradise on a platter, keeping you fueled for a full day of sun and surf.
Ingredients
- Watermelon wedges (keep the rind on for easy grabbing)
- Frozen grapes or berries
- Individual packs of hummus or guacamole
- Rice cakes or sturdy pretzels
- Dried mango or pineapple
- Beef sticks or roasted chickpeas for protein
- Insulated water bottles with lemon slices
How to make it
- Choose fruits with high water content like watermelon and pineapple. Cut them into thick wedges with the skin left on; this acts as a natural “handle” so your sandy fingers don’t touch the part you’re eating.
- Freeze your grapes the night before. This turns them into a sorbet-like treat that stays cold much longer than fresh fruit and helps keep the rest of the snacks in your bag cool.
- Use a rigid, lidded container as your “board” for the beach. This protects the food from wind-blown sand and makes it easy to pack back up if you decide to move spots.
- Pack “clean” snacks. Avoid anything that melts (like chocolate) or anything overly sticky. Dried fruits and roasted chickpeas are perfect because they provide energy without the mess.
- Arrange the items in your container so the heaviest, sturdiest items (like the containers of hummus) are at the bottom, and the delicate fruits are at the top. Garnish with a few sprigs of mint to keep everything smelling fresh.
How to make hummingbird nectar
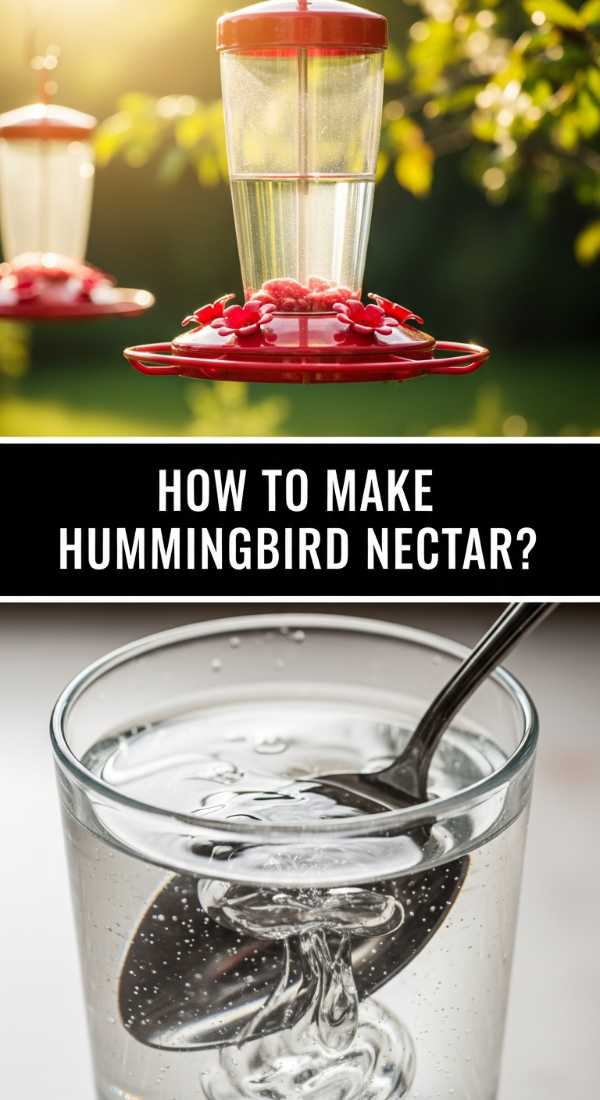
Why we love this
While not a snack for humans, creating a nectar station is the ultimate lifestyle addition to any outdoor food board setting. There is a quiet, meditative joy in watching these tiny, shimmering birds dart around your garden, drawn by the simple sweetness you’ve provided. The sight of a clear, clean feeder filled with homemade nectar is a sign of a thoughtful host who cares about the local ecosystem. It adds a layer of living beauty to your outdoor dining experience, making your backyard feel like a lush, vibrant sanctuary.
Ingredients
- Refined white sugar (do not use honey, brown sugar, or stevia)
- Plain water (tap water is usually fine)
- No red dye or food coloring needed
How to make it
- Use the scientifically backed ratio of 4 parts water to 1 part white sugar. This most closely mimics the natural sucrose levels found in flowers. For example, use 1 cup of sugar to 4 cups of water.
- Heat the water on the stove until it begins to boil. This helps the sugar dissolve completely and kills any bacteria or fungi that might be present in the water or sugar.
- Add the sugar to the boiling water and stir until the liquid is completely clear. Boil for just one or two minutes—any longer and you will evaporate too much water, changing the concentration of the sugar.
- Crucial Step: Let the nectar cool completely to room temperature before filling your feeder. Hot liquid can warp plastic feeders and, more importantly, can harm the delicate birds.
- Store any extra nectar in a clean jar in the refrigerator for up to a week. Remember to clean your feeder thoroughly every few days, especially in hot weather, to prevent fermentation and mold growth.
Conclusion: Embracing the Art of the Board
Creating a viral-worthy food board isn’t about perfection; it’s about the intention behind the presentation. By focusing on fresh ingredients, thoughtful arrangement, and a few professional techniques, you can turn any meal into a celebration of flavor and style. Whether it’s the silkiness of a perfect pasta or the refreshing chill of a summer drink, these simple food boards are designed to bring people together. So, grab your favorite wooden board, start prepping, and don’t forget to snap a photo before you dive in!