

There is something almost magical about the way a shared meal can transform a standard Tuesday evening into a memory that sticks with you for years. We live in such a fast-paced world, and often the pressure to host a ‘perfect’ dinner party feels like a chore rather than a joy. That’s why I’ve become obsessed with the concept of the viral snack board—a centerpiece that is as beautiful as it is effortless, allowing you to spend more time laughing with your guests and less time hovering over a hot stove.
This isn’t just about throwing crackers on a plate; it’s about creating a curated experience of textures and flavors that celebrate the season. From the sizzle of a Blackstone grill to the sweet, jammy goodness of a homemade strawberry pie, these elements come together to create a spread that feels luxurious without the stress. Grab your favorite wooden board and let’s dive into the ultimate guide for making your next gathering a viral sensation.
How to make rotel dip

Why we love this
This dip is the ultimate comfort food that brings everyone together with its nostalgic, creamy, and slightly spicy profile. The way the melted cheese wraps around the seasoned meat, punctuated by the bright acidity of the diced tomatoes and green chilies, creates a sensory experience that is hard to beat. It’s warm, gooey, and carries a subtle heat that lingers just long enough to make you reach for another chip. The aroma of simmering beef and melted cheese filling the kitchen is the universal signal that the party has officially started.
Ingredients
- 1 lb ground beef or pork sausage
- 1 block (32 oz) Velveeta cheese, cubed
- 2 cans (10 oz each) Ro-Tel Diced Tomatoes and Green Chilies
- 1 tsp taco seasoning
- Fresh cilantro for garnish
- Tortilla chips for serving
How to make it
- Begin by placing a large skillet over medium-high heat. Add your ground meat and cook, breaking it apart with a wooden spoon or spatula into small, uniform crumbles. Cook until the meat is fully browned and no pink remains, which usually takes about 7 to 10 minutes.
- Once the meat is browned, drain the excess fat from the skillet carefully to ensure the dip isn’t greasy. Return the skillet to the stove and reduce the heat to low.
- Add the cubed Velveeta cheese to the skillet. It is crucial to cut the cheese into small, 1-inch cubes beforehand to ensure it melts evenly and quickly without scorching.
- Pour in both cans of Ro-Tel, including the liquid. The juice from the tomatoes helps thin the cheese to the perfect dipping consistency. Sprinkle in the taco seasoning for an extra layer of depth.
- Stir the mixture constantly with a heat-resistant spatula. You are looking for a smooth, glossy texture. If the dip seems too thick, you can add a splash of milk or heavy cream to loosen it up.
- Once the cheese is completely melted and the mixture is bubbling slightly, transfer it to a slow cooker on the ‘warm’ setting or a serving bowl. Garnish with fresh cilantro and serve immediately with sturdy tortilla chips.
How to make chicken wraps
Why we love this
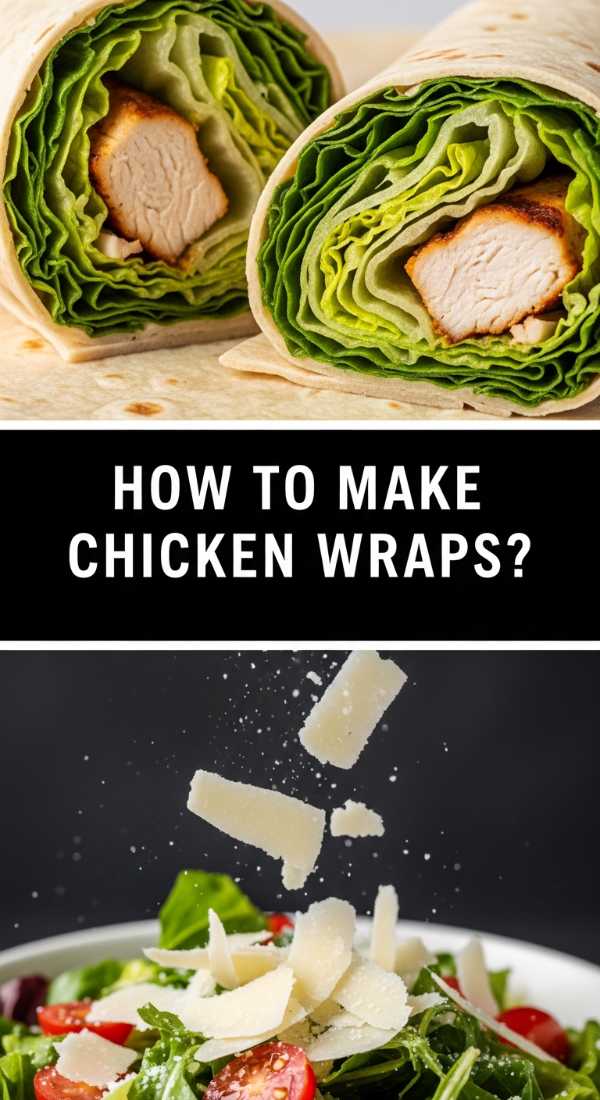
Chicken wraps are the unsung heroes of the snack board, providing a fresh and handheld contrast to heavier dips. The crunch of fresh romaine lettuce combined with the tender, seasoned chicken creates a satisfying mouthfeel that is both light and filling. There is something so refreshing about the cool, crisp wrap hitting your palate after a spicy bite of dip. They are visually stunning when sliced on a bias, showing off the vibrant colors of the vegetables and the creamy swirl of the dressing inside.
Ingredients
- 2 cups cooked chicken breast, shredded or sliced
- 4 large flour tortillas
- 1 cup shredded romaine lettuce
- 1/2 cup shredded cheddar cheese
- 1/4 cup ranch or Caesar dressing
- 1/2 red bell pepper, thinly sliced
How to make it
- If your chicken isn’t already cooked, sear seasoned chicken breasts in a pan over medium heat for 6-8 minutes per side until the internal temperature reaches 165°F. Let the chicken rest for 5 minutes before slicing to keep the juices locked in.
- Lay your flour tortillas flat on a clean work surface. If the tortillas are cold, microwave them for 10 seconds to make them more pliable and prevent tearing during the rolling process.
- Spread a thin, even layer of your chosen dressing across the center third of the tortilla, leaving about an inch of space at the top and bottom edges.
- Layer the shredded lettuce, sliced bell peppers, and shredded cheese on top of the dressing. Finish with a generous portion of the sliced or shredded chicken.
- To roll, fold the bottom and top edges of the tortilla inward toward the center. While holding those flaps down, tightly roll the tortilla from one side to the other, keeping the filling tucked in as you go.
- Place the wrap seam-side down on a cutting board and slice it diagonally in half with a sharp serrated knife. This presentation makes them easy to grab and adds a professional look to your board.
How to make summer salad
Why we love this
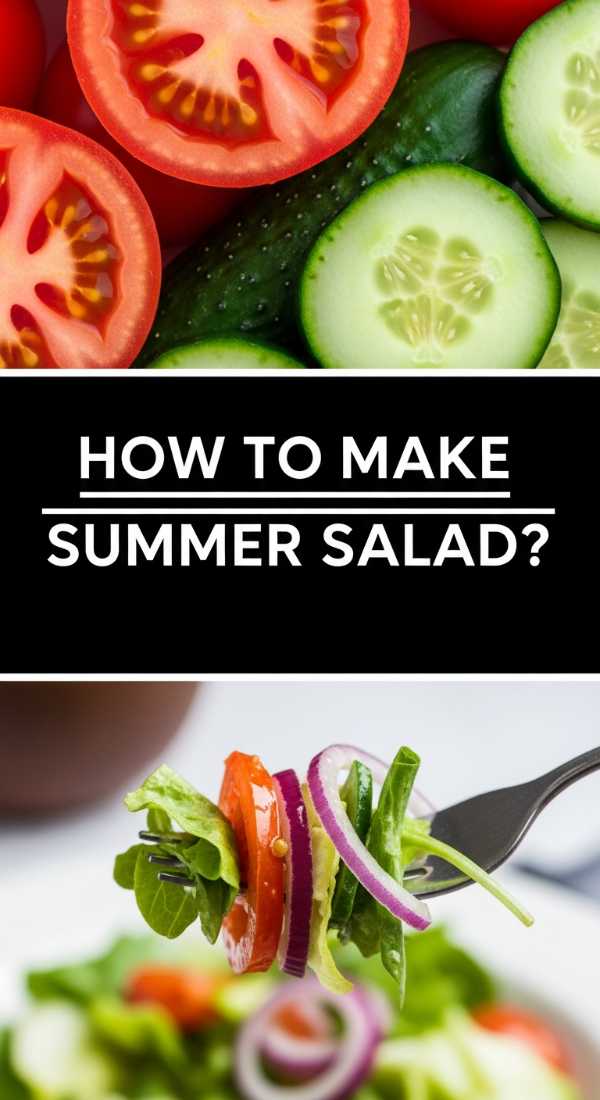
A true summer salad is an explosion of seasonal brightness, combining the sweetness of peak-season fruit with the savory notes of fresh herbs and salty cheese. The texture is a delightful mix of leafy greens, crunchy toasted nuts, and soft, juicy berries that burst in your mouth. It smells like a sun-drenched garden, with the fragrance of basil and mint wafting up from the bowl. This dish acts as a palate cleanser for the snack board, providing a burst of hydration and a light, zesty finish that keeps you coming back for more.
Ingredients
- 5 cups mixed baby greens or arugula
- 1 cup fresh strawberries or blueberries
- 1/4 cup crumbled feta or goat cheese
- 1/4 cup toasted pecans or walnuts
- 1/2 cucumber, thinly sliced
- Balsamic vinaigrette (balsamic vinegar, olive oil, honey, Dijon mustard)
How to make it
- Start by washing your greens thoroughly in cold water. Use a salad spinner to dry them completely; excess water will prevent the dressing from adhering to the leaves, resulting in a soggy salad.
- In a small glass jar or bowl, whisk together 3 tablespoons of extra virgin olive oil, 1 tablespoon of balsamic vinegar, 1 teaspoon of honey, and 1/2 teaspoon of Dijon mustard. Season with a pinch of salt and cracked black pepper. Shake or whisk until the dressing is emulsified.
- Place the dried greens in a large wooden serving bowl. Add the sliced cucumbers and half of the berries.
- Drizzle about half of the dressing over the greens. Use salad tongs to gently toss the mixture, ensuring every leaf is lightly coated. It’s better to under-dress initially and add more as needed.
- Top the salad with the remaining berries, the crumbled cheese, and the toasted nuts. Adding these at the end prevents the cheese from getting smeared and keeps the nuts crunchy.
- Serve immediately to maintain the crispness of the greens. For an extra touch of flair, garnish with a few whole mint or basil leaves.
How to grill on blackstone

Why we love this
Grilling on a Blackstone griddle is a transformative experience that brings the theater of a professional hibachi grill right to your backyard. The massive flat surface allows for a perfect, even sear on proteins while simultaneously sautéing vegetables in their own juices. There is a specific, intoxicating aroma of caramelizing onions and searing meat that only a flat-top can produce. It’s a tactile way of cooking that feels rugged yet precise, giving you that beautiful ‘crust’ on everything from smash burgers to asparagus that a traditional grate simply can’t match.
Ingredients
- High smoke-point oil (avocado or canola oil)
- Assorted vegetables (onions, peppers, zucchini)
- Protein of choice (steak strips, shrimp, or chicken)
- Coarse salt and black pepper
- Butter for finishing
How to make it
- Begin by cleaning your griddle surface and then preheating it. Turn all burners to medium-high and let the Blackstone heat up for at least 10 minutes. You want the surface to be screaming hot—test it by flicking a drop of water on it; if it dances and evaporates instantly, it’s ready.
- Apply a thin layer of high smoke-point oil across the surface using a squeeze bottle. Use a griddle spatula to spread the oil evenly, creating a non-stick barrier.
- Place your proteins on the hottest part of the griddle. For steak or chicken, let them sit undisturbed for 3-4 minutes to develop a deep, golden-brown crust (the Maillard reaction).
- On the other side of the griddle, toss your sliced vegetables. Use two spatulas to constantly move the veggies around, mimicking a stir-fry technique. Season generously with salt and pepper.
- Once the protein is seared on one side, flip it and add a pat of butter on top of the meat. As the butter melts, it will baste the protein and add a rich, nutty flavor.
- Check for doneness using an instant-read thermometer. Once the food reaches the desired temperature, use your large spatulas to scrape everything into a serving tray, ensuring you grab all those delicious browned bits (the fond) from the surface.
How to use sourdough discard

Why we love this
Using sourdough discard is the ultimate way to embrace a zero-waste lifestyle while adding a sophisticated, tangy depth to your snack board. The discard lends a unique fermented flavor and a tender crumb to baked goods that you just can’t get from commercial yeast. Whether you’re making crackers or flatbreads, the result is a complex, savory profile that pairs perfectly with sharp cheeses and salty meats. There is a deep sense of satisfaction in taking something that would have been thrown away and turning it into the most talked-about item on the plate.
Ingredients
- 1 cup sourdough discard (unfed)
- 1/4 cup melted butter or olive oil
- 1 cup all-purpose flour
- 1/2 tsp sea salt
- 1 tsp dried herbs (rosemary or thyme)
- Coarse salt for topping
How to make it
- In a medium mixing bowl, combine your sourdough discard with the melted butter or olive oil. Stir until the mixture is smooth and fully integrated.
- Gradually add the flour, sea salt, and dried herbs. Mix by hand until a shaggy dough forms. Turn the dough out onto a lightly floured surface and knead it gently for 1-2 minutes until it becomes smooth and cohesive.
- Wrap the dough in plastic wrap and let it rest at room temperature for at least 30 minutes. This allows the gluten to relax, making it much easier to roll out thinly.
- Preheat your oven to 350°F (175°C). Line a large baking sheet with parchment paper.
- Take half of the dough and roll it out directly on the parchment paper until it is paper-thin (about 1/16th of an inch). The thinner you roll it, the crunchier the crackers will be.
- Brush the top lightly with water or more oil and sprinkle with coarse sea salt. Use a pizza cutter to score the dough into squares or diamonds. Bake for 15-20 minutes or until the edges are golden brown and the centers are firm. Let them cool completely to reach maximum crunch.
How to bake strawberry pie
Why we love this
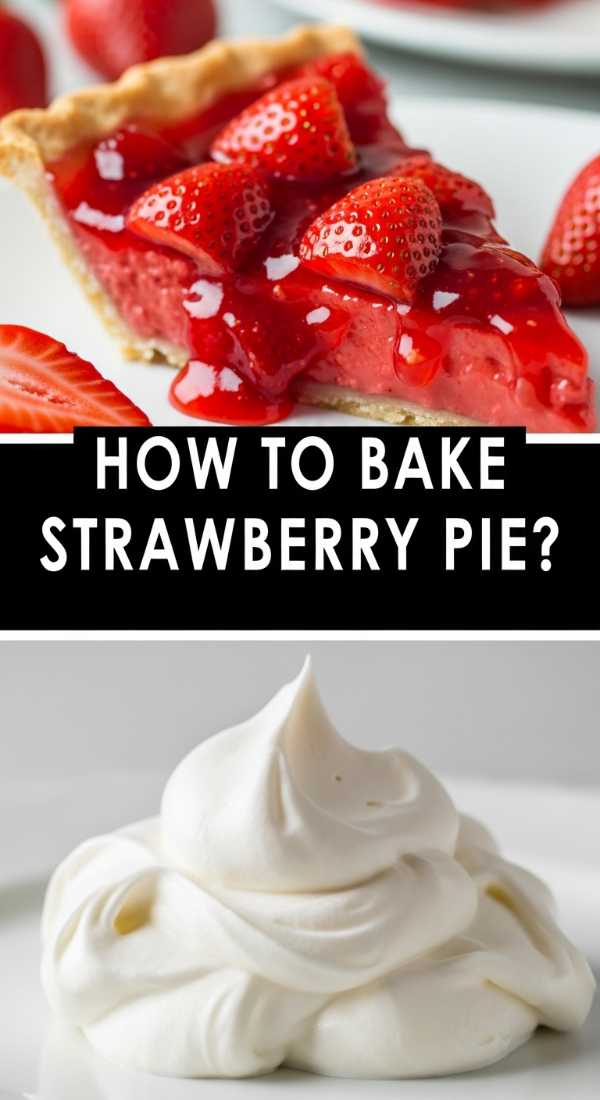
A homemade strawberry pie is the crown jewel of any summer dessert spread, offering a vibrant, ruby-red center that looks like stained glass. The scent of bubbling strawberries and buttery pastry wafting through the house is enough to draw everyone to the table before the pie is even out of the oven. Each bite is a balance of the flaky, salty crust and the sweet-tart, jammy filling that feels like sunshine in dessert form. It’s a nostalgic masterpiece that reminds us of roadside fruit stands and warm July afternoons spent in the shade.
Ingredients
- 2 deep-dish pie crusts (homemade or store-bought)
- 6 cups fresh strawberries, hulled and halved
- 3/4 cup granulated sugar
- 1/4 cup cornstarch
- 1 tbsp lemon juice
- 1 egg (for egg wash)
- Turbinado sugar for sprinkling
How to make it
- Preheat your oven to 400°F (200°C). Place one pie crust into a 9-inch pie plate, pressing it gently against the bottom and sides. Trim the edges, leaving a 1-inch overhang. Refrigerate the base while you prepare the filling.
- In a large bowl, toss the halved strawberries with the granulated sugar, cornstarch, and lemon juice. The cornstarch is vital as it thickens the strawberry juices into a glossy sauce rather than a watery mess. Let this sit for 10 minutes to macerate.
- Pour the strawberry mixture into the prepared bottom crust, piling the fruit slightly higher in the center.
- Place the second crust over the top. You can keep it whole (cut a few slits for steam to escape) or cut it into strips to create a lattice pattern. Fold the top crust under the edge of the bottom crust and crimp the edges with a fork or your fingers to seal.
- Whisk the egg with a tablespoon of water and brush the entire top crust with the egg wash. This provides that professional, golden-brown sheen. Sprinkle generously with turbinado sugar for a sweet crunch.
- Bake for 45-55 minutes. If the edges start to brown too quickly, cover them with foil. The pie is done when the crust is deep golden and the filling is bubbling through the vents. Crucially, let the pie cool for at least 3-4 hours to allow the filling to set before slicing.
How to make hummingbird food
Why we love this
While not for the snack board itself, making hummingbird food is a lifestyle essential that brings the beauty of nature right to your window while you enjoy your meal. There is a rhythmic, meditative quality to the simple process of boiling sugar and water, knowing you are providing energy for these tiny, iridescent creatures. Watching a hummingbird hover and dart around your garden adds a layer of enchantment to any outdoor gathering. It’s a small gesture that connects your home to the local ecosystem, making your patio feel like a true sanctuary.
Ingredients
- 1 cup white granulated sugar
- 4 cups water
- (Note: Never use red dye, honey, or artificial sweeteners)
How to make it
- Measure out 4 cups of water and pour them into a clean medium-sized pot. Bring the water to a rolling boil over high heat. Boiling the water helps remove impurities and ensures the sugar dissolves completely.
- Once the water is boiling, remove the pot from the heat. Add 1 cup of white granulated sugar to the hot water. Do not use brown sugar or organic sugar as the high iron content can be toxic to hummingbirds.
- Stir the mixture vigorously with a clean spoon until all the sugar crystals have completely disappeared and the liquid is perfectly clear.
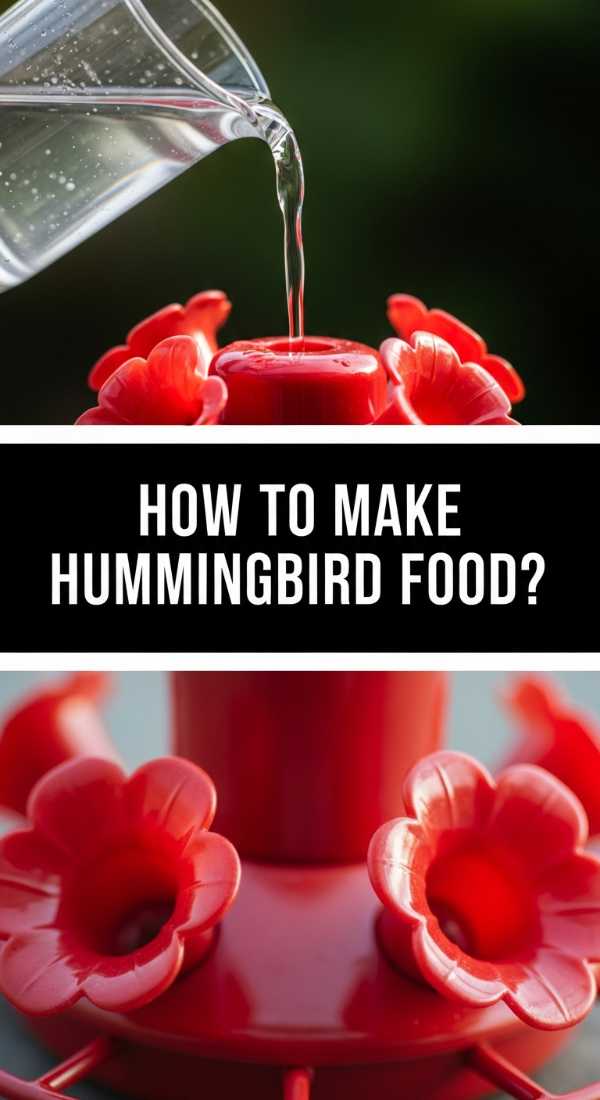
- Allow the nectar to cool to room temperature. This is a critical step; pouring hot liquid into a plastic feeder can warp the feeder and potentially harm the birds.
- Once cooled, fill your hummingbird feeders. Store any leftover nectar in a clean, airtight glass jar in the refrigerator for up to two weeks.
- Hang your feeder in a shaded area to prevent the nectar from fermenting too quickly in the sun. Clean the feeder and replace the nectar every 3-5 days, or more often in extreme heat, to keep your feathered friends healthy.
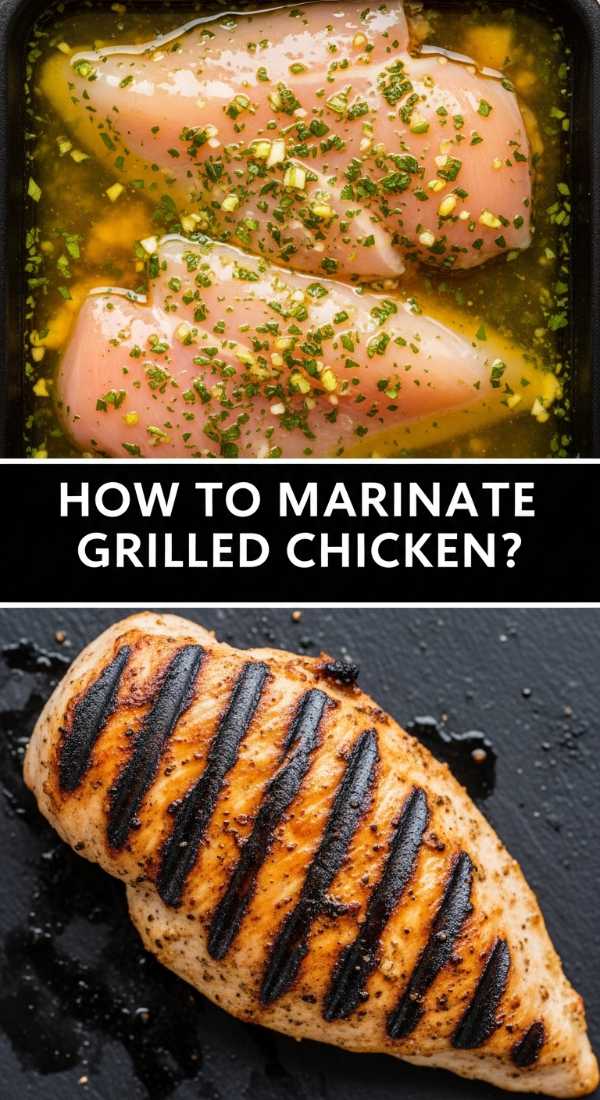
How to marinate grilled chicken
Why we love this
The secret to chicken that people actually talk about lies entirely in the marinade. A well-marinated chicken is incredibly juicy, with flavors that have penetrated deep into the meat rather than just sitting on the surface. The aroma of garlic, citrus, and herbs hitting the grill creates a cloud of savory perfume that is absolutely irresistible. It transforms a simple protein into a gourmet experience, where each bite offers a perfect balance of acidity, salt, and char. It’s the difference between ‘just chicken’ and the star of your snack board.
Ingredients
- 2 lbs chicken thighs or breasts
- 1/4 cup olive oil
- 3 tbsp soy sauce
- 2 tbsp lemon juice
- 3 cloves garlic, minced
- 1 tbsp honey or maple syrup
- 1 tsp dried oregano
How to make it
- In a medium glass bowl or a heavy-duty gallon-sized zip-top bag, whisk together the olive oil, soy sauce, lemon juice, minced garlic, honey, and oregano. The acid (lemon juice) tenderizes the meat, while the fat (oil) carries the flavor and the sugar (honey) aids in caramelization.
- If using chicken breasts, pound them to an even thickness using a meat mallet. This ensures all parts of the chicken cook at the same rate, preventing the thin ends from drying out.
- Place the chicken in the marinade, ensuring every piece is thoroughly coated. Squeeze as much air out of the bag as possible before sealing to maximize contact between the meat and the liquid.
- Refrigerate the chicken for at least 30 minutes, but ideally 4 to 6 hours. Do not marinate for longer than 24 hours, as the acid can eventually break down the muscle fibers too much, resulting in a mushy texture.
- Preheat your grill to medium-high heat (about 400°F). Lightly oil the grates to prevent sticking.
- Remove the chicken from the marinade and let the excess drip off. Grill the chicken for 5-7 minutes per side. Use a meat thermometer to pull the chicken off the grill exactly when it hits 165°F for the juiciest results. Let it rest for 5 minutes before slicing into strips for your board.
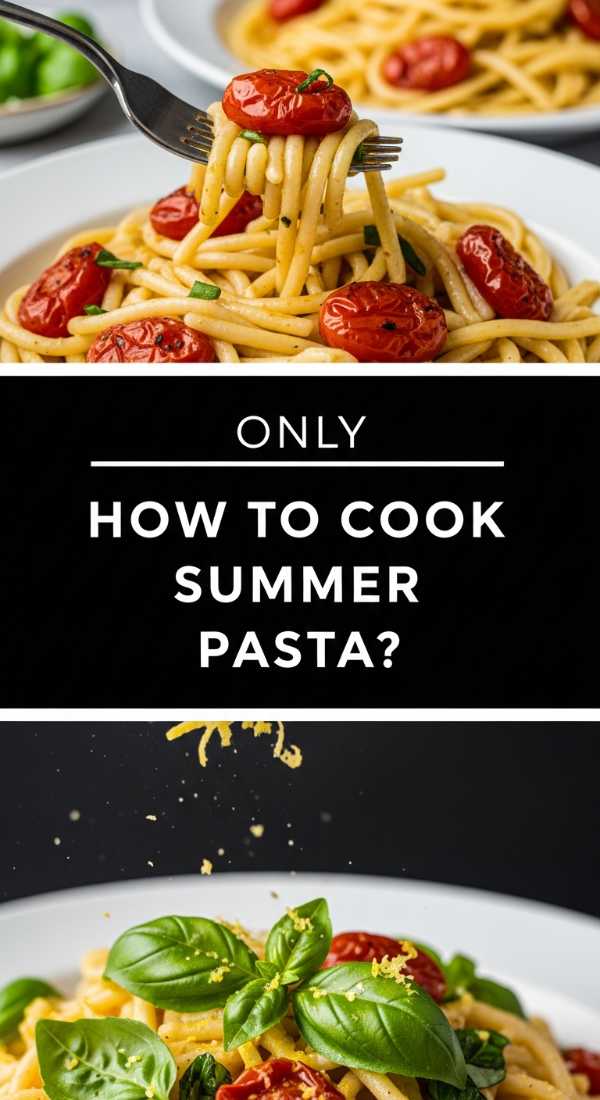
How to cook summer pasta
Why we love this
Summer pasta is all about celebrating the harvest in a bowl. It’s a dish that feels light and effortless, relying on the quality of its simple ingredients rather than heavy, cream-based sauces. The feeling of twirling al dente noodles coated in a silky, garlic-infused olive oil sauce is pure bliss. It’s a versatile addition to a snack board, served warm or at room temperature, and it smells like a Mediterranean dream with its notes of fresh basil and sun-ripened tomatoes. It’s the kind of dish that makes you want to linger at the table with a glass of chilled white wine.
Ingredients
- 12 oz linguine or spaghetti
- 1/2 cup extra virgin olive oil
- 4 cloves garlic, thinly sliced
- 1 pint cherry tomatoes, halved
- 1/2 cup fresh basil, torn
- 1/2 tsp red pepper flakes
- Freshly grated Parmesan cheese
How to make it
- Bring a large pot of heavily salted water to a boil. ‘Salted like the sea’ is the rule here—it’s your only chance to season the pasta itself. Cook the pasta according to the package directions, but aim for 1 minute less than ‘al dente’ as it will finish cooking in the sauce.
- While the pasta cooks, heat the olive oil in a large skillet over medium-low heat. Add the thinly sliced garlic and red pepper flakes. Sauté for 2-3 minutes until the garlic is soft and fragrant but not browned; browned garlic turns bitter.
- Add the halved cherry tomatoes to the skillet. Increase the heat to medium and cook for 5 minutes until the tomatoes begin to burst and release their juices, creating a light sauce.
- Before draining the pasta, reserve 1 cup of the starchy pasta water. This is the ‘liquid gold’ that binds the sauce to the noodles.
- Drain the pasta and add it directly to the skillet with the tomatoes and garlic. Add 1/2 cup of the reserved pasta water and toss everything together over medium heat for 1-2 minutes. The sauce will thicken and coat the noodles beautifully.
- Remove from heat and fold in the fresh basil and a generous handful of Parmesan cheese. The residual heat will wilt the basil and melt the cheese into the sauce. Serve on the board in small individual ramekins or a central bowl.
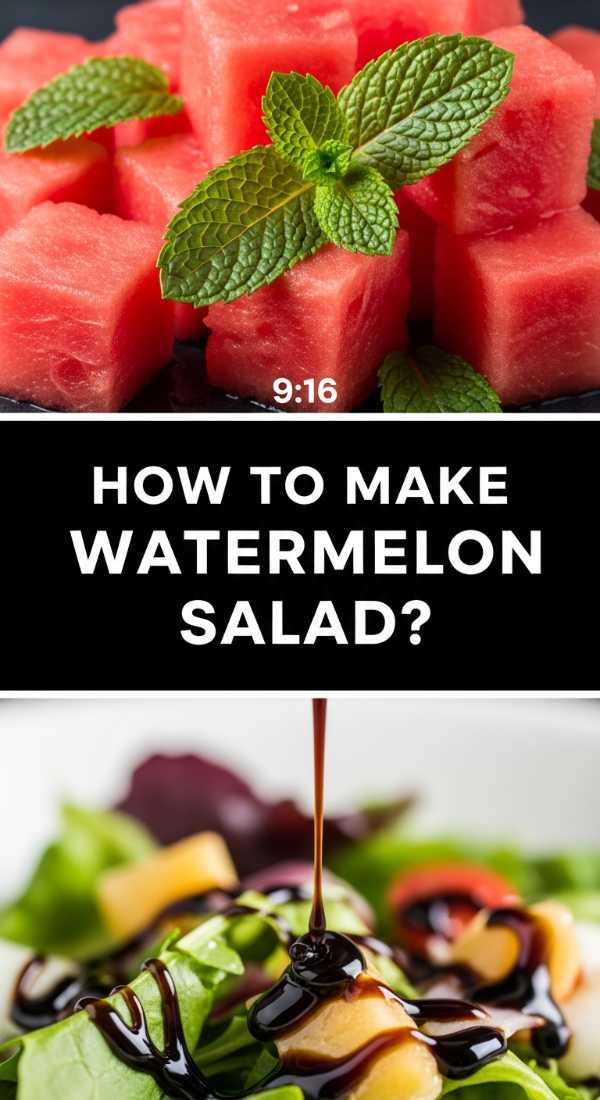
How to make watermelon salad
Why we love this
Watermelon salad is the ultimate ‘wow’ factor for a viral snack board. The combination of cold, crisp watermelon with salty feta and aromatic mint is a flavor profile that surprises and delights every single time. It is incredibly hydrating and visually stunning, with the bright pink fruit contrasting against the white cheese and green herbs. The aroma is purely refreshing, like a cool breeze on a humid afternoon. This dish is the epitome of summer—simple, bold, and absolutely addictive.
Ingredients
- 6 cups seedless watermelon, cubed
- 1/2 cup crumbled feta cheese
- 1/4 cup fresh mint leaves, chiffonade (thinly sliced)
- 1/2 red onion, very thinly sliced
- 1 lime, juiced
- 1 tbsp extra virgin olive oil
How to make it
- Begin by cutting a cold, seedless watermelon into uniform 1-inch cubes. Keeping the cubes consistent ensures a beautiful presentation and makes it easier for guests to eat with a toothpick or fork.
- Place the thinly sliced red onion in a small bowl of ice water for 10 minutes. This ‘shocks’ the onion, removing the harsh bite and leaving it crisp and mild. Drain and pat dry.
- In a large, wide serving bowl, gently combine the watermelon cubes and the chilled red onions.
- Drizzle the fresh lime juice and olive oil over the fruit. The lime juice provides the necessary acidity to balance the sweetness of the melon, while the oil adds a subtle richness.
- Sprinkle the crumbled feta cheese over the top. Use a high-quality, sheep’s milk feta if possible for the best creamy-salty contrast.
- Finally, scatter the chiffonade mint over the salad. Do this right before serving, as mint can bruise and turn black if handled too much or left to sit. Give it one very gentle toss and serve chilled for the most refreshing experience.
Wrapping Up Your Viral Board
Building the ultimate snack board is about more than just food; it’s about creating an atmosphere of abundance and ease. By combining these varied textures, from the warmth of the Rotel dip to the crispness of the watermelon salad, you create a culinary journey that your guests won’t soon forget. Don’t worry about making it look perfect—the charm lies in the variety and the shared experience of picking and choosing your favorite bites. Now, go put on your favorite playlist, light a few candles, and enjoy the delicious fruits of your (minimal) labor!