
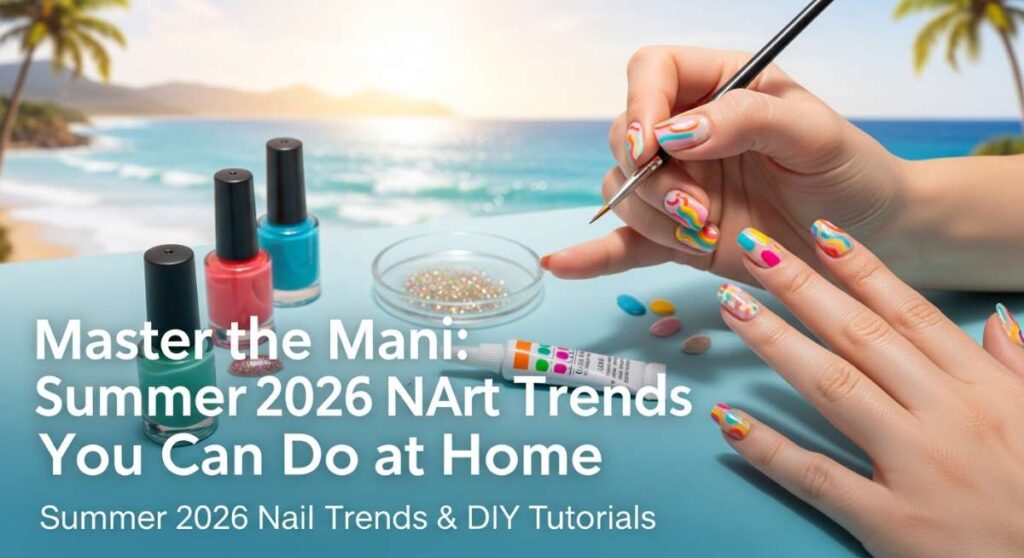
Master the Mani: Summer 2026 Nail Art Trends You Can Do at Home
Hello, my loves! Can you feel it? That soft, golden warmth of the 2026 summer sun is finally beginning to peek through our windows, whispering promises of long afternoons and sandy toes. There is something so incredibly soulful about taking a moment for yourself, sitting in a patch of light, and painting your dreams right onto your fingertips. It is my favorite form of moving meditation—a gentle way to say ‘I love you’ to the hands that do so much for us every single day.
This season, we are moving away from the rigid and embracing the fluid, the vibrant, and the deeply personal. Whether you are celebrating a massive milestone or just want to feel a little extra magic while holding your morning iced latte, these trends are designed for real life. I’ve gathered the dreamiest looks for Summer 2026 that you can absolutely master from the comfort of your favorite cozy chair. Let’s dive into this cloud-soft embrace of color and creativity together!
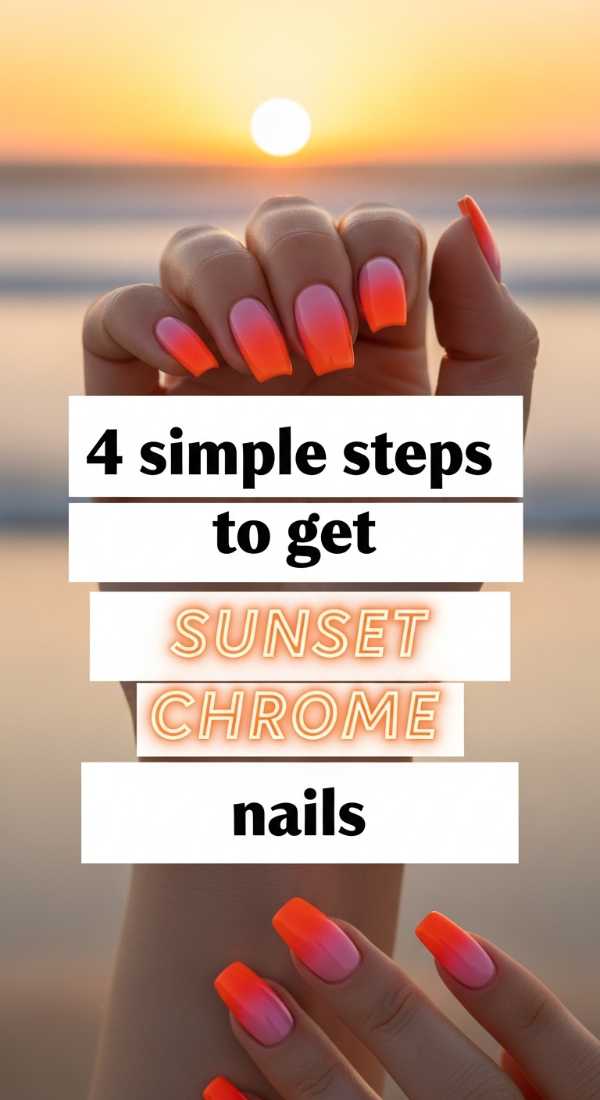
Golden Hour Glow: 4 Simple Steps to Get Sunset Chrome Nails
Why to love this Design:
Imagine the exact moment the sun hits the horizon and the sky turns into a molten pool of gold and pink. This design captures that ephemeral magic. It’s incredibly flattering on every skin tone and makes your hands look like they are permanently bathed in candlelight. It’s sophisticated yet has that playful summer shimmer we all crave.
Essential Elements:
- Warm peach or apricot base polish
- Fine gold or rose gold chrome powder
- Sponge applicator
- No-wipe gel top coat
How to Prepare:
- Apply two thin coats of your peach base and let dry or cure completely.
- Apply a specialized no-wipe top coat and cure for only 30 seconds (it should be slightly tacky).
- Gently buff the chrome powder over the nail using the sponge applicator until a mirror-like finish appears.
- Seal the magic with a final thick layer of glossy top coat.
Budget Range
- Essie Expressie in ‘Check the Check’ ($10)
- Artdone Chrome Nail Powder Set ($8 on Amazon)
- Beetles No Wipe Gel Top Coat ($7)
Class of ’26: 7 Easy Ways to Style College Graduation Nails

Why to love this Design:
You’ve worked so hard, my darling! Graduation is such a beautiful transition, and your nails should reflect that blend of accomplishment and future dreams. These styles are designed to look elegant in photos while you’re holding that hard-earned diploma, giving you a boost of confidence as you toss your cap into the sky.
Essential Elements:
- Sheer ‘your nails but better’ nudes
- Delicate gold leaf or foil
- Micro-pearls
- School color accents
How to Prepare:
- The Minimalist: A sheer pink base with a single gold stud at the cuticle.
- The Scholar: Navy blue tips (if it’s your school color) over a milky white base.
- The Dreamer: Soft white ombre fading into clear tips with iridescent glitter.
- The Achievement: Press-on gold foil flakes over a matte nude polish.
- The Classic: A crisp, clean American Manicure with a pearl finish.
- The Bold Grad: A monochromatic look using five shades of your school’s primary color.
- The Signature: Hand-painted ‘2026’ in tiny script on the ring finger.
Budget Range
- OPI Bubble Bath ($11)
- Gold Leaf Flakes for Nails ($6)
- Olive & June Press-On Kit ($10)
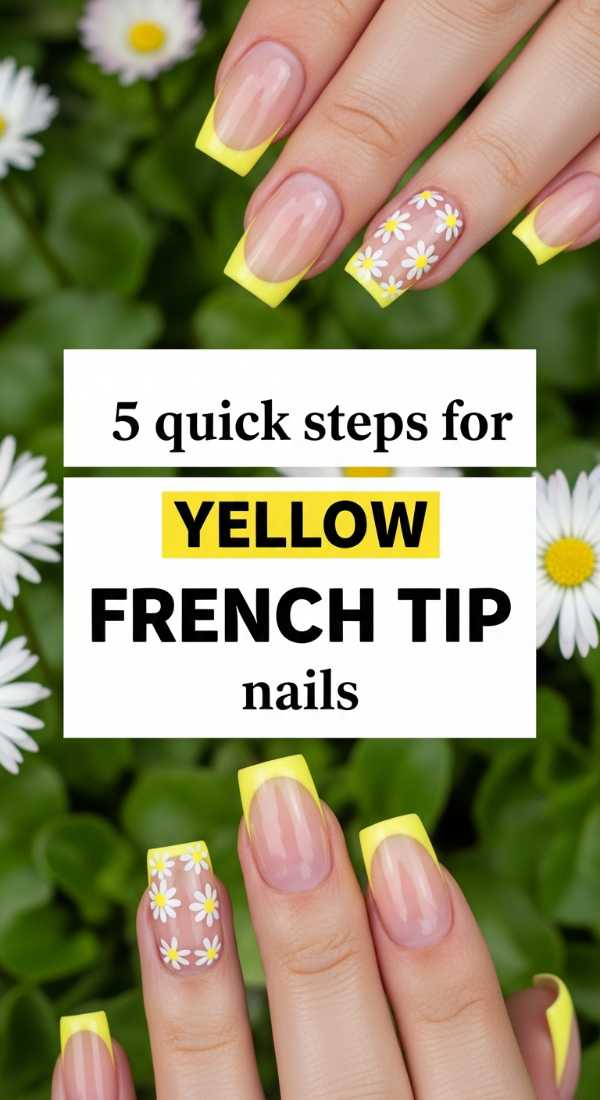
Sunshine Tips: 5 Quick Steps for Yellow French Tip Nails
Why to love this Design:
Yellow is the color of pure joy, and bringing it to a classic French tip feels like a modern hug for your hands. It’s a subtle way to wear neon without it feeling overwhelming. It’s bright, it’s cheery, and it looks absolutely darling with a summer sundress.
Essential Elements:
- Butter yellow or neon lemon polish
- French manicure guide stickers or a thin liner brush
- Pale pink or clear base coat
- High-shine top coat
How to Prepare:
- Apply your sheer base coat and let it dry fully so the stickers don’t pull it up.
- Place your French tip guides slightly below the free edge of your nail.
- Paint the exposed tip with two thin coats of your chosen yellow.
- Peel the stickers away while the polish is still slightly damp for a crisp line.
- Finish with a top coat to smooth out the edge between colors.
Budget Range
- Orly ‘Lemonade’ ($12)
- Maniology French Tip Tape ($5)
- Sally Hansen Insta-Dri Top Coat ($6)
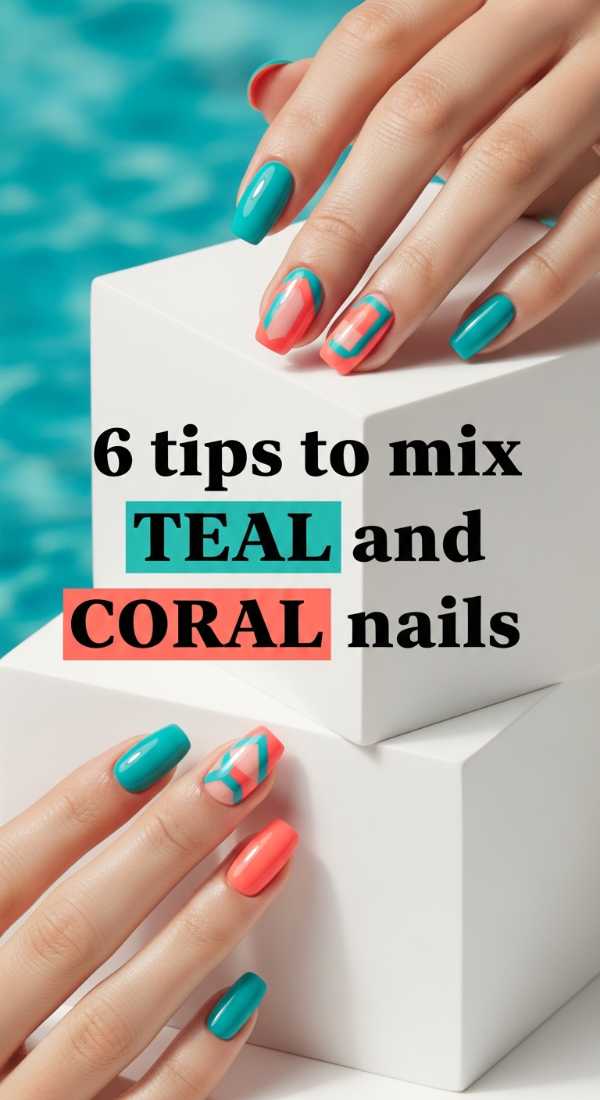
Tropical Fusion: 6 Tips to Mix Teal and Coral Nails
Why to love this Design:
Teal and coral are the ultimate summer power couple. One reminds us of the deep, cooling ocean, and the other of vibrant reefs and tropical flowers. Mixing them creates an energy that is both calming and invigorating—perfect for those beach vacations or even just backyard pool days.
Essential Elements:
- Creamy teal polish
- Vibrant coral polish
- Makeup sponge (for gradients)
- Dotting tool
How to Prepare:
- Try the ‘Skittle’ method: Alternate teal and coral on different fingers.
- Create a vertical ombre by painting half the nail teal and half coral, then blending the middle with a sponge.
- Use teal as a base and add tiny coral polka dots for a retro vibe.
- Paint teal nails with a single coral ‘accent’ finger on each hand.
- Try a ‘mismatched’ French: Teal base with coral tips.
- Use a thin brush to create wavy teal and coral abstract ‘swirls’ over a nude base.
Budget Range
- Zoya ‘Cecilia’ (Teal) ($12)
- Essie ‘California Coral’ ($9)
- Nail Art Dotting Tool Set ($5)
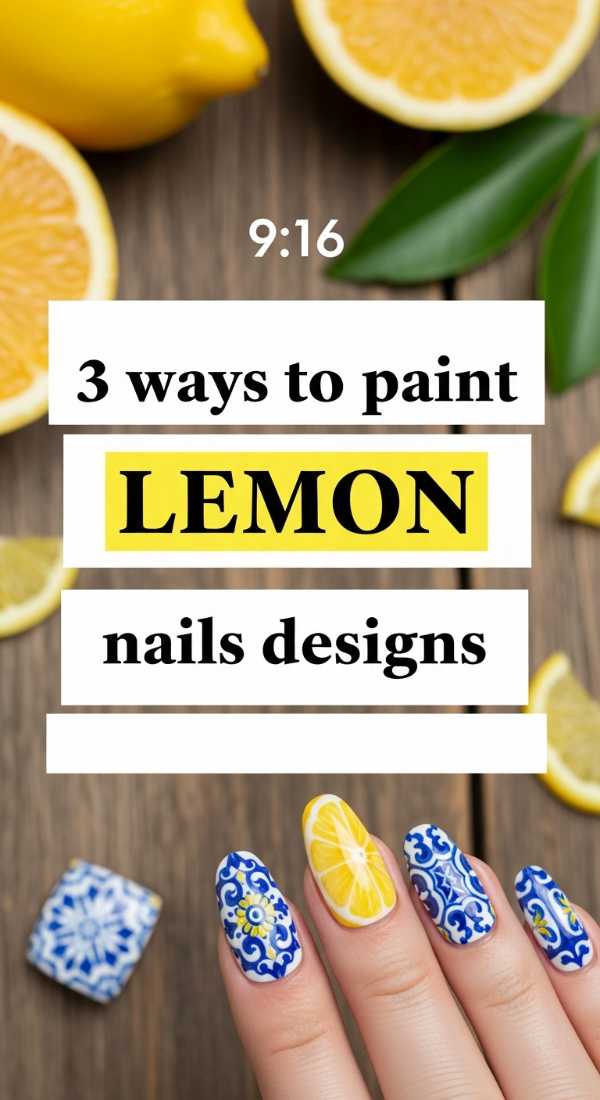
Zesty Vibes: 3 Ways to Paint Lemon Nails Designs
Why to love this Design:
Is there anything more refreshing than a cold glass of lemonade in July? Lemon nail art is kitschy, cute, and surprisingly easy to achieve. It adds a pop of personality to your look and always serves as a great conversation starter at summer BBQs.
Essential Elements:
- Primary yellow polish
- White detail paint
- Leaf green polish
- A very fine detail brush or toothpick
How to Prepare:
- The Half-Lemon: Paint a yellow semi-circle at the side of your nail, add white ‘slices’ inside, and a tiny green leaf on top.
- The Lemon Pattern: Use a dotting tool to create small yellow ovals all over the nail, then add tiny green dots for leaves.
- The Squeezed Aesthetic: A clear base with just a single, detailed lemon slice on the ring finger for a ‘clean girl’ look with a twist.
Budget Range
- Holt Pinky detail brushes ($9)
- Butter London ‘Yellow Submarine’ ($18)
- Revel Nail Leaf Green ($10)
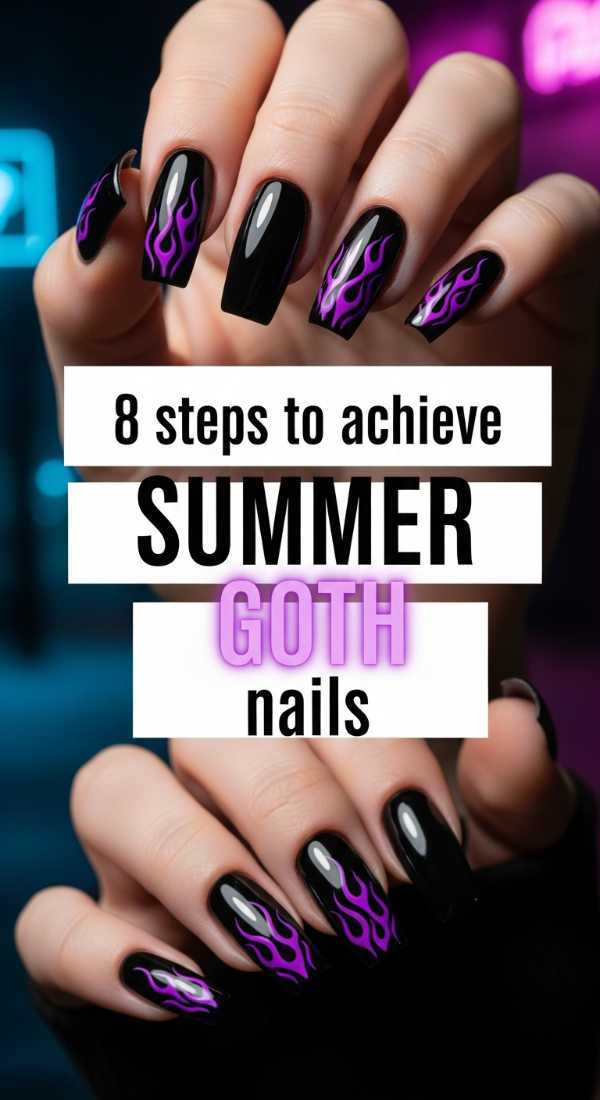
Midnight Heat: 8 Steps to Achieve Summer Goth Nails
Why to love this Design:
Who says dark colors are only for winter? Summer Goth is all about that moody, romantic edge paired with the heat of the season. Think sheer blacks, deep purples, and chrome accents that look incredible under the moonlight. It’s for my loves who prefer the shadows even when the sun is shining.
Essential Elements:
- Sheer black ‘jelly’ polish
- Star and moon decals
- Deep plum or burgundy creme
- Matte top coat
How to Prepare:
- Start with a clean, buffed nail for the smoothest dark application.
- Apply one coat of black jelly polish to create a ‘smoke’ effect.
- While tacky, place silver moon or star decals onto the nail.
- Apply a second coat of jelly polish over the decals to ‘trap’ them in the smoke.
- On alternate nails, apply a solid deep plum.
- Use a matte top coat on the solid colors for a velvet texture.
- Add a tiny rhinestone to the center of one star for a ‘glint’ of light.
- Finish with cuticle oil to keep the dark look polished and intentional.
Budget Range
- Cirque Colors ‘Jade Jelly’ or ‘Slate Jelly’ ($12)
- Manicure Moon Decals ($4)
- OPI Matte Top Coat ($11)
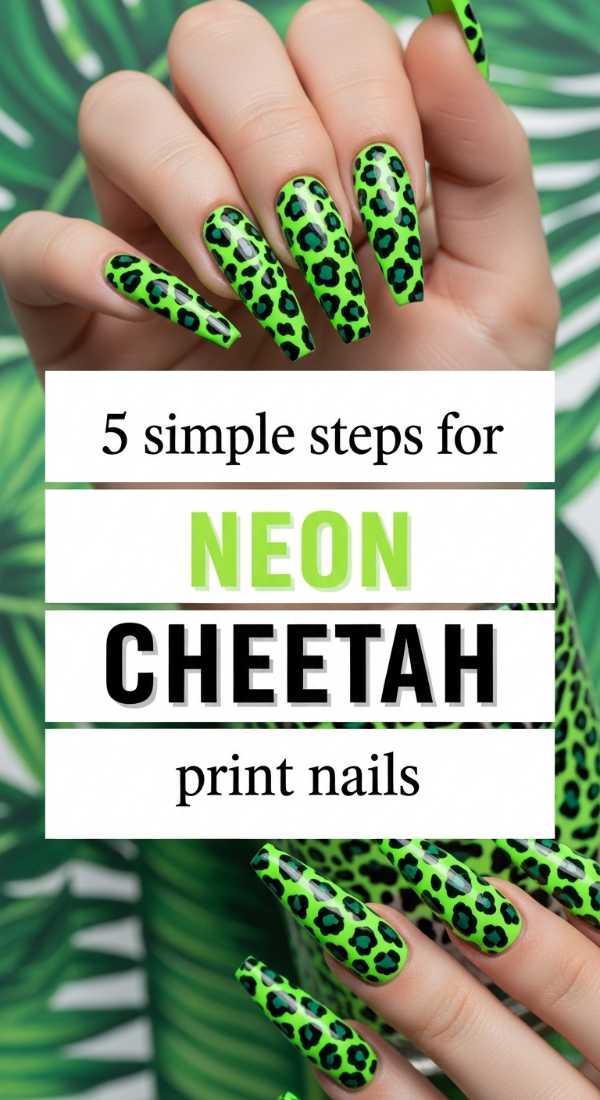
Electric Jungle: 5 Simple Steps for Neon Cheetah Print Nails
Why to love this Design:
This is for the wild at heart! Neon cheetah print is high-energy and incredibly fun. By using bright summer neons instead of traditional browns, you transform a classic animal print into something futuristic and trendy for 2026. It’s impossible not to feel fierce with these on.
Essential Elements:
- Neon pink, orange, or green base
- Black striper polish or acrylic paint
- A slightly darker neon shade for the ‘spots’
- Glossy top coat
How to Prepare:
- Apply two coats of your brightest neon base color.
- Take your secondary neon color and make random ‘blobs’ across the nail.
- Using your black polish, draw two or three ‘C’ shapes or brackets around the edges of the blobs.
- Add a few tiny black dots in the empty spaces to fill out the pattern.
- Let dry for at least 10 minutes before applying top coat to prevent smearing the black.
Budget Range
- China Glaze ‘Electric Nights’ Collection ($8 per bottle)
- Nail Art Black Striper ($6)
- Seche Vite Dry Fast Top Coat ($9)
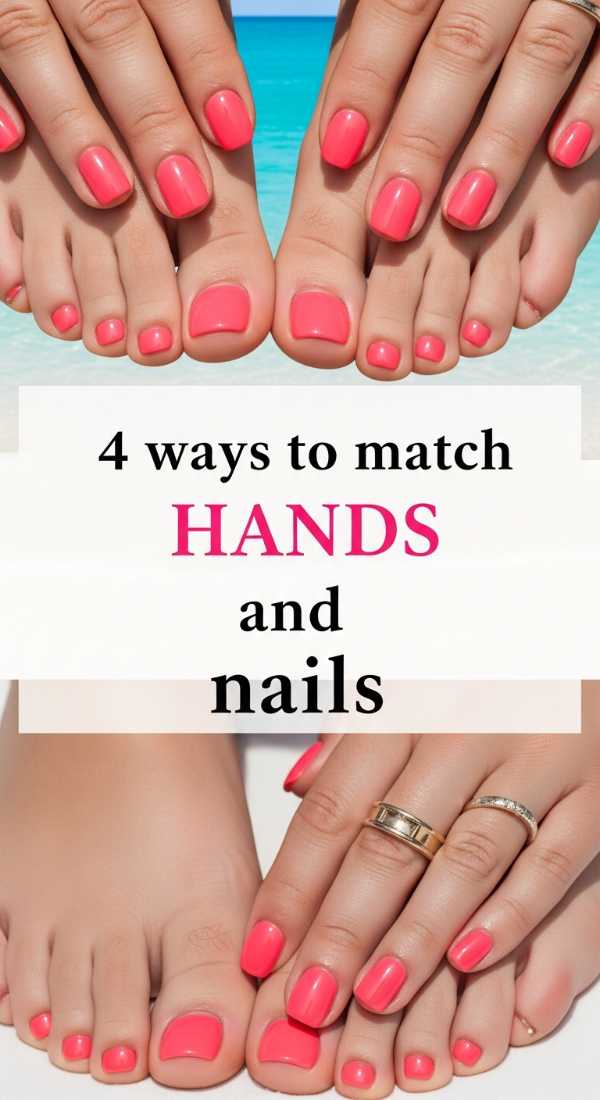
Perfect Harmony: 4 Ways to Match Hands and Toes Nails
Why to love this Design:
There is a grounded, peaceful feeling that comes from a coordinated mani-pedi. In 2026, we aren’t necessarily doing ‘identical’ matches, but rather ‘sister’ looks that complement one another. It makes your entire summer outfit feel cohesive and thoughtfully put together.
Essential Elements:
- Two shades in the same color family
- One shimmer and one matte version of a color
- Matching accent stickers
How to Prepare:
- The Inversion: Neon pink hands with orange tips, and orange toes with pink tips.
- The Texture Swap: Glossy blue fingers with matte blue toes in the exact same shade.
- The Gradient: Start a color story on your thumb and continue it all the way down to your pinky toe (e.g., dark purple to light lavender).
- The Accent Bridge: Paint everything a neutral sand color, but use the same floral decal on both big toes and ring fingers.
Budget Range
- Olive & June ‘The Perfect Pair’ sets ($18)
- Zoya Naked Manicure Kit ($25)
- Generic Floral Nail Stickers ($5)
Ethereal Sky: 6 Easy Steps for Sunset Aura Nails
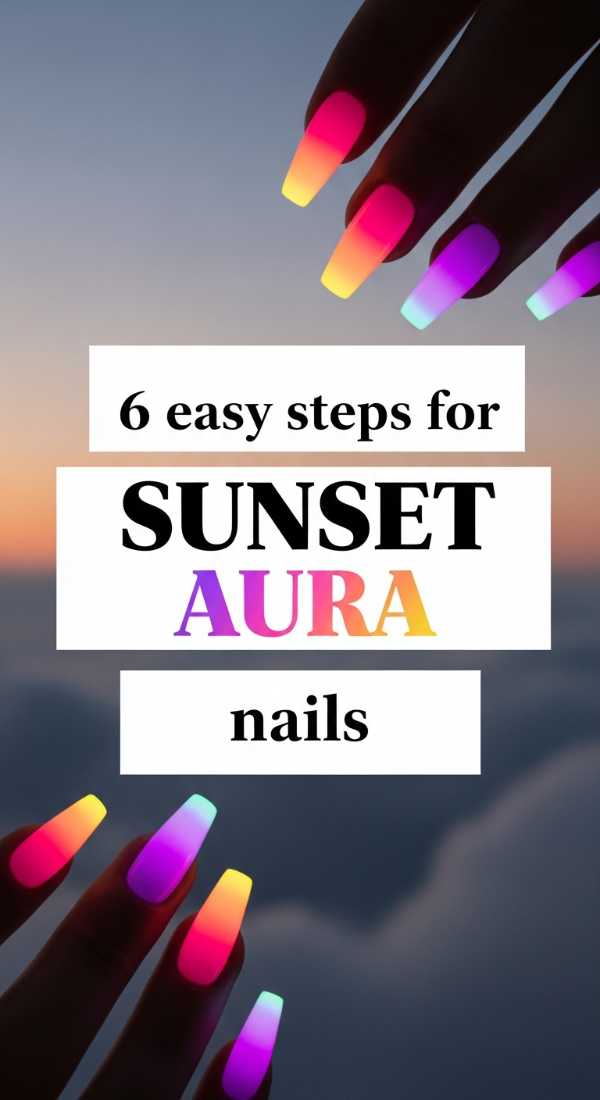
Why to love this Design:
Aura nails are all about capturing your energy. The sunset version uses soft oranges, pinks, and yellows that bleed into one another like a gentle haze. It’s incredibly dreamlike and looks like you have a little piece of the sky trapped on your nails. It’s soft, blurring the lines between art and emotion.
Essential Elements:
- Milky white base polish
- Makeup sponge or eyeshadow applicator
- Three sunset-toned polishes (pink, orange, yellow)
- Glossy top coat
How to Prepare:
- Apply a milky white base to make the colors pop and give that ‘inner glow.’
- Apply a small dot of yellow polish to the center of a makeup sponge.
- Circle it with orange, then pink.
- Gently dab the sponge onto the center of your nail, keeping the darkest color toward the edges.
- Repeat until the ‘glow’ is as saturated as you like.
- Apply a generous amount of top coat to help the colors bleed together into a seamless blur.
Budget Range
- Lights Lacquer ‘Paper Snow’ ($13)
- Disposable Eyeshadow Applicators ($4 for 50)
- Essie ‘Souq Up The Sun’ ($9)
Sweet Summer: 5 Ways to Create Peach Nails with Designs

Why to love this Design:
Peach is the unsung hero of summer. It’s softer than orange but warmer than pink. It evokes feelings of fuzzy fruit, garden parties, and gentle sunsets. Adding designs to a peach base gives it a modern, Pinterest-worthy edge that feels both fresh and nostalgic.
Essential Elements:
- Creamy peach polish
- White linework paint
- Gold studs or crystals
- Matte and Glossy top coats
How to Prepare:
- The Peach Lattice: Use a fine brush to draw thin white diagonal lines over a peach base.
- The Fuzzy Peach: Use a matte top coat over your peach polish for a literal ‘peach skin’ texture.
- Peach & Gold: Place a single gold stud at the base of each peach nail for an elegant, royalty-inspired look.
- Floral Peach: Paint tiny white daisies with yellow centers over the peach background.
- Peach Negative Space: Paint only the top half of your nail peach, leaving the bottom clear for a modern ‘half-moon’ look.
Budget Range
- ILNP ‘Daydreamer’ ($10)
- Gold Nail Studs ($7)
- Born Pretty White Stamping Polish ($6)
Embrace Your Creative Glow
As we wrap up our journey through the colors of Summer 2026, I want you to remember that nail art isn’t about perfection—it’s about the joy of the process. Whether your cheetah spots are a little wonky or your French tips are slightly thick, those nails belong to a person who took the time to create something beautiful. Wear your colors with pride, my loves. Let your hands tell the story of your summer adventures, your quiet mornings, and your brightest celebrations. Until next time, stay glowing!