
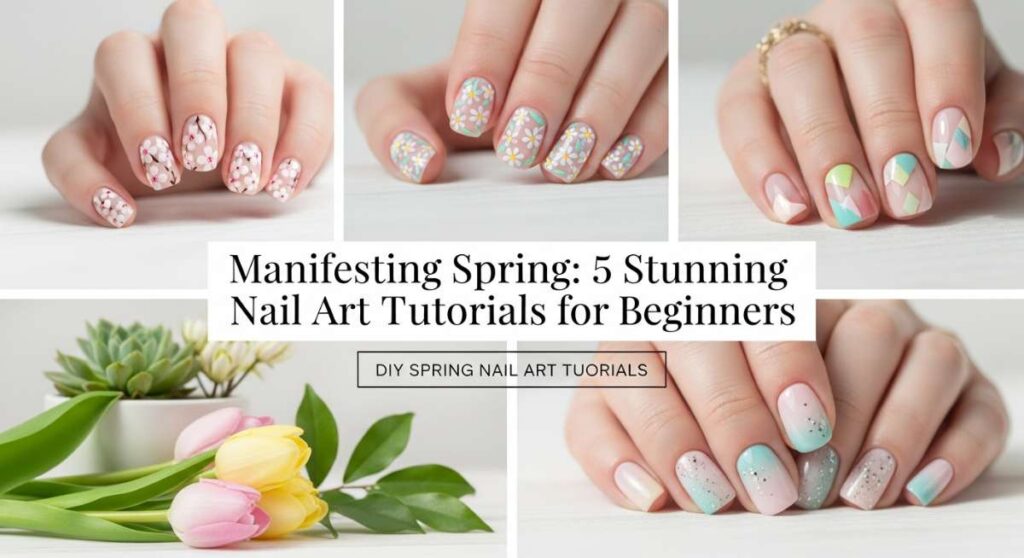
Manifesting Spring: 5 Stunning Nail Art Tutorials for Beginners
Hi, my loves! Can you feel it? There is a certain softness returning to the air, a gentle nudge from nature that tells us the season of renewal is finally here. I’ve been spending my mornings watching the first buds peek through the soil, and it inspired me to bring that same sense of growth and freshness right to our fingertips. Spring isn’t just a season; it’s a feeling of light, hope, and soft color palettes that make the heart skip a beat.
Honestly, there is something so therapeutic about taking thirty minutes for yourself, sitting by a sunlit window, and painting a little bit of joy onto your nails. You don’t need to be a professional artist or have a high-end salon setup to manifest the perfect spring aesthetic. All you need is a little patience, a splash of color, and that beautiful creative spirit of yours. Let’s dive into these easy DIY tutorials together!
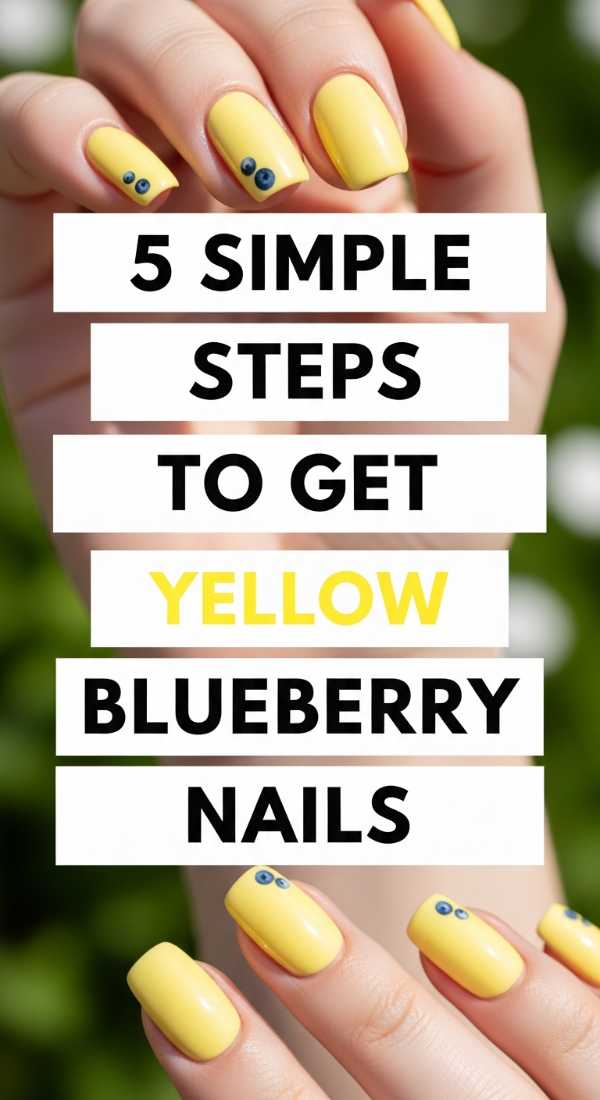
5 Simple Steps to Get Yellow Blueberry Nails
Why to love this Design:
Imagine a sunny picnic in a field of wildflowers—that is exactly what this ‘Yellow Blueberry’ look captures. It’s a whimsical, high-contrast design that pairs the warmth of a buttery sunshine yellow with the juicy, deep pop of blueberry blue. It’s unexpected, cheerful, and perfect for those days when you want your hands to do all the talking.
Essential Elements:
- Soft pastel yellow polish
- Deep royal blue polish
- Fine-point dotting tool or a toothpick
- Leaf green striper or thin brush
- Glossy top coat
How to Prepare:
- Apply a nourishing base coat to protect your natural nails.
- Paint two thin, even layers of your favorite pastel yellow polish and let them dry completely.
- Using your dotting tool, place two small clusters of blue dots to represent the blueberries.
- Take a tiny bit of green polish and add a minuscule ‘V’ shape at the top of the blue dots for the leaves.
- Seal your tiny masterpiece with a high-shine top coat to prevent chipping.
Budget Range
- Essie ‘Check Your Baggage’ Yellow ($10)
- Sally Hansen ‘Pacific Blue’ ($6)
- Wet n Wild Clear Top Coat ($3)
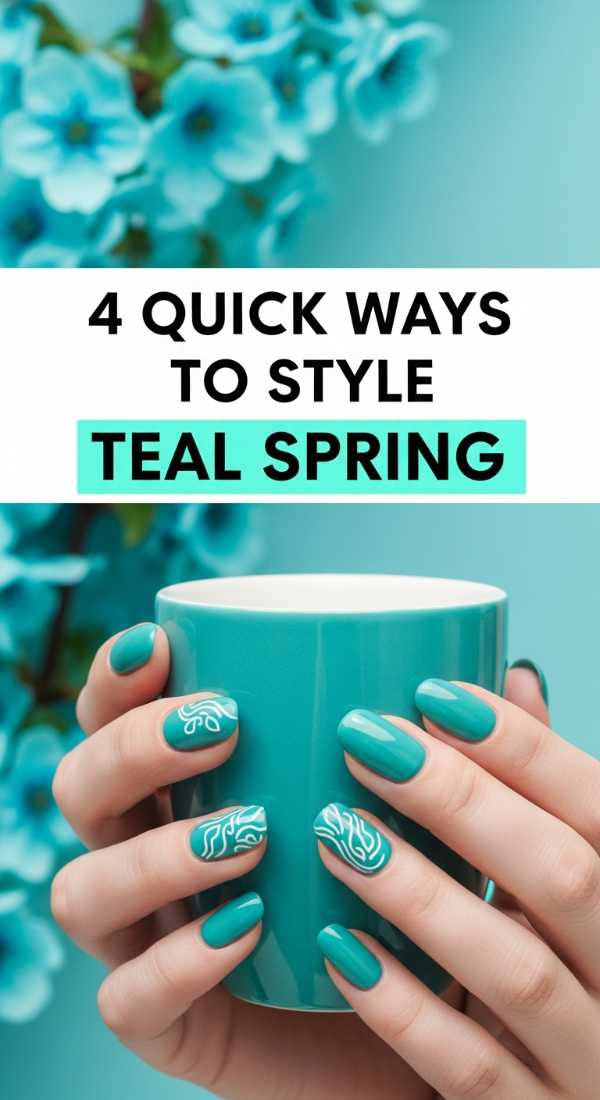
4 Quick Ways to Style Teal Spring Nails
Why to love this Design:
Teal is the ultimate transition color. It carries the depth of the ocean but feels as fresh as a spring rainstorm. It’s sophisticated enough for the office but vibrant enough for a weekend brunch. Styling teal is all about playing with textures and accents to keep it feeling light and airy for the new season.
Essential Elements:
- Creamy teal or turquoise polish
- Matte top coat
- Gold foil flakes or gold metallic polish
- Nail buffer
How to Prepare:
- Shape your nails into a soft oval to complement the fluidity of the teal color.
- Apply two coats of teal; try a matte top coat on just your ring finger for a modern texture contrast.
- While the accent nail is still slightly tacky, press on a few flecks of gold foil for a ‘veined stone’ look.
- For a minimalist style, leave the other nails glossy with a simple gold dot at the base of each cuticle.
Budget Range
- OPI ‘Is That a Spear in Your Pocket?’ ($11)
- Nail Art Gold Foil Flakes ($5)
- Essie Matte About You Top Coat ($10)
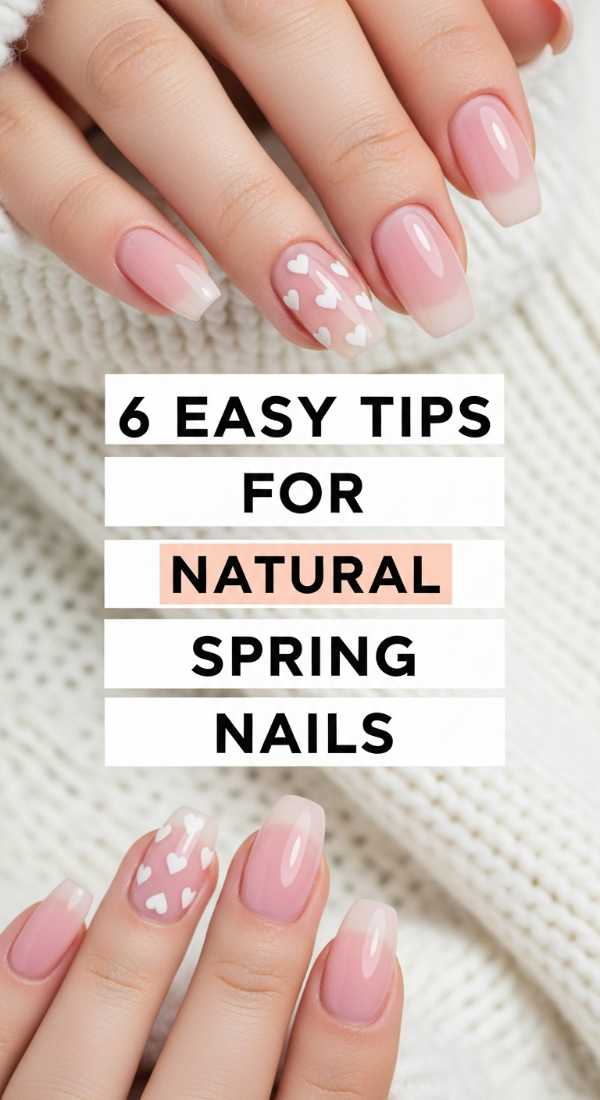
6 Easy Tips for Natural Spring Nails
Why to love this Design:
The ‘Clean Girl’ aesthetic is blooming this spring! Natural spring nails are all about health, hydration, and a subtle glow that mimics the inner petal of a cherry blossom. This look is for the loves who want their nails to look polished, professional, and effortlessly healthy without a heavy opaque color.
Essential Elements:
- Sheer ‘milky’ pink or nude polish
- Glass nail file
- Cuticle remover cream
- High-quality cuticle oil
How to Prepare:
- Gently push back cuticles after a warm shower to create a clean, elongated nail bed.
- Use a glass file to shape the edges; it prevents peeling and keeps the look soft.
- Buff the surface of the nail to a natural shine before applying any liquid.
- Apply one single coat of sheer pink polish to even out the nail tone.
- Use a cleanup brush dipped in acetone to ensure the edges are perfectly crisp.
- Finish with a heavy dose of cuticle oil massaged into the skin.
Budget Range
- Zoya ‘Bela’ Sheer Pink ($12)
- Burt’s Bees Lemon Butter Cuticle Cream ($6)
- Glass Nail File ($8)
10 Cute Spring Nail Ideas for Beginners
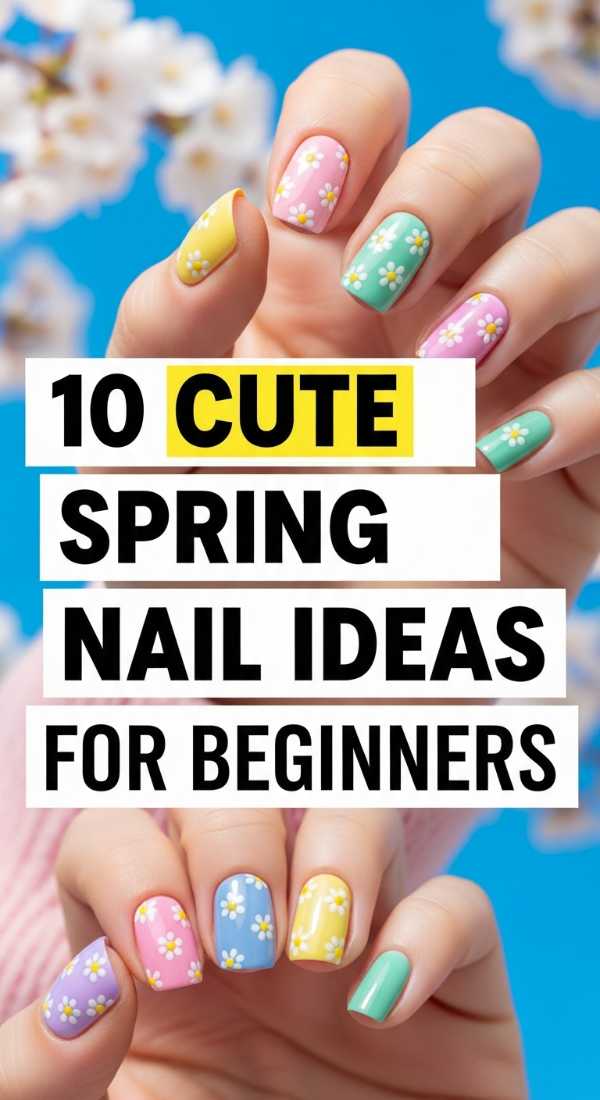
Why to love this Design:
If you are feeling indecisive (don’t worry, me too!), this collection of ideas is your playground. From tiny daisies to pastel French tips, these ideas focus on ‘mix and match’ energy. It’s about celebrating the variety of spring—think of your hand as a curated garden where every finger has its own little personality.
Essential Elements:
- A ‘skittle’ palette of 5 different pastel polishes
- Floral nail decals or stickers
- Iridescent glitter topper
- White nail art pen
How to Prepare:
- Pick five coordinating colors (mint, lavender, peach, sky blue, and buttercup).
- Paint each nail a different color for an instant ‘skittle’ mani.
- Add a single floral sticker to your thumb and ring finger for a quick DIY shortcut.
- Use a white nail art pen to draw simple dots around the center of one nail to create a daisy.
- Apply an iridescent topper over the pinky nail for a hint of ‘dewy’ shimmer.
Budget Range
- Olive & June Pastel Set ($40 for 6)
- Deco Miami Nail Art Stickers ($8)
- L.A. Colors Nail Art Pen ($3)
6 Tricks for Flawless Basic Spring Nails
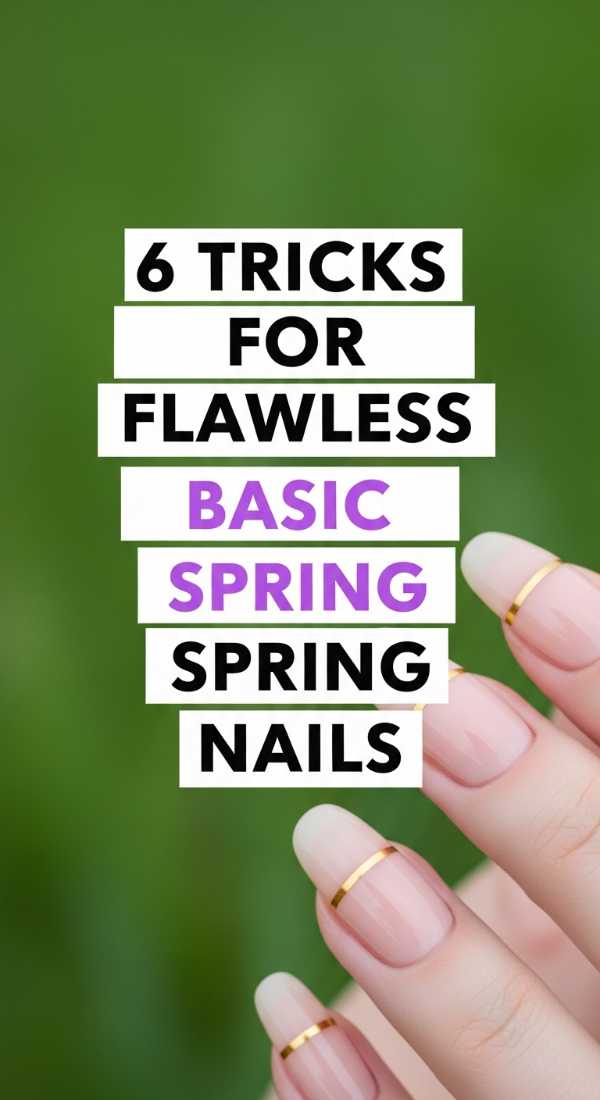
Why to love this Design:
Mastering the basics is like learning to bake the perfect loaf of bread—it’s the foundation for everything else. This tutorial focuses on the ‘flawless’ aspect, ensuring your simple, monochromatic spring shades look salon-quality. It’s about the technique that makes even a basic lavender mani look expensive and chic.
Essential Elements:
- Smoothing base coat
- High-pigment lilac or lavender polish
- Angled cleanup brush
- Quick-dry drops
How to Prepare:
- Always start with a ridge-filling base coat to create a smooth canvas for pastel pigments.
- Apply the ‘three-stroke’ method: one down the middle, one on each side.
- Leave a tiny gap between the polish and the cuticle to avoid ‘flooding’.
- Dip an angled brush in acetone to sweep away any tiny mistakes instantly.
- Cap the free edge (the tip of your nail) to prevent premature chipping.
- Add quick-dry drops so you can get back to your day without smudges!
Budget Range
- Orly Bonder Base Coat ($12)
- Holo Taco ‘Cereal Killer’ Lavender ($11)
- Clean-up brush ($5)
Conclusion
Manifesting the perfect spring really starts with these small moments of self-care. Whether you chose the bold blueberry look or the soft glow of a natural mani, I hope these tutorials brought a little bit of sunshine into your day. Remember, beauty isn’t about perfection; it’s about the joy of creating something that makes you feel lovely. Take a deep breath, admire your work, and go out there and bloom! Sending you so much light and love.