
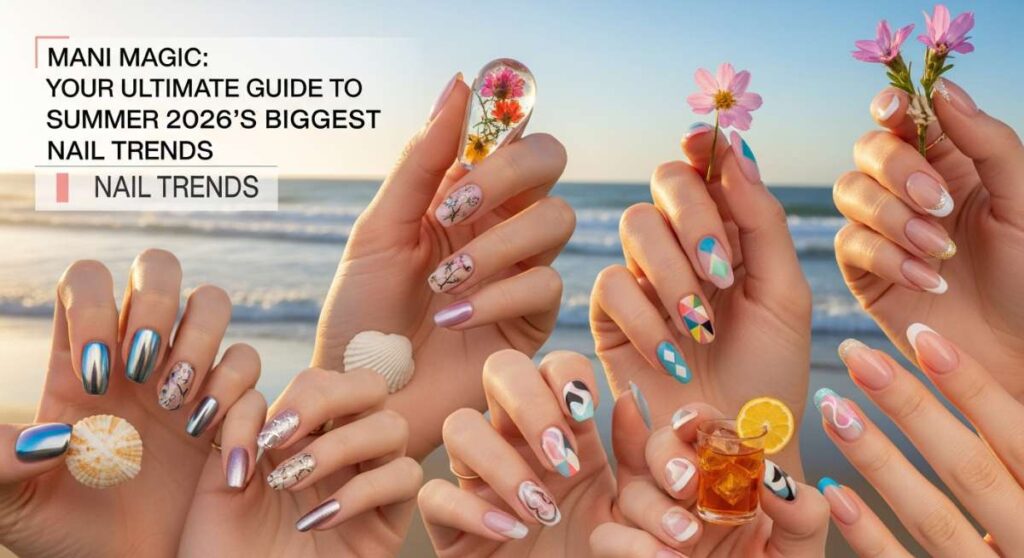
Mani Magic: Your Ultimate Guide to Summer 2026’s Biggest Nail Trends
Hello, my beautiful loves! Can you feel it? That first whisper of a warm breeze, the way the sunlight dances a little longer on your skin—summer 2026 is almost here, and I can already tell it’s going to be a season of pure, unadulterated joy. There is something so incredibly soul-soothing about a fresh manicure; it’s like a tiny, polished hug for your hands that reminds you to slow down and enjoy the magic in the details.
This year, our nails are becoming canvases for our emotions. We aren’t just picking colors; we’re picking moods. Whether you’re dreaming of a soft May morning or the high-energy pulse of a July sunset, this forecast is designed to wrap you in inspiration. Let’s dive into these trends together, like two friends sitting on a porch swing, sharing our favorite secrets over a glass of iced tea.
5 Easy Steps to Style Summer 2026 Nails

Why to love this Design:
Summer 2026 is all about the ‘Bio-Luminous’ look—nails that look like they belong in a futuristic garden or a shallow tide pool. It’s a trend that feels both high-tech and incredibly organic, offering a soft glow that makes your hands look radiant and youthful. It’s the ultimate ‘cool girl’ aesthetic for the upcoming season.
Essential Elements:
- Iridescent ‘Glazed Donut’ powder 2.0
- Sheer jelly base colors (mint, lavender, or peach)
- High-gloss top coat
- Micro-shimmer particles
How to Prepare:
- Gently push back cuticles and buff the nail plate for a smooth surface.
- Apply a thin layer of a sheer, milky base coat.
- Cure (if using gel) or let dry, then apply one coat of jelly pastel.
- Rub a tiny amount of iridescent chrome powder onto the nail.
- Seal with a double layer of high-shine top coat for a glass-like finish.
Budget Range
- OPI Jelly Gloss in ‘Silly Salmon’ – $11.50
- Born Pretty Aurora Chrome Powder – $7.99
- Seche Vite Dry Fast Top Coat – $9.95
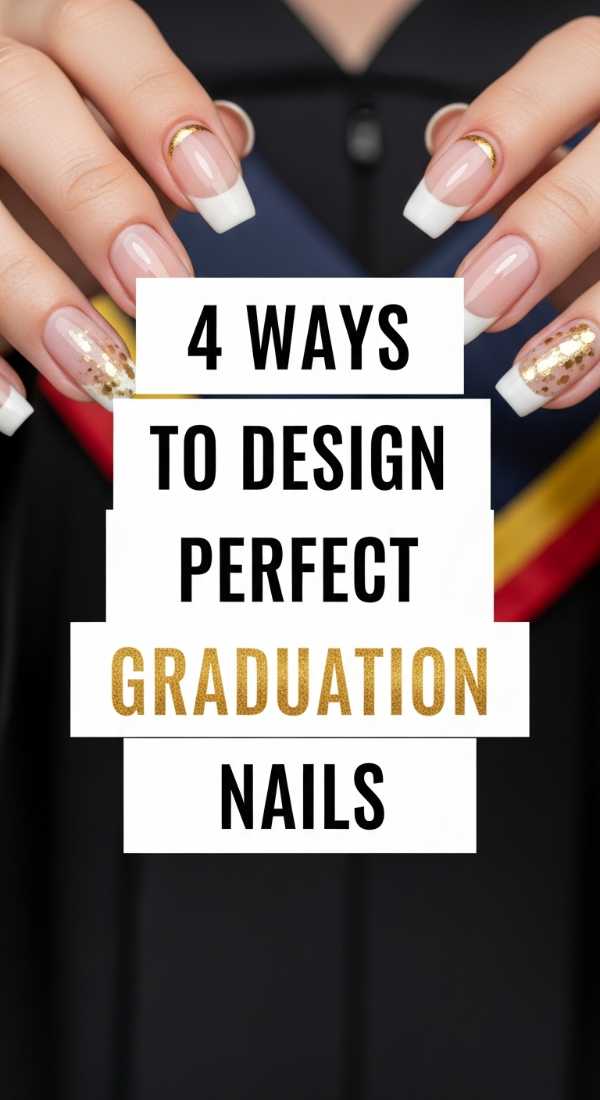
4 Ways to Design Perfect Graduation Nails
Why to love this Design:
Graduation is such a tender, transitional moment, my loves. You want a look that says ‘I’ve arrived’ without overshadowing your cap and gown. This design focuses on ‘The Sophisticate’—a blend of classic elegance and a tiny spark of celebration that looks timeless in those photos you’ll cherish forever.
Essential Elements:
- Classic French tips with a twist
- Metallic gold or silver leaf accents
- Pearl embellishments
- Nude or champagne base tones
How to Prepare:
- Choose a base that matches your natural nail bed for a clean look.
- Use a thin liner brush to paint an ultra-fine metallic edge on the tips.
- Place a single tiny pearl or gold flake at the base of the ring finger.
- Ensure the shape is a soft almond or short oval for maximum elegance.
Budget Range
- Essie ‘Sugar Daddy’ Nude Polish – $10.00
- Nail Art Gold Leaf Sheets – $6.50
- Daily Charme Flatback Pearls – $8.00
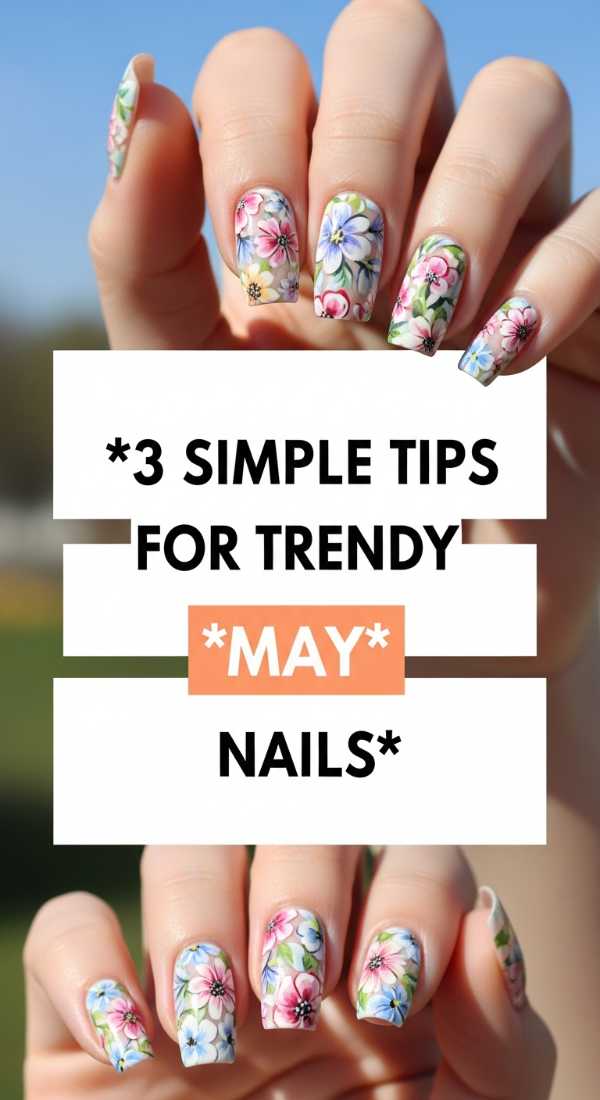
3 Simple Tips for Trendy May Nails
Why to love this Design:
May is the month of awakening! These nails are like a soft cloud-soft embrace, capturing the essence of peonies and fresh rain. It’s about being subtle and sweet, letting the natural beauty of the spring-to-summer transition shine through your fingertips.
Essential Elements:
- Matte pastel finishes
- Negative space floral accents
- Sage green and dusty rose palette
How to Prepare:
- Keep your nails at a medium length to allow for delicate floral stickers or painting.
- Apply two coats of a dusty rose or sage green.
- Apply a matte top coat to every finger except the accent nail for a textured contrast.
Budget Range
- Zoya ‘Sage’ Professional Lacquer – $12.00
- Olive & June Matte Top Coat – $9.00
- Floral Nail Decals from Etsy – $5.00
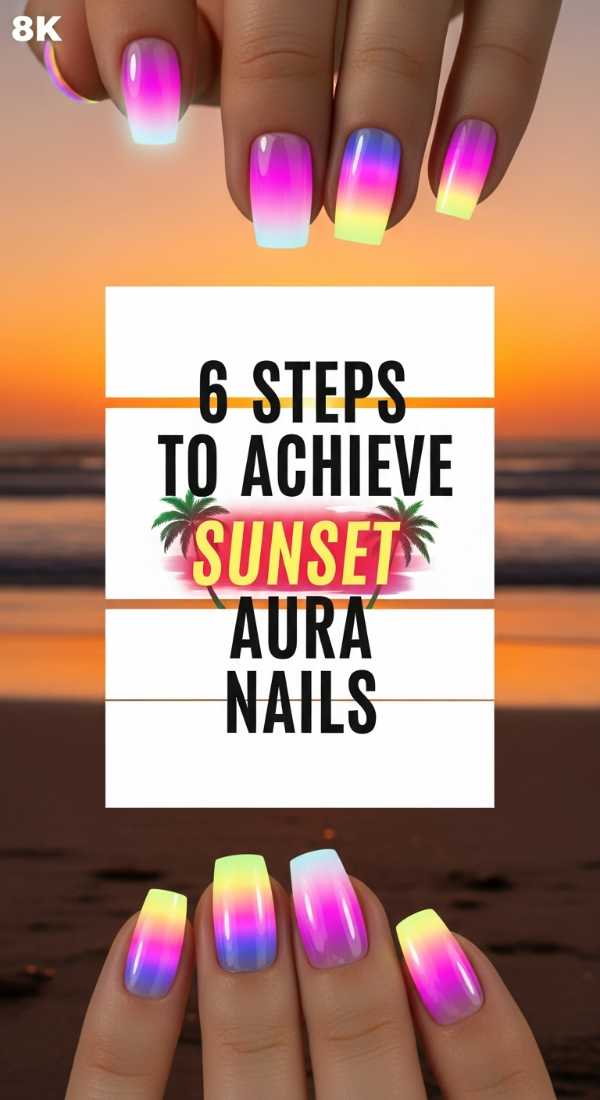
6 Steps to Achieve Sunset Aura Nails
Why to love this Design:
Oh, the aura nail! It’s like wearing a little piece of the sky on your hands. The sunset version for 2026 uses warm gradients that evoke feelings of peace and cosmic energy. It’s a conversation starter that feels deeply personal and artistic.
Essential Elements:
- Makeup sponge for dabbing
- Hot pink, vibrant orange, and deep purple polishes
- Blending liquid or a clear base
- White gel for the ‘glow’ center
How to Prepare:
- Apply a solid white or light peach base coat and let dry completely.
- Apply rings of your sunset colors onto a small makeup sponge.
- Gently dab the sponge onto the center of the nail, creating a blurred circle.
- Add a tiny dot of white in the very center and blend outward.
- Clean up the edges with an acetone-dipped brush.
- Finish with a thick, glossy top coat to merge the colors.
Budget Range
- Holosun Neon Polish Set – $15.00
- Wedge Makeup Sponges (Bulk) – $4.00
- Sally Hansen ‘Insta-Dri’ in ‘Orange Zest’ – $7.00
7 Easy Ways to Paint Lemon Nails

Why to love this Design:
Is there anything more cheerful than a zesty lemon? This design is pure sunshine. It’s playful, kitschy in the best way, and adds a pop of Italian-summer energy to any outfit. It’s impossible to be in a bad mood when you look down and see these little citrus gems.
Essential Elements:
- Bright canary yellow polish
- Fine-tipped detailing brush
- White and leaf-green acrylic paint or polish
- 3D clear ‘dewdrop’ gel
How to Prepare:
- Paint your thumb and pinky solid yellow.
- On the middle fingers, create a white base for the ‘fruit’ art.
- Use yellow to draw small crescents (lemon slices).
- Add tiny white lines for the pith and segments.
- Use green to add a tiny leaf at the top of the ‘lemon’.
- Apply a tiny dot of 3D gel to look like a water droplet.
- Seal with a UV top coat for longevity.
Budget Range
- Revlon ‘Electric’ Yellow – $8.50
- Nail Art Fine Brush Set – $12.00
- Ibd Building Gel (for dewdrops) – $14.00
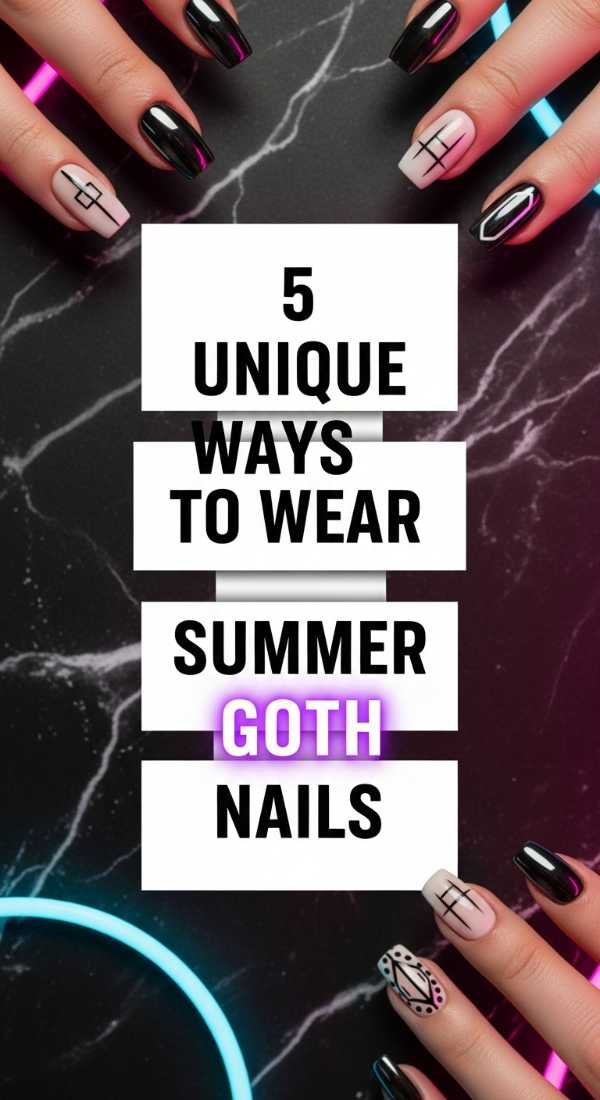
5 Unique Ways to Wear Summer Goth Nails
Why to love this Design:
For my loves who prefer the shadows even when the sun is out, ‘Summer Goth’ is your 2026 anthem. It’s not heavy or oppressive; it’s airy, sheer, and mysterious—think ‘witchy beach vibes’ or ‘moonlight over the ocean.’
Essential Elements:
- Sheer ‘black tea’ or smoke jelly polish
- Silver celestial charms (moons, stars)
- Chrome ‘oil slick’ accents
- Pointy stiletto or coffin shapes
How to Prepare:
- Start with a very long, sharp nail shape for that edgy silhouette.
- Apply two layers of a sheer black jelly so you can still see the natural nail slightly.
- Add a chrome ‘drip’ effect on the tips using silver polish.
- Adhere a small silver moon charm to the ring finger.
- Finish with a high-shine top coat to give it a ‘liquid obsidian’ look.
Budget Range
- Cirque Colors ‘Spotted’ Jelly – $12.50
- Celestial Nail Charms – $6.00
- Manucurist ‘Victoria Plum’ – $14.00
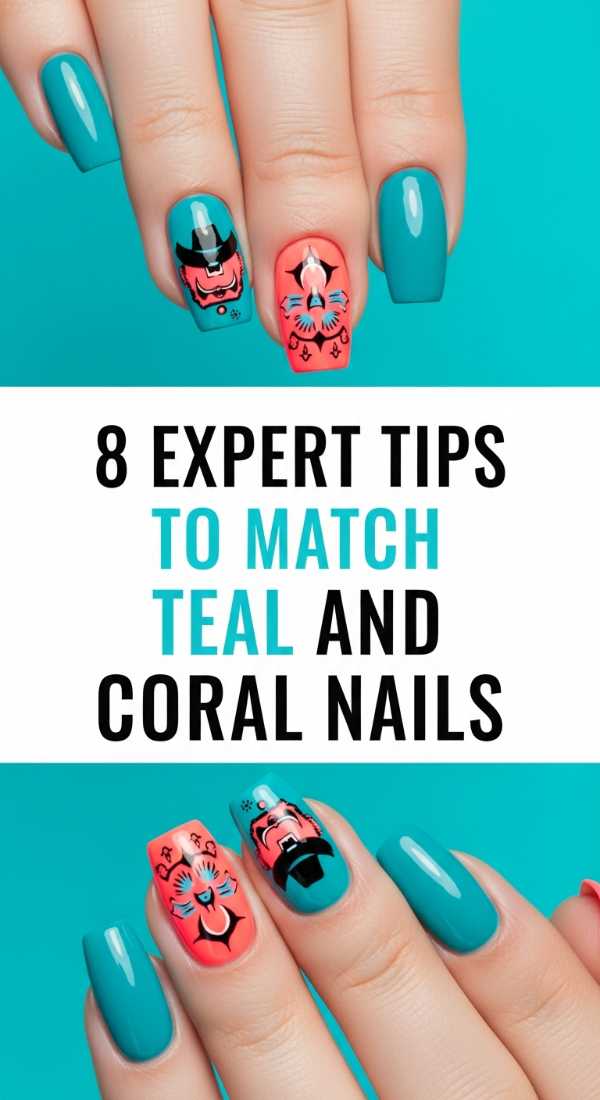
8 Expert Tips to Match Teal and Coral Nails
Why to love this Design:
Teal and Coral are the ultimate power couple of the color wheel. This combination feels like a tropical vacation in a bottle. It’s high-contrast, energetic, and perfectly balances the coolness of the water with the warmth of the reef.
Essential Elements:
- Turquoise or Deep Teal polish
- Vibrant Flamingo Coral polish
- Gold striping tape
- Geometric stencils
How to Prepare:
- Alternate colors on each finger for a playful look.
- Use teal as the base and coral for a ‘half-moon’ at the cuticle.
- Apply gold striping tape to separate the two colors cleanly.
- Try a gradient sponge technique for a ‘sunset on water’ effect.
- Keep the nail shape short and square to keep the bold colors from feeling overwhelming.
- Use a matte top coat on the teal and a glossy one on the coral for texture play.
- Add a single gold stud to the coral nails.
- Always use a stain-preventing base coat since teal can be stubborn!
Budget Range
- Lights Lacquer ‘Paper Snow’ – $13.00
- China Glaze ‘Too Much of a Good Fling’ – $9.00
- Gold Striping Tape Roll – $3.00
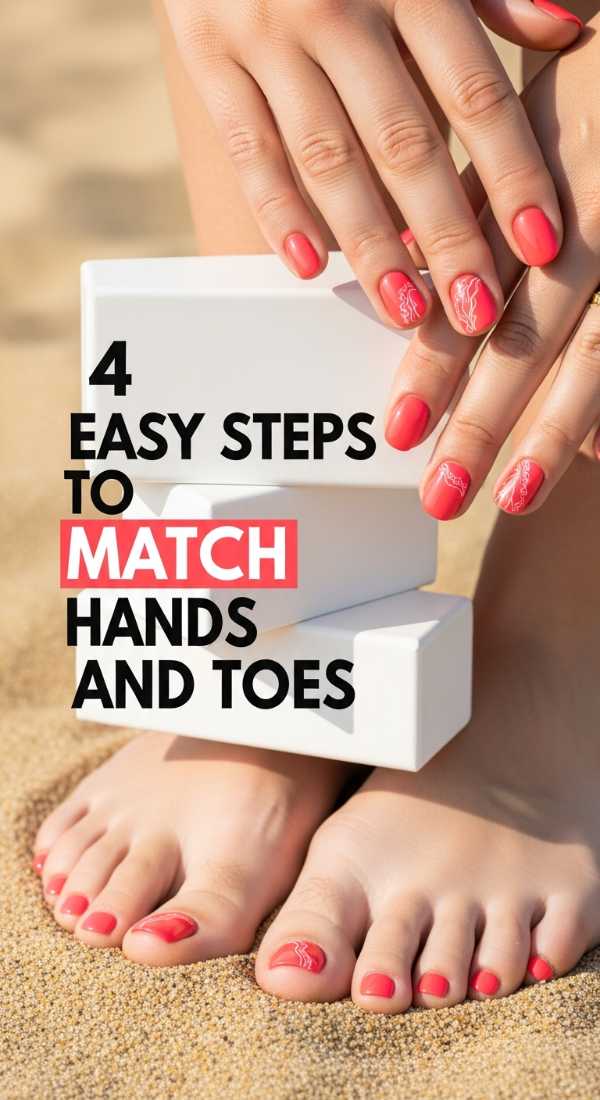
4 Easy Steps to Match Hands and Toes
Why to love this Design:
There is a quiet confidence in a perfectly coordinated mani-pedi. In 2026, we are moving away from ‘identical’ and toward ‘complementary.’ It feels more curated and intentional, like a well-styled outfit that isn’t too ‘matchy-matchy.’
Essential Elements:
- A ‘primary’ color for hands
- A ‘secondary’ shimmer for toes
- Unified nail shape across both
How to Prepare:
- Pick a solid cream color for your fingernails (e.g., Lavender).
- Choose a glitter or shimmer in the same color family for your toes.
- Ensure both use the same undertone (cool vs. warm).
- Finish both with the same top coat finish (either both matte or both glossy).
Budget Range
- Butter London ‘Patent Shine’ Duo – $22.00
- Holo Taco ‘Scattered Holo’ – $13.00
- Dr.’s Remedy Enriched Nail Polish – $17.00
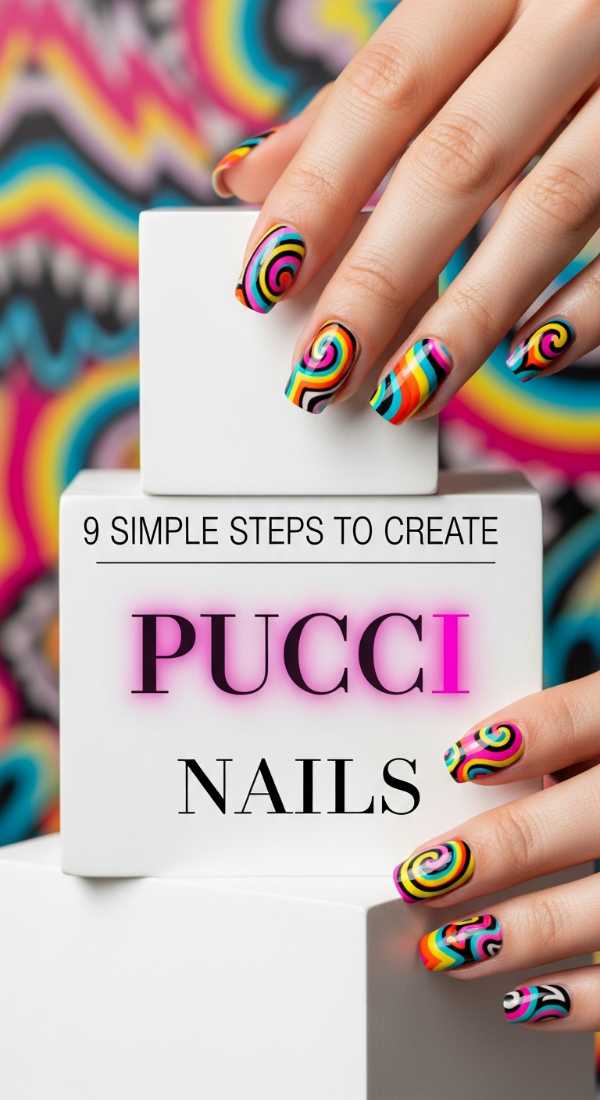
9 Simple Steps to Create Pucci Nails
Why to love this Design:
Retro is back, baby! Pucci-inspired nails are all about those iconic 60s and 70s swirls. They are sophisticated, artistic, and feel like you should be lounging on a yacht in the Mediterranean. It’s high-fashion at your fingertips.
Essential Elements:
- At least 4 contrasting pastel/bright colors
- Long-haired detailing brush
- Steady hand (or a glass of wine to relax!)
- Black or white ‘outlining’ polish
How to Prepare:
- Apply a clean white base coat.
- Drop four small puddles of your chosen colors on a palette.
- Using the detail brush, draw a large ‘S’ shape in the first color.
- Nestle a second color right against the first one, following the curve.
- Repeat with the third and fourth colors until the nail is covered.
- Don’t worry about symmetry; the beauty is in the flow!
- Use a tiny bit of black to add a very thin ‘border’ to some of the shapes.
- Wait longer than usual for it to dry to avoid smearing the art.
- Apply top coat with a very light touch.
Budget Range
- Nail Art Palette – $5.00
- Modelones Gel Liner Set – $19.00
- Orly ‘Summer’ Collection – $15.00
10 Minutes to Finish Simple Square Nails
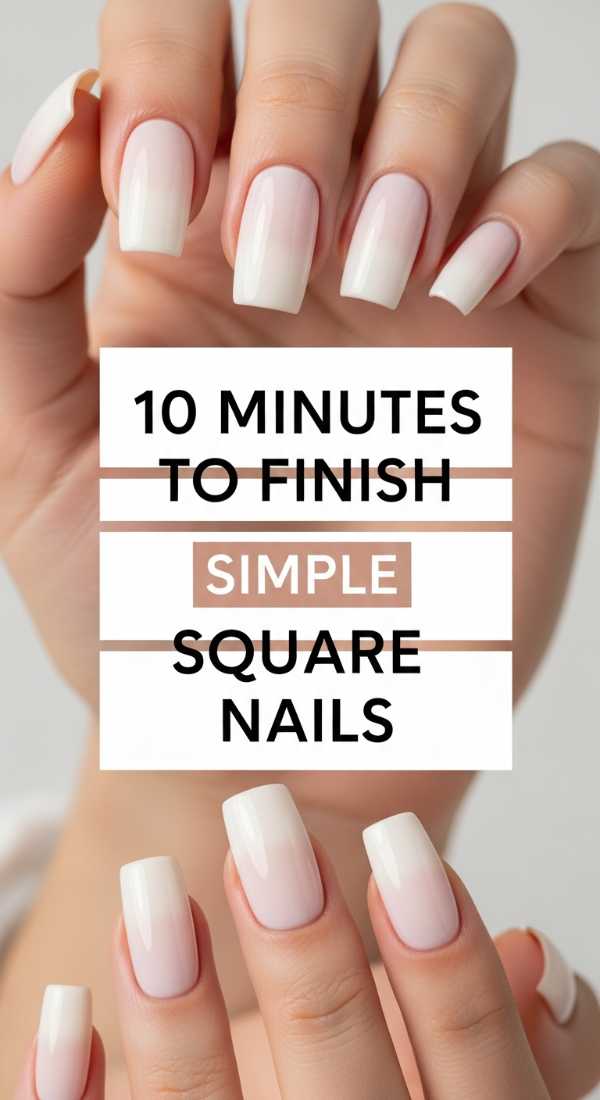
Why to love this Design:
Sometimes, my loves, less is truly more. A perfectly executed square nail with a sheer tint is the ‘quiet luxury’ of the nail world. It’s clean, professional, and makes your hands look incredibly groomed with minimal effort.
Essential Elements:
- High-quality glass nail file
- Nail strengthener
- Sheer ‘naked’ pink polish
How to Prepare:
- File the free edge of the nail in one direction to create a straight line.
- File the sides perfectly straight.
- Slightly round only the very corners so they don’t snag.
- Buff the surface to a shine.
- Apply a coat of strengthener.
- Apply one coat of sheer pink.
- Apply a quick-dry top coat.
- Massage cuticle oil in.
- Clean up the undersides.
- You’re done!
Budget Range
- Mont Bleu Glass Nail File – $10.00
- Nailtiques Formula 2 – $17.50
- Dior Abricot Cuticle Cream – $30.00
Closing Thoughts
Whether you choose the wild swirls of a Pucci print or the quiet elegance of a sheer square nail, I hope your Summer 2026 is filled with moments that make your heart skip a beat. Your nails are just a small part of your beauty, but they are a wonderful way to express the magic that lives inside you. Go forth and shine, my loves!