
Less is More: Effortless Minimalist Nail Art for Beginners
Hello, my loves. Welcome to our little corner of serenity. You know those mornings where the light hits your coffee cup just right, and everything feels still? That’s the feeling I wanted to capture on my fingertips this week. Life gets so loud and busy, doesn’t it? Sometimes, the most beautiful thing we can do for ourselves is to embrace simplicity and let go of the clutter.
I’ve always found that when I have a clean, minimalist manicure, I feel more grounded. It’s like carrying a tiny piece of peace with me throughout the day. Today, I want to share that soft, cloud-like embrace with you through some easy DIY minimalist nail art. You don’t need to be a professional; you just need a little time for yourself and a heart ready to create something gentle.
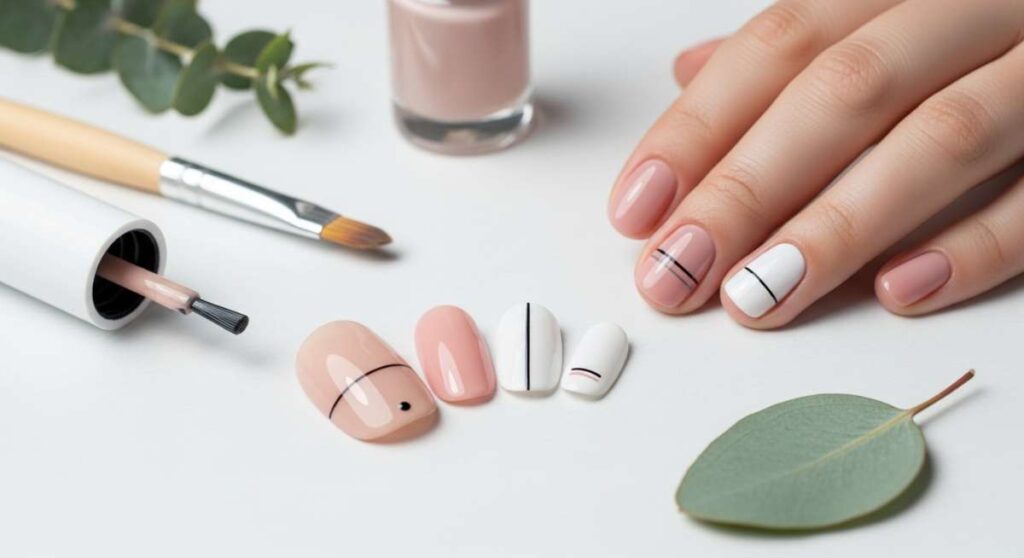
Master 5 simple steps for French tips

Why to love this Design:
Oh, the French tip is such a classic soul, isn’t it? It’s the ‘clean girl’ aesthetic in its purest form. It makes your hands look elongated and cared for without trying too hard. It’s like a fresh linen sheet for your nails—crisp, clean, and oh-so-inviting.
Essential Elements:
- Sheer ‘your nails but better’ base coat
- Opaque creamy white polish
- Thin liner brush or tip guides
- High-shine top coat
How to Prepare:
- Clean and shape nails into a soft oval or square.
- Apply one thin layer of sheer pink or nude base.
- Place a guide sticker or use a steady hand to paint a thin white line at the very edge.
- Clean up any wobbles with a brush dipped in remover.
- Seal with a glossy top coat for that salon finish.
Budget Range
- Essie ‘Mademoiselle’ ($10)
- Orly White Tips Polish ($9)
- Nail Art Brushes from Amazon ($6)
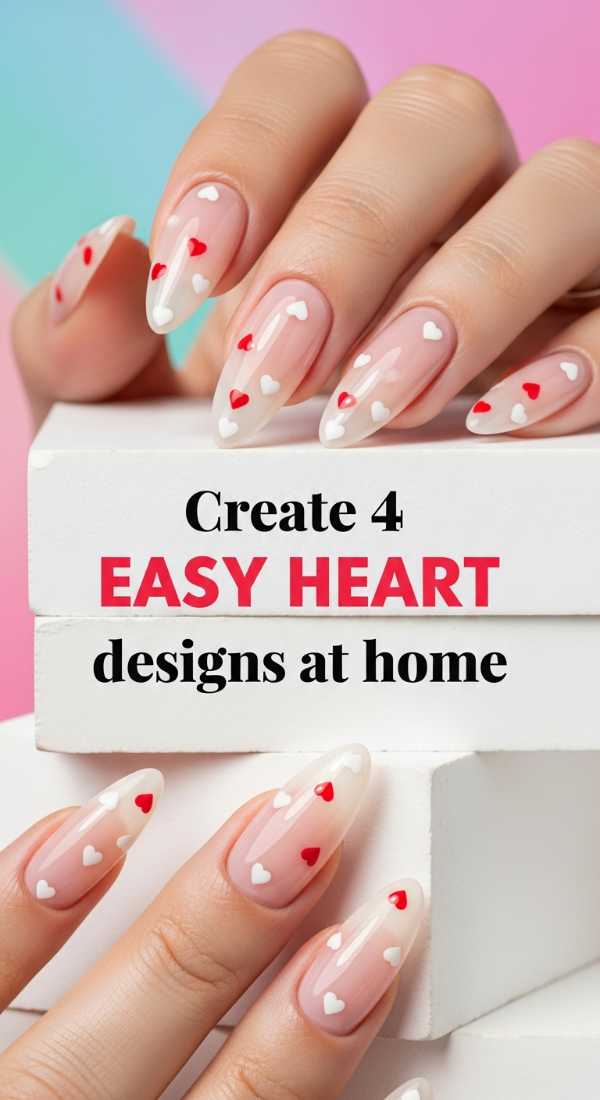
Create 4 easy heart designs at home
Why to love this Design:
There is something so sweet and whispered about a tiny heart on a naked nail. It’s a little secret between you and your hands. It’s not about grand gestures; it’s about those small moments of self-love that make the day feel a bit warmer.
Essential Elements:
- Clear or pale peach base polish
- A toothpick or a small dotting tool
- Red or soft pink polish
How to Prepare:
- Apply your favorite sheer base and let it dry completely.
- Dip your dotting tool into the color polish.
- Place two dots side-by-side where you want the heart.
- Drag the polish from each dot downward to meet in a ‘V’ shape.
- Let it set before applying a gentle top coat.
Budget Range
- Zoya ‘Naked Glow’ ($12)
- Sally Hansen ‘Red-y’ ($5)
- Household Toothpicks ($1)
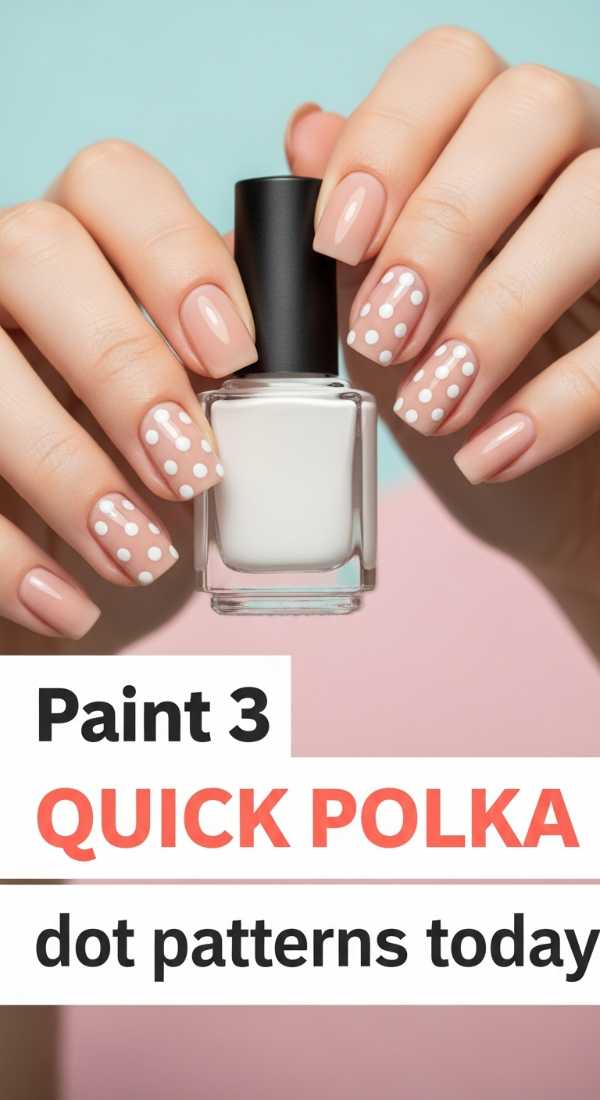
Paint 3 quick polka dot patterns today
Why to love this Design:
Polka dots are like little bubbles of joy. They bring a playful energy that isn’t overwhelming. I love how a single dot at the base of the nail can transform a look from plain to purposeful in seconds. It’s effortless whimsy at its finest.
Essential Elements:
- Nude or matte base coat
- Black or gold metallic polish
- Dotting tool (or the end of a bobby pin!)
How to Prepare:
- Start with a matte nude base for a modern feel.
- Decide on your pattern: a single dot at the base, a row down the center, or a cluster.
- Dip your tool into the accent color.
- Touch the nail lightly to create a perfect circle.
- Wait for the dots to dry fully before sealing to avoid smearing.
Budget Range
- OPI ‘Bubble Bath’ ($11)
- Revlon ‘Gold Coin’ ($6)
- Bobby pins from your vanity ($0)
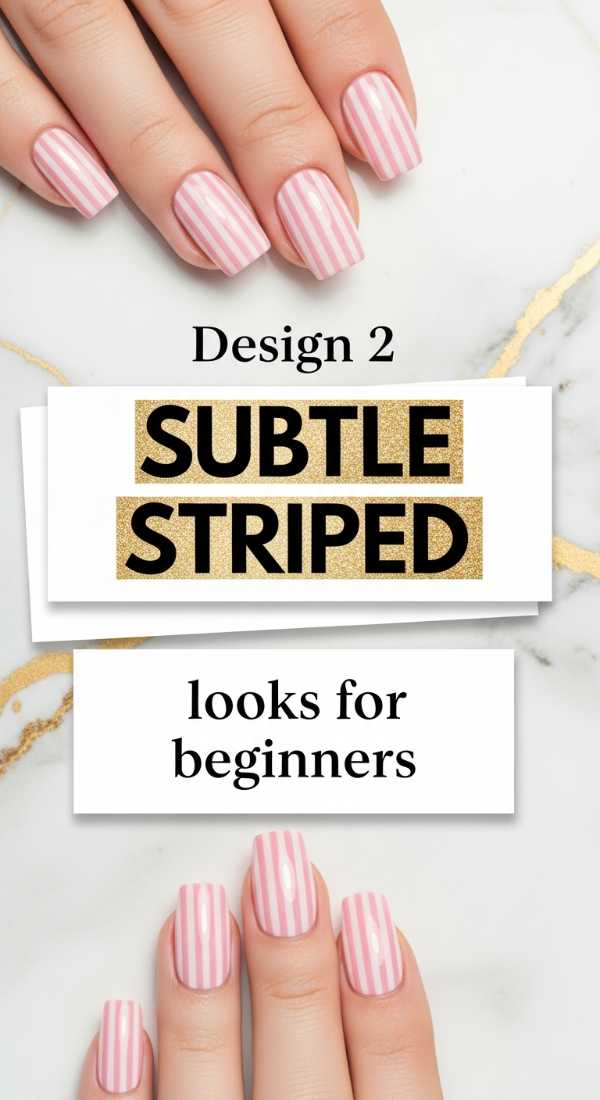
Design 2 subtle striped looks for beginners
Why to love this Design:
Stripes are for my loves who adore structure but want to keep it soft. A single horizontal or vertical line can look so editorial. It’s a very ‘architectural’ look that somehow feels as light as air. It’s the ultimate minimalist statement.
Essential Elements:
- Striping tape or a very fine detail brush
- Contrasting polish (like navy or silver)
- Tweezers
How to Prepare:
- Apply your base color and ensure it is 100% dry.
- Lay a piece of striping tape across the nail.
- Paint over the tape or use the tape as the design itself.
- If using polish, remove the tape while the paint is still slightly tacky.
- Finish with a thick layer of top coat to level the surface.
Budget Range
- Holo Taco ‘One-Coat Black’ ($13)
- Striping Tape Set ($5)
- Tweezers ($3)
Prepare 7 low maintenance natural nail styles
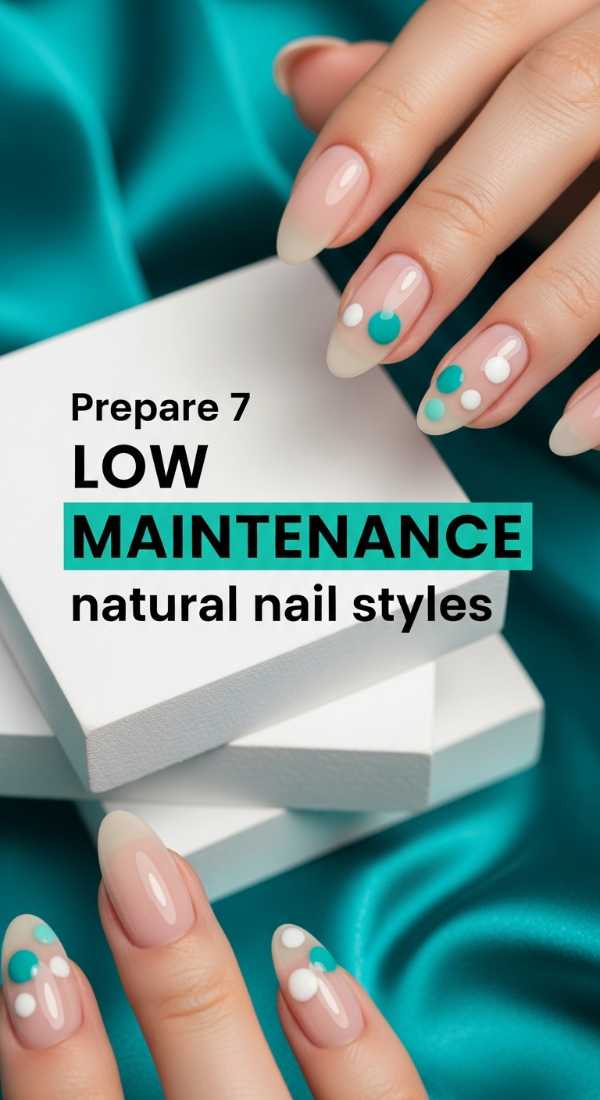
Why to love this Design:
Sometimes the art is in the health of the nail itself. These styles are for the weeks when you just want to breathe. It’s about celebrating your natural beauty and giving your nails a soft, hydrated hug. It’s low-maintenance but high-vibe.
Essential Elements:
- Nail buffer
- Cuticle oil (lavender or almond)
- Tinted nail strengthener
How to Prepare:
- Gently buff the surface of your nails to a natural shine.
- Shape them into a short, manageable ‘squoval.’
- Apply a tinted strengthener that adds just a hint of glow.
- Massage cuticle oil into the skin every night before bed.
- Keep the edges clean and hydrated.
Budget Range
- Cuppaio Cuticle Oil ($12)
- Burt’s Bees Lemon Butter Cuticle Cream ($6)
- Glass Nail File ($10)
Apply 3 basic but cute everyday designs

Why to love this Design:
These are your ‘daily bread’ designs—reliable, comforting, and always appropriate. Whether you’re at the grocery store or a meeting, these little accents make you feel put together without feeling ‘done up.’ It’s the sweatpants of nail art, but make it chic.
Essential Elements:
- Cream-colored polish
- A soft grey or sage green accent
- Matte top coat
How to Prepare:
- Paint all nails a creamy off-white.
- On the ring finger, add a single diagonal swipe of sage green.
- Use a matte top coat to give it a modern, velvet-like finish.
- Clean the edges with a cleanup brush.
Budget Range
- Olive & June ‘ECC’ ($9)
- Essie ‘Sage You Love Me’ ($9)
- Matte Top Coat ($7)
Finish 4 quick salon looks at home
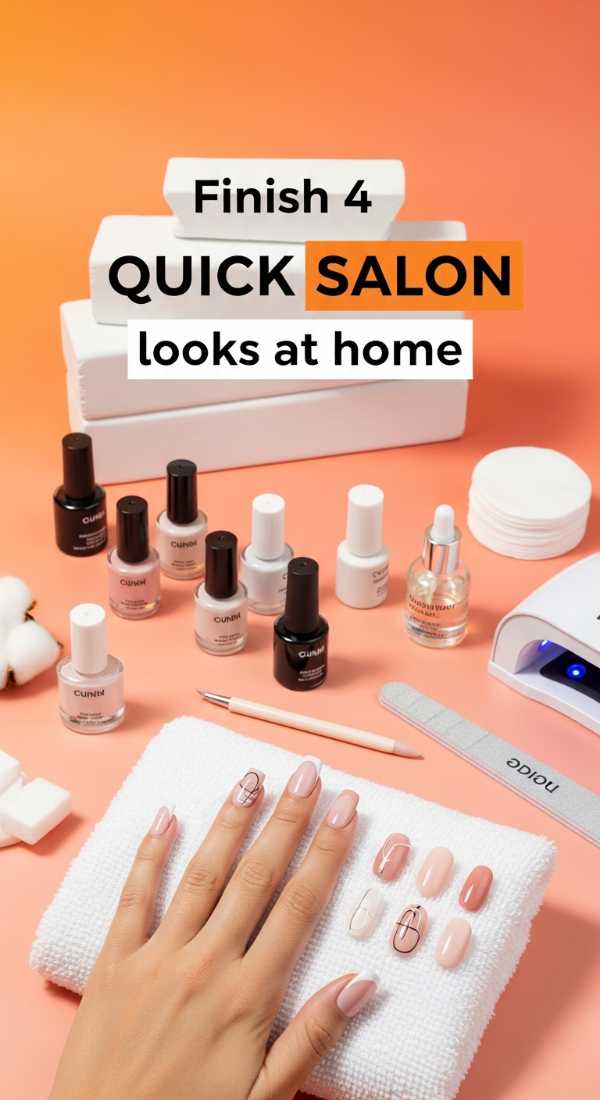
Why to love this Design:
Who says you need to spend sixty dollars to look like you just stepped out of a studio? These designs use ‘negative space’ to create a high-fashion look that is surprisingly forgiving for beginners. It’s sophisticated, smart, and so easy to love.
Essential Elements:
- Negative space (your natural nail)
- A bold accent color (like terracotta or cobalt)
- Precision brush
How to Prepare:
- Leave the bottom half of your nail bare.
- Paint a curved ‘half-moon’ shape on the top half.
- Apply a second coat for opacity.
- Use a brush with acetone to perfect the line where the polish meets the bare nail.
- Apply a high-gloss top coat over the entire nail.
Budget Range
- Ella + Mila ‘Terracotta’ ($11)
- Acetone-free remover ($4)
- Detailing brush set ($8)
Style 5 natural nails with minimal art
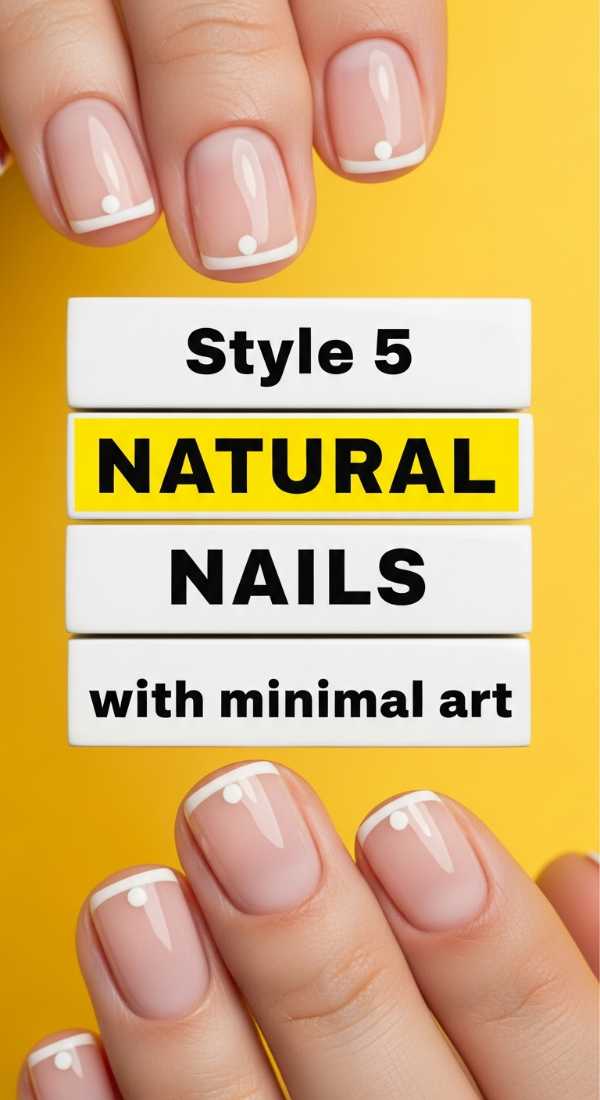
Why to love this Design:
This is all about the ‘accent nail’ but kept very, very quiet. It’s for the person who wants a little sparkle or a little detail, but only if you look closely. It’s an intimate kind of beauty, like a soft whisper in a quiet room.
Essential Elements:
- Sheer iridescent topper
- Fine glitter polish
- Base and top coat
How to Prepare:
- Paint four nails a solid neutral.
- On the fifth nail, apply a very thin layer of fine glitter just at the base.
- Flick the glitter upward slightly to create a ‘gradient’ effect.
- Keep the layers thin to maintain that minimalist feel.
Budget Range
- ILNP ‘Birthday Suit’ ($10)
- Wet n Wild Glitter Polish ($3)
- Standard Top Coat ($5)
Learn 6 easy nail ideas for beginners
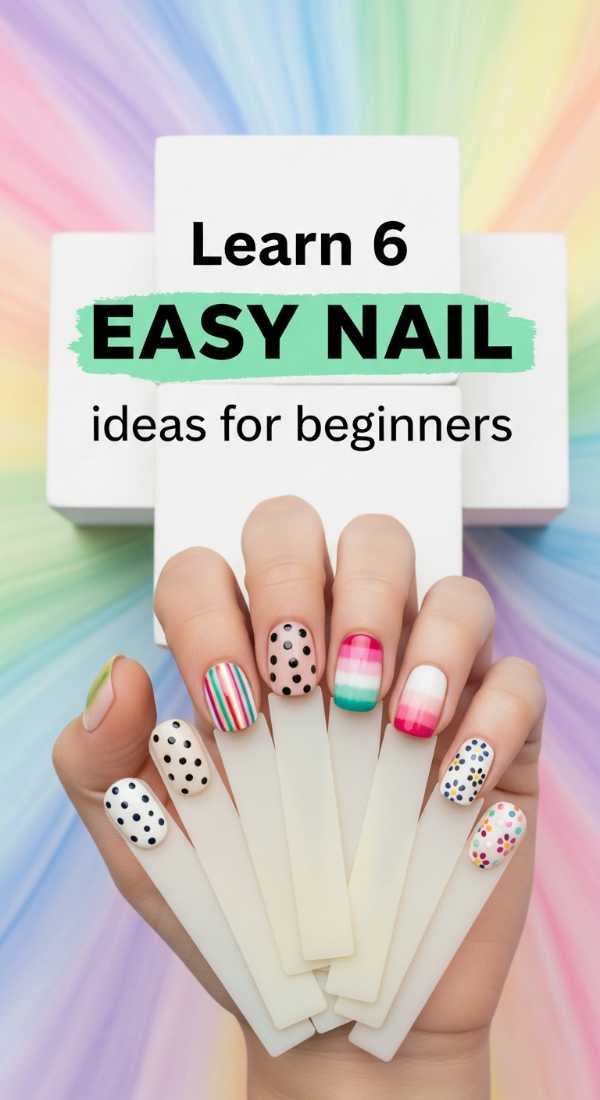
Why to love this Design:
If you’re just starting your DIY journey, these ideas are your best friends. They use household items to create textures and shapes that look complex but are really just clever hacks. It’s about finding the magic in the everyday.
Essential Elements:
- Sponge wedge
- Plastic wrap
- Two complementary soft colors
How to Prepare:
- Dab a bit of polish onto a sponge for a soft ‘aura’ effect in the center of the nail.
- Or, scrunch up plastic wrap and tap it onto wet polish for a marble look.
- Always start with the lighter color first.
- Let each layer dry to avoid a muddy appearance.
Budget Range
- Makeup Sponges ($4)
- Saran Wrap from kitchen ($0)
- Sinful Colors Polish ($2)
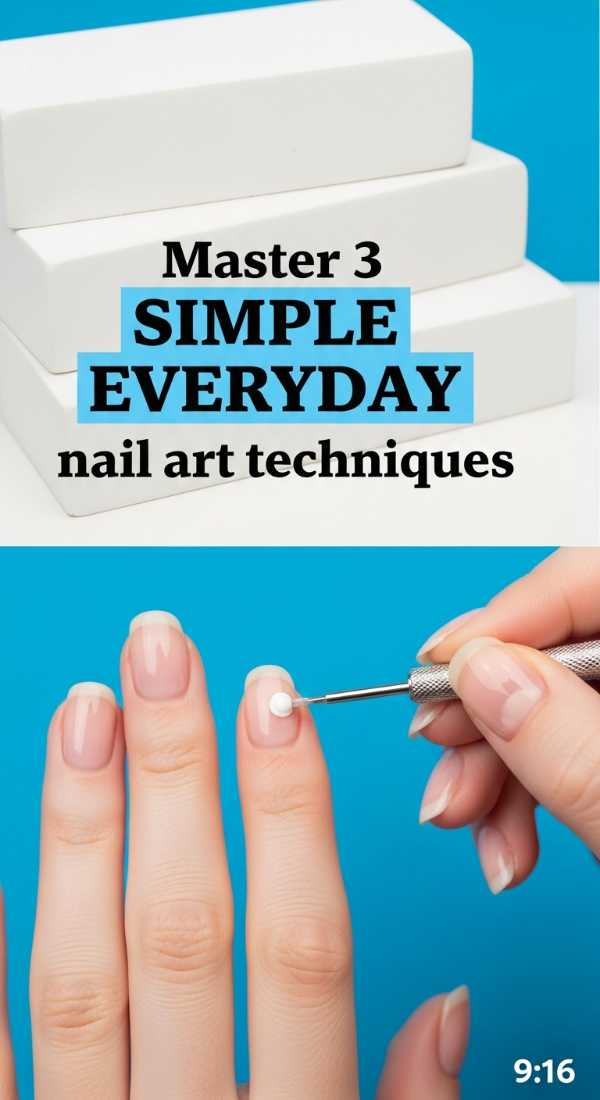
Master 3 simple everyday nail art techniques
Why to love this Design:
Technique is the foundation of everything, sweethearts. Once you master the ‘side-swipe’ or the ‘micro-dot,’ the world is your oyster. These techniques are the building blocks of confidence. They make the process feel like a meditation rather than a chore.
Essential Elements:
- A steady surface for your elbow
- Patience and deep breaths
- High-quality base coat
How to Prepare:
- Sit at a well-lit table and rest your painting hand firmly.
- Practice the ‘side-swipe’: a single vertical line off-center.
- Practice the ‘micro-dot’: using a pin to place the smallest dot possible.
- Remember, it’s just polish—it can always be wiped away.
Budget Range
- Seche Vite Fast Dry Top Coat ($9)
- Good desk lamp ($15)
- Patience ($Free)
Embracing the Softness of Simplicity
I hope these ideas bring a little spark of joy to your week, my loves. Minimalist nail art isn’t just about the way it looks; it’s about the intention behind it. It’s about choosing to be gentle with yourself and finding beauty in the smallest details. Go grab your favorite polish, put on some soft music, and enjoy this time. You deserve to feel beautiful in the simplest of ways. Sending you so much love and light.