
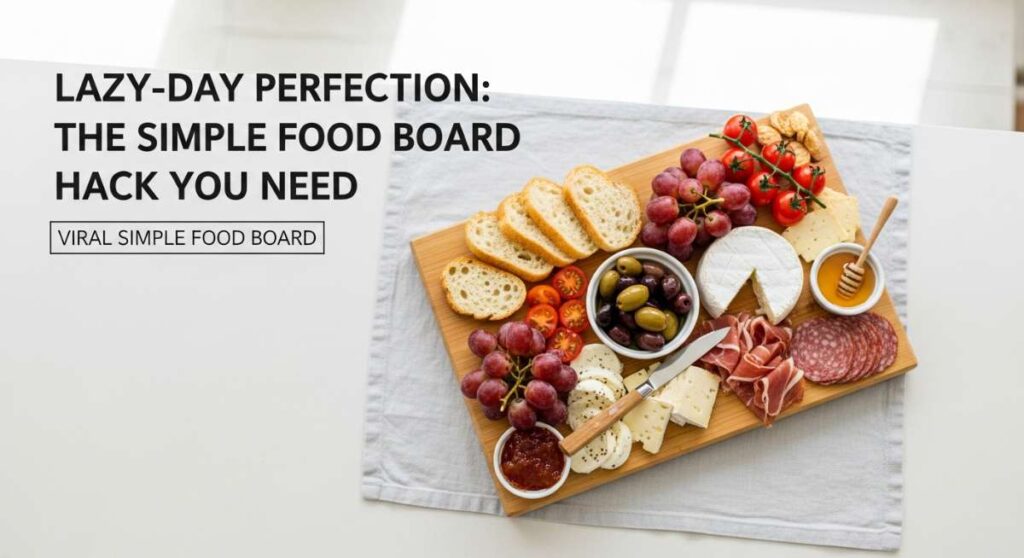
There is something truly magical about those slow, golden-hour afternoons where the light filters through the sheer curtains and the world seems to pause for just a moment. We have all been there—craving something sweet, beautiful, and restorative, but without the energy to spend hours hunched over a complicated recipe. That is where the magic of the ‘Lazy-Day Food Board’ comes in, specifically curated with the most delicate, spring-inspired treats that look like they belong in a Parisian patisserie but feel like a warm hug from home.
Today, I am sharing my ultimate secret for turning a simple afternoon into a celebratory event. We are diving deep into the world of aesthetic cakes, floral accents, and citrus-bright flavors that come together on a shared board. It is not just about eating; it is about the sensory experience of colors, textures, and the joy of creating something beautiful with your own hands. Let’s transform your kitchen into a blooming garden of sweetness with these simple, viral-worthy hacks.
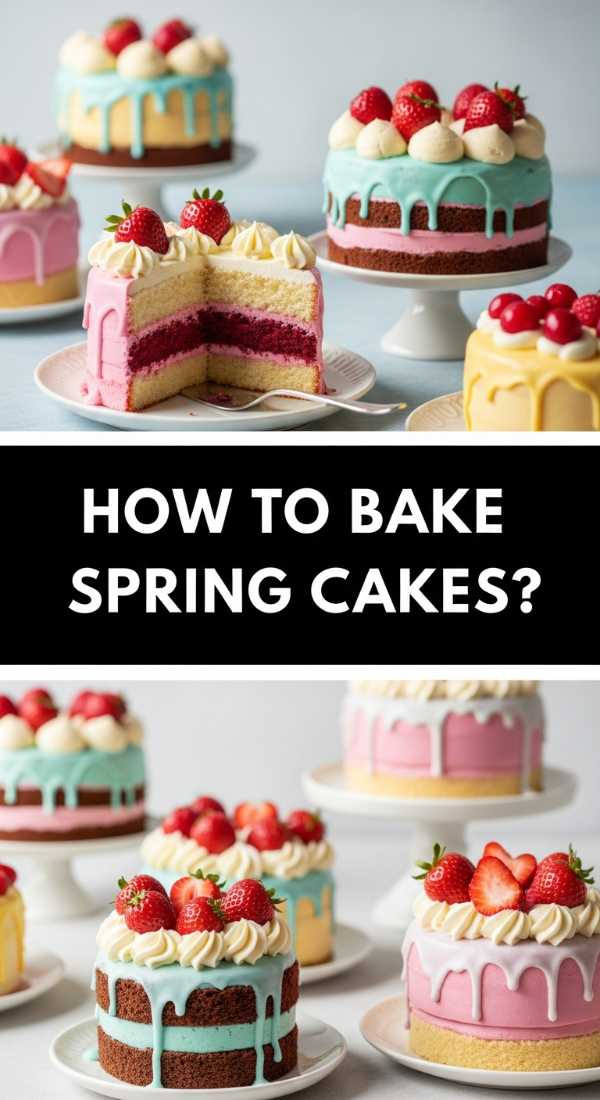
How to bake spring cakes?
Why we love this
There is nothing quite like the airy, cloud-like texture of a perfectly baked spring cake. These cakes are the personification of a fresh breeze, featuring a crumb so tender it practically melts the moment it touches your tongue. The aroma of sweet cream and Madagascar vanilla fills the house, creating a sense of peace that lingers long after the oven timer dings. It is the perfect base for any seasonal food board, offering a light sweetness that never feels heavy or overwhelming during the warmer months.
Ingredients
- 2 cups cake flour (sifted)
- 1 1/2 cups granulated sugar
- 1 tablespoon baking powder
- 1/2 teaspoon salt
- 3/4 cup unsalted butter (softened)
- 1 cup whole milk (room temperature)
- 4 large egg whites
- 2 teaspoons vanilla bean paste
How to make it
- Preheat your oven to 350°F (175°C) and grease your pans thoroughly with butter and a dusting of flour to ensure a clean release.
- In a large bowl, whisk together the sifted cake flour, sugar, baking powder, and salt until perfectly combined and aerated.
- Add the softened butter and half of the milk. Using a stand mixer with a paddle attachment on low speed, beat until the dry ingredients are moistened, then increase to medium and beat for 2 minutes to develop the cake’s structure.
- In a separate bowl, whisk the remaining milk, egg whites, and vanilla bean paste until just combined.
- Slowly add the egg white mixture to the batter in three separate additions, beating for 30 seconds after each addition to ensure the emulsion is stable and the batter is smooth.
- Pour the batter into the prepared pans and bake for 25-30 minutes; look for a pale golden top and a toothpick that comes out with just a few moist crumbs.
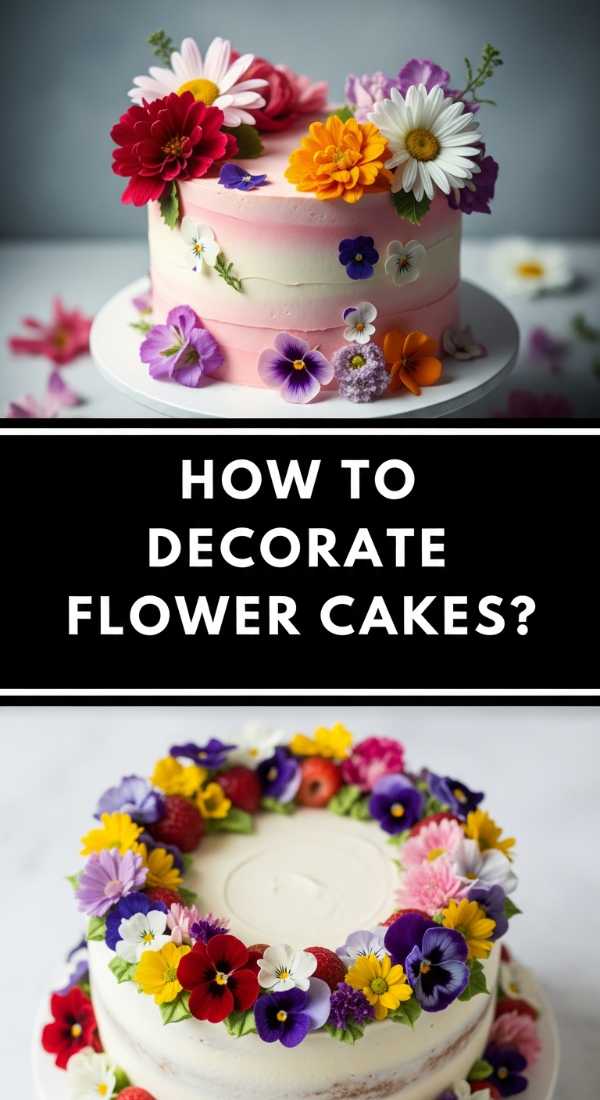
How to decorate flower cakes?
Why we love this
Decorating with flowers transforms a simple dessert into a living piece of art. The visual impact of vibrant petals against a smooth canvas of frosting is unmatched, evoking the feeling of a sun-drenched meadow in full bloom. As you carefully place each bloom, there is a meditative quality to the process that grounds you in the moment. The contrast between the velvety frosting and the delicate, organic shapes of the flowers creates a stunning aesthetic that is guaranteed to stop the scroll on any social feed.
Ingredients
- Edible flowers (pansies, violas, or marigolds)
- Prepared cake with smooth frosting
- Tweezers (for precision)
- Simple syrup (for adhering)
- Optional: Gold leaf accents
How to make it
- Begin by sourcing organic, food-grade edible flowers; ensure they have been washed gently and patted completely dry with a paper towel.
- Prepare your cake with a ‘crumb coat’ followed by a final smooth layer of chilled buttercream, which provides a firm and stable surface for decorating.
- Plan your design on a piece of parchment paper first, arranging the flowers by size and color to create a balanced, natural-looking flow.
- Using sterilized tweezers, gently pick up a bloom and dip the back of the calyx into a tiny bit of simple syrup or leftover frosting to act as ‘glue.’
- Press the flower onto the side or top of the cake with light pressure, starting with the largest focal flowers and filling in gaps with smaller petals or buds.
- Finish the look by adding tiny flecks of edible gold leaf or sprigs of fresh mint to add depth and a professional, artisanal touch to the arrangement.
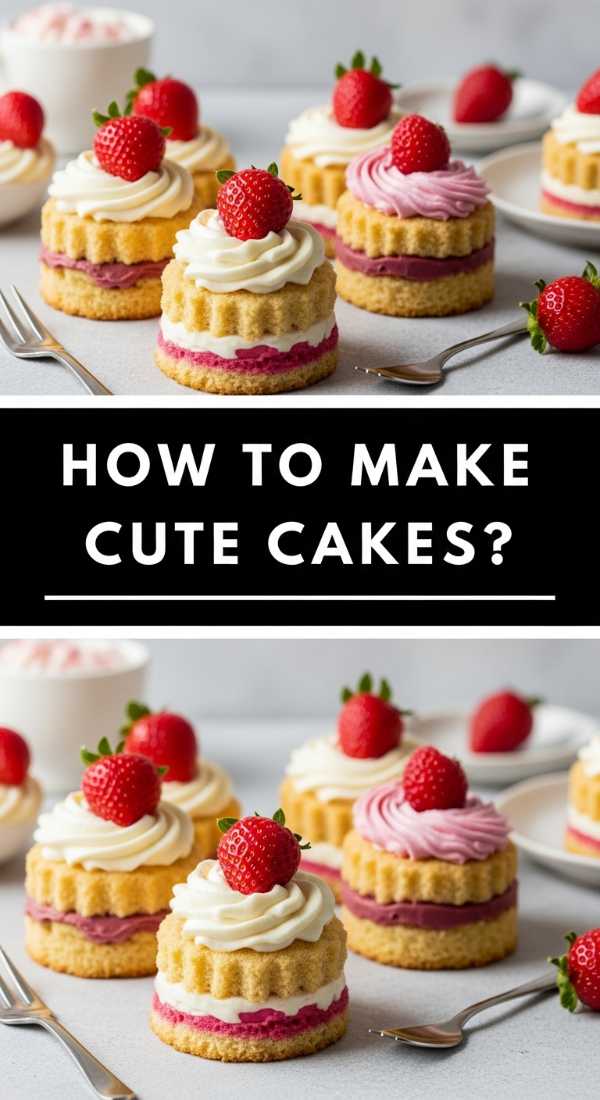
How to make cute cakes?
Why we love this
Cute cakes are all about the joy of the miniature—those tiny, whimsical details that make you smile before you even take a bite. There is an inherent charm in small-scale baking, where soft pastel colors and rounded shapes create a sense of playfulness and nostalgia. When you see a tray of these diminutive treats, it feels like an invitation to a secret tea party. The textures are often soft and squishy, and the flavors are sweet and comforting, making them the ultimate mood-lifter for a lazy afternoon at home.
Ingredients
- Miniature cake pans or cupcake liners
- Pastel-colored food gels
- Small pearl sprinkles
- Silicone molds for tiny shapes
- White chocolate ganache
How to make it
- Start by scaling down your favorite recipe; use mini 4-inch pans or even silicone sphere molds to create unique, adorable shapes that stand out.
- Tint your batter or frosting with high-quality gel colors, using just a toothpick-dot of pigment to achieve those soft, dreamy pastel hues like blush pink or mint green.
- When baking small cakes, reduce the baking time by approximately 30-40% and keep a close eye on the oven; they transition from perfect to overbaked very quickly.
- Once cooled, use a small offset spatula to apply a very thin, smooth layer of frosting, keeping the edges soft and rounded for that ‘chibi’ or cute aesthetic.
- Add ‘faces’ or tiny details using melted chocolate in a fine-tip piping bag, ensuring the chocolate is at a temperature where it flows but doesn’t run.
- Place a single, oversized pearl sprinkle or a tiny fondant bow on top to serve as a focal point that emphasizes the ‘cuteness’ of the scale.
How to style aesthetic cakes?

Why we love this
Aesthetic styling is the art of intentionality; it is about creating a mood that feels cohesive, calm, and visually satisfying. We love this approach because it elevates the cake from a mere food item to a centerpiece of a lifestyle. The soft shadows, the curated backdrop, and the minimalist color palette all work together to create a vibe that is both modern and timeless. It makes the act of eating feel like a curated ritual, encouraging you to slow down and appreciate the beauty in the simple details of the cake’s design.
Ingredients
- Linen napkins in neutral tones
- Ceramic or marble cake stands
- Natural lighting
- Dried botanicals
- Minimalist cake design
How to make it
- Choose a color story for your styling, such as monochromatic whites, earthy terracottas, or soft sage greens, to ensure every element on the board feels connected.
- Place your cake on a stand with varying heights; height creates visual interest and allows the eye to travel across the ‘landscape’ of your food board.
- Utilize natural, indirect light—aim for a spot near a window during the ‘golden hour’ to get soft, flattering shadows that highlight the texture of the frosting.
- Incorporate ‘negative space’ by not overcrowding your board; leaving open areas makes the cake feel more precious and artfully placed.
- Add organic textures like a crumpled linen cloth or a wooden board to contrast with the smooth, refined surface of the cake.
- Finalize the styling with a ‘hero’ prop, such as a vintage silver cake server or a single stem of a dried flower, placed purposefully next to the cake.
How to whip spring frosting?
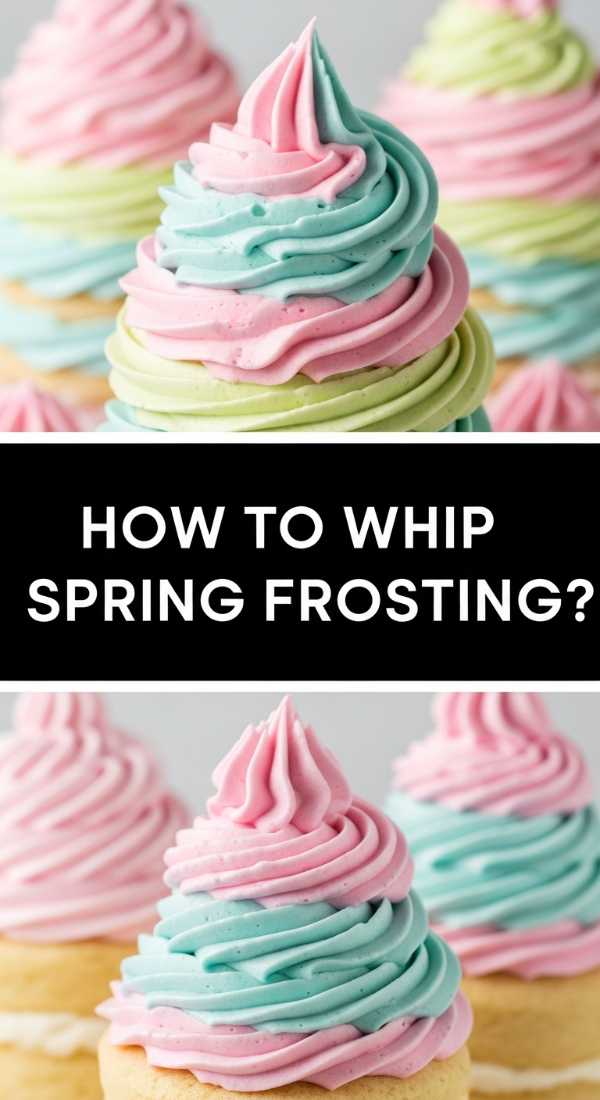
Why we love this
Spring frosting should feel like a cloud—ethereal, light, and just sweet enough to complement a delicate sponge. The texture is the star here; it’s a silky-smooth whipped dream that holds its shape while remaining incredibly soft on the palate. The aroma of fresh cream and perhaps a hint of citrus or floral extract makes it feel incredibly fresh. It is the kind of frosting that you could eat by the spoonful, and it provides the perfect, pristine base for all your decorative floral and fruit toppings.
Ingredients
- 1 cup heavy whipping cream (very cold)
- 8 oz mascarpone cheese (chilled)
- 1/2 cup powdered sugar
- 1 teaspoon elderflower or vanilla syrup
- Pinch of fine sea salt
How to make it
- Place your mixing bowl and whisk attachment in the freezer for 15 minutes prior to starting; cold equipment is the secret to a stable, voluminous whip.
- In the chilled bowl, combine the mascarpone cheese and powdered sugar, beating on low speed until the mixture is smooth and there are no lumps of cheese remaining.
- Slowly pour in the heavy whipping cream while the mixer is running on low, allowing the two fats to emulsify gradually.
- Increase the speed to medium-high and whip until the mixture begins to thicken and trail marks from the whisk remain visible in the bowl.
- Add your flavoring (like elderflower) and the salt, then continue to whip only until stiff peaks form; stop immediately to avoid over-whipping into butter.
- The frosting should be used immediately for the best texture, or stored in the fridge for up to two hours before piping onto your cakes.
How to create floral cakes?

Why we love this
Floral cakes bring the abundance of a spring garden directly to your table, creating a lush and romantic atmosphere. We love how this style allows for creative expression, using frosting to mimic the intricate layers of petals and leaves. The finished product is a textured masterpiece that feels almost too beautiful to cut into. The combination of soft, buttery frosting and the visual representation of nature’s most beautiful creations makes for a truly immersive dessert experience that appeals to both the eyes and the taste buds.
Ingredients
- Stiff-consistency buttercream
- Piping bags and assorted tips (Petal tips #104, Leaf tip #352)
- Flower nail
- Parchment paper squares
- Food coloring in botanical shades
How to make it
- Prepare a ‘crustable’ buttercream recipe, which contains enough powdered sugar to hold a rigid shape even in warmer temperatures.
- Fit a piping bag with a petal tip and fill it with two shades of frosting to create a natural, variegated look in your flower petals.
- Pipe a small dot of frosting onto a flower nail, attach a parchment square, and begin piping your base—usually a small cone of frosting to support the petals.
- Spin the nail between your fingers as you pipe overlapping arches to create roses, or quick ‘flicks’ to create daisies and chrysanthemums.
- Transfer the finished flowers (on their parchment squares) to a baking sheet and freeze them for 20 minutes until they are rock-hard and easy to handle.
- Peel the frozen flowers off the paper and press them onto your freshly frosted cake, using a leaf tip to pipe green foliage directly into the gaps for a full ‘garden’ effect.
How to bake lemon cakes?
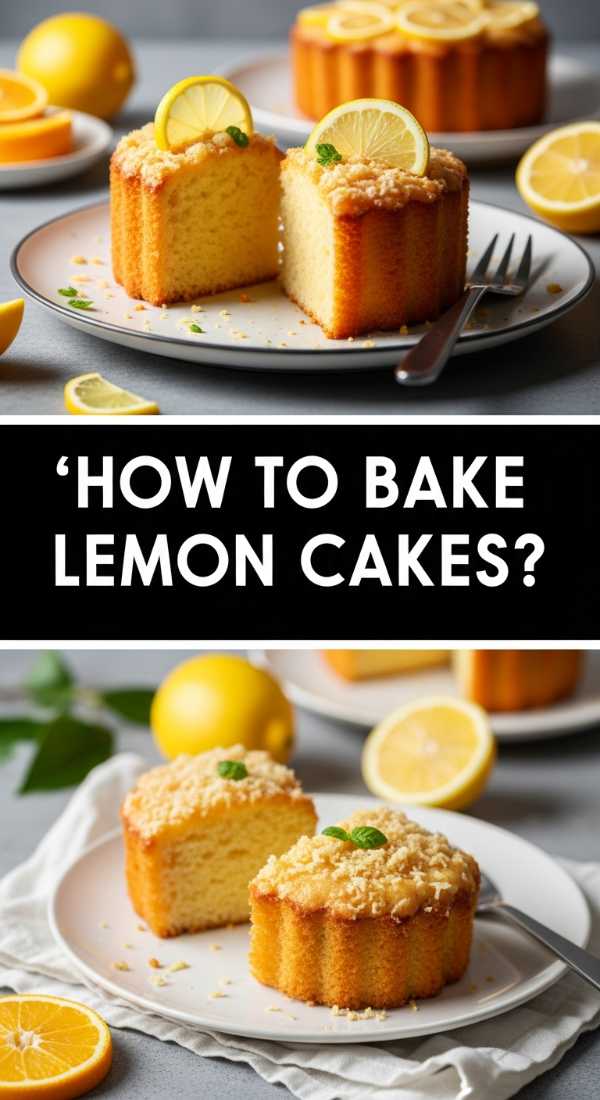
Why we love this
Lemon cake is the ultimate palate cleanser—it’s bright, zesty, and carries a sunshine-filled energy that perfectly balances the sweetness of a dessert board. The scent of freshly zested lemons hitting the hot oven air is absolutely intoxicating, instantly lifting the mood of the entire house. Each bite offers a sharp, tangy zip that cuts through rich frosting, leaving you feeling refreshed rather than weighed down. It is the quintessential flavor of renewal and spring, making it a mandatory addition to any seasonal celebration.
Ingredients
- 2 1/2 cups all-purpose flour
- 1 1/2 teaspoons baking powder
- 1/2 teaspoon baking soda
- 1 cup sugar + 2 tablespoons lemon zest
- 3/4 cup Greek yogurt
- 1/2 cup fresh lemon juice
- 3 large eggs
- 1/2 cup vegetable oil
How to make it
- Rub the lemon zest into the granulated sugar with your fingertips for 2 minutes until the sugar is fragrant and moist; this releases the essential oils for maximum flavor.
- In a medium bowl, whisk the dry ingredients (flour, baking powder, soda) to ensure even distribution of the leavening agents.
- In a large bowl, whisk the eggs and the lemon-sugar until the mixture is pale and frothy, then slowly stream in the oil while whisking constantly.
- Stir in the Greek yogurt and lemon juice—don’t worry if the mixture looks slightly curdled; the acidity will react beautifully with the baking soda later.
- Gently fold the dry ingredients into the wet ingredients using a spatula, stopping the moment no dry streaks remain to keep the cake tender and light.
- Bake at 325°F (160°C) for about 45 minutes; the lower temperature prevents the high sugar and acid content from browning too quickly before the center is set.
How to design easy cakes?

Why we love this
Easy cakes prove that you don’t need to be a professional pastry chef to create something stunning and viral-worthy. The beauty of ‘easy design’ lies in its effortless charm—think rustic textures, simple swooshes of a spoon, and natural garnishes. It removes the stress of perfectionism, allowing the baker to enjoy the process of assembly. These designs feel approachable and warm, making them perfect for a casual lazy-day food board where the focus is on flavor and the joy of sharing a meal with loved ones.
Ingredients
- Single-layer round cake
- Whipped topping or store-bought frosting
- A large spoon or offset spatula
- Fresh berries or citrus slices
- Dusting of powdered sugar
How to make it
- Place your cooled cake on its final serving board; this prevents you from having to move it later and risking a crack.
- Dollop a large amount of frosting into the center of the cake—more than you think you need—to create a thick, plush layer.
- Using the back of a large spoon, make a spiral motion from the center outward, creating deep ‘valleys’ and ‘peaks’ in the frosting for a rustic, textured look.
- Wipe the edges of the board clean with a damp cloth to ensure the simple design looks intentional and polished.
- Scatter fresh fruit or simple herbs like rosemary or thyme in an asymmetrical ‘crescent’ shape around one side of the cake’s top.
- Finish with a light sifting of powdered sugar from a high distance to create a ‘snowfall’ effect that hides any minor imperfections in the frosting.
How to craft daisy cakes?
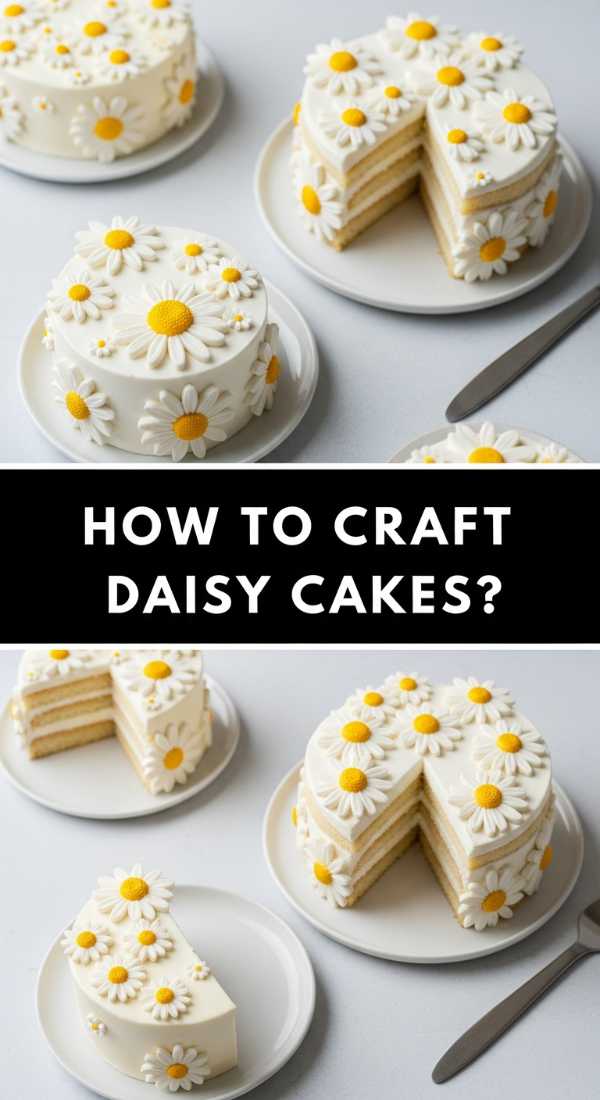
Why we love this
Daisy cakes are the epitome of ‘cottagecore’ chic—they are simple, cheerful, and undeniably nostalgic. The graphic contrast of white petals and yellow centers is instantly recognizable and brings a sense of innocent joy to any dessert spread. We love this specific design because it is incredibly easy to achieve yet looks like it took hours of painstaking work. It’s a design that feels handmade in the best way possible, evoking memories of picking wildflowers and enjoying the simple pleasures of the outdoors.
Ingredients
- White mini-marshmallows
- Yellow sanding sugar or yellow candies
- Kitchen shears
- White frosting
- Green frosting (for stems)
How to make it
- Frost your cake with a smooth layer of light blue or pale green frosting to act as the ‘sky’ or ‘grass’ backdrop for your daisies.
- To make the petals, use kitchen shears to cut mini-marshmallows in half diagonally; the sticky internal side will naturally look like a shimmering petal.
- Dip the sticky side of the marshmallow petals into white edible glitter or extra-fine sugar to give them a delicate, pearlescent finish.
- Arrange 5 or 6 marshmallow halves in a circle on the cake, pressing the pointed ends toward the center to form the flower shape.
- Place a round yellow candy or a dollop of yellow frosting in the center of the marshmallow ring to complete the daisy.
- Using a small round piping tip and green frosting, draw delicate, wobbly lines downward from the flowers to create ‘stems’ that give the design a whimsical, hand-drawn feel.
How to make berry cakes?
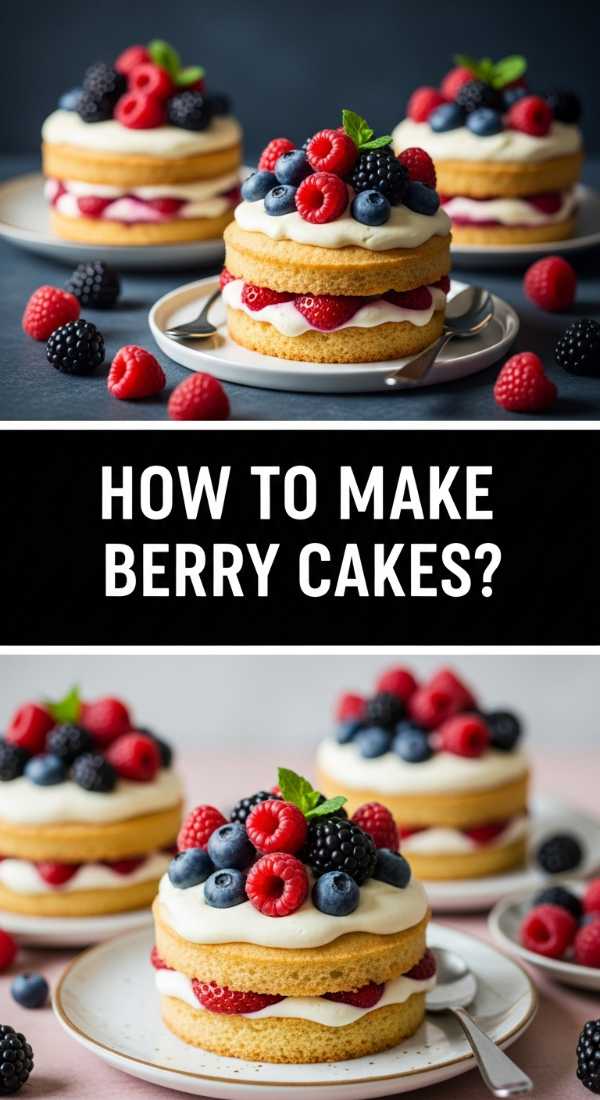
Why we love this
Berry cakes are a celebration of nature’s candy. The burst of tart juice from a ripe raspberry or the deep, earthy sweetness of a blackberry provides a complex flavor profile that perfectly balances a rich cake. Visually, the deep reds, purples, and blues of the fruit pop against the pale cake, creating a natural jewel-toned aesthetic. The texture of the fresh fruit—sometimes firm, sometimes jammy—adds an exciting layer of interest to every bite, making the cake feel vibrant, fresh, and seasonally appropriate.
Ingredients
- Fresh raspberries, blueberries, and strawberries
- Berry jam or preserves (warmed)
- Vanilla sponge cake
- Whipped cream
- Fresh mint leaves
How to make it
- Slice your cake layers and spread a thin layer of berry jam on the bottom half; this ‘seals’ the cake and prevents the fresh fruit juices from making the sponge soggy.
- Pipe a ring of stiff whipped cream around the edge of the layer to act as a ‘dam’ for the fruit filling.
- Fill the center with a dense layer of sliced strawberries and whole blueberries, ensuring they are packed tightly so the top layer stays level.
- Place the second cake layer on top and cover the entire cake with a generous amount of freshly whipped cream, leaving it slightly ‘naked’ on the sides to show the fruit.
- Macerate a handful of extra berries in a teaspoon of sugar and lemon juice for 10 minutes until they are glossy and weeping juice.
- Spoon the glossy berries over the top of the cake, letting some of the vibrant red syrup drip artistically down the sides for a mouth-watering, fresh-picked look.
Conclusion
Creating the perfect food board doesn’t have to be a stressful endeavor. By focusing on these simple cake-styling hacks and bright, seasonal flavors, you can turn a lazy afternoon into a viral-worthy celebration of life’s little sweetnesses. Whether you choose to bake a zesty lemon cake or craft delicate marshmallow daisies, the key is to embrace the process and enjoy the sensory journey. Now, grab a board, pick your favorite recipe, and let your creativity bloom!