
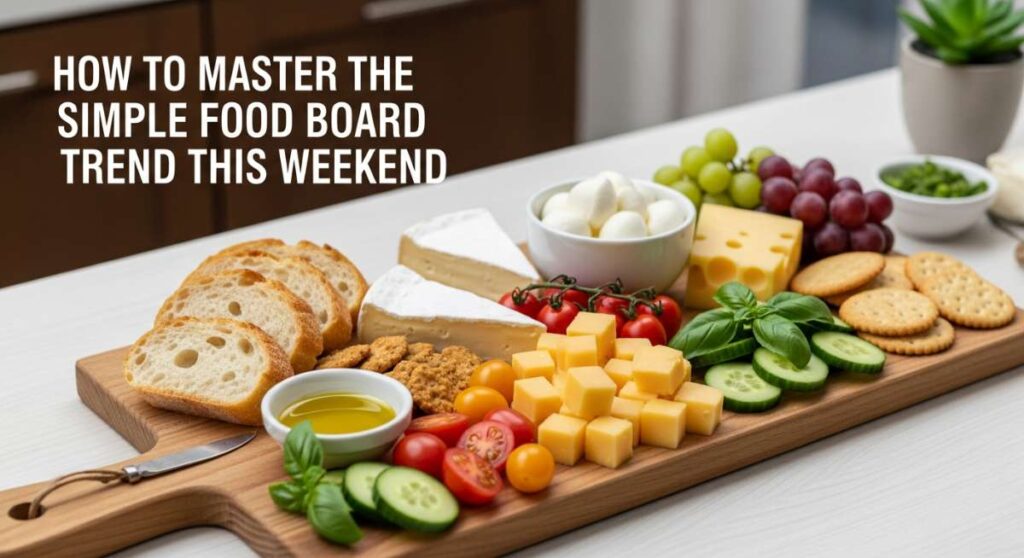
There is something undeniably magical about a slow Saturday afternoon when the golden hour light spills across the kitchen counter, casting a warm glow over a spread of fresh ingredients. We have all seen those stunning, viral food boards on social media—the kind that look almost too beautiful to eat, yet invite you to dive in with their vibrant colors and rustic textures. It is more than just a meal; it is a celebration of the simple things, a way to turn a casual weekend gathering into an aesthetic and sensory experience that lingers in your memory long after the last bite.
Mastering the simple food board trend isn’t about professional catering skills; it is about the heart you put into the assembly and the stories each component tells. Whether you are hosting a backyard brunch or just want to treat yourself to a curated lunch, these boards offer a canvas for creativity and seasonal freshness. Today, I am sharing my favorite elements to include on your next board, from floral jellies to the perfect zesty pasta salad, ensuring your weekend is filled with flavor, beauty, and that effortless ‘cool-girl’ host energy we all crave.
How to make dandelion jelly?

Why we love this
Dandelion jelly is like captured sunshine in a jar, offering a delicate, honey-like sweetness with subtle floral undertones that feel deeply nostalgic and whimsical. When you spread this golden nectar over a warm piece of crusty sourdough, the aroma of spring meadows fills the air, and the smooth, translucent texture glistens beautifully against the bread. It is a true conversation starter for any food board, bringing a touch of the wild outdoors to your table while proving that even the simplest backyard ‘weeds’ can be transformed into something gourmet and sophisticated.
Ingredients
- 2 cups dandelion petals (yellow parts only)
- 4 cups boiling water
- 2 tablespoons lemon juice
- 1 package (1.75 oz) powdered fruit pectin
- 4 cups granulated sugar
How to make it
- Begin by harvesting fresh dandelions from a clean, pesticide-free area, then carefully pluck the yellow petals away from the green sepals, as the green parts can introduce an unwanted bitterness to your jelly.
- Place the yellow petals in a heat-proof quart jar and pour 4 cups of boiling water over them; let this steep for at least 4 hours or overnight in the refrigerator to extract the full floral essence.
- Strain the infusion through a fine-mesh sieve or cheesecloth, pressing down on the petals to release every drop of liquid, until you have exactly 3 cups of dandelion ‘tea.’
- In a large heavy-bottomed pot, combine the dandelion tea with the lemon juice and the powdered pectin, stirring constantly over high heat until the mixture reaches a full, rolling boil that cannot be stirred down.
- Add the sugar all at once, stirring vigorously to dissolve, and bring the mixture back to a rolling boil for exactly one minute to ensure the pectin activates correctly.
- Remove the pot from the heat, skim off any foam that has formed on the surface with a metal spoon, and carefully ladle the hot jelly into sterilized jars, leaving a quarter-inch of headspace before sealing and processing in a water bath for 10 minutes.
How to cook quick pasta?

Why we love this
There is an effortless elegance to a perfectly executed quick pasta, where the noodles are coated in a glossy, emulsified sauce that sings with the brightness of garlic and high-quality olive oil. As you toss the pasta, the steam carries the comforting scent of toasted aromatics and nutty parmesan, creating a sensory experience that feels like a warm hug after a busy day. This dish is the ultimate ‘pantry staple’ hero, providing a satisfying, al dente bite and a rich mouthfeel that makes it a versatile star on any Mediterranean-inspired food board.
Ingredients
- 1/2 lb dried spaghetti or linguine
- 3 tablespoons extra virgin olive oil
- 4 cloves garlic, thinly sliced
- 1/2 teaspoon crushed red pepper flakes
- 1/2 cup freshly grated Parmesan cheese
- Fresh parsley, chopped
How to make it
- Bring a large pot of heavily salted water to a vigorous boil; the water should taste like the sea to properly season the pasta from the inside out as it hydrates.
- Add the pasta to the water and cook for about 8-9 minutes, or until it is just shy of al dente, as it will finish cooking in the sauce later.
- While the pasta boils, heat the olive oil in a large skillet over medium-low heat and add the sliced garlic, allowing it to gently sizzle and turn a very pale golden brown; be careful not to burn it, as bitter garlic will ruin the delicate flavor profile.
- Stir in the red pepper flakes for 30 seconds to infuse the oil with a subtle heat, then use tongs to transfer the pasta directly from the water into the skillet.
- Add about 1/2 cup of the starchy pasta cooking water to the skillet and toss vigorously over medium heat, allowing the water and oil to emulsify into a creamy, shimmering sauce that clings to every strand.
- Remove from heat, sprinkle in the parmesan and parsley, and give it one final toss until the cheese is melted and the dish looks glossy and irresistible.
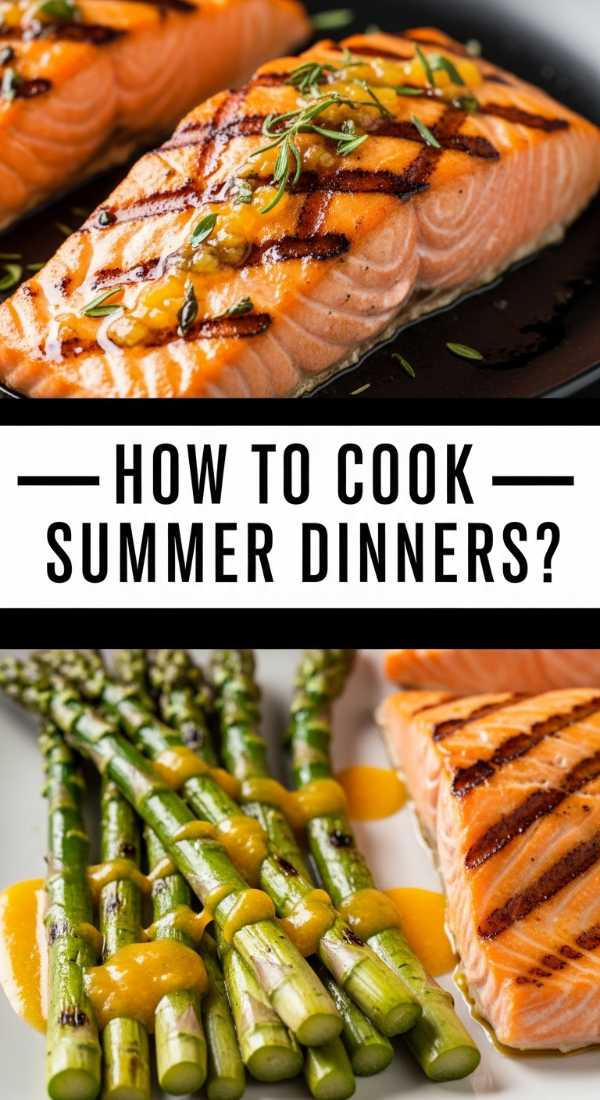
How to cook summer dinners?
Why we love this
Summer dinners should feel like an extension of the garden, bursting with juicy tomatoes, crisp greens, and charred proteins that evoke the spirit of outdoor living. We love this approach because it emphasizes minimal time over a hot stove and maximum focus on the vibrant, raw textures of seasonal produce, resulting in meals that are light yet incredibly satisfying. The contrast of cold, crunchy vegetables against warm, grilled components creates a dynamic eating experience that perfectly complements the hazy, warm evenings of July and August.
Ingredients
- 1 lb flank steak or chicken breast
- 2 tablespoons balsamic glaze
- 1 pint cherry tomatoes, halved
- 1 ball fresh mozzarella, torn
- Handful of fresh basil leaves
- Flaky sea salt and cracked black pepper
How to make it
- Preheat your outdoor grill or a heavy cast-iron grill pan to high heat, ensuring it is lightly oiled to prevent sticking and to achieve those professional-looking char marks.
- Season your protein generously with salt and pepper, then sear it for 4-5 minutes per side until the exterior is caramelized and the internal temperature reaches your desired level of doneness.
- Allow the meat to rest on a cutting board for at least 10 minutes before slicing; this crucial step ensures the juices redistribute, keeping the meat tender and moist for your board.
- While the meat rests, prepare a simple caprese-style base by tossing the halved cherry tomatoes with torn mozzarella and fresh basil leaves in a small bowl.
- Arrange the rested, sliced meat on your board alongside the tomato mixture, and drizzle everything with a high-quality balsamic glaze for a sweet and tangy finish.
- Garnish with an extra sprinkle of flaky sea salt to make the flavors of the fresh produce pop and serve immediately while the contrast of temperatures is at its peak.
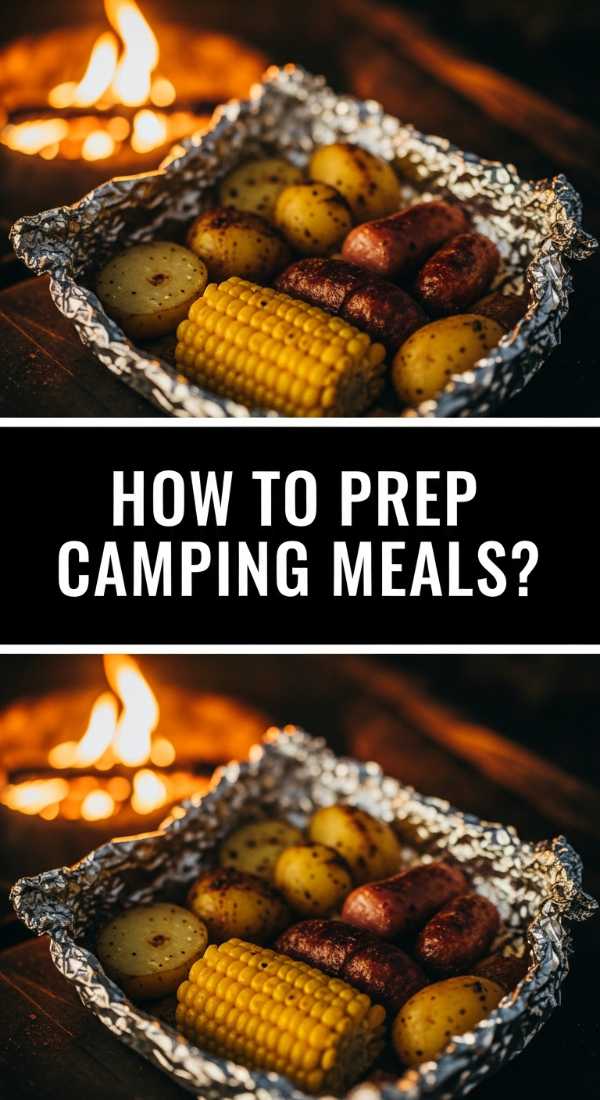
How to prep camping meals?
Why we love this
Camping meals bring a rugged, adventurous spirit to the table, focusing on hearty ingredients that can stand up to the elements while still delivering gourmet flavor. There is something deeply satisfying about the smoky aroma of food cooked over an open flame and the tactile experience of eating foil-packet meals that have been nestled in the glowing embers. It turns mealtime into a communal event, where the simplicity of the preparation allows you to focus on the crackle of the fire and the beauty of the stars above.
Ingredients
- 4 large flour tortillas
- 1 can black beans, drained and rinsed
- 1 cup shredded cheddar cheese
- 1 bell pepper, thinly sliced
- Pre-cooked chorizo or soy crumbles
- Heavy-duty aluminum foil
How to make it
- At home, prepare your ‘kit’ by slicing the bell peppers and portioning the cheese into reusable containers, which saves time and minimizes mess at the campsite.
- When ready to cook, lay out a large square of heavy-duty aluminum foil for each person and place a tortilla in the center.
- Layer the center of the tortilla with the pre-cooked protein, black beans, bell peppers, and a generous handful of cheese, making sure not to overfill so it can be folded properly.
- Fold the sides of the tortilla inward and roll it up tightly like a burrito, then wrap the entire thing securely in the aluminum foil, crimping the edges to create a steam-tight seal.
- Place the foil packets on a grill grate over indirect heat or at the edge of a bed of hot coals for about 10-15 minutes, turning once halfway through to ensure even heating.
- Use tongs to remove the packets from the fire, let them cool for a minute, and carefully unwrap to reveal a perfectly melted, toasted campfire burrito that is ready to be eaten straight from the foil.
How to master meal prep?

Why we love this
Mastering meal prep is the ultimate gift to your future self, transforming the chaos of a busy work week into a streamlined, stress-free experience of health and flavor. We love the visual satisfaction of a fridge stocked with colorful, organized containers, each one promising a delicious and nutritious meal that is ready when you are. It’s about more than just efficiency; it’s about creating a sustainable lifestyle where you always have high-quality, homemade options at your fingertips, reducing the temptation for uninspired takeout.
Ingredients
- 3 cups cooked quinoa or brown rice
- 2 lbs roasted seasonal vegetables (broccoli, sweet potatoes, peppers)
- 1 lb grilled chicken or chickpeas
- 1 jar of lemon-tahini dressing
- Fresh spinach or kale
How to make it
- Start your meal prep session by multi-tasking: get your grains simmering on the stove while you chop a variety of colorful vegetables into uniform pieces for even roasting.
- Toss the vegetables in olive oil, salt, and pepper, then spread them in a single layer on a large sheet pan and roast at 400°F (200°C) until they are tender and have caramelized edges.
- While the veggies roast, prepare your protein—whether searing chicken breasts in a skillet or seasoning chickpeas for a plant-based option—ensuring everything is cooked through and well-seasoned.
- Prepare a versatile ‘hero’ sauce, like a lemon-tahini or a zesty pesto, which can be stored separately and used to add moisture and flavor to your bowls right before eating.
- Assemble your containers by layering the grains at the bottom, followed by a handful of leafy greens, the roasted vegetables, and finally the protein on top.
- Seal the containers tightly and store them in the refrigerator for up to four days, keeping the dressing on the side to prevent the greens from wilting, ensuring every meal stays fresh and vibrant.
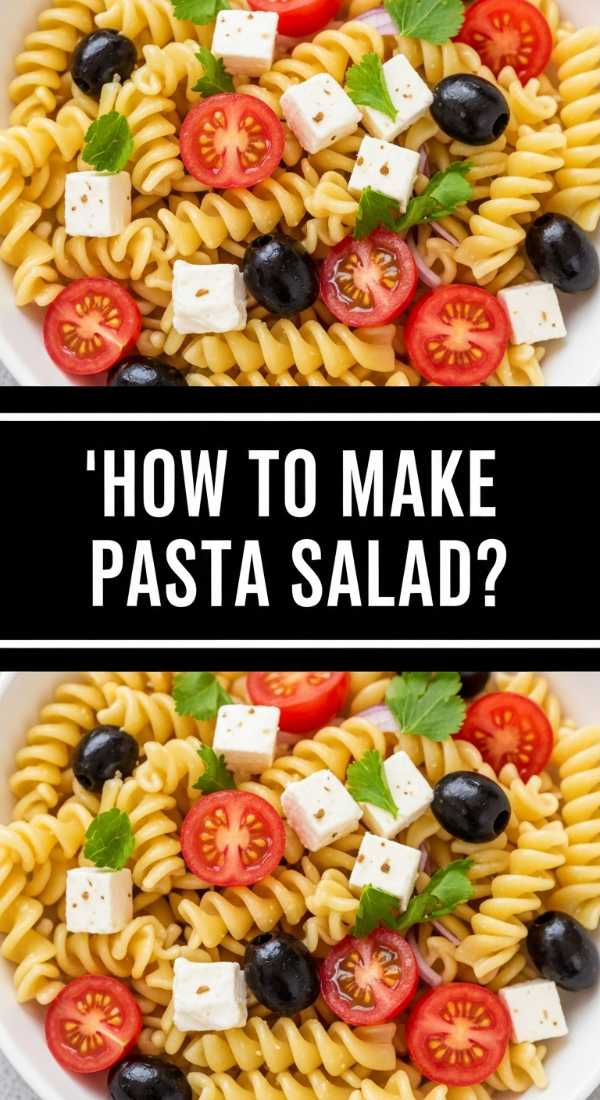
How to make pasta salad?
Why we love this
A great pasta salad is a symphony of textures and bright, acidic flavors, making it the quintessential side dish for any summer gathering or food board spread. We love the way the rotini or fusilli noodles trap the zesty vinaigrette in their spirals, ensuring every bite is bursting with the taste of sun-dried tomatoes, olives, and fresh herbs. It is a dish that actually improves with time as the flavors meld together, offering a cold, refreshing, and incredibly satisfying component that balances out heavier grilled items.
Ingredients
- 1 lb rotini or fusilli pasta
- 1/2 cup Italian vinaigrette
- 1/2 cup sliced black olives
- 1/2 cup diced red onion
- 1 cup cucumber, diced
- 1/2 cup crumbled feta cheese
How to make it
- Cook the pasta in a large pot of salted water until it is exactly al dente; it is vital not to overcook it, as the pasta will soften slightly further as it marinates in the dressing.
- Immediately drain the pasta and rinse it under cold running water to stop the cooking process and wash away excess starch, which prevents the salad from becoming gummy.
- In a large mixing bowl, combine the cooled pasta with the diced cucumbers, red onions, olives, and feta cheese, ensuring an even distribution of the colorful ingredients.
- Pour the Italian vinaigrette over the top—start with half the bottle and add more as needed—tossing thoroughly to coat every piece of pasta and vegetable.
- Taste the salad and adjust the seasoning with extra salt, pepper, or a squeeze of fresh lemon juice if it needs more brightness to cut through the richness of the cheese.
- Cover and refrigerate for at least two hours before serving on your food board, giving the pasta time to absorb the dressing and for the flavors to harmonize into a cohesive, delicious dish.
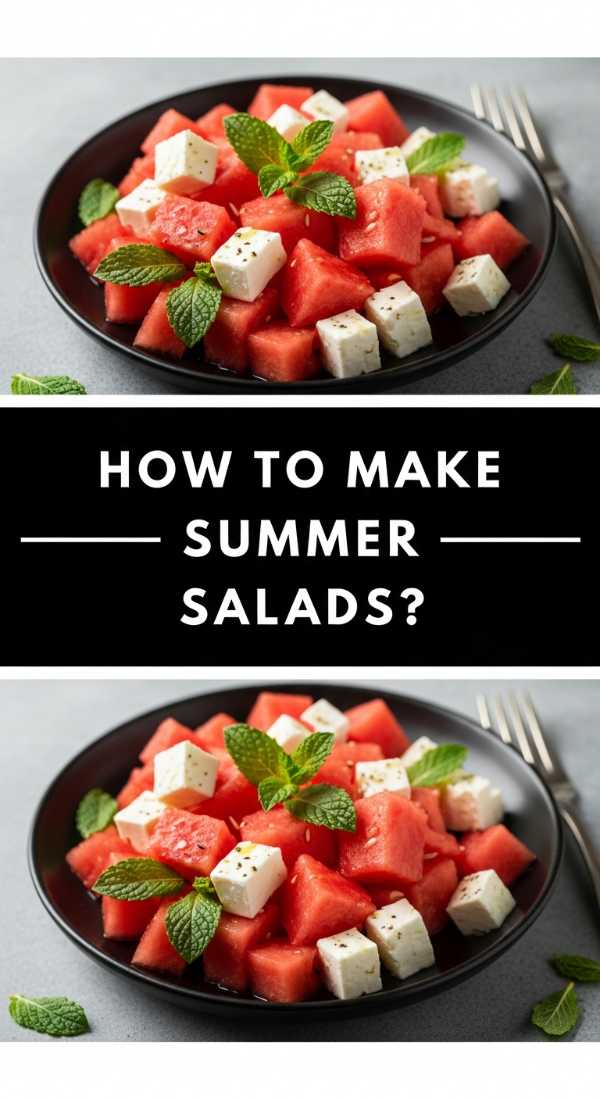
How to make summer salads?
Why we love this
Summer salads are a vibrant explosion of the season’s best offerings, moving far beyond basic lettuce to include stone fruits, berries, and crunchy nuts. We love the play between sweet and savory, like the way a juicy peach slice complements a salty bit of prosciutto or how a sharp balsamic reduction cuts through the creaminess of goat cheese. These salads bring a sophisticated, high-end feel to your food board, offering a light and airy texture that feels like a celebration of the harvest and the warm, sunny days.
Ingredients
- 4 cups baby arugula
- 2 ripe peaches, sliced
- 1/4 cup toasted pecans
- 2 oz goat cheese, crumbled
- Honey-balsamic vinaigrette
- Fresh mint leaves
How to make it
- Begin by lightly toasting your pecans in a dry skillet over medium heat for 3-5 minutes until they become fragrant and slightly darkened; this step adds a crucial depth of flavor and crunch.
- Prepare the peaches by slicing them into elegant wedges, ensuring they are ripe but still firm enough to hold their shape when tossed.
- In a large, shallow bowl (which is better for presentation on a board), lay down a plush bed of fresh baby arugula, which provides a peppery base for the sweeter toppings.
- Artfully arrange the peach slices and toasted pecans over the greens, then dot the salad with small crumbles of creamy goat cheese for a rich, tangy contrast.
- Just before serving, drizzle the honey-balsamic vinaigrette in a zigzag pattern across the top, being careful not to over-saturate the delicate leaves.
- Garnish with torn fresh mint leaves to add an unexpected layer of cool, herbal freshness that ties all the summery flavors together beautifully.
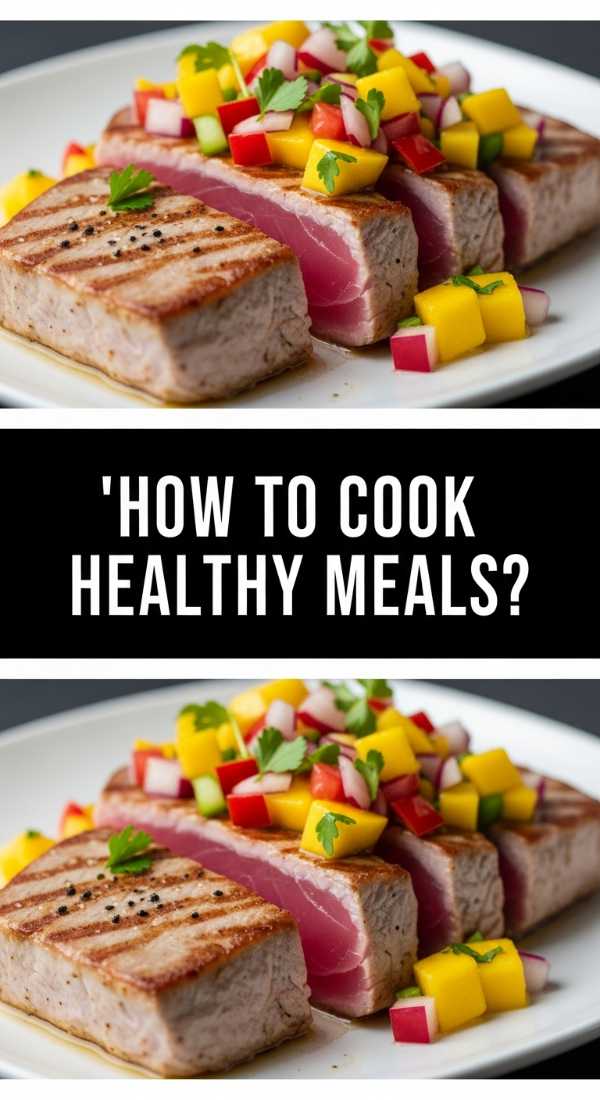
How to cook healthy meals?
Why we love this
Healthy cooking is all about unlocking the natural potential of whole ingredients, creating meals that leave you feeling energized and glowing rather than weighed down. We love this approach because it focuses on clean, bold flavors—think citrus zests, fresh herbs, and high-quality proteins—that prove ‘healthy’ is synonymous with ‘delicious.’ When featured on a food board, these components provide a guilt-free variety of textures and colors that appeal to everyone, making wellness feel like an indulgent and beautiful experience.
Ingredients
- 1 lb salmon fillets
- 1 bunch asparagus, trimmed
- 1 tablespoon lemon zest
- 1 tablespoon olive oil
- Garlic powder and dried dill
- Thin lemon slices
How to make it
- Preheat your oven to 400°F (200°C) and line a large baking sheet with parchment paper to ensure easy cleanup and to keep the fish from sticking.
- Place the salmon fillets in the center of the sheet and surround them with the trimmed asparagus spears, ensuring the vegetables aren’t overcrowded so they can roast rather than steam.
- Drizzle the olive oil over both the salmon and the asparagus, then sprinkle with lemon zest, garlic powder, dried dill, salt, and pepper for a bright, aromatic seasoning.
- Place a few thin lemon slices directly on top of each salmon fillet; as they bake, the juice will infuse the fish with moisture and a concentrated citrus flavor.
- Roast for 12-15 minutes, depending on the thickness of the salmon, until the fish flakes easily with a fork and the asparagus is tender-crisp with slightly charred tips.
- Transfer the salmon and asparagus to your board, serving them alongside a dollop of Greek yogurt mixed with herbs for a high-protein, low-fat finishing touch.
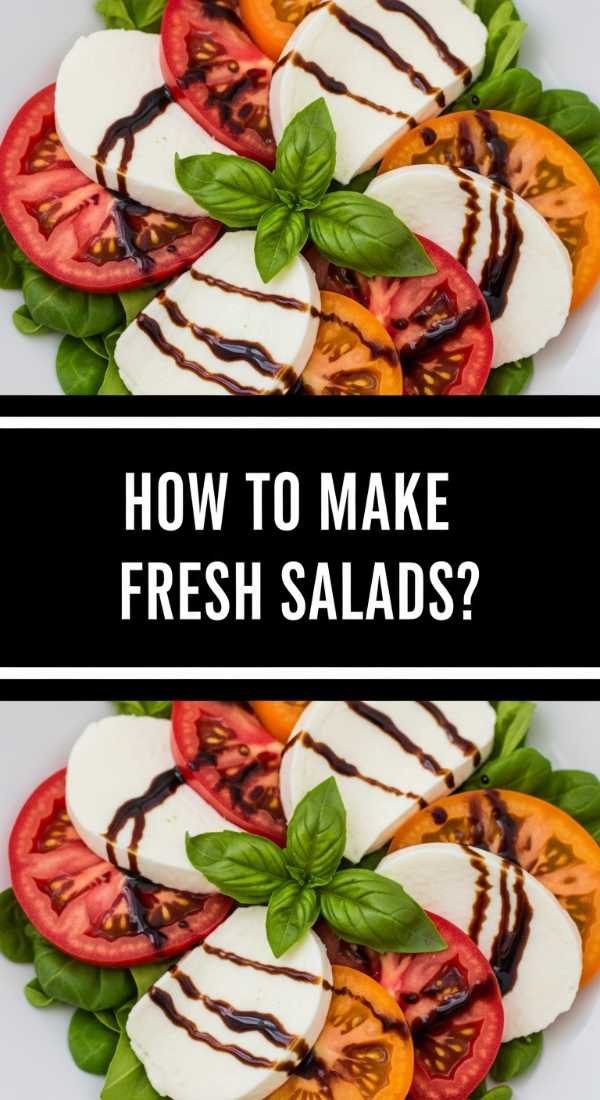
How to make fresh salads?
Why we love this
A truly fresh salad is defined by its crunch and the ‘just-picked’ quality of its ingredients, offering a palate-cleansing brightness that is essential for a well-rounded food board. We love the snap of a cold radish against the silkiness of an avocado slice, or the way a shower of fresh dill can transform a simple cucumber salad into something extraordinary. These salads are the ultimate supporting actors, providing the essential acidity and lightness needed to balance out the richer cheeses and cured meats typically found on a viral board.
Ingredients
- 2 large cucumbers, thinly sliced
- 1/2 red onion, shaved paper-thin
- 1/4 cup white wine vinegar
- 1 tablespoon sugar
- 2 tablespoons fresh dill, chopped
- Salt and cracked black pepper
How to make it
- Use a mandoline or a very sharp knife to slice the cucumbers and red onions as thinly as possible; the thinner the slices, the more surface area there is to soak up the quick-pickle brine.
- In a medium glass bowl, whisk together the white wine vinegar, sugar, a pinch of salt, and pepper until the sugar is completely dissolved.
- Add the cucumbers and onions to the vinegar mixture, tossing gently with your hands or tongs to ensure every slice is submerged or coated.
- Let the mixture sit at room temperature for at least 20 minutes, or in the fridge for an hour; you will notice the cucumbers soften slightly while the onions lose their harsh bite.
- Just before serving, drain about half of the excess liquid and toss in the chopped fresh dill, which adds a bright, grassy aroma that is signature to this style of salad.
- Arrange the salad in a small bowl or directly on the board, ensuring it is positioned near any heavier proteins or breads to provide a refreshing contrast.
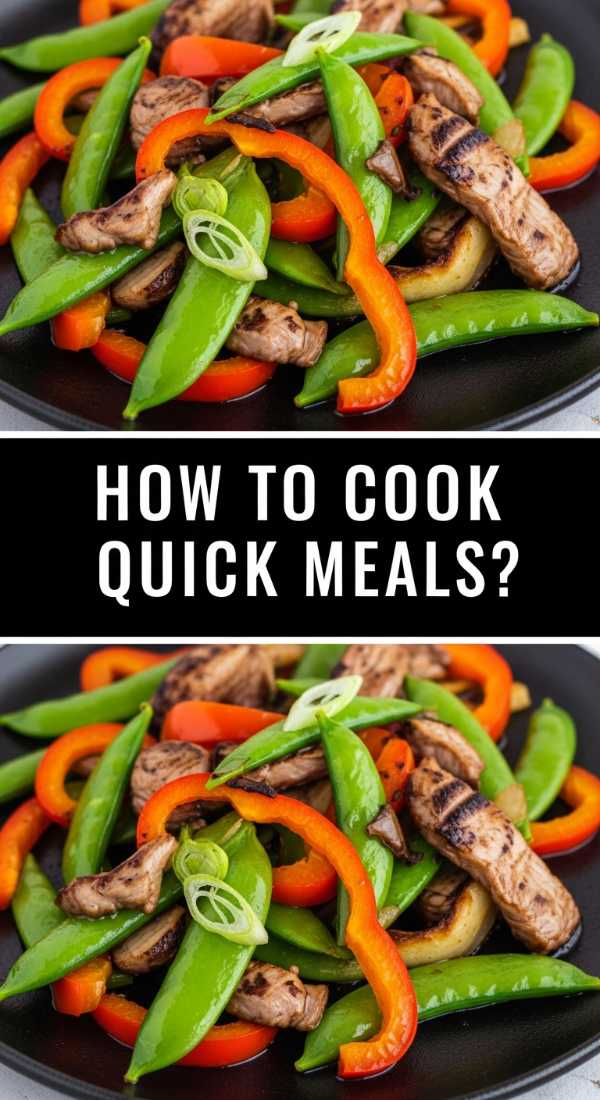
How to cook quick meals?
Why we love this
Quick meals are the secret weapon of the modern lifestyle blogger, allowing you to whip up something that looks and tastes like it took hours in just a fraction of the time. We love the ‘low-effort, high-reward’ nature of these dishes, which often rely on high-impact ingredients like pesto, pre-cooked grains, or rapid-cook proteins. It’s about being smart in the kitchen so you can spend less time hovering over a stove and more time enjoying the company of your friends and family around a beautifully laid-out food board.
Ingredients
- 1 lb large shrimp, peeled and deveined
- 2 tablespoons store-bought or homemade pesto
- 1 bag pre-washed baby spinach
- 1 tablespoon butter
- Red pepper flakes and lemon wedges
How to make it
- Heat a large skillet over medium-high heat and melt the butter until it starts to foam, then add the shrimp in a single layer to ensure they sear rather than boil in their own juices.
- Cook the shrimp for about 2 minutes per side; you’ll know they are done when they turn opaque and form a nice ‘C’ shape—be careful not to overcook them into a tight ‘O’ or they will become rubbery.
- Once the shrimp are cooked, reduce the heat to low and stir in the pesto and a pinch of red pepper flakes, tossing until the shrimp are evenly coated in the vibrant green sauce.
- Add the baby spinach directly to the pan and toss for just 30-60 seconds until the leaves are barely wilted; the residual heat from the shrimp is enough to cook the greens perfectly.
- Finish the dish with a generous squeeze of fresh lemon juice to brighten the pesto and cut through the richness of the butter.
- Serve the shrimp and spinach mixture in a warm bowl nestled into your food board, providing a hot, flavorful element that pairs perfectly with crackers or crusty bread.
Conclusion
Mastering the simple food board trend is all about finding the balance between ease and aesthetic. By incorporating a mix of these fresh, vibrant, and quick-to-prepare dishes, you can create a weekend spread that feels like a true indulgence without the stress. Whether you’re dipping into dandelion jelly or savoring a zesty pasta salad, the key is to use high-quality ingredients and present them with love. So grab your biggest board, gather your favorite people, and make this weekend a delicious one to remember!