
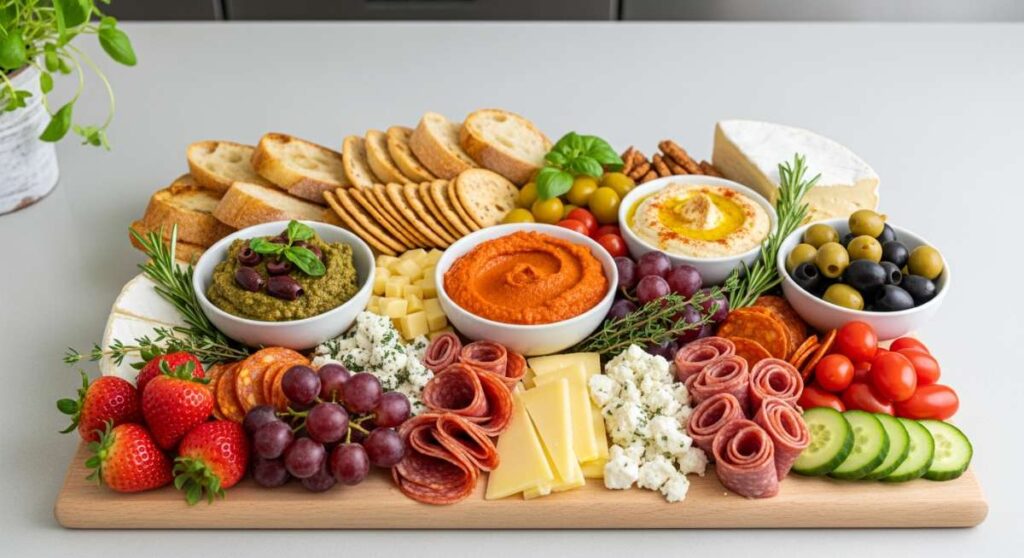
We’ve all been there—scrolling through our feeds and pausing on those breathtakingly beautiful food boards that look like they belong in a high-end editorial. There’s something so magnetic about a sprawling spread of colors and textures that invites everyone to lean in and grab a bite. But let’s be real: between our busy schedules and the desire to actually enjoy our guests’ company, who has time for five hours of kitchen prep? That’s exactly why the ‘Lazy Gourmet’ movement is taking over our social circles.
The secret isn’t in complex techniques or rare ingredients; it’s about the art of the assembly. It’s about choosing vibrant, high-impact dishes that look stunning when nestled together on a giant wooden board. This approach turns a simple Tuesday night dinner into a celebratory event and makes weekend hosting feel like a breeze. Today, I’m sharing the ultimate components of the ‘Lazy Gourmet’ board that will have your friends asking for your secrets while you’re calmly sipping a cocktail.
How to make chicken caesar wraps?

Why we love this
There is something deeply comforting about the marriage of crisp, cold romaine lettuce and the savory, umami-rich punch of a classic Caesar dressing. When wrapped in a soft, floury tortilla, it becomes the ultimate portable luxury—crunchy, creamy, and satisfying all at once. The contrast between the warm, seasoned chicken and the chilled greens creates a sensory experience that feels much more elevated than a standard sandwich. It’s the perfect anchor for your food board because it provides a hearty, protein-packed bite that doesn’t feel heavy under the summer sun.
Ingredients
- Large flour tortillas
- Grilled chicken breast strips
- Chopped romaine heart
- Shaved parmesan cheese
- Creamy Caesar dressing
- Garlic croutons (crushed slightly)
- Black pepper and lemon zest
How to make it
- Begin by warming your tortillas slightly in a dry pan over medium heat for about 10 seconds per side; this makes them pliable and prevents tearing during the rolling process.
- In a large mixing bowl, toss the chopped romaine with just enough Caesar dressing to coat the leaves without making them soggy; adding a pinch of lemon zest here brightens the entire flavor profile.
- Lay the warm tortilla flat and place a generous handful of the dressed greens in the lower third of the wrap, leaving about an inch of space on the sides.
- Layer the grilled chicken strips directly on top of the greens, followed by a heavy sprinkle of shaved parmesan and the slightly crushed croutons for that essential ‘crunch’ factor.
- To fold, tuck the sides in first, then pull the bottom flap over the filling, tucking it tightly as you roll upward toward the top edge.
- Slice the wraps on a sharp diagonal to showcase the beautiful interior layers before placing them on your board.
How to mix summer cocktails?
Why we love this
A perfectly mixed summer cocktail is like a sunset in a glass—vibrant, refreshing, and meant to be savored slowly. The aroma of slapped mint leaves and freshly squeezed lime juice immediately signals to the brain that it’s time to unwind and enjoy the moment. Whether you prefer the bite of a gin fizz or the sweetness of a berry-infused vodka soda, these drinks provide the necessary acidity to cut through the richer elements of your food board. The visual of condensation dripping down a chilled glass adorned with fresh fruit is the quintessential image of summer relaxation.
Ingredients
- Premium Gin or Vodka
- Fresh lime or lemon juice
- Simple syrup or agave nectar
- Fresh seasonal berries (blackberries or raspberries)
- Fresh mint or basil leaves
- Club soda or sparkling water
- Large ice cubes
How to make it
- Start by chilling your glassware in the freezer for at least 15 minutes to ensure your drink stays ice-cold from the first sip to the last.
- In a cocktail shaker, combine 3-4 fresh berries and 5 mint leaves with 1/2 ounce of simple syrup; use a muddler to gently press the fruit and herbs until the juices are released and the aroma is fragrant.
- Add 2 ounces of your chosen spirit and 1 ounce of freshly squeezed citrus juice to the shaker, then fill it halfway with large ice cubes.
- Shake vigorously for about 15-20 seconds; you’ll know it’s ready when the outside of the metal shaker feels frosty and too cold to hold.
- Double-strain the mixture through a fine-mesh sieve into your chilled glass filled with fresh ice to ensure no fruit pulp or torn herb bits ruin the texture.
- Top with a splash of club soda for effervescence and garnish with a sprig of slapped mint and a whole berry for a professional finish.
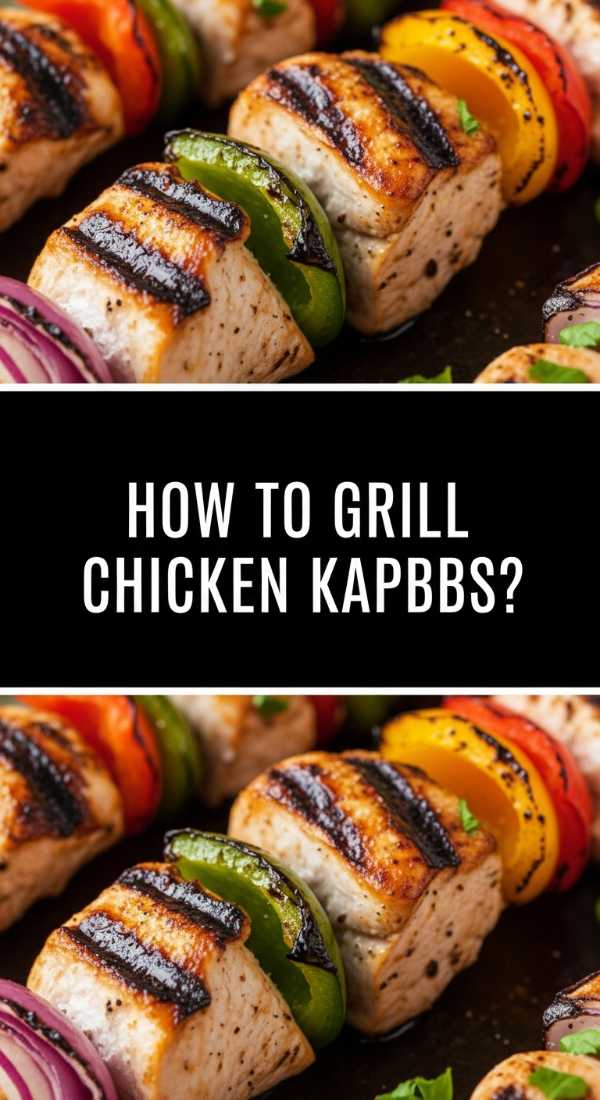
How to grill chicken kabobs?
Why we love this
Chicken kabobs are the crown jewels of any outdoor gathering, offering charred, smoky edges that give way to incredibly tender and juicy centers. The beauty lies in the alternating textures: the slight snap of a grilled bell pepper, the sweetness of a caramelized red onion, and the savory herb-infused chicken. As they sizzle on the grill, the aroma of garlic and charred vegetables fills the air, creating an irresistible invitation to the table. They add a vertical element and a pop of charred color to your board that looks instantly sophisticated.
Ingredients
- Chicken thighs (cut into 1-inch cubes)
- Bell peppers (mixed colors, cut into chunks)
- Red onion (cut into wedges)
- Olive oil, lemon juice, and minced garlic
- Dried oregano and smoked paprika
- Salt and cracked black pepper
- Wooden or metal skewers
How to make it
- If using wooden skewers, soak them in water for at least 30 minutes prior to use to prevent them from catching fire on the grill.
- In a large bowl, whisk together 1/4 cup olive oil, the juice of one lemon, three cloves of minced garlic, one teaspoon of oregano, and a half-teaspoon of smoked paprika to create a vibrant marinade.
- Toss the chicken cubes in the marinade and let them sit for at least 30 minutes in the refrigerator; this allows the acid to tenderize the meat and the flavors to penetrate deeply.
- Thread the skewers by alternating between chicken, pepper, and onion, ensuring you don’t pack them too tightly so the heat can circulate around each piece for even cooking.
- Preheat your grill to a medium-high heat (about 400°F) and lightly oil the grates to prevent sticking.
- Grill the kabobs for 10-12 minutes, turning them a quarter-turn every 3 minutes, until the chicken reaches an internal temperature of 165°F and the vegetables have beautiful char marks.
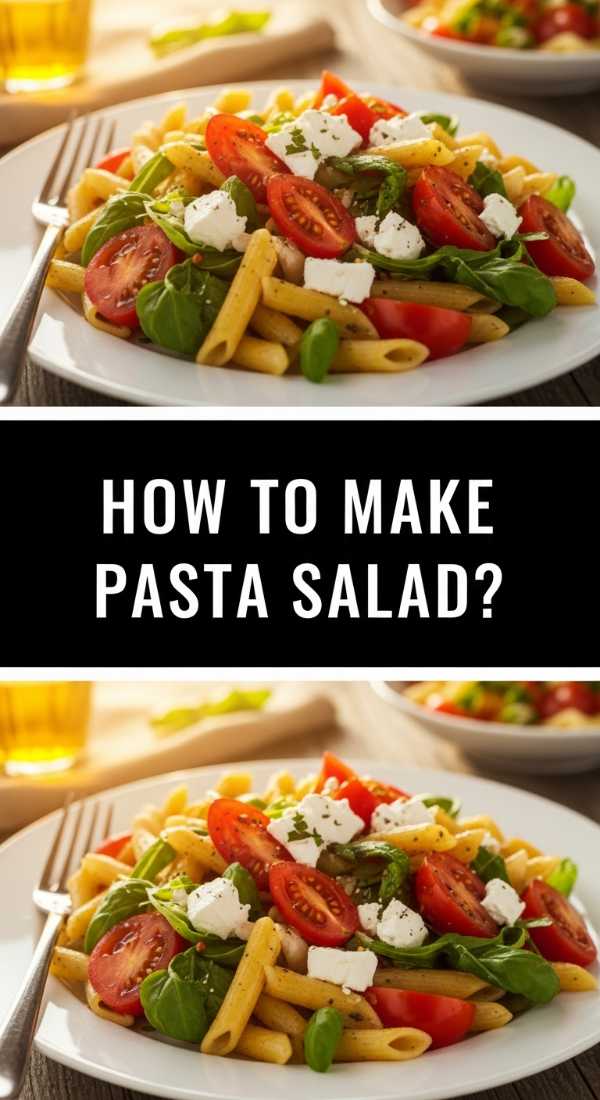
How to make pasta salad?

Why we love this
Pasta salad is the unsung hero of the food board, providing a zesty, vinegar-forward bite that keeps the palate refreshed. When made correctly, the pasta acts like a sponge, soaking up a bright vinaigrette while the inclusions of feta and olives provide bursts of salty, creamy goodness. It’s a dish that actually improves with age, making it the perfect make-ahead component that tastes even better after the flavors have had time to meld in the fridge. The slippery texture of the noodles against the crunch of fresh cucumbers creates a delightful mouthfeel.
Ingredients
- Rotini or fusilli pasta
- Cherry tomatoes (halved)
- Cucumber (diced)
- Kalamata olives
- Feta cheese crumbles
- Red wine vinegar and olive oil
- Dried Italian herbs
How to make it
- Cook the pasta in a large pot of heavily salted boiling water until it is just ‘al dente’; overcooking will result in a mushy salad once the dressing is added.
- Immediately drain the pasta and rinse it under cold running water to stop the cooking process and remove excess starch, which prevents the noodles from sticking together.
- In a small jar, emulsify your dressing by shaking together 1/3 cup olive oil, 3 tablespoons red wine vinegar, a teaspoon of Dijon mustard, and a tablespoon of Italian herbs until thick and combined.
- In a large bowl, combine the cooled pasta with the halved tomatoes, cucumbers, and olives.
- Pour the dressing over the mixture while the pasta is still slightly damp, as this helps the flavors adhere better to the surface of the noodles.
- Gently fold in the feta cheese last to keep the crumbles intact, then refrigerate for at least two hours before serving to allow the flavors to fully develop.
How to bake summer cake?
Why we love this
A summer cake should be light, airy, and evocative of a garden party, featuring a delicate crumb that isn’t overly sweet. We love the way the natural juices from macerated berries soak into a simple sponge, creating little pockets of intense fruit flavor. Topped with a cloud of real whipped cream, it feels like a sophisticated ending to a meal that isn’t too heavy or taxing on the digestive system. The scent of vanilla and baking sugar wafting through the house is the ultimate ‘welcome home’ for any guest.
Ingredients
- All-purpose flour and baking powder
- Granulated sugar and unsalted butter
- Large eggs (room temperature)
- Vanilla bean paste or extract
- Whole milk
- Fresh strawberries or blueberries
- Heavy whipping cream
How to make it
- Preheat your oven to 350°F (175°C) and grease a 9-inch round cake pan thoroughly, lining the bottom with parchment paper for an easy release.
- Cream together 1/2 cup of softened butter and 1 cup of sugar using a stand mixer on medium-high speed for at least 3-5 minutes until the mixture is pale and fluffy.
- Add eggs one at a time, beating well after each addition, then stir in the vanilla bean paste; room temperature eggs are crucial here to prevent the batter from curdling.
- Whisk together 1.5 cups of flour and 1.5 teaspoons of baking powder in a separate bowl, then alternate adding the dry ingredients and 1/2 cup of milk to the butter mixture, starting and ending with the flour.
- Pour the batter into the prepared pan and bake for 30-35 minutes, or until a wooden skewer inserted into the center comes out clean with just a few moist crumbs.
- Let the cake cool completely on a wire rack before topping with freshly whipped cream and berries; topping a warm cake will cause the cream to melt and slide off.
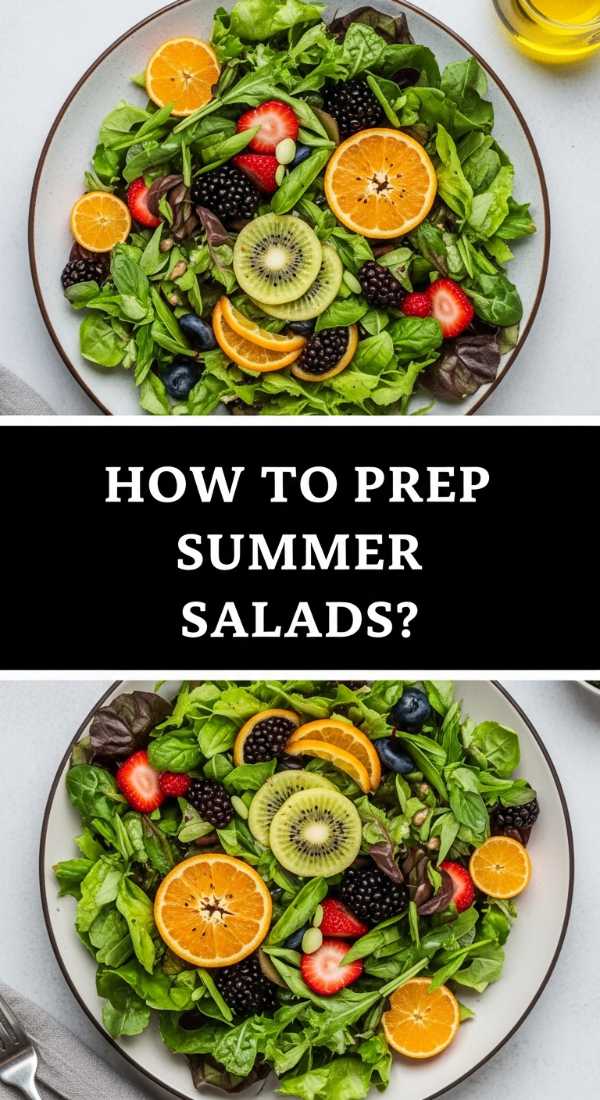
How to prep summer salads?

Why we love this
The perfect summer salad prep is all about preserving the ‘snap’ and vibrancy of peak-season produce. There is nothing more satisfying than a bowl of greens that looks like a work of art, featuring contrasting colors like deep purple kale, bright green spinach, and the jewel tones of sliced stone fruits. A well-prepped salad is a masterclass in balance, offering sweetness from fruit, bitterness from greens, and a crunch from toasted nuts. It brings a necessary lightness to the board, acting as a palate cleanser between more savory bites.
Ingredients
- Tuscan kale or baby spinach
- Sliced peaches or nectarines
- Goat cheese or gorgonzola
- Toasted walnuts or pecans
- Balsamic glaze
- Extra virgin olive oil
- Flaky sea salt
How to make it
- Wash your greens in ice-cold water and use a salad spinner to get them bone-dry; moisture is the enemy of a good salad as it prevents dressing from sticking and causes wilting.
- If using kale, ‘massage’ the leaves with a teaspoon of olive oil and a pinch of salt for 2 minutes to break down the fibrous structure, making it tender and easier to eat.
- Slice your stone fruit just before serving to prevent browning, or toss them in a tiny bit of lemon juice to maintain their vibrant color.
- Layer the greens in a wide, shallow bowl rather than a deep one; this ensures the heavy ingredients like nuts and cheese don’t all sink to the bottom.
- Toast your nuts in a dry pan over medium heat for 3-4 minutes until they are fragrant and golden, being careful not to burn them as they can turn bitter quickly.
- Drizzle the balsamic glaze in a decorative zigzag pattern over the top just as you are placing the bowl on your board to maintain the visual ‘wow’ factor.
How to cook crockpot potatoes?

Why we love this
Crockpot potatoes are the ultimate ‘lazy’ win because they transform humble root vegetables into buttery, melt-in-your-mouth morsels with almost zero effort. The slow, gentle heat of the crockpot allows the potatoes to steam in their own moisture along with garlic and herbs, resulting in a texture that is far creamier than roasting can achieve. We love that these can stay warm in the pot until the very moment you’re ready to eat, making them a stress-free side dish that holds its temperature beautifully on a buffet line.
Ingredients
- Baby Yukon Gold potatoes (halved)
- Unsalted butter (cubed)
- Fresh rosemary and thyme sprigs
- Minced garlic
- Chicken or vegetable broth
- Salt and cracked black pepper
How to make it
- Wash the baby potatoes thoroughly and cut them into uniform halves; keeping them similar in size ensures they all finish cooking at exactly the same time.
- Place the potatoes in the crockpot and toss with 4 cloves of minced garlic, a teaspoon of salt, and a half-teaspoon of pepper.
- Pour in 1/2 cup of broth—this provides just enough steam to cook the potatoes without boiling them or making them waterlogged.
- Top the potatoes with several cubes of cold butter and the whole herb sprigs; as the butter melts, it will create a rich, flavored emulsion with the broth.
- Cover and cook on ‘High’ for 3 to 4 hours or ‘Low’ for 6 to 7 hours; you’ll know they are done when a fork slides into the center with absolutely no resistance.
- For a gourmet finish, remove the herb sprigs and give the potatoes a gentle stir to coat them in the garlic butter sauce before transferring them to a serving dish.
How to pack beach snacks?
Why we love this
Packing the perfect beach snacks is an art form that prioritizes hydration and ‘sand-free’ eating. There is a specific joy in opening a cooler to find perfectly portioned, chilled treats that provide a burst of energy after a swim in the salt water. We love snacks that are rugged enough to withstand the heat but refreshing enough to cool you down from the inside out. It turns a simple day at the shore into a curated picnic experience that feels thoughtful and luxurious without needing a silver service.
Ingredients
- Pre-cut watermelon wedges
- Individual hummus cups
- Sturdy veggie sticks (carrots, celery)
- Grapes (frozen are best!)
- Salted almonds or trail mix
- Insulated containers and ice packs
How to make it
- Start by freezing your grapes the night before; they act as edible ice cubes that stay cold for hours and provide a refreshing, slushy-like texture.
- Use rigid, airtight plastic containers rather than bags; this prevents your snacks from getting crushed under the weight of drinks and ensures no sand can find its way inside.
- Slice your watermelon into long ‘fries’ rather than wedges; this shape makes them easier to grab and eat without getting juice all over your face and hands.
- Pack your cooler using the ‘layering’ method: ice packs on the bottom, heavy items like drinks in the middle, and delicate snacks like fruit and hummus on top.
- Pre-portion snacks like nuts or crackers into small, individual reusable jars so that multiple hands aren’t reaching into one big bag—a crucial tip for keeping sand out of the main supply.
- Ensure you include a dedicated ‘wet bag’ for trash and used containers to keep your beach setup clean and organized throughout the day.
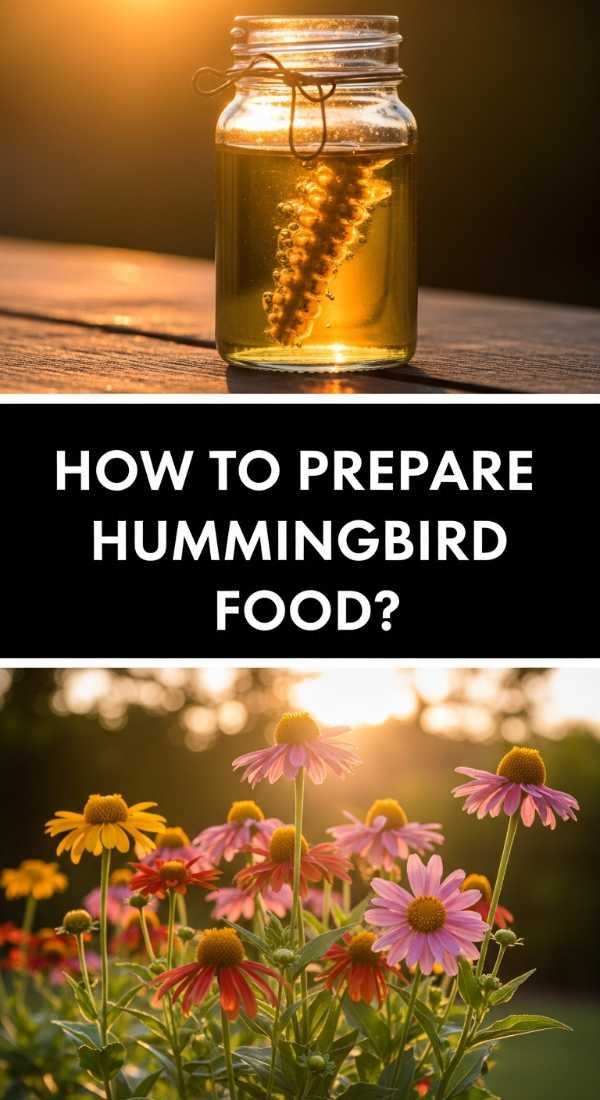
How to prepare hummingbird food?
Why we love this
Preparing hummingbird food is a simple act of hospitality for the tiny, vibrant visitors that bring so much life to a summer garden. Watching these iridescent creatures hover and dart around a feeder provides a meditative, peaceful backdrop to your outdoor gatherings. We love that it requires only two pantry staples but offers a vital energy source for birds during their busiest seasons. It’s a small, rewarding ritual that connects your home to the natural world around it.
Ingredients
- Refined white sugar
- Filtered water
- (Note: Never use honey, brown sugar, or red dye)
How to make it
- Maintain the golden ratio of 4 parts water to 1 part white sugar; this most closely mimics the caloric density of natural flower nectar.
- Bring the water to a boil in a clean saucepan to eliminate any impurities or bacteria that could harm the birds.
- Remove the pan from the heat and stir in the sugar until it is completely dissolved and the liquid is perfectly clear.
- Allow the mixture to cool completely to room temperature before filling your feeder; filling a feeder with hot nectar can cause it to warp or leak.
- Store any extra nectar in a clean, sealed glass jar in the refrigerator for up to two weeks, making future refills even faster.
- Clean your feeder with hot water and a brush every 3-5 days (more often in extreme heat) to prevent mold growth, which is toxic to hummingbirds.
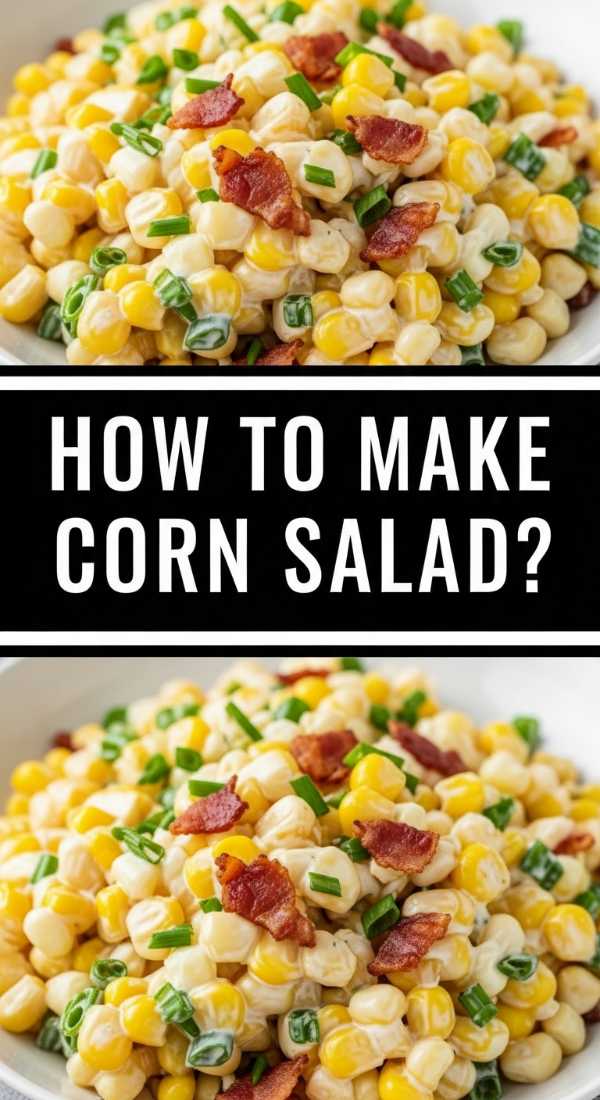
How to make corn salad?
[IMAGE_10]
Why we love this
Corn salad is the quintessential taste of mid-summer, capturing the explosive sweetness of fresh kernels in a bright, creamy, and smoky package. The contrast between the charred ‘pop’ of the corn and the silky richness of a lime-infused dressing is addictive. It feels both rustic and sophisticated, working perfectly as a dip with chips or a stand-alone side dish. The addition of fresh cilantro and salty cheese creates a complex flavor profile that hits every part of the tongue—sweet, salty, sour, and savory.
Ingredients
- Fresh ears of corn (husked)
- Mayonnaise or Mexican crema
- Fresh lime juice
- Cotija cheese or feta
- Fresh cilantro (chopped)
- Chili powder or Tajin seasoning
How to make it
- Grill the corn cobs over medium-high heat for about 10-12 minutes, rotating them frequently until you have char marks on all sides; this develops a deep, smoky sweetness.
- Once the corn is cool enough to handle, stand a cob upright in a large bowl and use a sharp knife to slice the kernels off in long strips.
- In a small bowl, whisk together 2 tablespoons of mayo, the juice of one whole lime, and a half-teaspoon of chili powder to create the dressing.
- Pour the dressing over the warm corn kernels—the heat from the corn helps the dressing melt into every crevice.
- Fold in a generous handful of chopped cilantro and crumbled Cotija cheese, which adds a salty, tangy punch that balances the sugar of the corn.
- Serve at room temperature or chilled, garnished with an extra dusting of chili powder for a vibrant pop of color on your board.
Conclusion
Mastering the ‘Lazy Gourmet’ food board is all about embracing the beauty of simplicity. By focusing on fresh ingredients, smart preparation, and beautiful arrangement, you can create a viral-worthy spread that tastes even better than it looks. Remember, the goal is to spend less time stressing in the kitchen and more time making memories around the table. So, grab your biggest board, pick a few of these crowd-pleasing recipes, and get ready to host the most effortless party of the season!