
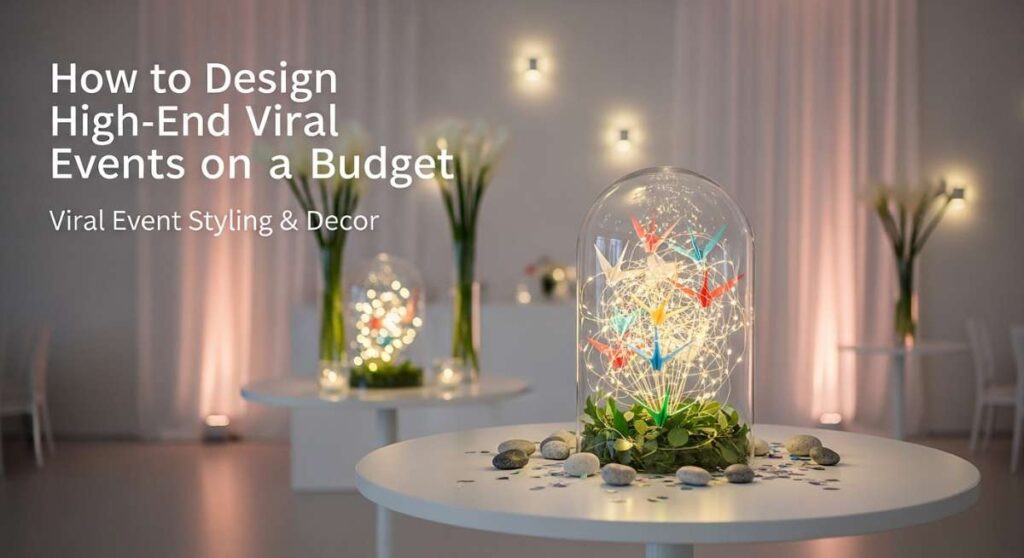
We have all been there—scrolling through our feeds, mesmerized by those perfectly curated, high-end events that look like they cost a small fortune. There is a certain magic in a beautifully styled room that makes you feel like you have stepped into a dream, and for the longest time, I thought that kind of luxury was reserved for celebrity planners and massive budgets. But I’ve learned a secret: high-end style isn’t about the price tag; it is about the intentionality, the textures, and the stories you tell through your decor.
In this guide, I am pulling back the curtain on how to achieve that viral, Pinterest-perfect aesthetic without breaking the bank. Whether you are planning an intimate bridal shower or a milestone birthday, these techniques will help you create moments that aren’t just beautiful to look at, but feel deeply personal and incredibly special. Let’s dive into the world of elevated DIY and transform your next celebration into an ethereal experience your guests will never forget.
How to Design Pastel Dream Balloon Arches for an Ethereal Atmosphere

Why we love this
There is something undeniably whimsical about a soft, pastel balloon arch that mimics the colors of a sunrise or a field of spring wildflowers. When you walk into a room and see those muted tones of lavender, peach, and mint blending together, it instantly lowers the collective heart rate of the room and sets a tone of gentle elegance. The matte finish of high-quality balloons creates a soft, velvet-like texture that catches the light without the harsh glare of cheap latex, making every photo look like it was shot through a professional filter. It is the ultimate way to fill a large space with color while maintaining a sophisticated, airy vibe.
Essential Elements:
- Professional-grade matte balloons in pastel shades (5″, 11″, and 18″ sizes)
- Dual-action hand pump or electric balloon inflator
- Balloon decorating strip or high-tensile fishing line
- Low-temp glue dots
- Command hooks for damage-free hanging
- Fresh or silk sprigs of eucalyptus or baby’s breath
How to make it
- Start by inflating your balloons in various sizes; the key to a professional look is the variation in diameter, so avoid making them all uniform. Use an electric pump to save time, but ensure you don’t over-inflate—you want a round, pillowy shape rather than a pear shape.
- Group your balloons into ‘clusters’ of three or four by tying their tails together. Mix colors within these clusters or keep them monochromatic for a gradient ‘ombre’ effect.
- Feed the tails of your largest clusters through the holes of a balloon decorating strip, spacing them out to create the base structure of your arch. Leave about a foot of strip empty at each end for hanging.
- Secure the strip to your wall or frame using Command hooks, curving the strip to create an organic, flowing shape rather than a perfect geometric semicircle.
- Use your low-temperature glue dots to attach the smallest 5-inch balloons into the gaps between the larger ones. This hides the ‘skeleton’ of the arch and creates that lush, full look.
- Finally, tuck in small sprigs of greenery or delicate white florals into the crevices. The contrast between the organic plant life and the soft balloons adds a high-end, ‘editorial’ touch.
How to Create Enchanted Garden Backdrops for Magical Party Memories
Why we love this
An enchanted garden backdrop acts as a portal, transporting your guests from a standard living room into a lush, mystical woodland. The aroma of fresh moss combined with the soft glow of hidden fairy lights creates a sensory experience that lingers long after the party ends. We love this because it utilizes vertical space to create depth, using layers of greenery and florals to mimic the natural chaos of a garden in bloom. It feels romantic, timeless, and serves as the perfect canvas for those ‘candids’ that everyone wants to post to their stories.
Essential Elements:
- Heavy-duty backdrop stand or a wooden lattice frame
- Faux boxwood panels or rolls of artificial ivy
- A variety of silk hanging wisteria and roses
- Battery-operated copper wire fairy lights
- Floral wire and wire cutters
- Dried moss clumps and zip ties
How to make it
- Begin by securing your base layer of greenery (the boxwood or ivy) to your frame using zip ties. Ensure the ties are hidden behind the leaves and that no part of the frame is visible through the foliage.
- Layer your ‘statement’ flowers starting from the top. Weave the stems of hanging wisteria through the greenery so they drape naturally downward, varying the heights to avoid a ‘curtain’ look.
- Integrate your fairy lights by weaving them horizontally across the backdrop. Ensure the battery packs are hidden at the base or taped behind the frame, and test the lights to ensure even distribution.
- Focus on the ‘eye-level’ area where guests will be standing; this is where you should concentrate your highest quality silk roses or peonies, securing them firmly with floral wire.
- Apply small patches of dried moss to any remaining thin spots using wire or glue to add a sense of age and authenticity to the ‘garden.’
- Finish by fluffing the leaves and petals forward to create a 3D effect that looks stunning under both natural and artificial light.
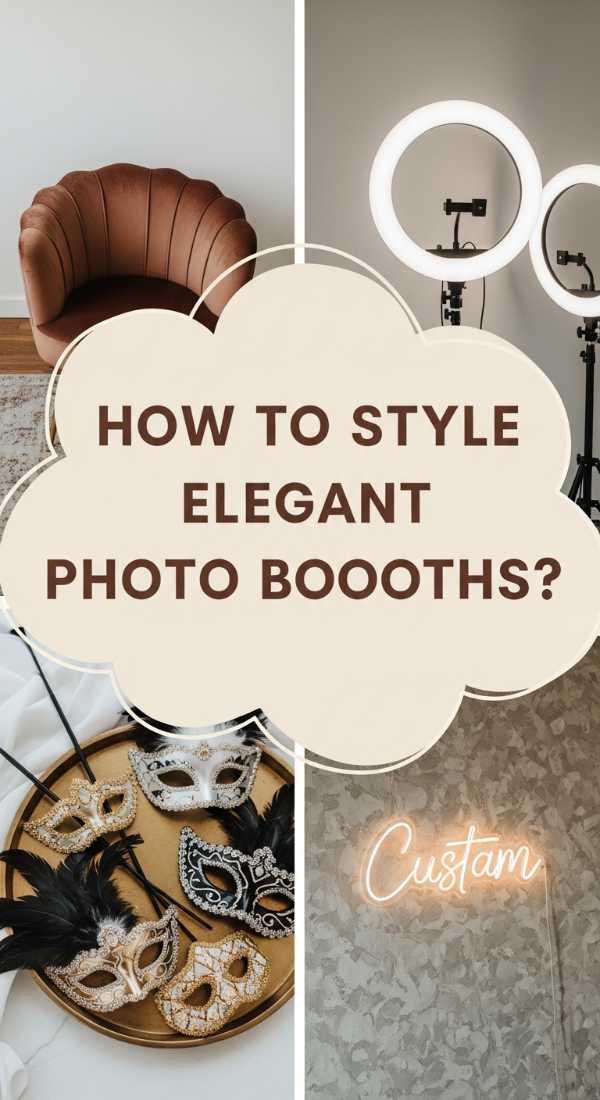
How to Style Elegant Photo Booth Stations for Timeless Guest Portraits
Why we love this
Traditional photo booths can sometimes feel a bit ‘cluttered,’ but an elegant portrait station focuses on simplicity and classic beauty. We love this setup because it treats your guests like royalty, providing a dedicated space with flattering lighting and a curated aesthetic. It’s about creating a ‘moment’ rather than just a photo op—think plush velvet seating, a gold-accented side table, and a backdrop that complements the evening’s color palette. It encourages guests to take a beat, pose thoughtfully, and walk away with a digital memory that looks like a professional studio portrait.
Essential Elements:
- A solid-colored fabric backdrop (velvet or heavy linen)
- A high-quality statement chair or velvet ottoman
- A ring light or softbox light with adjustable temperature
- A vintage-style rug to anchor the space
- A small side table with a decorative floral arrangement
- A physical frame or a customized digital ‘border’ for the photos
How to make it
- Position your backdrop against a flat wall, ensuring the fabric is steamed and completely wrinkle-free; any crease will be magnified by the camera flash.
- Place your statement chair approximately three feet in front of the backdrop. This creates depth and a natural ‘blur’ effect on the background, making the subject pop.
- Set up your lighting at a 45-degree angle to the chair. Use a ‘warm’ light setting to flatter skin tones and avoid the harsh, blueish tint of standard LEDs.
- Anchor the area with your rug, making sure the front legs of the chair sit on the rug to create a cohesive ‘room’ feel within the event space.
- Place a small floral arrangement on a side table nearby; this provides a natural ‘prop’ for guests to interact with or lean against.
- Set up a tripod for a guest’s phone or a professional camera, marking the floor with a small piece of tape so guests know exactly where to stand for the perfect crop.
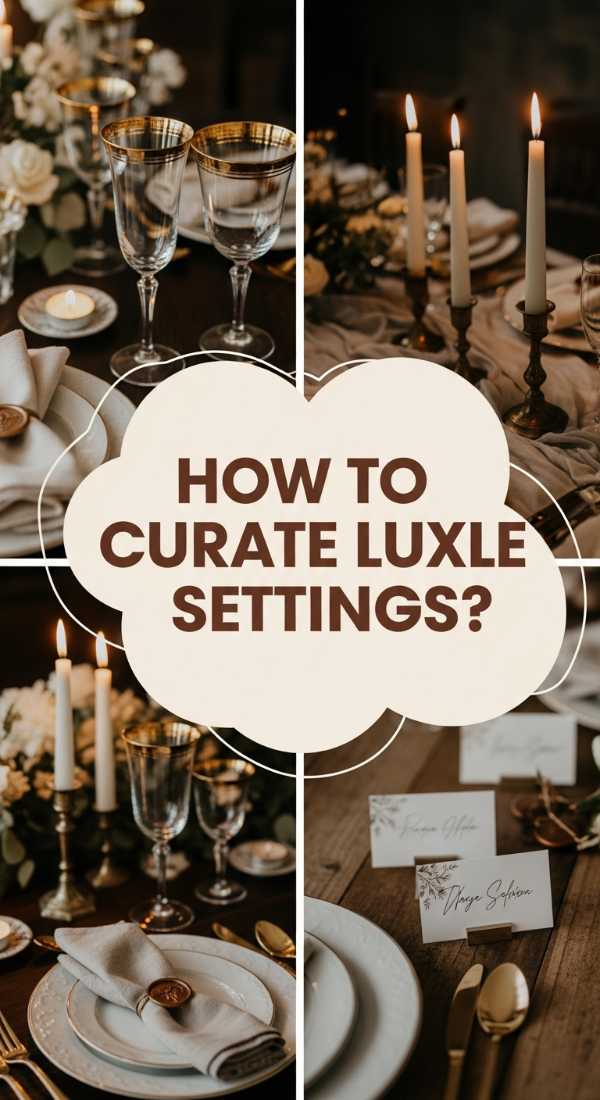
How to Curate Luxe Table Settings for a Sophisticated Dinner Experience
Why we love this
The dining table is the heart of any event, and a luxe setting tells your guests that their presence is a true occasion. We are obsessed with the layering of textures here—the coolness of ceramic plates against the warmth of a linen napkin, and the sparkle of polished cutlery reflecting the flicker of a taper candle. It creates an atmosphere of intimacy and intentionality. When a guest sits down to a place card with their name in calligraphy and a sprig of rosemary on their plate, they aren’t just eating; they are partaking in a curated experience that feels incredibly high-end and thoughtful.
Essential Elements:
- Coordinating charger plates and dinnerware
- Real linen or high-quality cotton napkins
- Gold or matte black flatware
- Taper candles and varied-height glass holders
- Personalized place cards (handwritten or printed)
- Low-profile floral centerpieces or greenery runners
How to make it
- Start with a clean, ironed tablecloth or a high-quality runner. If the table is beautiful wood, consider leaving it bare for a rustic-luxe vibe.
- Place your charger plates first to establish the spacing. A general rule is to leave about 24 inches from the center of one plate to the next to give guests ‘elbow room.’
- Layer your dinner plate and salad plate on top. Use a contrasting color or texture for the top plate to add visual interest.
- Fold your napkins into a simple rectangle or a soft knot and place them either in the center of the plate or tucked under the forks.
- Arrange your flatware from the outside in, following the order of use. Ensure everything is perfectly aligned and polished with a microfiber cloth to remove fingerprints.
- Place your taper candles in the center. Vary the heights to create a ‘skyline’ effect, but keep the florals low so that guests can easily see and talk to each other across the table.
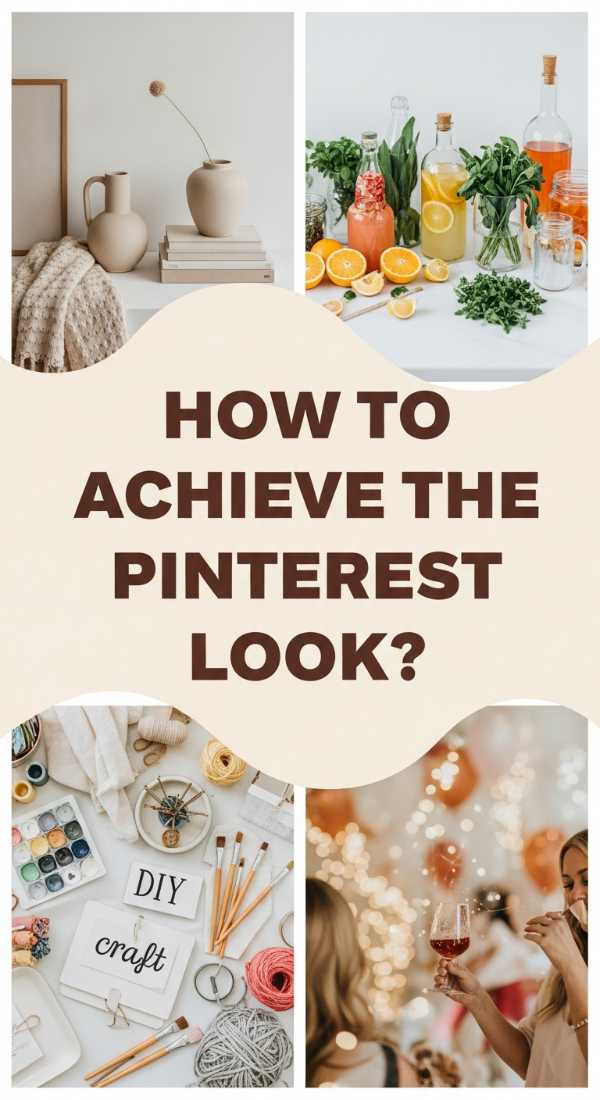
How to Achieve That Aesthetic Pinterest Look for Your Next Celebration
Why we love this
The ‘Pinterest Look’ is all about that effortless, airy, and slightly lived-in feel that feels both attainable and aspirational. It’s the art of the ‘perfectly imperfect.’ We love this style because it moves away from stiff, traditional party decor and moves toward a more curated, lifestyle-driven aesthetic. It’s characterized by natural light, a neutral color palette with pops of earthy tones, and the use of ‘lifestyle’ props like vintage books, dried oranges, or artisanal ceramics. It feels modern, fresh, and incredibly photogenic from every single angle.
Essential Elements:
- A neutral color base (creams, beiges, and sands)
- Natural materials (wood, rattan, dried pampas grass)
- Asymmetrical decor arrangements
- Warm, diffused lighting
- Curated ‘flatlay’ stations (e.g., a stylish drink station)
- Handmade or artisanal-style signage
How to make it
- Eliminate clutter. The Pinterest look relies on ‘negative space,’ so don’t feel the need to fill every inch of a wall or table.
- Use ‘tonal layering.’ Instead of just one shade of beige, use three or four—cream, sand, taupe, and ivory—to create a rich, expensive-looking depth.
- Incorporate height. Use wooden crates or ceramic pedestals to vary the levels of your decor, especially on food or dessert tables.
- Switch out standard party props for lifestyle items. Instead of a plastic bowl, use a hand-carved wooden dough bowl for snacks.
- Pay attention to lighting. If the event is during the day, maximize natural light by keeping curtains open. If at night, use only warm-toned bulbs and lots of candles.
- Create a ‘hero’ spot. Choose one area (like the entrance or the cake table) to be the ‘main character’ with the most detail, allowing other areas to be simpler but cohesive.
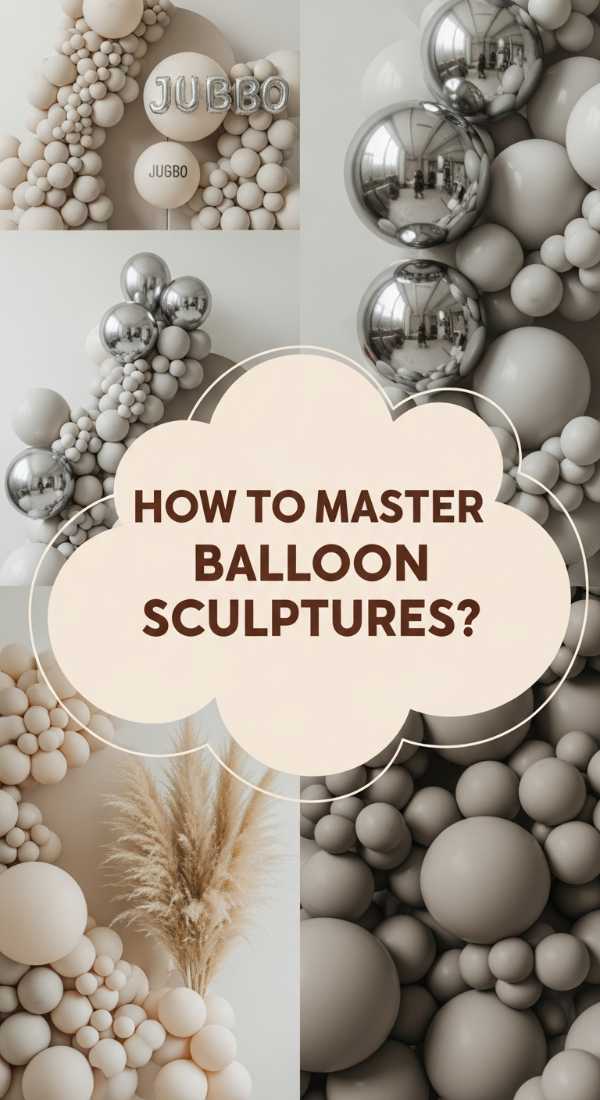
How to Master Organic Balloon Sculptures for a Modern Professional Finish
![]()
Why we love this
Organic balloon sculptures have revolutionized party decor by ditching the rigid, symmetrical arches of the 90s for something that looks like a work of art. We love the way these sculptures ‘climb’ up walls or spill out of fireplaces like bubbles or clouds. By using different sizes and shades within the same color family, you create a sense of movement and texture that is visually captivating. It’s a modern, sophisticated take on a classic party staple that feels high-fashion and provides a stunning, large-scale impact for a relatively low cost in materials.
Essential Elements:
- A mix of 5″, 11″, 16″, and 24″ balloons in 3-4 related shades
- Balloon ‘sizers’ to ensure specific diameters
- Electric balloon pump
- 260Q ‘modeling’ balloons (the long skinny ones) for tying
- Nylon fishing line and heavy-duty weights
- Optional: Silk flowers or metallic foil accents
How to make it
- Inflate your balloons in ‘duplets’ (pairs). For an organic look, inflate one balloon to 10 inches and its partner to 7 inches. Twist them together at the necks.
- Take two duplets and twist them into each other to create a ‘quad’ (a cluster of four). This is the building block of your sculpture.
- Use a long 260Q modeling balloon (uninflated) like a giant rubber band to tie your quads together. Simply wrap the 260Q around the center of one quad and then the next, pulling them tight against each other.
- Build several ‘chunks’ of different sizes and colors. This allows you to assemble the sculpture on-site rather than trying to move one giant piece.
- Attach your largest ‘chunks’ to your anchor points (pillars, stairs, or frames) using fishing line. These larger balloons should form the ‘base’ or the ‘belly’ of the sculpture.
- Fill in the gaps with your smallest 5-inch balloons. Use the 260Q scraps or glue dots to nestle them into the ‘valleys’ between the larger balloons to give it that bubbly, organic texture.
How to Build Shimmering Sequin Backdrops for High Energy Party Vibes
Why we love this
When the sun goes down and the music turns up, nothing beats the high-energy glamour of a shimmering sequin backdrop. We love how the individual ‘shimmer’ panels react to the movement in the room—a slight breeze or the vibrations from the bass causes them to dance and reflect light like a giant disco ball. It’s the ultimate ‘party’ feature that feels expensive and glamorous. It’s bold, it’s fun, and it provides a dynamic background for videos and boomerangs that static backdrops just can’t compete with.
Essential Elements:
- Interlocking sequin shimmer wall panels (usually 12″x12″ each)
- A sturdy metal backdrop stand
- Heavy-duty zip ties
- A handheld steamer (to flatten any bent sequins)
- Studio lighting or a spotlight
- Neon sign for layering (optional)
How to make it
- Assemble your metal backdrop frame first, ensuring it is on level ground and weighted at the base for safety.
- Snap your shimmer panels together on the floor. Most panels have a ‘click-in’ system. Build the wall in sections that are manageable to lift (e.g., 3×3 panels).
- Lift the first section and zip-tie it to the top bar of your frame. Do not over-tighten yet; you want a little bit of ‘give’ to align the other panels.
- Continue snapping and hanging sections until the frame is covered. Ensure the sequins are all facing the same direction (usually downward) so they catch the light uniformly.
- Go back and tighten all zip ties, then trim the excess plastic tails so they are invisible from the front.
- Position a light source—like a ring light or a floor spot—at a slight angle to the wall. This will create the ‘shimmer’ effect even if there is no natural breeze in the room.
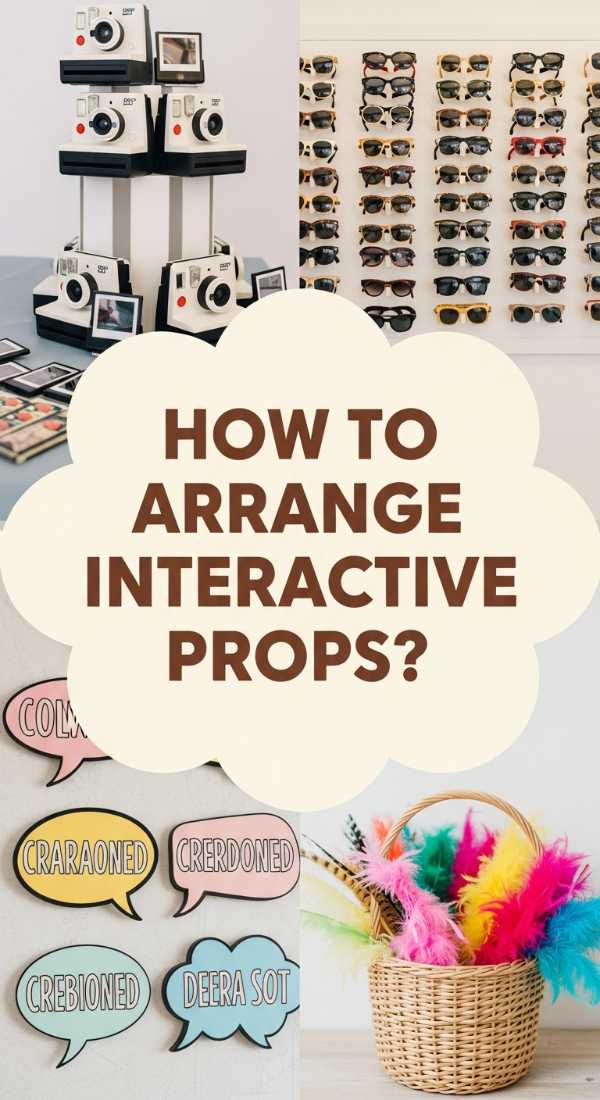
How to Arrange Interactive Prop Displays for the Most Fun Snapshots
Why we love this
The best parties are the ones where guests feel involved, and an interactive prop display is the perfect icebreaker. We love moving away from the ‘mustache on a stick’ and toward high-end, tactile props that feel like part of the decor. Think vintage tambourines, oversized faux-floral bouquets, chic sunglasses, or even a ‘champagne wall’ where the drink itself is the prop. It encourages movement, laughter, and genuine interaction, resulting in photos that feel full of life and personality rather than staged poses. It’s an easy way to inject some ‘soul’ into your styling.
Essential Elements:
- A dedicated table or shelving unit
- Curated props (think ‘aesthetic’ rather than ‘cheesy’)
- A decorative tray or basket to hold smaller items
- An ‘instruction’ sign in a beautiful frame
- A mirror for guests to check their look
- Instant film cameras (Instax or Polaroid) with extra film
How to make it
- Choose a theme for your props that matches the event. For a garden party, think lace fans and floral crowns; for a disco theme, think silver shades and glitter spray.
- Arrange the props on levels. Use a beautiful tiered shelf or a bar cart to display the items so they look like a deliberate part of the design.
- Provide a ‘station’ for the photos nearby, so guests don’t have to wander far with the props.
- Include a mirror. This isn’t just practical; it’s a great ‘selfie’ spot in itself if you decorate the mirror frame with florals or vinyl lettering.
- Place a small basket for ‘used’ props if they are wearable, or a designated spot for guests to leave their Polaroid photos to dry.
- Set the example! Be the first to grab a prop and take a photo; once guests see how much fun it is, the station will be busy all night.
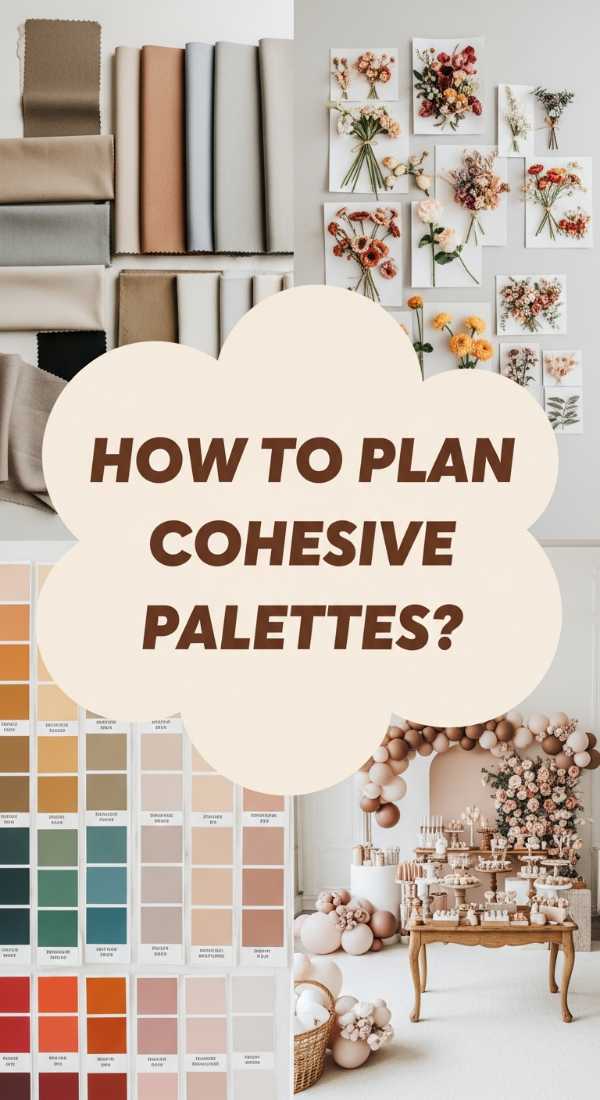
How to Plan Cohesive Color Palettes for a Visually Stunning Event
Why we love this
The hallmark of a professional event designer is a cohesive color palette that ties every single element together. We love this because it creates a sense of harmony and peace; even if the room is filled with people, a unified color story makes everything feel intentional. It’s not just about picking two colors; it’s about choosing a ‘hero’ color, two supporting shades, and a metallic or neutral accent. When your invitations, your flowers, your balloons, and even your dessert napkins all speak the same visual language, the entire event feels elevated and expensive.
Essential Elements:
- A physical or digital mood board (Pinterest or Canva)
- Color swatches or fabric samples
- A ’60-30-10′ rule (60% primary, 30% secondary, 10% accent)
- Lighting gels (to change the color of existing lights)
- Consistent stationery (place cards, menus, signs)
How to make it
- Start with an inspiration image—it could be a painting, a piece of fabric, or a sunset. Use a color picker tool to identify the 3-5 main shades.
- Apply the 60-30-10 rule. Your primary color (60%) should be the most neutral or largest element (like walls or linens). Your secondary color (30%) is for your decor (balloons, florals). Your accent (10%) is for the ‘sparkle’ (cutlery, ribbons).
- Check your colors under different lighting. A ‘dusty rose’ might look ‘brown’ under yellow indoor lights, so test your swatches in the actual venue space if possible.
- Ensure your ‘whites’ match. There is a huge difference between ‘stark white’ and ‘cream,’ and mixing them can make things look messy. Pick one and stick to it.
- Carry your palette through to the digital side. If you have a digital invite or a custom hashtag, use the same hex codes for the fonts and graphics.
- Use natural elements to bridge the gap. If your palette feels too ‘flat,’ add greenery or wood tones to ground the colors and add life.
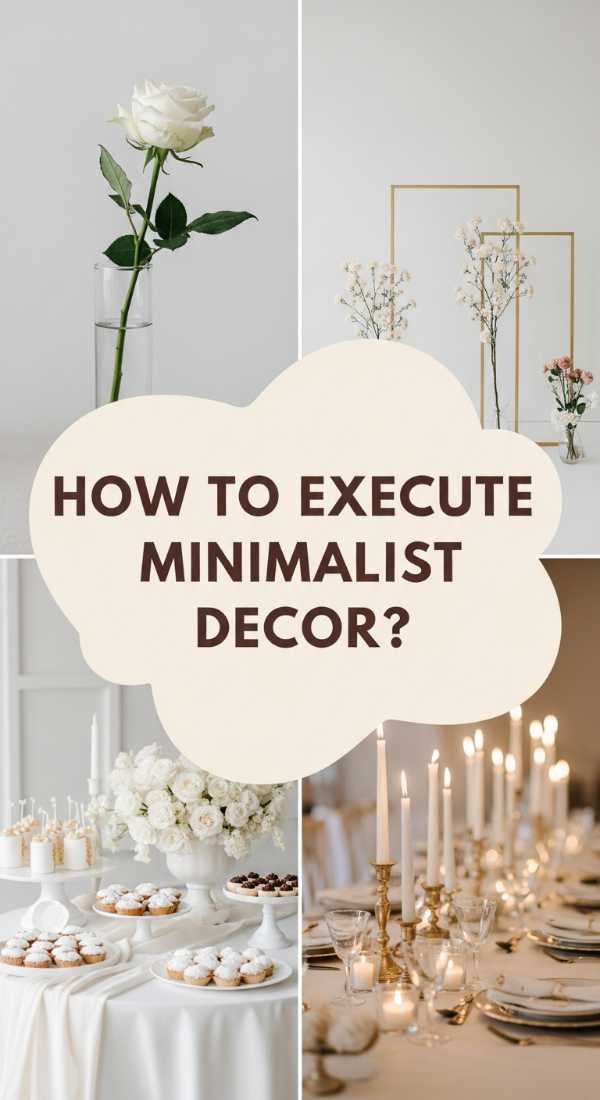
How to Execute Minimalist Party Decor for an Effortlessly Chic Vibe
[IMAGE_10]
Why we love this
Minimalism is the ultimate flex in the world of design; it says that you are so confident in the quality of your elements that you don’t need to hide behind ‘clutter.’ We love this ‘less is more’ approach because it highlights the beauty of architecture, light, and singular, high-quality pieces. A single, dramatic branch in a tall glass vase can be more impactful than a dozen cheap bouquets. It feels incredibly modern, clean, and sophisticated. It’s perfect for the host who values quality over quantity and wants to create a space that feels calm and ‘breathes.’
Essential Elements:
- Statement furniture or ‘hero’ pieces
- Monochromatic color schemes
- High-quality materials (glass, stone, fine linen)
- Negative space (empty areas of the room)
- Architectural florals (dried branches, single monster leaves)
- Intentionally placed, subtle lighting
How to make it
- Identify the ‘focal point’ of your room. In a minimalist design, you only want one or two main areas of interest. Everything else should be secondary.
- Choose a monochromatic palette. Using different textures of the same color (e.g., all white with varying fabrics) adds depth without adding ‘noise.’
- Invest in ‘scale.’ Instead of ten small candles, buy three massive, high-quality pillars. The larger scale creates a sense of luxury.
- Focus on ‘the line.’ Use decor that has interesting shapes—curved chairs, tall thin vases, or geometric frames.
- Hide the ‘ugly’ stuff. In minimalism, cables, trash cans, and plastic packaging are the enemies. Use hidden bins and cord covers to keep the lines clean.
- Use ‘scent’ as a decor element. Since there is less to look at, the aroma of a high-end candle or fresh eucalyptus becomes a more powerful part of the experience.
Conclusion
Designing a high-end, viral-worthy event isn’t about having an unlimited bank account; it’s about mastering the art of the details. By focusing on texture, lighting, and a cohesive color story, you can transform any space into a dreamlike setting that feels both luxurious and deeply personal. Remember, the most important element of any party is the feeling your guests have when they walk through the door. If you design with heart and a bit of DIY-savvy, you’ll create memories that are as beautiful as the photos they’ll be sharing for years to come. Now, go grab your mood board and start creating!