
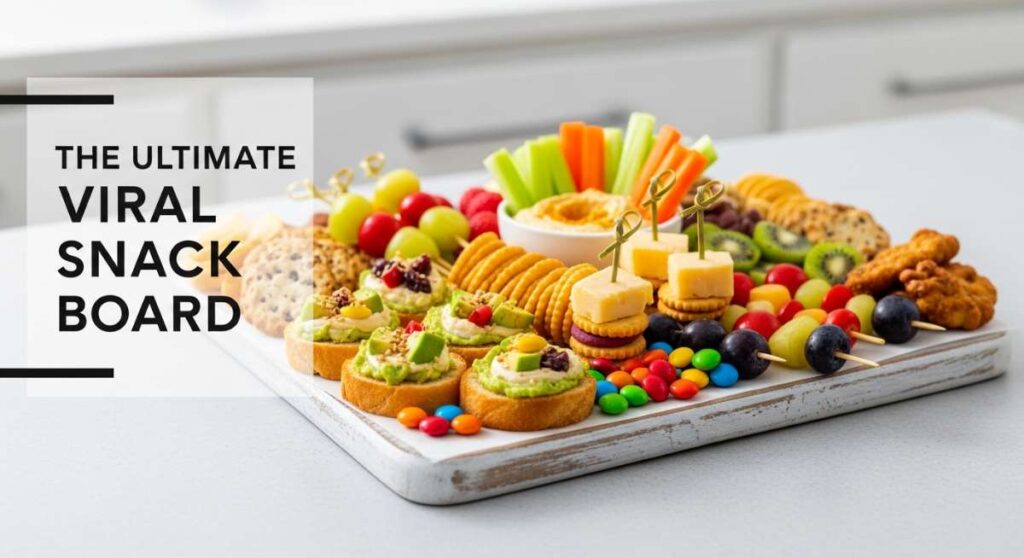
There is something truly magical about gathering friends around a table laden with artisanal treats, where every bite tells a story of craftsmanship and care. In our fast-paced world, the art of the snack board has evolved from a simple tray of cheese to a curated experience of textures and flavors that captivates the senses and, of course, the camera lens. I remember the first time I set out a spread that went truly ‘viral’ among my inner circle; it wasn’t just about the food, but the vibrant colors and the homemade warmth that invited everyone to slow down and savor the moment.
Creating the ultimate viral snack board is about more than just aesthetics; it’s about the soul of baking and the joy of sharing. Whether you are assembling a rustic summer spread or a sophisticated dessert board, incorporating elements like fresh cobblers, intricate tarts, and hand-scored sourdough adds a layer of authenticity that pre-packaged goods simply cannot match. Join me as we dive into the essentials of elevated baking that will make your next food board the talk of the season.
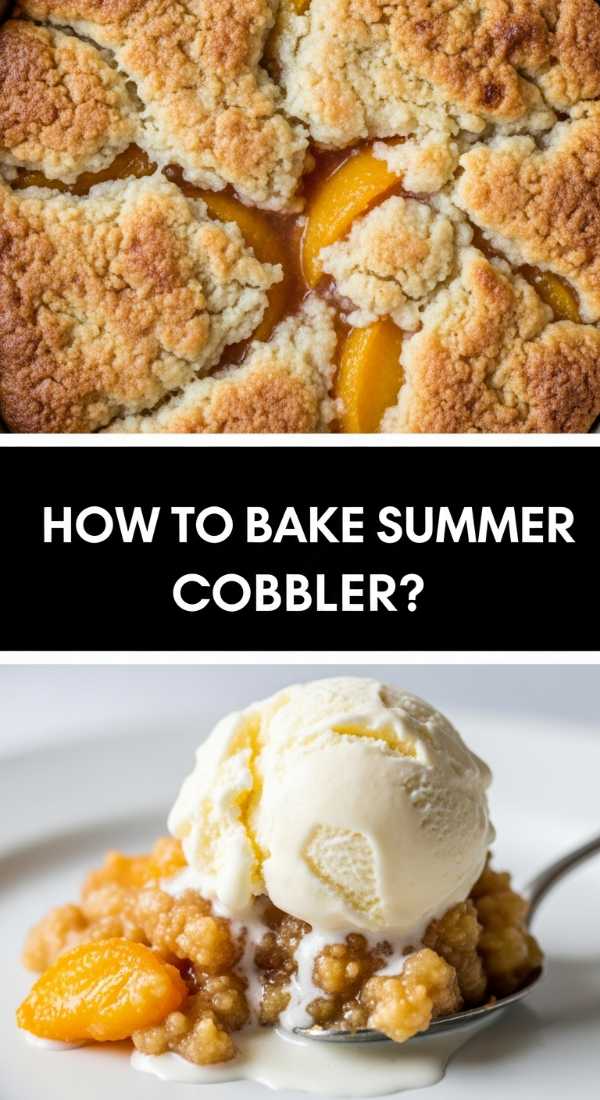
How to bake summer cobbler
Why we love this
The summer cobbler is the quintessential comfort dessert, capturing the very essence of sun-drenched afternoons in a single spoonful. We love the way the juices from the stone fruits bubble up around the edges, creating a sticky, caramelized syrup that contrasts beautifully with the pillowy, golden-brown biscuit topping. The aroma of warm cinnamon and nutmeg wafting through the kitchen creates an instant sense of home, while the textural play between the soft, jammy fruit and the slightly crunchy sugar crust on top is pure bliss when served with a melting scoop of vanilla bean ice cream.
Ingredients
- 4 cups fresh peaches or berries
- 1 cup granulated sugar (divided)
- 1 cup all-purpose flour
- 1.5 tsp baking powder
- 1/2 cup cold salted butter, cubed
- 1/2 cup whole milk
- 1 tsp vanilla extract
- 1/2 tsp ground cinnamon
How to make it
- Preheat your oven to 375°F (190°C). Grease a 9×9 inch baking dish with butter to ensure a non-stick surface and a flavorful crust.
- In a large mixing bowl, toss your prepared fruit with 1/2 cup of sugar and the cinnamon. Let it sit for about 10 minutes; this process, called maceration, allows the natural juices to draw out and creates that iconic cobbler sauce.
- In a separate bowl, whisk together the flour, remaining sugar, and baking powder. Using a pastry cutter or your fingertips, work the cold butter into the flour mixture until it resembles coarse crumbs. This cold butter is key for a flaky biscuit texture.
- Gently stir in the milk and vanilla extract until just combined. Be careful not to overmix, as this will lead to tough biscuits.
- Pour the fruit mixture into the prepared dish. Drop spoonfuls of the batter over the top, leaving small gaps for steam to escape and for the fruit to peek through.
- Bake for 40-45 minutes. Watch for the fruit to be bubbling vigorously and the topping to reach a deep, golden brown. Test the center of a biscuit with a toothpick to ensure it comes out clean before removing from the oven.
How to make strawberry tarts

Why we love this
There is a refined elegance to strawberry tarts that makes them the crown jewel of any dessert board. We love the vibrant, glossy sheen of the fresh berries nestled atop a velvety smooth pastry cream, all contained within a crisp, buttery shortcrust shell. The first bite offers a delightful snap of the pastry, followed by the cool, rich sweetness of the custard and the bright, acidic burst of the fruit. It’s a sensory masterpiece that feels like a trip to a high-end French patisserie, yet it carries the humble, heartwarming sweetness of a summer garden.
Ingredients
- 1 pre-baked tart shell (9-inch)
- 2 cups whole milk
- 1/2 cup sugar
- 4 egg yolks
- 1/4 cup cornstarch
- 1 tsp vanilla bean paste
- 2 lbs fresh strawberries, hulled and halved
- 1/4 cup apricot jam (for glaze)
How to make it
- Start by making the pastry cream. In a medium saucepan, heat the milk and half the sugar over medium heat until it just begins to simmer. Do not let it reach a rolling boil.
- While the milk heats, whisk the egg yolks and the remaining sugar in a bowl until pale and thick, then whisk in the cornstarch until no lumps remain.
- Temper the eggs by slowly pouring about half of the hot milk into the egg mixture while whisking constantly. This prevents the eggs from scrambling.
- Pour the mixture back into the saucepan and cook over medium-low heat. Whisk vigorously and continuously until the mixture thickens into a thick pudding-like consistency. Remove from heat and stir in the vanilla bean paste.
- Transfer the cream to a bowl, cover with plastic wrap (touching the surface to prevent a skin from forming), and chill for at least 2 hours.
- Once chilled, spread the pastry cream evenly into the tart shell. Arrange the strawberries in concentric circles, starting from the outside and working your way in for a professional look.
- Melt the apricot jam with a teaspoon of water and brush it over the berries for that signature viral glow. Serve immediately.
How to start baking business
Why we love this
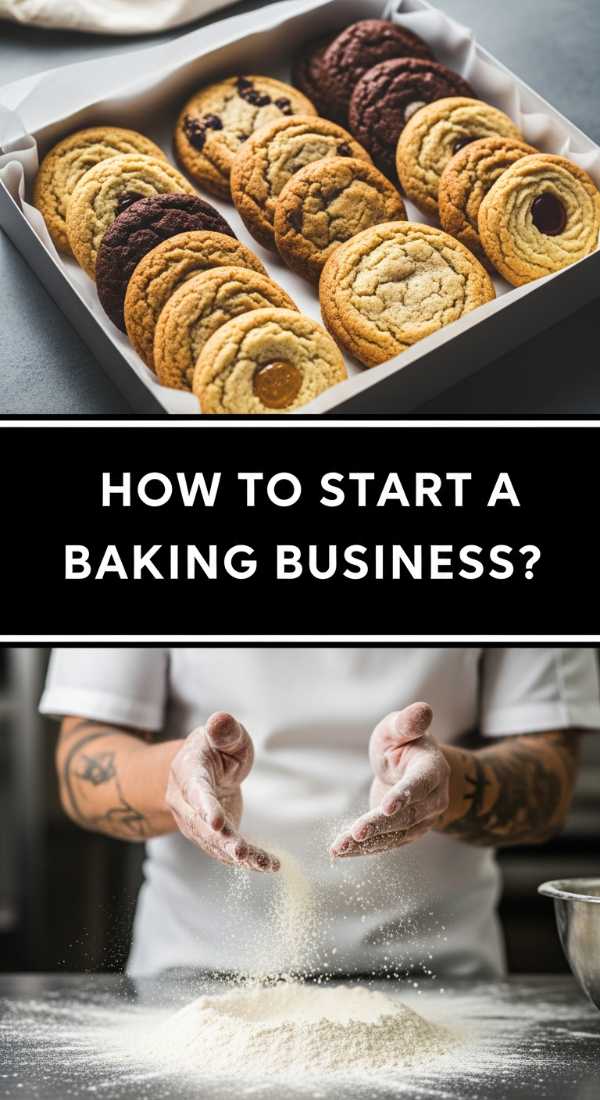
Turning a passion for flour and sugar into a thriving business is a dream that many of us cherish, and we love the empowerment that comes with sharing your craft with the world. There is an incredible sense of fulfillment in seeing your creations become part of someone else’s celebrations and daily rituals. Starting a baking business allows for creative freedom, the ability to build a community around your unique flavors, and the sheer joy of knowing that your hands have shaped something that brings genuine happiness to others.
Ingredients
- A signature recipe repertoire
- Business license and local health permits
- Professional-grade baking equipment
- Brand identity (logo and colors)
- A dedicated workspace (home or commercial kitchen)
- Marketing strategy
How to make it
- Research local cottage food laws in your area. These regulations dictate what you can bake at home and sell to the public, including labeling requirements and ingredient restrictions.
- Define your niche. Instead of being a general baker, focus on something specific like sourdough, vegan pastries, or elaborate summer cakes to stand out in a crowded market.
- Develop a solid business plan. Calculate your food costs meticulously—don’t forget to include your labor, packaging, and utilities. Pricing is the most common pitfall for new bakers.
- Apply for necessary permits and insurance. This protects both you and your customers and establishes your legitimacy as a professional entity.
- Source your ingredients in bulk to save on costs. Establish relationships with local farmers or wholesalers to ensure a consistent supply of high-quality produce and flour.
- Set up your digital presence. Create a clean, appetizing website and social media profiles where you can showcase high-quality photography of your bakes.
How to sell artisan bread
Why we love this
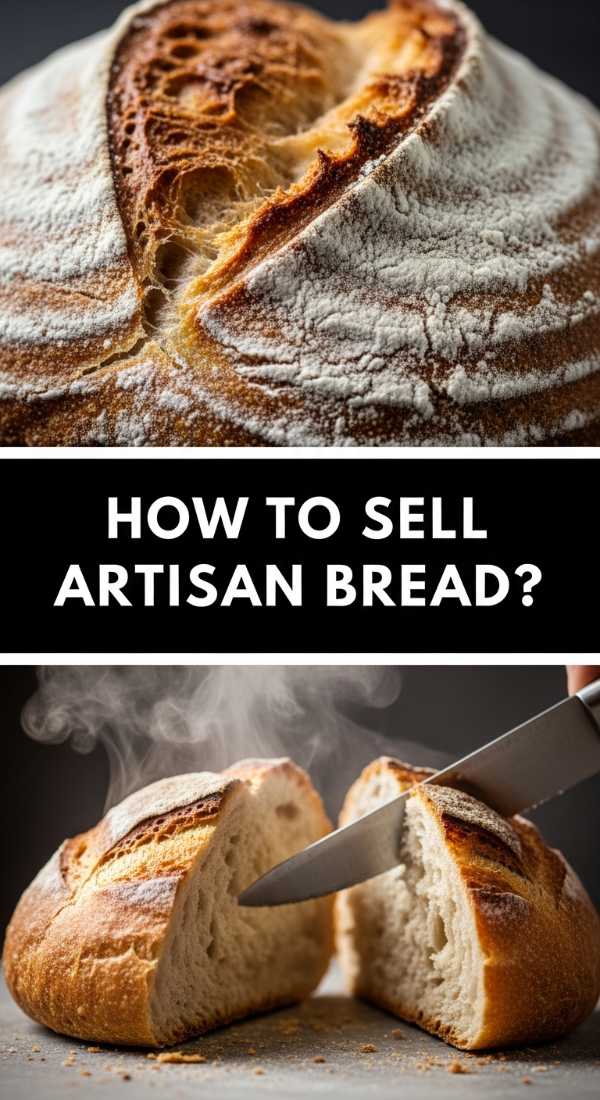
Artisan bread is more than just food; it is a labor of love that represents the pinnacle of baking skill. We love the primal connection to the ingredients—just flour, water, salt, and yeast—and the transformative process that turns them into a crusty, airy loaf. Selling artisan bread allows you to connect with customers who appreciate the time, patience, and science behind a long fermentation. The crunch of the crust and the tender, open crumb of a well-made loaf are universally adored, making it a staple that people will return for week after week.
Ingredients
- High-quality bread flour
- Filtered water
- Sea salt
- Active sourdough starter or yeast
- Proofing baskets (bannetons)
- Professional packaging (paper bags or linen wraps)
How to make it
- Master your signature loaf. Consistency is key when selling. Ensure you can replicate the same flavor profile and crust texture every single time you bake.
- Invest in a high-quality oven or baking stones/steels. The secret to artisan bread is high initial heat and steam, which creates the thin, crispy crust and maximum oven spring.
- Develop a baking schedule that aligns with sales. If selling at a morning farmer’s market, you will likely need to bake through the night to ensure maximum freshness.
- Focus on the visual appeal. Use intricate scoring patterns (using a bread lame) to make your loaves look like edible art pieces that attract attention from across the room.
- Package your bread in breathable materials. Never use plastic for crusty artisan loaves, as it will turn the crust soft. Use high-quality brown paper bags with a clear window.
- Educate your customers. Provide storage instructions and pairing suggestions (like herb butters or local honeys) to enhance their experience and build brand loyalty.
How to score sourdough dough

Why we love this
Scoring is the moment a baker becomes an artist, and we love the meditative focus required to etch designs into a taut boule of dough. Beyond the aesthetics, scoring is functional; it controls the expansion of the bread in the oven, preventing it from bursting at the seams. Watching a simple wheat stalk or geometric pattern bloom into a beautiful, raised design as the bread bakes is incredibly rewarding. It adds a professional, signature touch to your loaves that makes them look as though they belong in a high-end boutique bakery.
Ingredients
- Chilled, fermented sourdough boule
- Bread lame with a sharp razor blade
- Rice flour (for dusting)
- Soft pastry brush
How to make it
- Ensure your dough is well-chilled. Cold dough is firmer and much easier to score cleanly than room-temperature dough, which can be sticky and snag on the blade.
- Dust the surface of the dough with a light layer of rice flour. This provides a high-contrast background that makes your scoring patterns pop against the dark, baked crust.
- Use a soft brush to even out the flour and remove any excess. This creates a smooth canvas for your work.
- Hold your lame at a 45-degree angle for your primary ‘expansion’ cut. This cut should be about 1/2 inch deep and is what allows the bread to rise significantly (the ‘ear’).
- For decorative patterns, use just the tip of the razor blade and apply very light pressure. These cuts should be shallow, as they are not meant for expansion but for visual detail.
- Work quickly and confidently. Hesitation can lead to jagged lines. Once scored, transfer the dough immediately to the hot oven or Dutch oven to capture the oven spring.
How to decorate summer cakes
Why we love this
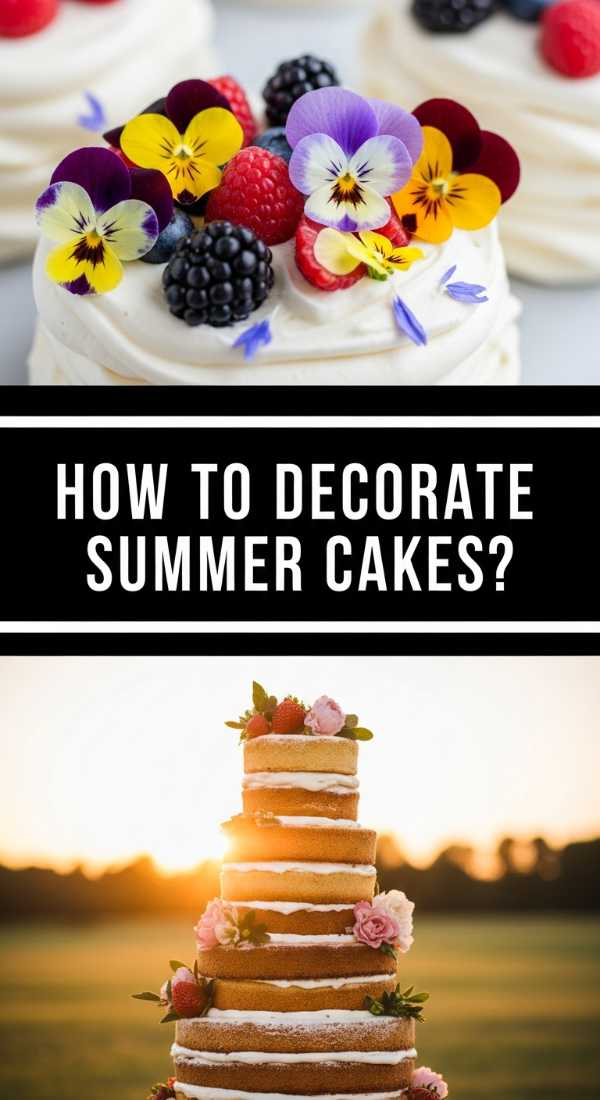
Summer cakes are a celebration of lightness and color, and we love the freedom to use nature’s bounty as our palette. There is something so refreshing about moving away from heavy fondants and towards airy whipped creams, edible flowers, and fresh fruit garnishes. These cakes look effortless yet stunning, evoking the feeling of a garden party in full bloom. The contrast of bright berries against white frosting and the delicate touch of greenery creates a viral-worthy aesthetic that feels both modern and timelessly elegant.
Ingredients
- Chilled sponge or butter cake
- Light buttercream or stabilized whipped cream
- Fresh berries (raspberries, blueberries, blackberries)
- Edible flowers (pansies, marigolds, or cornflowers)
- Fresh herbs (mint or basil leaves)
- Offset spatula and turntable
How to make it
- Start with a ‘crumb coat.’ Apply a very thin layer of frosting to the chilled cake layers to lock in crumbs. Chill the cake for 20 minutes before applying the final layer of frosting.
- For a ‘naked’ or semi-naked look, apply the final layer of frosting and then use a bench scraper to wipe most of it away, allowing the cake layers to peek through for a rustic summer vibe.
- Use an offset spatula to create texture. You can make swoops, swirls, or horizontal lines in the frosting to add movement and catch the light.
- Place your largest elements first. If using large strawberries or big floral blooms, position them in a crescent shape or a central cluster to create a focal point.
- Fill in the gaps with smaller berries and delicate herbs. The green of the mint or basil adds a pop of life that makes the fruit look even fresher.
- Apply edible flowers last. Ensure they are organic and pesticide-free. Tuck them into the frosting gently so they stay in place until serving.
How to bake blueberry muffins

Why we love this
The humble blueberry muffin is a breakfast icon for a reason, and we love the simple perfection of a golden, domed top and a tender, moist interior. There is a specific joy in biting into a warm muffin and having a perfectly tart blueberry burst in your mouth, its purple juices marbling the sweet batter. The smell of vanilla and toasted sugar filling the house on a Saturday morning is the ultimate luxury. When topped with a crunchy streusel or a sprinkle of sparkling sugar, they become a textural delight that is impossible to resist.
Ingredients
- 1.5 cups all-purpose flour
- 3/4 cup granulated sugar
- 2 tsp baking powder
- 1/2 tsp salt
- 1/3 cup vegetable oil
- 1 large egg
- 1/3 cup whole milk
- 1.5 cups fresh blueberries
- 1 tbsp coarse sparkling sugar (for topping)
How to make it
- Preheat your oven to 400°F (200°C). High heat is the secret to getting those tall, bakery-style muffin tops. Line a muffin tin with paper liners.
- Whisk the flour, sugar, baking powder, and salt in a large bowl. In a separate measuring cup, whisk the oil, egg, and milk until fully emulsified.
- Make a well in the center of the dry ingredients and pour in the wet mixture. Fold gently with a spatula. Stop when you still see a few streaks of flour; overmixing is the enemy of a tender muffin.
- Gently fold in the blueberries. If using frozen berries, do not thaw them first, as this will turn the entire batter purple.
- Fill the muffin cups all the way to the top. This encourages the batter to rise up and over the edges, creating that iconic dome shape.
- Sprinkle the tops generously with sparkling sugar. Bake for 18-22 minutes. The muffins are done when the tops are golden and spring back when lightly pressed.
How to market baking business

Why we love this
Marketing is where your creativity meets your community, and we love the way digital storytelling can turn a small kitchen into a beloved local brand. It’s not just about selling a product; it’s about sharing your journey, your ingredients, and your passion. We love how social media allows bakers to showcase the ‘behind-the-scenes’—the clouds of flour, the rhythmic kneading, and the steam rising from a fresh loaf. This transparency builds trust and excitement, turning followers into loyal customers who feel a personal connection to every bite they buy.
Ingredients
- High-quality smartphone or camera
- Consistent brand voice
- Social media accounts (Instagram, TikTok, Pinterest)
- Email marketing tool
- Local community engagement
- Collaboration mindset
How to make it
- Master food photography. Use natural, indirect light and find angles that highlight texture (like a close-up of a flaky crust). Great visuals are the primary driver of food sales online.
- Utilize short-form video. Create ‘reels’ or ‘tiktoks’ showing the process of your bakes. People love the ASMR of bread scoring or the visual satisfaction of glazing a tart.
- Engage with your local community. Use location tags and local hashtags to ensure people in your delivery or pickup area see your posts.
- Run limited-time ‘drops.’ Creating a sense of urgency (e.g., “only 10 loaves available this Saturday”) encourages quick orders and builds a ‘cult’ following.
- Collaborate with other local makers. Partner with a local coffee roaster or florist for a ‘bundle’ deal to tap into each other’s audiences and increase reach.
- Collect and share testimonials. Positive reviews from happy customers are the most powerful form of social proof you can have.
How to knead bread dough

Why we love this
Kneading is a rhythmic, tactile experience that connects the baker directly to the life of the dough, and we love the physical transformation that occurs under our palms. Starting as a shaggy, sticky mess, the dough gradually becomes smooth, elastic, and full of potential as the gluten network develops. There is a meditative quality to the push-and-fold motion, a moment of quiet in a busy day where you can feel the strength of the bread building. It is the literal foundation of a great loaf, and mastering it is a rite of passage for any serious baker.
Ingredients
- Mixed bread dough (flour, water, yeast, salt)
- Lightly floured work surface
- Bench scraper
- Patience and steady hands
How to make it
- Turn your mixed dough onto a very lightly floured surface. Too much extra flour during kneading will make the final bread dry and heavy.
- Use the heels of your hands to push the dough away from you in a firm, steady motion. You should see the dough stretch without tearing.
- Fold the top edge of the dough back over itself toward you, and give the dough a slight quarter-turn.
- Repeat the push, fold, and turn motion. Maintain a steady rhythm. If the dough is very wet, use a bench scraper to help lift and fold it until it gains enough strength to handle.
- Knead for about 8-10 minutes. You are looking for the dough to become silky, smooth, and no longer sticky. It should feel ‘bouncy.’
- Perform the ‘windowpane test.’ Take a small piece of dough and gently stretch it out. If it can become thin enough to see light through without breaking, the gluten is perfectly developed.
How to make lemon bars
Why we love this
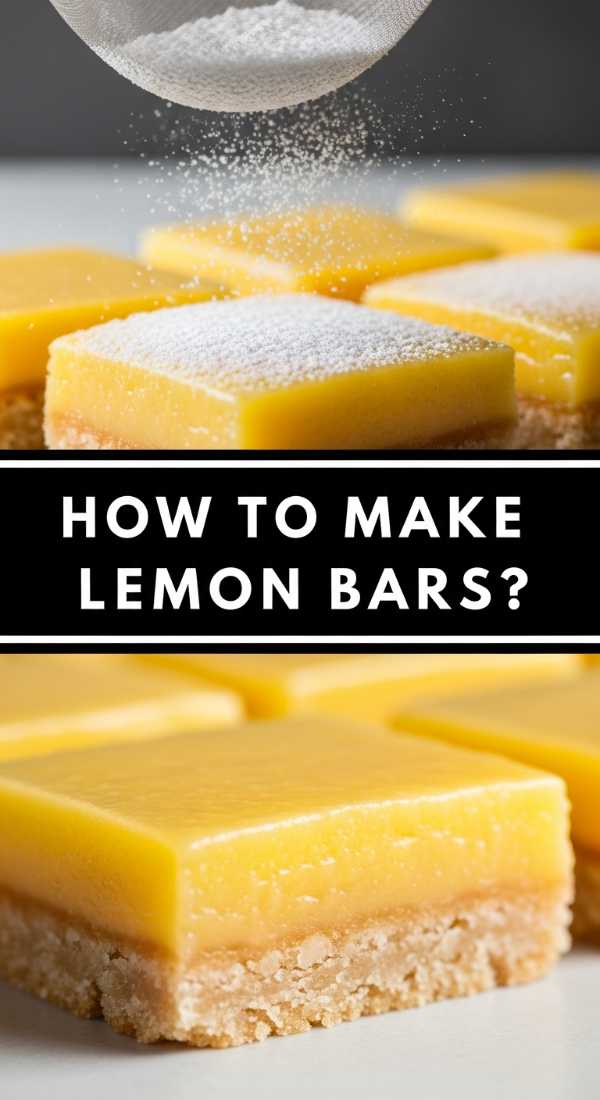
Lemon bars are the ultimate palate cleanser and a bright, zesty addition to any snack board. We love the sharp, clean citrus punch of the lemon curd as it meets the rich, buttery crumble of the shortbread base. There is something incredibly nostalgic about these yellow squares, yet they always feel fresh and sophisticated. The dusting of powdered sugar on top looks like fallen snow against the vibrant yellow, providing a soft sweetness that balances the intense tang of the lemon. They are the perfect ‘one-hand’ snack that keeps people coming back for more.
Ingredients
- For the crust: 1 cup butter (softened), 1/2 cup sugar, 2 cups flour
- For the filling: 1.5 cups sugar, 1/4 cup flour, 4 large eggs, 2/3 cup fresh lemon juice
- Garnish: Powdered sugar for dusting
How to make it
- Preheat your oven to 350°F (175°C). Line a 9×13 inch baking pan with parchment paper, leaving an overhang on the sides for easy removal later.
- Cream the softened butter and sugar together until light and fluffy. Slowly add the 2 cups of flour until a crumbly dough forms. Press this firmly into the bottom of your prepared pan.
- Bake the crust for 15-20 minutes or until the edges are just starting to turn a pale golden brown. This ‘blind bake’ ensures the crust stays crisp under the moist filling.
- While the crust bakes, whisk together the eggs, sugar, 1/4 cup flour, and lemon juice. Whisk thoroughly to ensure there are no lumps of flour, as these will show up in the finished bars.
- Pour the lemon mixture over the hot crust. It is important that the crust is still warm so the filling begins to set immediately at the contact point.
- Bake for another 20-25 minutes. The filling should be set and no longer jiggle in the center. Let the bars cool completely in the pan before lifting them out and slicing. Dust heavily with powdered sugar right before serving.
Conclusion
Building the ultimate viral snack board is an exercise in creativity and a celebration of the baking arts. By combining the rustic charm of artisan breads with the refined beauty of summer tarts and cakes, you create a tapestry of flavors that invites conversation and connection. Remember, the secret to a board that truly resonates is the heart you put into every element. So, roll up your sleeves, dust your counters with flour, and let your kitchen become a place of magic. Your guests—and your followers—will surely thank you for the delicious experience.