

Glow Up Your Mani: The Ultimate Guide to 2024’s Best Summer Nails
Welcome back to my little corner of the internet, my loves. As the sun begins to drape its golden warmth over our days, I find myself reaching for those vibrant polish bottles that have been hibernating all winter. There is something so deeply therapeutic about sitting by an open window, iced coffee in hand, and painting a little piece of joy onto our fingertips. It’s not just about the color; it’s about the ritual of self-care and that feeling of absolute radiance every time you catch a glimpse of your hands.
This summer, we are leaning into everything that makes us feel alive—from the zest of citrus to the nostalgic hum of the early 2000s. I’ve gathered the dreamiest trends for 2024 to help you find your signature seasonal glow. So, grab your favorite file, find a cozy spot, and let’s dive into these beautiful designs together. Your nails are your smallest canvas, and darling, it’s time to create a masterpiece.
7 Easy Steps to Paint Red Summer Nails

Why to love these Nails:
There is something so timeless about red, like a summer sunset in a bottle. It’s the confidence boost we all need for those rooftop parties and evening strolls; it’s classic, fiery, and matches every single sundress in your closet.
Essential Items:
- Classic Cherry Red Polish
- Smoothing Base Coat
- High-Shine Top Coat
- Cleanup Brush
- Acetone
How to Prepare:
- Cleanse nails with alcohol to remove oils.
- Apply a thin layer of base coat to prevent staining.
- Paint one thin stroke down the center of the nail.
- Fill in the sides with two more strokes.
- Apply a second coat for full opacity.
- Clean up any edges with a brush dipped in acetone.
- Seal with a glossy top coat for that wet-look finish.
Budget Range
- Essie ‘Geranium’ ($10)
- OPI ‘Big Apple Red’ ($11.50)
- Wet n Wild ‘Red Red’ ($2)
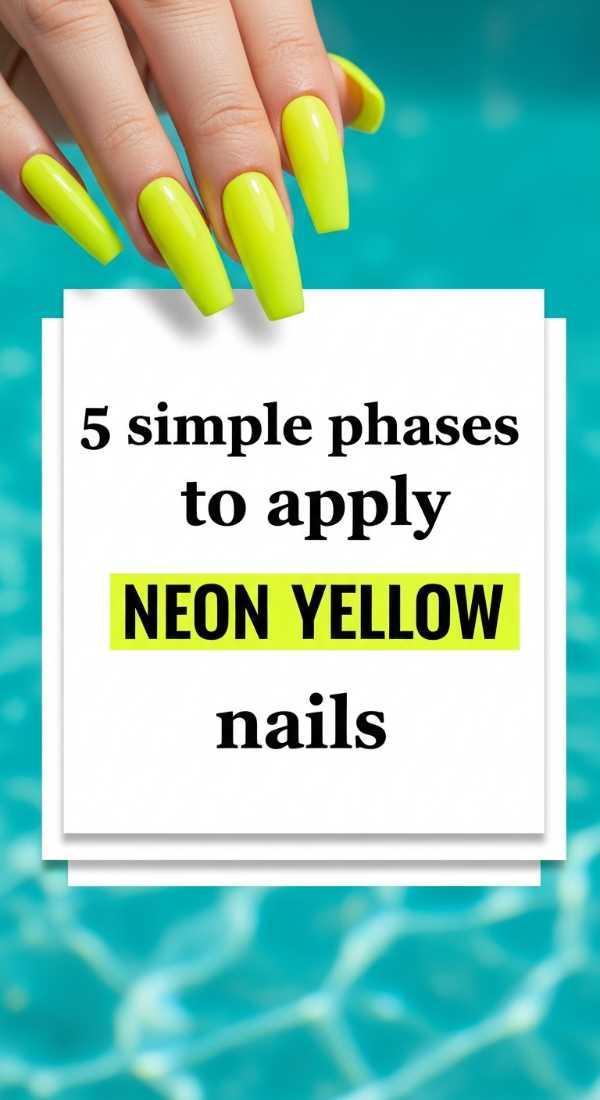
5 Simple Phases to Apply Neon Yellow Nails
Why to love these Nails:
Neon yellow is basically sunshine on your fingertips! It’s bold, it’s bright, and it screams ‘I’m ready for the beach.’ It’s the ultimate way to make your summer tan pop while feeling like the main character of your own summer flick.
Essential Items:
- Neon Yellow Polish
- Opaque White Polish
- Matte or Glossy Top Coat
How to Prepare:
- Prime nails with a white base coat to make the neon truly electric.
- Apply the first layer of neon yellow once the white is dry.
- Add a second layer of neon to ensure no streaking.
- Smooth out the surface with your preferred top coat.
- Moisturize cuticles with oil for a professional glow.
Budget Range
- Orly ‘Glowstick’ ($15)
- China Glaze ‘Celtic Sun’ ($8)
- L.A. Colors ‘Nuclear Energy’ ($3)
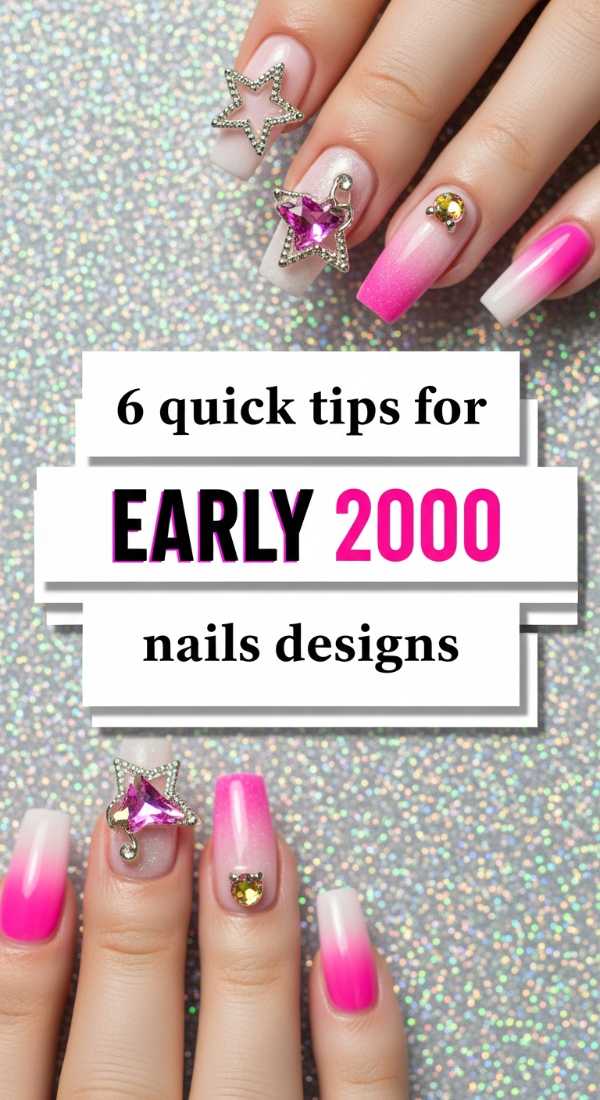
6 Quick Tips for Early 2000s Nails Designs
Why to love these Nails:
Bringing back the Y2K vibes because nostalgia is the ultimate comfort food for the soul. These designs are all about playful energy, rhinestones, and that butterfly-in-your-stomach feeling of a summer break that never ends.
Essential Items:
- Butterfly decals
- Tiny rhinestones
- Pale pink and lilac polishes
- Fine liner brush
How to Prepare:
- Start with a sheer pink base for that ‘jelly’ look.
- Use a liner brush to create soft swirls or French tips.
- Place a tiny rhinestone at the base of each nail.
- Apply butterfly stickers while the polish is slightly tacky.
- Press down decals firmly with a silicone tool.
- Seal everything under a thick layer of top coat.
Budget Range
- Sally Hansen ‘Hard as Nails’ Sheer ($4)
- Amazon Nail Art Sticker Pack ($6)
- Holo Taco ‘Pink Fizz’ ($13)
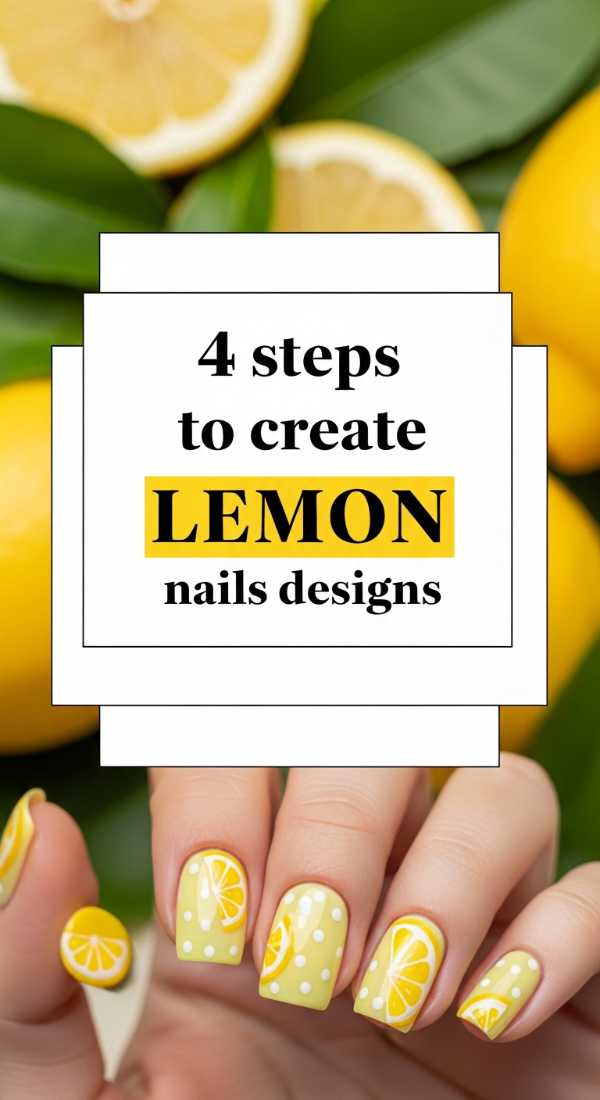
4 Steps to Create Lemon Nails Designs
Why to love these Nails:
Lemon nails are just so refreshing—like a cold glass of lemonade on a humid afternoon. They add a squeeze of whimsy to your look and look absolutely darling in vacation photos.
Essential Items:
- Pale Yellow Polish
- Green Polish (for leaves)
- Dotting Tool
How to Prepare:
- Paint nails a soft cream or nude color.
- Use a dotting tool to create two yellow ovals for the lemons.
- Add a tiny green flick for the leaf detail.
- Protect the art with a long-lasting top coat.
Budget Range
- Zoya ‘Darcy’ ($12)
- Essie ‘Check Your Baggage’ ($9)
- Nail Art Dotting Tool Set ($5)
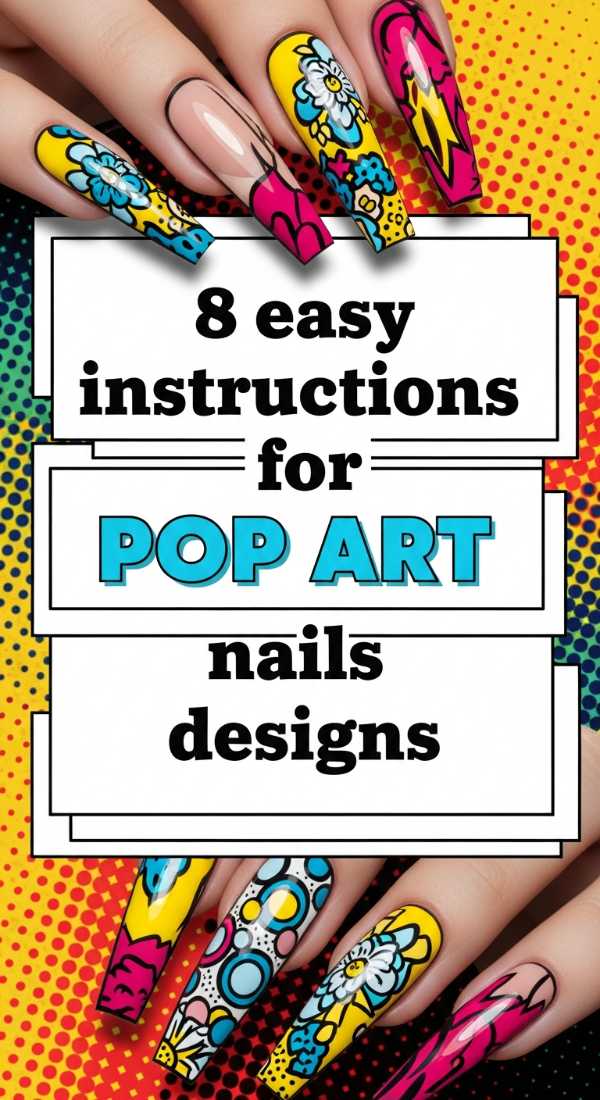
8 Easy Instructions for Pop Art Nails Designs
Why to love these Nails:
Pop art nails are for my creative souls who want their hands to look like a literal masterpiece. They give off a cool, comic-book vibe that is sure to be a conversation starter at every summer BBQ.
Essential Items:
- Primary color polishes
- Black striper pen
- White polish for highlights
How to Prepare:
- Apply a solid bright base color.
- Outline the entire nail with a thin black line.
- Draw an ‘exclamation’ highlight in white on one side.
- Add a small black ‘shadow’ line opposite the highlight.
- Keep the lines crisp and deliberate.
- Allow each layer to dry fully to avoid smudging.
- Apply a matte top coat for a true ‘paper’ look.
- Touch up any black lines that faded during coating.
Budget Range
- Maniology ‘Straight Up Black’ ($8)
- Nail Art Striping Brushes ($7)
- OPI ‘PUMP Up the Volume’ ($11)
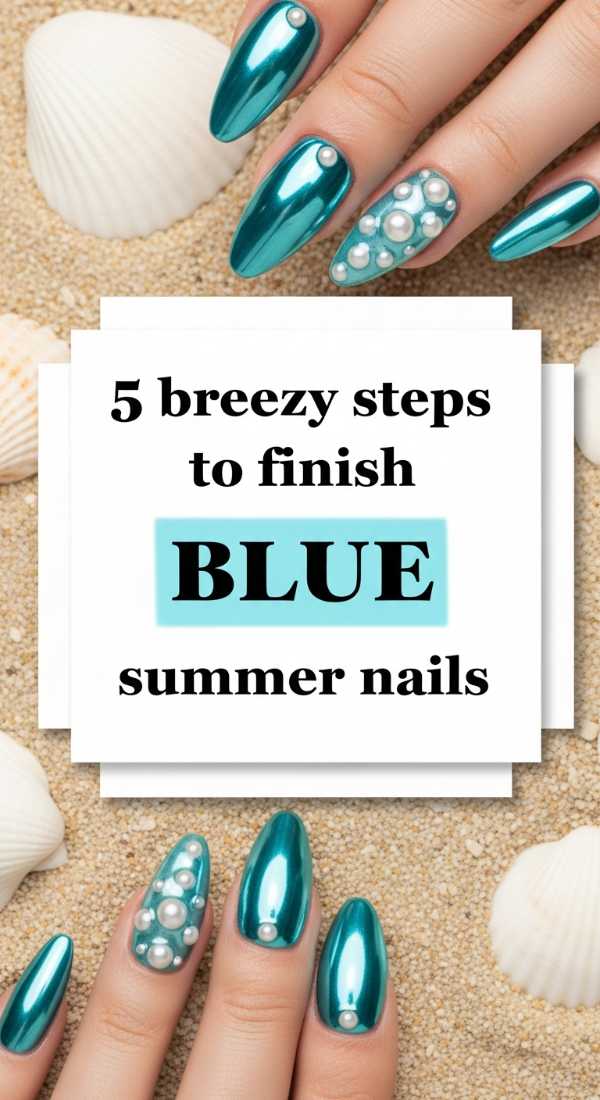
5 Breezy Steps to Finish Blue Summer Nails
Why to love these Nails:
Blue nails remind me of the Mediterranean sea—calm, deep, and perfectly serene. It’s a color that feels cool against the summer heat and brings a sense of peace to your busy days.
Essential Items:
- Sky Blue Polish
- Silver Shimmer
- Nail Buffer
How to Prepare:
- Buff the nail surface for a smooth application.
- Apply two coats of your favorite sky blue.
- Dab a bit of silver shimmer at the tips for a ‘sea spray’ effect.
- Ensure the polish is thin to avoid bubbling.
- Finish with a UV-protectant top coat.
Budget Range
- Essie ‘Saltwater Happy’ ($10)
- Olive & June ‘BP’ ($9)
- Sinful Colors ‘Endless Blue’ ($3)
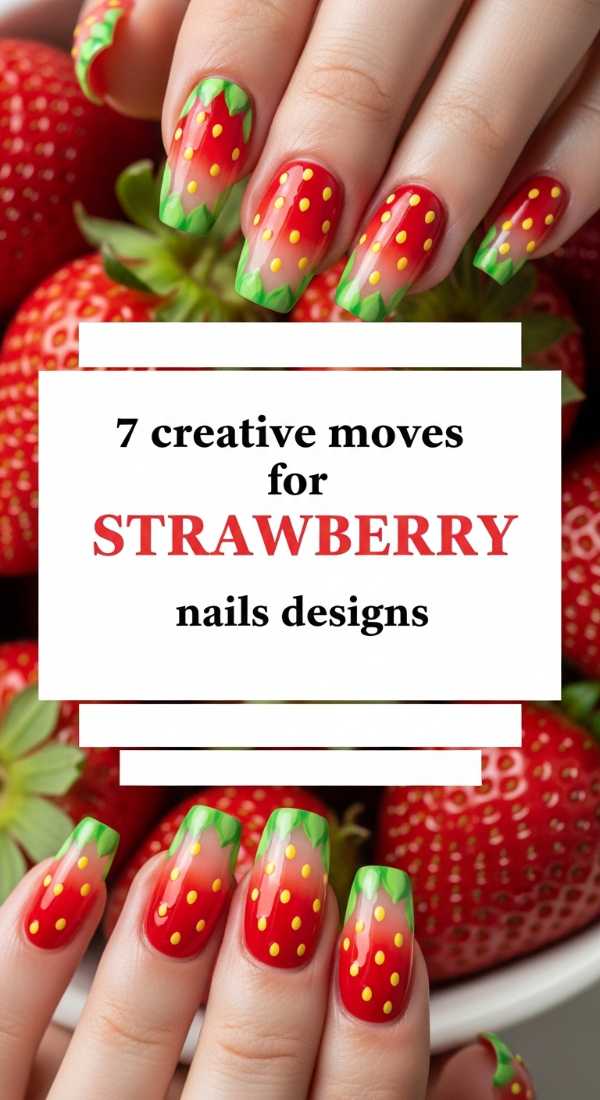
7 Creative Moves for Strawberry Nails Designs
Why to love these Nails:
Strawberry designs are the sweetest way to celebrate berry season. They’re just so whimsical and feminine, making every picnic feel just a little bit more magical.
Essential Items:
- Strawberry Red Polish
- Leaf Green Polish
- Yellow or Gold Studs/Dots
How to Prepare:
- Paint the nail a vibrant strawberry red.
- Draw small green triangles at the cuticle for the ‘crown’.
- Place tiny yellow dots across the red for seeds.
- Use a toothpick if you don’t have a dotting tool.
- Make the seeds slightly irregular for a natural look.
- Let the seeds dry completely before the next step.
- Apply a thick top coat to level the surface.
Budget Range
- Lights Lacquer ‘Strawberry Soda’ ($13)
- Sally Hansen ‘Pucker Up’ ($5)
- Revlon ‘Snap!’ in Red ($6)
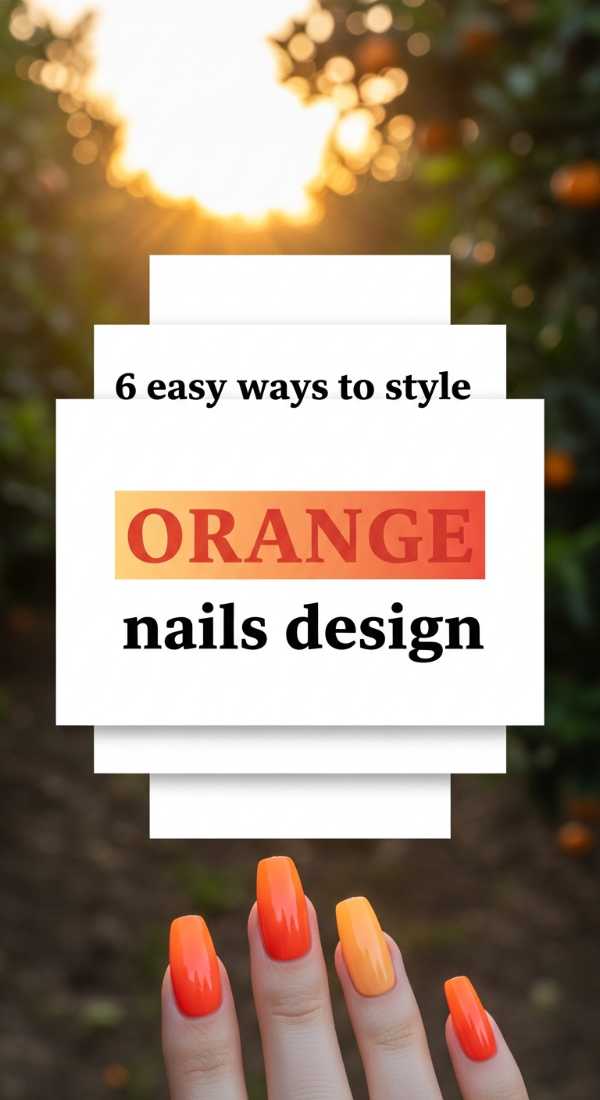
6 Easy Ways to Style Orange Nails Design
Why to love these Nails:
Orange is that zesty pop that makes every outfit feel like a tropical vacation. It’s energetic, fun, and looks incredible under the bright afternoon sun.
Essential Items:
- Tangerine Polish
- Gold Flake Topper
- Base Coat
How to Prepare:
- Start with a clean, shaped nail.
- Apply two coats of tangerine orange.
- Add a dusting of gold flakes to the ring finger.
- Ensure the edges are sealed to prevent chipping.
- Apply a high-gloss top coat.
- Massage in some orange-scented cuticle oil.
Budget Range
- OPI ‘Orange You Glad It’s Summer’ ($11)
- Essie ‘Check in to Check Out’ ($10)
- Holo Taco ‘Gold Flakeie’ ($13)
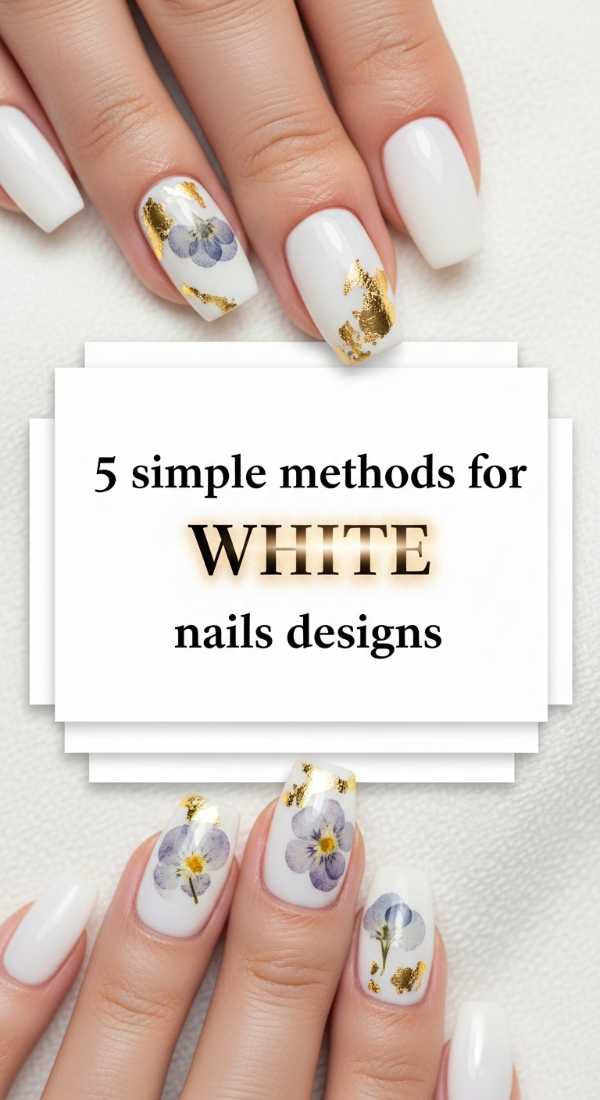
5 Simple Methods for White Nails Designs
Why to love these Nails:
White nails are the ultimate ‘clean girl’ aesthetic. They make your summer tan look absolutely radiant and provide a crisp, clean finish that looks expensive and polished.
Essential Items:
- Opaque White Polish
- Pearl Pigment Powder (optional)
- Precision File
How to Prepare:
- Shape nails into a neat almond or square.
- Apply a ridge-filling base coat.
- Use three very thin layers of white to avoid streakiness.
- Optional: Rub a pearl powder on top for a ‘glazed’ look.
- Seal with a long-wear top coat.
Budget Range
- OPI ‘Funny Bunny’ ($11)
- Essie ‘Marshmallow’ ($10)
- Wet n Wild ‘Wild Shine White’ ($1)
9 Fast Steps for Fun Summer Nails Designs
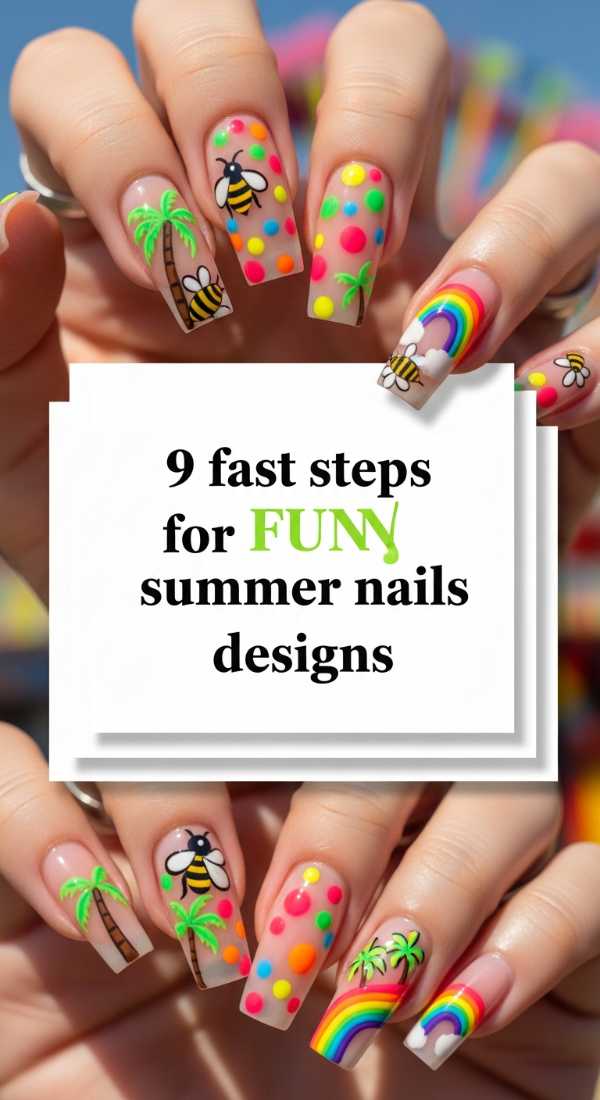
Why to love these Nails:
Fun summer designs are all about breaking the rules and letting your personality shine through every finger. Mix, match, and play—because summer is too short for boring nails!
Essential Items:
- Assorted Bright Polishes
- Nail Stickers
- Striping Tape
How to Prepare:
- Choose a different color for every finger.
- Apply base coats to all nails.
- Paint each nail with its designated bright shade.
- Use striping tape to create geometric patterns on one nail.
- Apply a fruit sticker to another.
- Dot a contrasting color on the thumb.
- Wait for all art to dry thoroughly.
- Cover with a protective top coat.
- Show them off with a big smile!
Budget Range
- Target ‘Mondo Llama’ Polish Set ($15)
- Color Club Multi-Pack ($12)
- Drugstore Sticker Sheets ($2)
Stay Glowing, Loves
I hope this guide leaves you feeling inspired to play with color and embrace the beautiful warmth of the season. Remember, there are no rules in beauty—only what makes your heart feel light and your soul feel bright. Whether you choose a classic red or a wild pop-art design, wear it with the confidence of a woman who knows she is spectacular. I can’t wait to see your summer manis! Tag me in your photos, and let’s spread a little more color in the world together. Stay soft, stay bright, and keep glowing.