

Hello, my loves! Welcome back to my cozy corner of the internet where we celebrate the simple, beautiful magic of a home-cooked meal. Lately, my feed has been overflowing with such incredible inspiration that I just couldn’t keep it all to myself; there is a certain kind of warmth that comes from trying a new trend and realizing it’s as delicious as it is pretty. Today, we are diving into a collection of recipes that feel like a soft, cloud-like embrace for your soul and your kitchen.
Gathering around the table is my favorite way to say ‘I love you,’ and these viral food ideas are designed to make those moments even more special. Whether you are prepping a quiet lunch for your little ones or hosting a sparkling celebration for a dear friend, these dishes bring a touch of enchantment to the everyday. Let’s put on our favorite aprons, turn up some gentle music, and explore the most shareable trends taking over our screens and our hearts.
Authentic Sushi Recipes Homemade Viral Hack

Why we love this
My loves, there is something so incredibly soothing about mastering a craft in your own kitchen that usually feels so out of reach. This sushi hack removes all the stress of rolling and replaces it with pure, creative joy that looks absolutely stunning on a plate. You will find yourself reaching for this method every Friday night because it turns a simple dinner into a soulful, artistic experience for the whole family to enjoy. It is truly the ultimate way to bring a touch of restaurant-quality magic into your home sanctuary without any of the usual frustration.
Ingredients
- 2 cups sushi rice (prepared and seasoned with rice vinegar and sugar)
- Fresh sashimi-grade salmon or tuna
- 1 ripe avocado, thinly sliced
- 1 cucumber, julienned
- Nori sheets (cut into small squares)
- Spicy mayo and toasted sesame seeds for garnish
- Plastic wrap
- An empty ice cube tray
How to make it
- Begin by lightly dampening your ice cube tray and lining it with a large sheet of plastic wrap, pressing it firmly into each individual well to create a mold.
- Place a small piece of fresh fish or a slice of creamy avocado into the bottom of each well; this will eventually become the beautiful top of your sushi bite.
- Gently spoon a small amount of seasoned sushi rice over the fillings, pressing down softly with wet fingers to ensure the rice takes the shape of the mold.
- Fold the overhanging plastic wrap over the rice and let it sit for about five minutes to set, allowing the flavors to meld together in their little pockets.
- Carefully invert the tray onto a serving platter and peel back the plastic wrap to reveal perfectly uniform, bite-sized sushi cubes that look professional.
- Top each piece with a tiny dollop of spicy mayo, a sprinkle of sesame seeds, and serve alongside your nori squares for a DIY hand-roll experience.
Keto Recipes Dinner Crispy Comfort Food

Why we love this
There are evenings when we all crave that satisfying, golden crunch, but we want to keep things light and nourishing for our bodies. This keto-friendly comfort dish feels like a warm hug on a plate, offering all the texture of traditional fried foods without any of the heavy carbs. It is the perfect solution for those busy weeknights when you need something that feels indulgent yet aligns perfectly with your wellness journey. You will love how the kitchen fills with the scent of toasted cheese and savory herbs as these bake to perfection.
Ingredients
- 1 lb chicken breast tenders
- 1 cup crushed pork rinds (unflavored or spicy)
- 1/2 cup grated Parmesan cheese
- 1 teaspoon garlic powder
- 1/2 teaspoon smoked paprika
- 2 large eggs, beaten
- Cooking oil spray
How to make it
- Preheat your oven to 400°F (200°C) and line a large baking sheet with parchment paper or a wire cooling rack for maximum crispiness.
- In a shallow bowl, whisk the eggs until smooth; in a separate bowl, combine the crushed pork rinds, Parmesan cheese, garlic powder, and smoked paprika.
- Dip each chicken tender first into the egg wash, ensuring it is fully coated, and then press it firmly into the pork rind mixture until every inch is covered.
- Arrange the tenders on your prepared baking sheet, leaving space between each piece to allow the hot air to circulate and create that signature golden crust.
- Lightly spray the tops of the chicken with cooking oil to help them brown, then bake for 15 to 18 minutes until the internal temperature reaches 165°F.
- Serve these golden delights with a side of sugar-free ranch or spicy mustard, and enjoy the blissful sound of that perfect, keto-approved crunch.
Enchanting Wildflower Cake Ideas For Parties

Why we love this
Imagine a cake that looks like it was plucked straight from a sun-drenched meadow in a fairytale; that is exactly what this wildflower trend offers. It is a breathtaking way to celebrate birthdays or garden parties, turning a simple dessert into a living piece of botanical art. Your guests will be absolutely spellbound by the delicate colors and the organic beauty of edible petals pressed into soft, creamy frosting. It is a reminder that nature is the best decorator we have, and it brings such a gentle, whimsical spirit to any gathering.
Ingredients
- 1 double-layer vanilla cake (cooled completely)
- 3 cups silky white buttercream frosting
- Assorted edible flowers (pansies, violas, cornflowers, and lavender)
- Fresh mint leaves for a pop of green
- Tweezers (for precise placement)
How to make it
- Start by applying a thick, smooth layer of buttercream to your cooled cake, ensuring the sides are as even as possible to create a clean canvas.
- Gently wash your edible flowers and pat them extremely dry with a paper towel; any moisture left on the petals could cause the frosting to weep.
- Using tweezers, start placing the larger flowers near the base of the cake, pressing them very lightly into the frosting so they adhere without being buried.
- Work your way up the sides of the cake in a sweeping motion, mixing different colors and sizes to mimic the natural growth of a wild summer garden.
- Fill in the smaller gaps with tiny buds and fresh mint leaves to add depth and a variety of textures to your floral masterpiece.
- Place the cake in the refrigerator for at least thirty minutes to set the frosting and the flowers before presenting it to your delighted guests.
Chia Seed Pudding With Yogurt Breakfast Hack
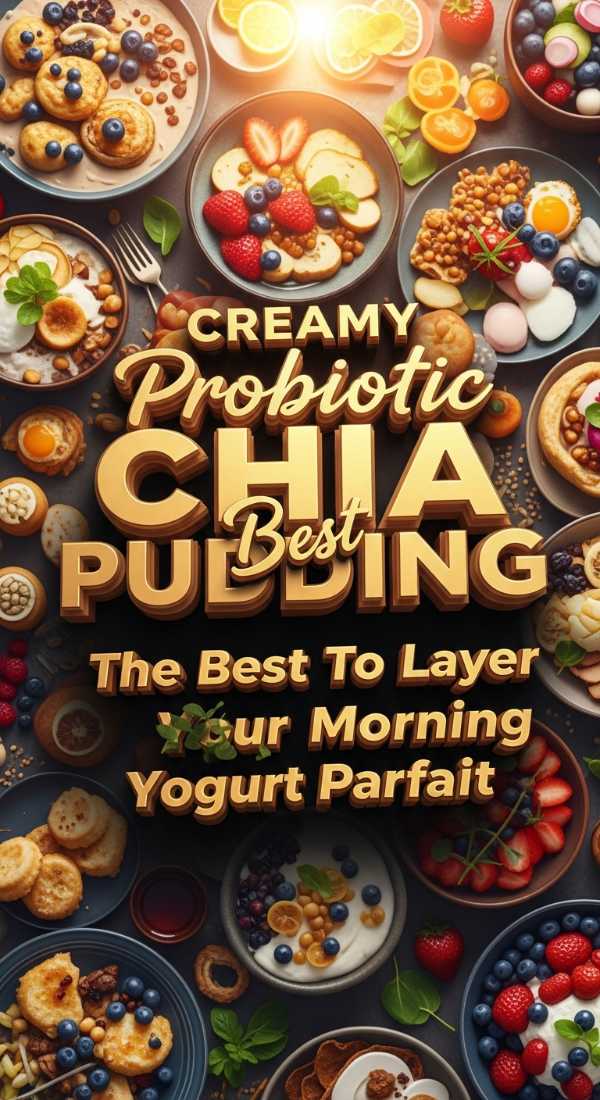
Why we love this
Starting your morning with something that feels like a treat but fuels your soul is the ultimate act of self-care, my loves. This breakfast hack takes the classic chia pudding and elevates it into a creamy, layered dream that keeps you feeling satisfied all morning long. It is so easy to prep the night before, meaning you can wake up to a ready-made moment of calm before the busy day begins. The contrast between the pearls of chia and the velvety yogurt creates a texture that is truly addictive and wonderfully refreshing.
Ingredients
- 1/4 cup chia seeds
- 1 cup almond milk (or milk of choice)
- 1 tablespoon maple syrup
- 1/2 teaspoon vanilla extract
- 1/2 cup Greek yogurt or coconut yogurt
- Fresh berries and granola for topping
How to make it
- In a glass jar or airtight container, whisk together the chia seeds, milk, maple syrup, and vanilla extract until the seeds are well distributed.
- Let the mixture sit for five minutes, then give it one final stir to break up any clumps that might have formed at the bottom of the jar.
- Cover and refrigerate for at least four hours, or ideally overnight, until the pudding has thickened into a luscious, gel-like consistency.
- When you are ready to eat, take a separate glass and begin layering the chia pudding with thick spoonfuls of your favorite yogurt.
- The “hack” is to whisk the yogurt vigorously before layering to make it extra airy and cloud-like, creating a beautiful marbled effect in the glass.
- Finish with a handful of vibrant berries and a sprinkle of crunchy granola to add a bright, textural contrast to your creamy morning bowl.
Homemade Caesar Salad Dressing Recipe
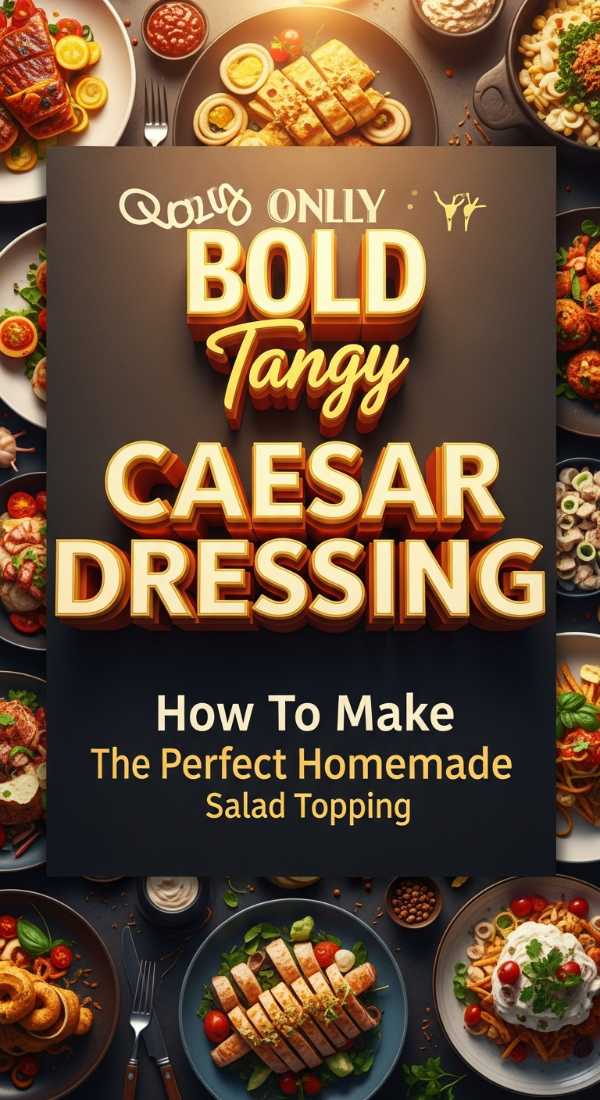
Why we love this
There is a profound difference between a store-bought bottle and a dressing made by hand with love and fresh ingredients. This Caesar recipe is the gold standard of dressings, offering a rich, umami-packed flavor profile that transforms a humble head of romaine into a masterpiece. It is creamy, bright, and slightly salty, hitting all the right notes to make your taste buds dance with every single bite. Once you taste the depth of flavor from the fresh garlic and lemon, you will never want to go back to the pre-made version again.
Ingredients
- 1/2 cup high-quality mayonnaise
- 2 cloves garlic, finely minced
- 1 teaspoon anchovy paste (the secret to depth!)
- 1 tablespoon fresh lemon juice
- 1 teaspoon Dijon mustard
- 1/4 cup freshly grated Parmesan cheese
- Black pepper to taste
How to make it
- In a small mixing bowl, combine the minced garlic and anchovy paste, using the back of a spoon to mash them together into a smooth, fragrant paste.
- Whisk in the mayonnaise, Dijon mustard, and lemon juice until the mixture is completely smooth and the color is a pale, creamy ivory.
- Stir in the freshly grated Parmesan cheese, which adds a wonderful saltiness and a slightly grainy, authentic texture to the dressing.
- Taste your creation and add a generous amount of freshly cracked black pepper; usually, no extra salt is needed because of the cheese and anchovies.
- Transfer the dressing to a glass jar and let it chill in the refrigerator for at least thirty minutes to allow the bold flavors to marry together.
- Toss with crisp romaine lettuce and homemade croutons right before serving to ensure every leaf is perfectly coated in this liquid gold.
Easy Bridal Shower Food Ideas For Guests

Why we love this
Hosting a bridal shower is such a beautiful way to honor a friend’s new chapter, and the food should feel just as light and celebratory as the occasion. These easy-to-handle bites are designed for mingling, allowing guests to graze while they share stories and laughter with the bride-to-be. They are elegant, dainty, and filled with fresh flavors that feel sophisticated without requiring hours of complicated prep work in the kitchen. Creating a spread that looks this coordinated and thoughtful is a wonderful gift in itself for anyone you hold dear.
Ingredients
- Miniature phyllo tart shells
- Herbed goat cheese or Boursin
- Fresh cucumber slices
- Smoked salmon ribbons
- Fresh dill sprigs
- Honey for drizzling
- Prosciutto-wrapped melon wedges
How to make it
- Start by arranging your pre-baked phyllo shells on a pretty vintage platter, ensuring they are stable and ready for their delicious fillings.
- Pipe a small dollop of herbed goat cheese into half of the shells, topping each with a tiny piece of smoked salmon and a sprig of dill.
- For the other half, place a thin cucumber slice at the bottom, add a bit more cheese, and finish with a micro-drizzle of honey for a sweet-savory balance.
- Prepare the melon wedges by slicing a ripe cantaloupe and wrapping a thin strip of salty prosciutto around the center of each piece.
- Arrange the melon wedges among the tart shells to create a variety of heights and colors on your serving board for a professional look.
- Keep the platter lightly covered with a damp paper towel until the guests arrive to keep everything fresh, vibrant, and ready for the celebration.
Banana Bread Latte Coffee Shop At Home

Why we love this
Imagine the scent of freshly baked banana bread wafting through your home, but captured in a warm, frothy mug that you can hold in your hands. This latte is the ultimate comfort drink, combining the nostalgic sweetness of ripe bananas with the bold, energizing kick of a perfect espresso shot. It is like a cozy morning ritual and a decadent dessert had a beautiful baby, and it is the perfect way to treat yourself. You don’t need to leave the house to find that trendy coffee shop vibe when you can create this magic in your own kitchen.
Ingredients
- 1 ripe banana (the spottier, the better!)
- 1/2 cup milk of choice (oat milk is extra creamy here)
- 1-2 shots of hot espresso or very strong coffee
- 1/4 teaspoon ground cinnamon
- A drop of vanilla extract
- Maple syrup to taste
How to make it
- In a small saucepan, mash half of the ripe banana until it is a very smooth puree, then add the milk, cinnamon, and vanilla extract.
- Heat the milk mixture over medium-low heat, whisking constantly until it begins to steam and develop a light, airy froth on the surface.
- Strain the warm milk through a fine-mesh sieve into a bowl to remove any banana fibers, leaving you with a perfectly smooth, flavored liquid.
- Brew your espresso or strong coffee into your favorite oversized mug, then pour the sweetened banana milk over the top of the coffee.
- If you have a handheld frother, give the top of the latte a quick whir to create a thick foam that mimics a professional barista’s touch.
- Garnish with an extra pinch of cinnamon or a thin slice of fresh banana on the rim for a drink that looks as good as it tastes.
Kentucky Derby Party Snack Inspiration

Why we love this
Even if you aren’t at the races, you can bring the spirit of the South to your living room with snacks that are as spirited as a horse race. These traditional bites are all about hospitality and bright, clean flavors that pair perfectly with a frosty mint julep in a silver cup. They are simple to prepare but carry such a sense of history and charm, making your party feel like a true high-society event. There is something so festive about the combination of cool cucumbers and savory spreads that guests will keep coming back for more.
Ingredients
- Soft white bread (crusts removed)
- 8 oz cream cheese, softened
- 1/2 cup grated cucumber (squeezed very dry)
- 1 tablespoon grated onion
- A drop of green food coloring (optional, for the traditional look)
- Salt and pepper
- Fresh mint for garnish
How to make it
- Begin by making the classic “Benedictine” spread by whipping the softened cream cheese with the grated onion and very dry grated cucumber until light.
- Add a tiny drop of green food coloring if you want that iconic pale green hue, and season the mixture generously with salt and black pepper.
- Spread a thick, even layer of the mixture onto slices of white bread, then top with another slice to create a dainty, crustless sandwich.
- Cut the sandwiches into small triangles or fingers, ensuring the edges are clean and sharp for a refined, elegant presentation on the plate.
- For a modern twist, you can also serve the spread as a dip in a hollowed-out bowl surrounded by crackers and fresh vegetable batons.
- Place a sprig of fresh mint next to the sandwiches to give them a fragrant aroma that perfectly complements the Southern theme of the day.
School Lunch Inspo For Healthy Kids

Why we love this
Sending your little ones off to school with a lunchbox full of color and nutrition is one of the sweetest ways to support their busy growing days. This inspiration moves away from the boring sandwich and focuses on ‘snackable’ variety, which we know kids absolutely adore for the fun factor. It keeps their energy levels steady and their curiosity high, making lunch the highlight of their day while ensuring they get their daily veggies. You will feel so good knowing their tummies are full of wholesome, homemade goodness that was packed with so much love.
Ingredients
- Whole wheat tortilla wraps
- Turkey slices or chickpeas for protein
- Shredded carrots and spinach
- Hummus or cream cheese
- Apple slices (tossed in lemon juice to prevent browning)
- Small handful of blueberries or grapes
How to make it
- Lay the tortilla flat and spread a thin, even layer of hummus or cream cheese all the way to the edges to act as the ‘glue’ for your wrap.
- Layer the turkey slices or mashed chickpeas in the center, then top with a colorful mountain of shredded carrots and fresh spinach leaves.
- Roll the tortilla up very tightly, then use a sharp knife to slice it into small ‘sushi-style’ pinwheels that are easy for little hands to pick up.
- Place the pinwheels into the largest compartment of a bento-style lunchbox, packing them snugly so they don’t unroll during the school commute.
- Fill the smaller compartments with the prepared apple slices and the fresh berries to provide a sweet, fiber-rich finish to their midday meal.
- Add a little handwritten note or a fun sticker inside the lid to give them an extra smile when they open their box in the cafeteria.
Weeknight Dinner Ideas Quick Healthy Meals

Why we love this
We all have those days where time seems to slip through our fingers, but we still want a dinner that feels intentional and nourishing. This sheet-pan method is a lifesaver for the modern home cook, minimizing cleanup while maximizing the natural, roasted flavors of your favorite ingredients. It is a vibrant, rainbow-colored meal that looks beautiful on the table and requires very little active work, leaving you more time to relax. This recipe is proof that you don’t need hours in the kitchen to create a high-quality, healthy dinner that satisfies everyone.
Ingredients
- 2 large salmon fillets (or firm tofu blocks)
- 1 head of broccoli, cut into florets
- 1 red bell pepper, sliced into strips
- 1 zucchini, sliced into half-moons
- 2 tablespoons olive oil
- 1 tablespoon honey-mustard glaze
- Lemon wedges for serving
How to make it
- Preheat your oven to 400°F (200°C) and grab your largest rimmed baking sheet, lining it with parchment paper for the easiest cleanup ever.
- Spread all the chopped vegetables across the pan in a single layer, drizzling them with olive oil and tossing with a pinch of salt and pepper.
- Nestle the salmon fillets (or tofu) in the middle of the vegetables, brushing the tops generously with your honey-mustard glaze for a sweet kick.
- Slide the tray into the oven and roast for 12 to 15 minutes, depending on the thickness of your protein, until the vegetables are tender-crisp.
- Switch the oven to ‘broil’ for the final 2 minutes if you want your salmon to have a slightly caramelized, golden top and charred veggie edges.
- Squeeze fresh lemon juice over everything right before serving to brighten the flavors and add a final touch of zing to your quick feast.
Cooking with Love and Intention
Thank you for joining me on this culinary journey today, my loves. I hope these trends inspire you to step into your kitchen with a sense of wonder and a desire to create something beautiful for yourself and those you cherish. Remember, the best ingredient you can ever add to a dish is a heart full of love and a dash of creativity. I can’t wait to see your versions of these recipes—be sure to share your photos and tag me so I can celebrate your kitchen wins with you! Until next time, keep glowing and keep cooking.