
From TikTok to Your Table: How to Master the Simple Food Board Trend
There is something inherently magical about a meal that looks as good as it tastes, especially when it is meant to be shared. If you have spent any time scrolling through your social feeds lately, you have likely seen the ‘food board’ revolution taking over. From the original charcuterie boards to butter boards and now full-on dinner boards, the trend is all about breaking down the formality of a plated meal and replacing it with a colorful, tactile experience that invites everyone to lean in and grab a bite.
For me, this style of eating has completely transformed how I host. It takes the pressure off ‘plating’ every individual dish and instead turns the table into a canvas of textures and seasonal flavors. Whether it is a sun-drenched Saturday afternoon or a cozy weeknight dinner, these simple food boards bring a sense of abundance and warmth to my home. It is about the crunch of a fresh cucumber, the zing of a lemon, and the shared joy of passing a platter around with friends.
Today, I am sharing my absolute favorite components to create the ultimate viral food board. These recipes are designed to be effortless yet elevated, ensuring your next gathering is as visually stunning as it is delicious. Let’s dive into how you can bring these TikTok-famous vibes straight to your dining room table.
How to make Greek salad?
Why we love this
The classic Greek salad is the undisputed crown jewel of any fresh food board, offering a vibrant explosion of Mediterranean flavors that dance on the tongue. There is something incredibly satisfying about the combination of juicy, sun-ripened tomatoes and the sharp, salty punch of high-quality Kalamata olives. When you bite into a crisp wedge of cucumber coated in a silky, oregano-flecked dressing, it feels like a refreshing breeze on a hot summer day. It provides the perfect acidic balance to richer board elements, and the creamy texture of sheep’s milk feta adds a luxurious finish that keeps you coming back for just one more forkful.
Ingredients
- 4 large vine-ripened tomatoes
- 2 English cucumbers
- 1 red onion, thinly sliced
- 1 cup Kalamata olives (pitted)
- 8 oz block of Greek feta cheese
- 1/4 cup extra virgin olive oil
- 2 tbsp red wine vinegar
- 1 tsp dried oregano
- Sea salt and cracked black pepper to taste
How to make it
- Begin by washing all produce thoroughly; slice the tomatoes into uneven, rustic wedges to give the salad that authentic ‘village’ feel.
- Peel the cucumbers partially to leave strips of green skin for texture, then slice them into thick half-moons approximately half an inch wide.
- In a small glass jar or bowl, whisk together the extra virgin olive oil, red wine vinegar, and dried oregano until the dressing is emulsified; add a pinch of salt but go light, as the feta and olives are naturally salty.
- Arrange the tomatoes, cucumbers, and thinly sliced red onions on a shallow platter, tossing gently with your hands to mix the colors.
- Scatter the Kalamata olives across the top and place the entire block of feta right in the center (or break it into large, chunky crumbles for a more rustic look).
- Drizzle the dressing generously over the entire board and finish with a final sprinkle of oregano and coarse black pepper just before serving to keep the vegetables crisp.
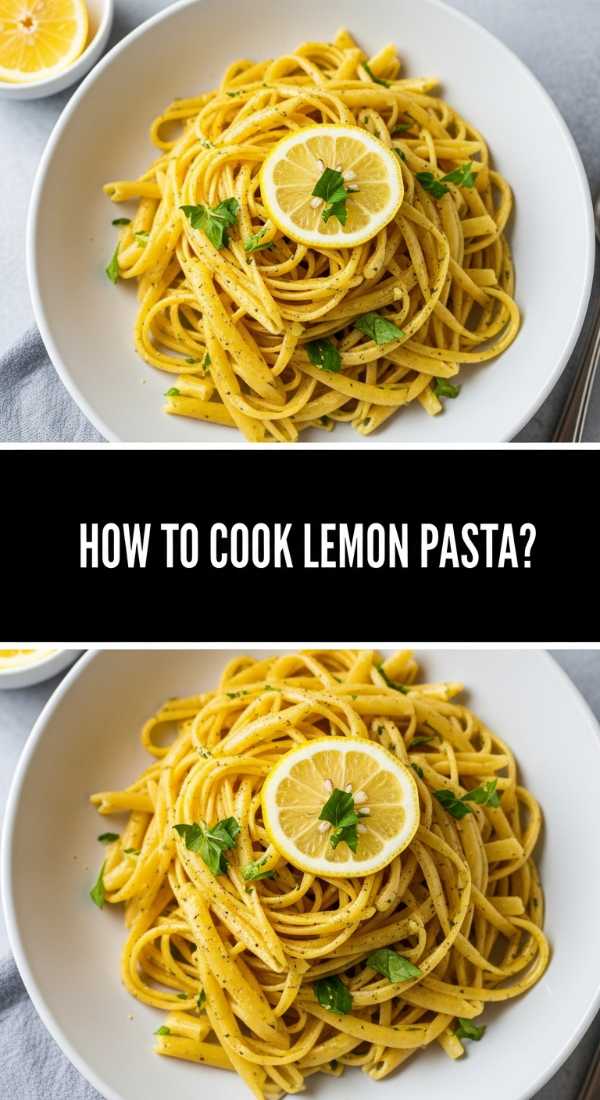
How to cook lemon pasta?

Why we love this
Lemon pasta, or Al Limone, is the ultimate ‘chic’ addition to a food board because it manages to be both incredibly light and deeply comforting at the same time. The aroma of zesty lemon peel hitting a warm pan of melting butter is enough to make anyone’s mouth water instantly. The sauce creates a glossy, silken coating over every strand of pasta, offering a bright acidity that cuts through the starchiness. It feels like dining on the Amalfi Coast, even if you’re just in your backyard, and its pale golden hue adds a beautiful, minimalist aesthetic to your table spread.
Ingredients
- 1 lb spaghetti or linguine
- 2 large organic lemons (zest and juice)
- 1/2 cup heavy cream
- 4 tbsp unsalted butter
- 1 cup freshly grated Parmesan cheese
- Fresh basil or parsley for garnish
- 1/2 cup reserved pasta water
How to make it
- Bring a large pot of heavily salted water to a rolling boil; cook your pasta until it is just ‘al dente’—usually 1-2 minutes less than the package instructions—as it will finish cooking in the sauce.
- While the pasta boils, melt the butter in a large skillet over medium-low heat; add the lemon zest and sauté for 30 seconds until the fragrance fills the kitchen.
- Slowly whisk in the heavy cream and half of the lemon juice, bringing the mixture to a very gentle simmer for about 2 minutes to slightly thicken.
- Before draining the pasta, carefully scoop out a cup of the starchy pasta water and set it aside; this is the secret to a smooth, non-clumping sauce.
- Transfer the cooked pasta directly into the skillet with the lemon cream, tossing vigorously with tongs while adding the Parmesan cheese and splashes of pasta water.
- Continue tossing over low heat until the cheese melts into a creamy glaze that clings to the noodles; garnish with fresh herbs and an extra squeeze of lemon juice for a bright finish.
How to prep salad bowls?
Why we love this
Prepping individual salad bowls within a larger board setup allows for a beautiful ‘choose your own adventure’ style of dining that guests absolutely adore. It’s all about the architecture of the bowl—layering different textures from crunchy nuts to leafy greens and soft grains. When done right, these bowls offer a multi-sensory experience where every bite is different, keeping the palate excited. The visual appeal of organized, colorful segments is pure TikTok aesthetic gold, making the healthy choice look like the most indulgent part of the meal.
Ingredients
- Base: Quinoa or Farro
- Greens: Baby kale or Arugula
- Protein: Chickpeas or Edamame
- Crunch: Sliced almonds or Sunflower seeds
- Vegetables: Shredded carrots, radishes, and bell peppers
- Dressing: Tahini or Lemon-tahini vinaigrette
How to make it
- Start by preparing your grain base; cook quinoa or farro in vegetable broth rather than water to infuse deep flavor right from the start.
- Massage your greens (especially if using kale) with a tiny bit of olive oil and salt for 60 seconds; this breaks down the tough fibers and makes the salad much more tender and enjoyable.
- Use small, individual ceramic bowls or glass jars and fill the bottom third with the cooled grains to provide a sturdy foundation.
- Arrange the shredded carrots, sliced radishes, and colorful bell peppers in distinct ‘wedges’ or sections on top of the grains to create a rainbow effect.
- Top with your choice of protein and a handful of nuts or seeds for that essential crunch that makes a salad feel substantial.
- Keep the dressing on the side in small ramekins to prevent the ingredients from getting soggy, allowing guests to drizzle their own just before they eat.
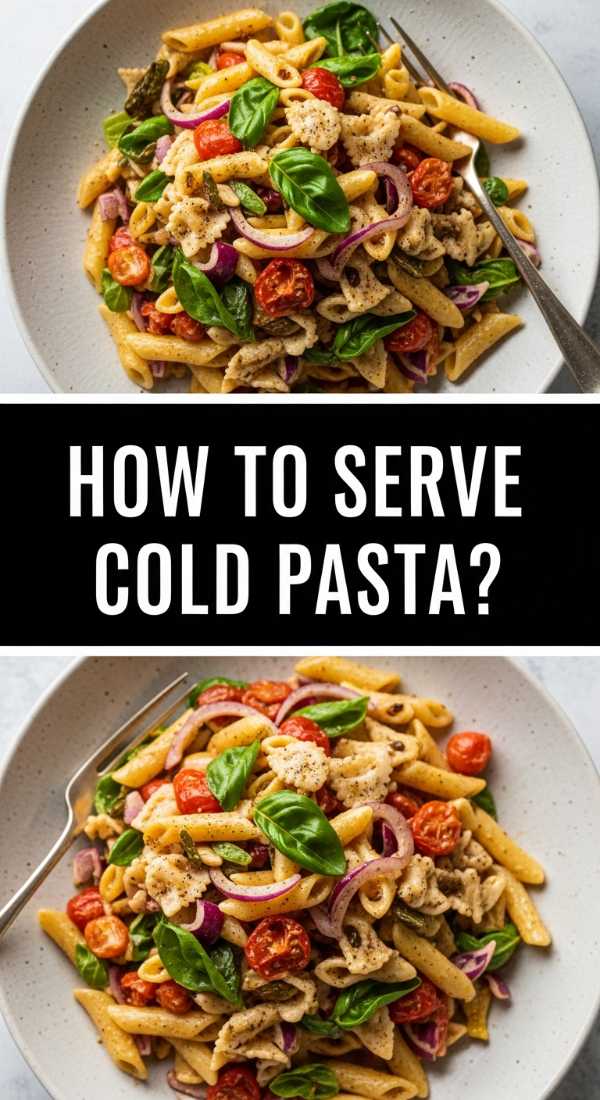
How to serve cold pasta?

Why we love this
Cold pasta is the unsung hero of the food board trend, especially during warmer months when a steaming bowl of noodles feels a bit too heavy. The texture of pasta changes when chilled, becoming slightly firmer and more satisfyingly chewy, which pairs beautifully with crisp, raw vegetables. It’s a dish that actually tastes better as it sits, as the pasta absorbs the flavors of the vinaigrette over time. Served in a large, shallow wooden bowl on your board, it acts as a hearty anchor that satisfies the soul while remaining light and refreshing.
Ingredients
- 1 lb short pasta (Fusilli or Farfalle)
- 1/2 cup Italian vinaigrette
- 1 cup cherry tomatoes, halved
- 1/2 cup diced cucumbers
- 1/4 cup chopped sun-dried tomatoes
- Fresh mozzarella pearls
- Fresh basil leaves
How to make it
- Boil the pasta in salted water until it is fully cooked; for cold pasta, you want it slightly softer than al dente because it firms up significantly once chilled.
- Drain the pasta and immediately rinse it under cold running water for 30 seconds to stop the cooking process and wash away excess starch, preventing the noodles from sticking together.
- In a large mixing bowl, toss the cooled pasta with half of the Italian vinaigrette while it’s still slightly damp to ensure maximum absorption.
- Fold in the cherry tomatoes, cucumbers, sun-dried tomatoes, and mozzarella pearls, ensuring an even distribution of colors and textures throughout the bowl.
- Cover and refrigerate for at least 30 minutes; this ‘resting’ phase is crucial for the flavors to meld and for the pasta to reach the perfect temperature.
- Just before adding the bowl to your main food board, toss it with the remaining vinaigrette to refresh the gloss and scatter fresh basil leaves over the top for a pop of green.
How to grill summer chicken?
Why we love this
Nothing says ‘summer board’ like the smoky, charred aroma of perfectly grilled chicken breast, sliced thin and ready for grazing. The contrast between the crispy, caramelized exterior and the tender, juicy meat inside is pure bliss. When marinated with bright herbs and garlic, the chicken becomes a protein powerhouse that complements both the salads and the pasta on your board. It’s a versatile element that feels substantial enough for a main course but presented in a way that feels casual and inviting for a crowd.
Ingredients
- 1.5 lbs chicken breasts (pounded to even thickness)
- 3 tbsp olive oil
- 3 cloves garlic, minced
- 1 tbsp fresh rosemary, chopped
- 1 tsp smoked paprika
- Salt and pepper
- Lemon wedges for grilling
How to make it
- Place the chicken breasts between two sheets of plastic wrap and use a meat mallet to pound them to a uniform half-inch thickness; this ensures they cook evenly and stay juicy.
- Whisk together the olive oil, minced garlic, rosemary, smoked paprika, salt, and pepper in a large bowl, then toss the chicken to coat and marinate for at least 20 minutes (or up to 4 hours).
- Preheat your grill to medium-high heat (about 400°F) and lightly oil the grates to prevent the lean meat from sticking.
- Place the chicken on the grill and cook undisturbed for 5-6 minutes on the first side until deep sear marks appear and the meat releases easily from the grate.
- Flip the chicken and cook for another 4-5 minutes until the internal temperature reaches exactly 165°F; add a few lemon halves to the grill during the last 2 minutes for a charred citrus garnish.
- Transfer the chicken to a cutting board and let it rest for a full 10 minutes before slicing into thin strips; this allows the juices to redistribute so the meat stays incredibly moist on your serving board.
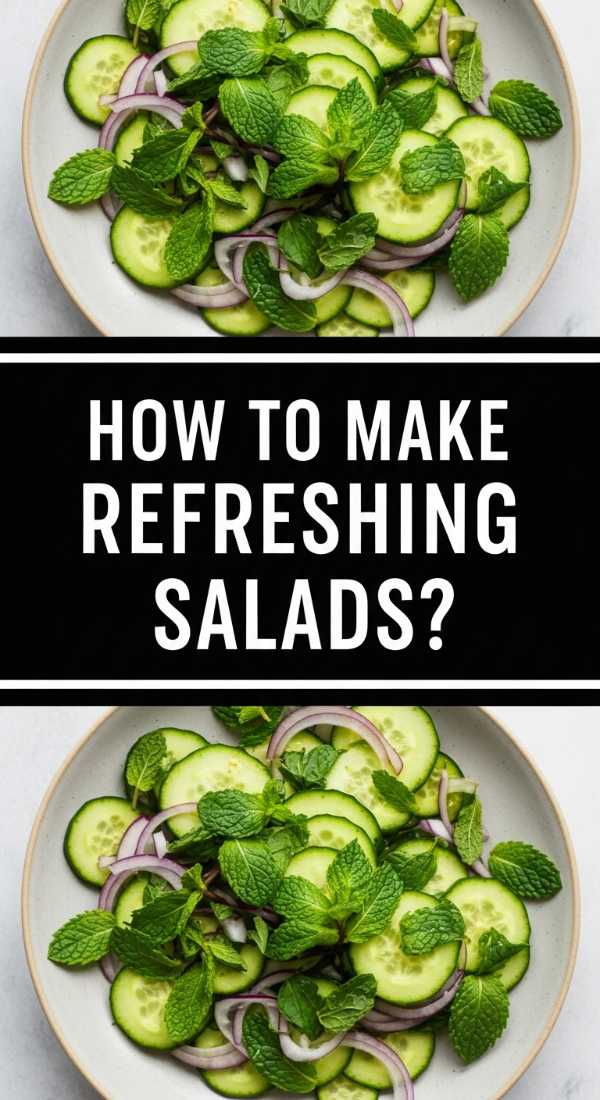
How to make refreshing salads?

Why we love this
A truly refreshing salad is like a palate cleanser that reinvigorates your taste buds between bites of savory cheese or grilled meats. We love incorporating unexpected elements like mint, citrus segments, or even watermelon to provide a burst of hydration and natural sweetness. The sensation of a cold, crisp leaf hitting your tongue followed by a zingy lime or ginger dressing is incredibly uplifting. It turns ‘eating your greens’ into a high-vibe experience that looks bright and energized on your board, making the whole meal feel balanced and light.
Ingredients
- 4 cups mixed baby greens (Butter lettuce, Frisée)
- 1 cup sliced strawberries or watermelon cubes
- 1/2 cup thinly sliced fennel
- Handful of fresh mint leaves
- Vinaigrette: Lime juice, honey, and light olive oil
How to make it
- Wash and spin-dry your greens thoroughly; any excess water will dilute the dressing and make the salad look wilted on the board.
- Shave the fennel as thinly as possible using a mandoline or a very sharp knife to ensure it adds a delicate crunch rather than a tough chew.
- Tear the mint leaves by hand rather than chopping them with a knife to prevent the edges from bruising and turning black, which keeps the herb looking vibrant.
- In a small bowl, whisk the lime juice and honey together before slowly drizzling in the oil to create a light, zesty dressing that isn’t too oily.
- In a large chilled bowl, gently toss the greens, fruit, and fennel together with half of the dressing, using your hands to ensure every leaf is lightly kissed by the liquid.
- Plate the salad in a wide, shallow bowl on your board and top with the fresh mint and a final drizzle of dressing just as you sit down to eat.
How to roast summer veggies?
Why we love this
Roasting summer vegetables transforms them from simple produce into concentrated nuggets of sweet, caramelized goodness. The high heat of the oven coaxes out the natural sugars in zucchini, bell peppers, and cherry tomatoes, giving them a rich depth of flavor that raw veggies simply can’t match. We love the way the edges get slightly charred and crispy while the centers remain soft and melt-in-your-mouth tender. These warm, earthy components add a necessary grounded element to a food board, providing a beautiful contrast to the cold salads and fruits.
Ingredients
- 2 zucchini, sliced into rounds
- 1 bunch of asparagus, woody ends trimmed
- 1 pint cherry tomatoes
- 2 bell peppers, cut into thick strips
- 3 tbsp olive oil
- 1 tsp garlic powder
- 1 tsp dried thyme
- Salt and pepper
How to make it
- Preheat your oven to 425°F (220°C); a high temperature is essential for getting that golden-brown caramelization without turning the vegetables into mush.
- Spread all the chopped vegetables out on a large rimmed baking sheet in a single layer; if the pan is crowded, the veggies will steam instead of roast, so use two pans if necessary.
- Drizzle the olive oil over the produce and sprinkle with garlic powder, thyme, salt, and pepper, then use your hands to toss everything until every piece is glistening.
- Roast for 15-20 minutes, giving the pan a good shake halfway through to ensure the zucchini and peppers brown evenly on both sides.
- Look for the cherry tomatoes to start ‘popping’ and the asparagus tips to become slightly crispy; these are the visual cues that your veggies are perfectly done.
- Remove from the oven and let them cool to room temperature before arranging them in neat piles or rows on your food board for a professional, structured look.
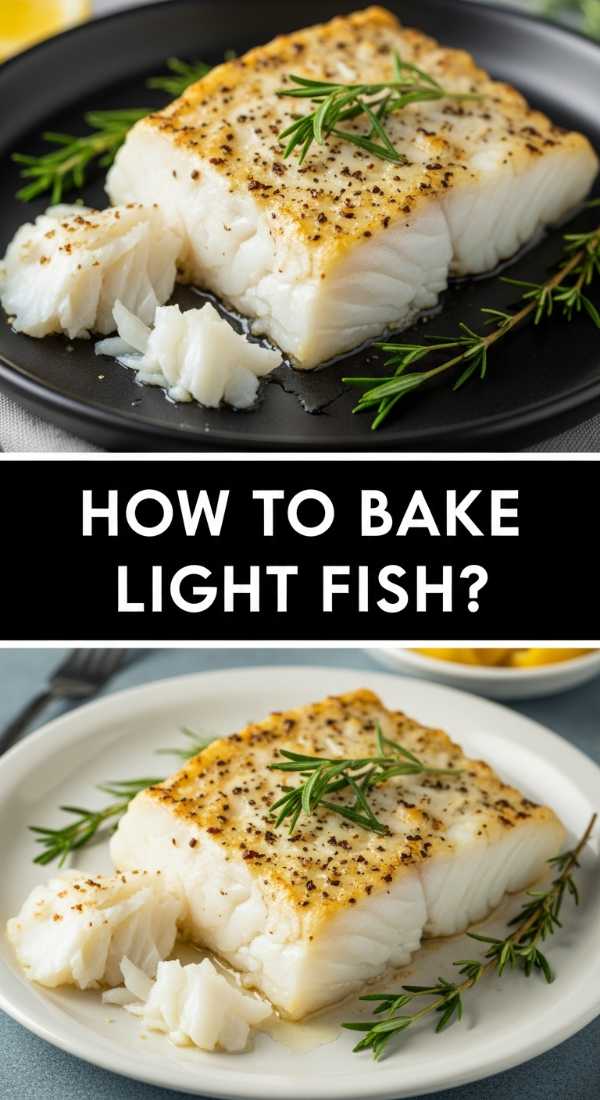
How to bake light fish?

Why we love this
Baking a light, flaky white fish is the secret to a high-protein food board that still feels elegant and airy. There is something so sophisticated about a perfectly cooked fillet of cod or tilapia, seasoned simply with lemon and herbs, resting alongside colorful veggies. The texture is delicate and buttery, providing a soft mouthfeel that contrasts beautifully with the crunchier elements of the board. It’s an easy way to elevate a casual lunch into a gourmet experience, and it cooks so quickly that it’s perfect for last-minute entertaining.
Ingredients
- 1 lb white fish fillets (Cod, Halibut, or Tilapia)
- 2 tbsp melted butter
- 1 lemon, thinly sliced
- 2 cloves garlic, minced
- Fresh dill and parsley
- Salt and paprika
How to make it
- Preheat your oven to 375°F and line a shallow baking dish with parchment paper for easy cleanup and to prevent the delicate fish from sticking.
- Pat the fish fillets completely dry with paper towels; this is a vital step because moisture on the surface will cause the fish to steam rather than bake to a beautiful finish.
- Brush both sides of the fish with the melted butter and minced garlic, then season generously with salt and a dusting of paprika for a hint of color and warmth.
- Lay thin slices of lemon directly on top of the fillets; as they bake, the juice will infuse the meat and the slices will soften into a beautiful garnish.
- Bake for 12-15 minutes, depending on the thickness of the fillets; the fish is done when it is opaque throughout and flakes easily when poked with a fork.
- Once out of the oven, garnish with a shower of fresh dill and parsley, and carefully transfer the whole fillets to your board using a wide spatula to keep them intact.
How to craft fruit bowls?
Why we love this
A beautifully crafted fruit bowl is the ‘jewelry’ of your food board, adding sparkle, color, and a necessary hit of sweetness. We love the way a mix of berries, melon, and stone fruits can act as both a side dish and a healthy dessert option. The scent of fresh strawberries and ripe peaches mingling together is intoxicating and instantly signals a celebration. By focusing on aesthetic cuts and thoughtful placement, you turn simple fruit into a work of art that balances the savory, salty notes of the rest of the board.
Ingredients
- 1 cup strawberries, halved
- 1 cup blueberries
- 2 peaches or plums, sliced into wedges
- 1/2 cantaloupe or honeydew, balled or cubed
- 1 tbsp honey or agave (optional)
- Fresh mint for garnish
How to make it
- Select a variety of fruits with contrasting colors—think deep blues, bright reds, and soft oranges—to create the most visual impact on your board.
- Wash all fruit in a cold water bath with a splash of vinegar to remove any residue, then pat dry thoroughly to keep the fruit from becoming slimy.
- Use a melon baller for the cantaloupe to create playful spheres, or slice stone fruits like peaches into elegant, uniform wedges for a more sophisticated look.
- Arrange the fruit in a shallow bowl, starting with the larger pieces like melon and peaches, then ‘filling the gaps’ with smaller berries for a lush, overflowing appearance.
- If your fruit isn’t at peak ripeness, drizzle a tiny bit of honey or agave over the top to enhance the natural sugars and give the fruit a glossy, camera-ready shine.
- Tuck a few sprigs of mint around the edges of the bowl just before serving to add a fresh aroma and a professional finishing touch.
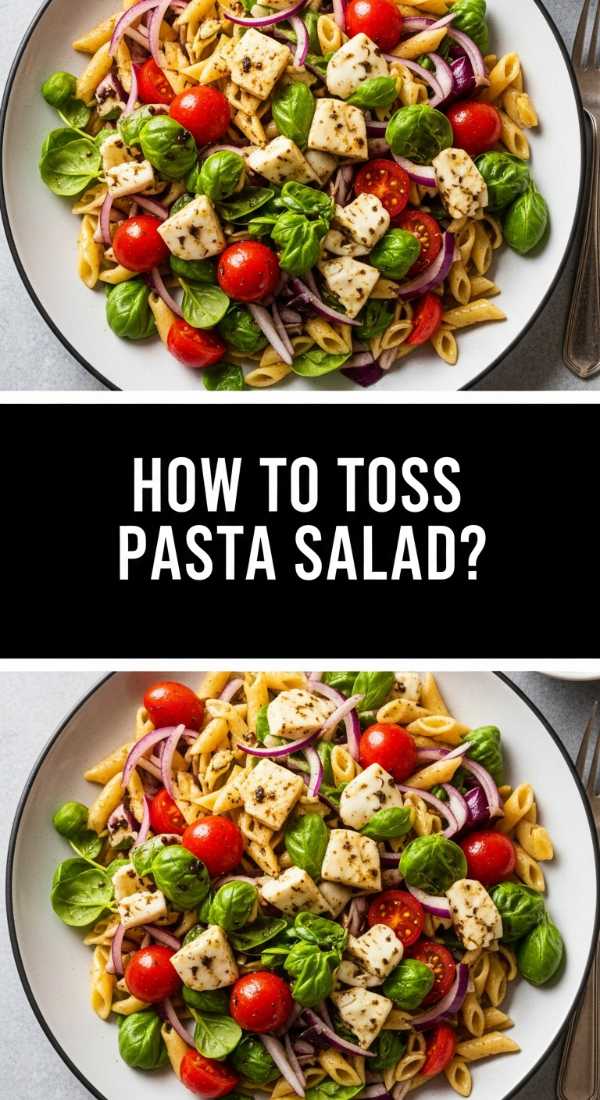
How to toss pasta salad?
[IMAGE_10]
Why we love this
The art of the pasta salad lies in the ‘toss’—ensuring that every single noodle, vegetable, and herb is perfectly coated in a bold, zesty dressing. We love pasta salad for its versatility and its ability to act as a crowd-pleasing filler that rounds out the board. The medley of textures, from the springy pasta to the crunchy peppers and creamy cheese, makes every bite a little different. It’s the ultimate comfort food for a gathering, and it brings a nostalgic, picnic-style charm to your modern food board setup.
Ingredients
- 1 lb Rotini or Penne pasta
- 1 cup Italian dressing
- 1/2 cup diced red bell pepper
- 1/2 cup sliced black olives
- 1/2 cup cubed provolone or cheddar
- 1/4 cup chopped red onion
- 1/2 cup sliced pepperoni or salami (optional)
How to make it
- Cook your pasta in salted water until it is just past al dente; for pasta salad, you want it soft enough to absorb the dressing but firm enough to hold its shape during tossing.
- Drain the pasta and rinse with cool water to remove the starch; transfer it to an oversized mixing bowl to give yourself plenty of room to work.
- Pour half of the Italian dressing over the warm pasta immediately; this allows the noodles to soak up the flavor as they cool, which is the secret to a non-bland salad.
- Add the diced peppers, olives, onions, cheese cubes, and meat (if using), then use two large spoons to toss everything from the bottom up.
- Cover the bowl and let it chill in the refrigerator for at least an hour; the flavors need this time to marry and penetrate the pasta.
- Right before serving, add the remaining dressing and give it one final, vigorous toss to ensure the salad looks moist and vibrant on your board.
The Art of the Board: Bringing It All Together
Mastering the simple food board trend isn’t just about following recipes; it’s about the joy of assembly. When you place that final bowl of fruit next to the charred chicken and the vibrant Greek salad, you are creating an invitation for your loved ones to slow down and enjoy the moment. This style of dining removes the barriers of formal service and encourages conversation, laughter, and a shared appreciation for fresh, beautiful food. So, grab your largest wooden board, pick a few of these recipes, and start building your own edible masterpiece today.