
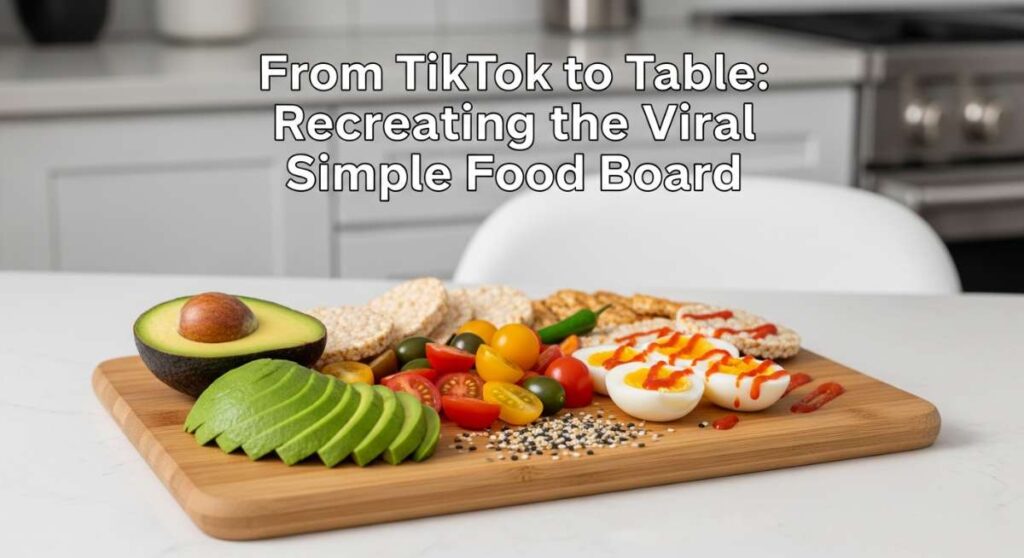
There is something undeniably magical about the way a simple food board brings people together. I remember scrolling through TikTok late one Tuesday night, my screen glowing with images of perfectly arranged platters that felt more like art than dinner. It wasn’t just about the food; it was about the intention—the slow ritual of picking, dipping, and sharing stories over a spread of vibrant colors and fresh flavors.
This ‘Simple Food Board’ trend has completely transformed my weekends. It’s a departure from the formal three-course meal and an invitation to graze, linger, and enjoy the sensory experience of every bite. From the sweet clarity of homemade jelly to the smoky char of grilled corn, these components bridge the gap between viral aesthetic and real-world deliciousness. Let’s dive into the recipes that will make your next gathering unforgettable.
How to make dandelion jelly?
Why we love this
Dandelion jelly is like capturing sunshine in a jar. It has an delicate, honey-like flavor with subtle floral notes that feel both nostalgic and sophisticated on a food board. When you spread this golden nectar over a warm piece of crusty sourdough, the aroma is earthy and sweet, reminding you of a blooming spring meadow. The texture is smooth and translucent, catching the light beautifully and providing a conversation-starting centerpiece that guests always find fascinating and whimsical.
Ingredients
- 2 cups dandelion petals (yellow parts only)
- 4 cups boiling water
- 1/4 cup lemon juice
- 1 box powdered fruit pectin
- 4 cups granulated sugar
How to make it
- Carefully separate the yellow petals from the green base of the dandelions; the green parts are bitter and must be removed completely.
- Place the petals in a heat-proof bowl and pour 4 cups of boiling water over them. Let this steep overnight in the refrigerator to create a potent dandelion tea.
- Strain the liquid through a fine-mesh sieve or cheesecloth, pressing the petals to extract all the golden liquid, then pour into a large pot.
- Stir in the lemon juice and the fruit pectin until fully dissolved.
- Bring the mixture to a rolling boil over high heat, stirring constantly to prevent sticking or scorching.
- Add the sugar all at once and return to a full rolling boil that cannot be stirred down. Boil hard for exactly one minute.
- Remove from heat, skim off any foam from the surface, and pour into sterilized jars, leaving 1/4 inch of headspace before sealing.
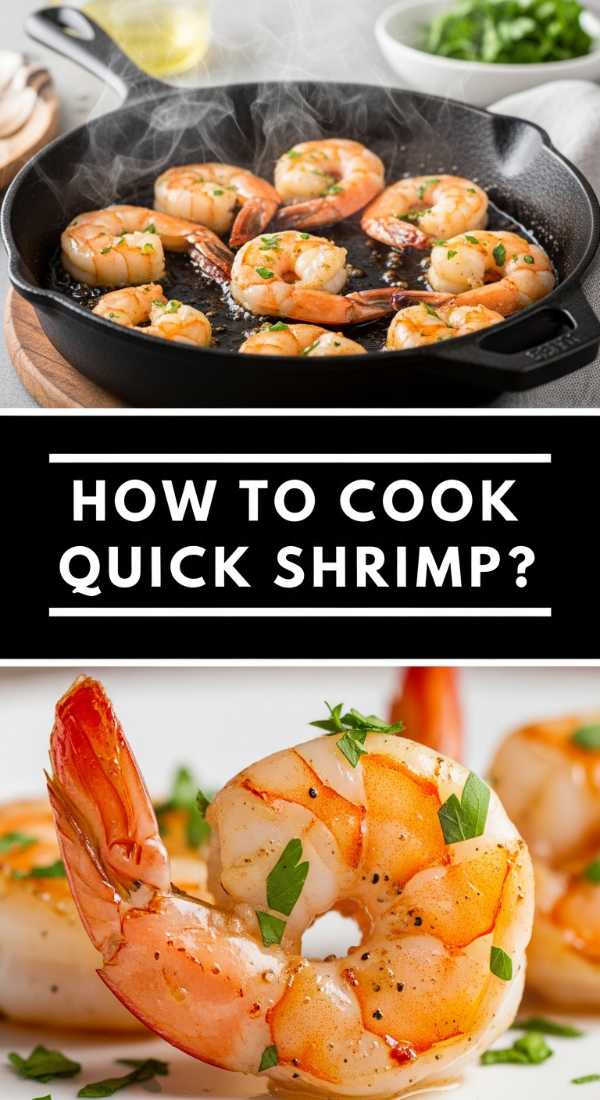
How to cook quick shrimp?
Why we love this
There is nothing quite like the audible sizzle of fresh shrimp hitting a hot, buttery pan. These little gems cook in minutes, turning from a translucent grey to a vibrant, opaque pink with edges that get just the right amount of golden-brown caramelization. The aroma of garlic and lemon zest infuses the air instantly, promising a bite that is snap-fresh on the outside and tender on the inside. They add a luxurious, protein-packed element to your board that feels decadent yet takes almost no time to prepare.
Ingredients
- 1 lb large shrimp, peeled and deveined
- 2 tbsp salted butter
- 3 cloves garlic, minced
- 1/2 tsp red pepper flakes
- Fresh parsley and lemon wedges for garnish
How to make it
- Pat the shrimp extremely dry with paper towels; any moisture on the surface will cause them to steam rather than sear and snap.
- Heat a large skillet over medium-high heat until a drop of water flicked onto the surface dances and evaporates immediately.
- Add the butter to the pan, swirling it until it is melted and just beginning to foam.
- Place the shrimp in the pan in a single layer, ensuring they aren’t crowded; cook undisturbed for 90 seconds to develop a golden crust.
- Flip the shrimp using tongs and immediately add the minced garlic and red pepper flakes to the spaces between the shrimp.
- Cook for another 60 to 90 seconds until the shrimp are opaque throughout and have curled into a ‘C’ shape (avoid the ‘O’ shape, which means they are overcooked).
- Turn off the heat, squeeze fresh lemon juice over the top to deglaze the pan, and toss with fresh parsley before serving.
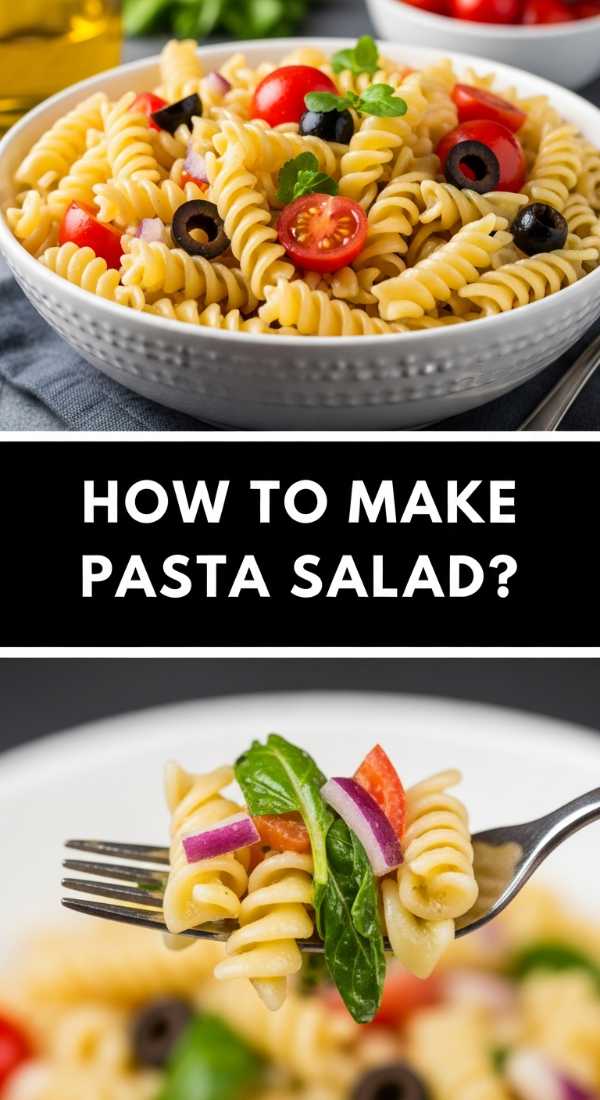
How to make pasta salad?
Why we love this
A great pasta salad is the ultimate textural playground for your food board. You have the soft, chewy bite of al dente rotini paired with the sharp crunch of red onions and the creamy, salty crumble of feta cheese. Every nook and cranny of the pasta holds onto a zesty vinaigrette, ensuring that each mouthful is a burst of Mediterranean flavors. It’s refreshing, colorful, and provides a hearty base that keeps everyone coming back for ‘just one more’ spoonful.
Ingredients
- 1 lb rotini or fusilli pasta
- 1/2 cup English cucumber, diced
- 1/2 cup cherry tomatoes, halved
- 1/4 cup red onion, finely minced
- 1/2 cup Kalamata olives, sliced
- 1/2 cup crumbled feta cheese
- Italian herb vinaigrette
How to make it
- Boil a large pot of water and salt it heavily—it should taste like the sea—to ensure the pasta is seasoned from the inside out.
- Cook the pasta according to the package directions, but aim for ‘al dente,’ which usually means draining it 1 minute before the suggested time.
- Immediately rinse the pasta under cold running water to stop the cooking process and wash away excess starch, which prevents clumping.
- In a large mixing bowl, combine the cooled pasta with the cucumbers, tomatoes, onions, and olives.
- Drizzle about half of your vinaigrette over the mixture and toss thoroughly to coat every surface.
- Fold in the feta cheese gently so it doesn’t break down into a paste and turn the salad cloudy.
- Let the salad sit in the fridge for at least 30 minutes to allow the flavors to meld, then add the remaining dressing just before serving to refresh the moisture.
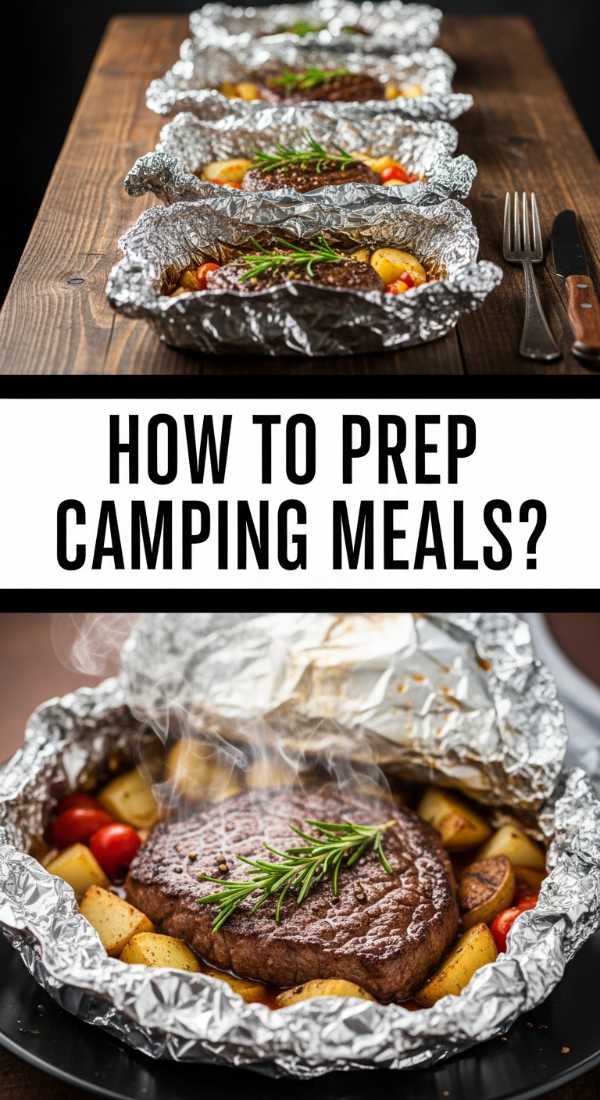
How to prep camping meals?
Why we love this
Camping meal prep is all about the anticipation of eating under the stars with zero cleanup stress. These foil-pack bundles are a rustic addition to any outdoor-themed board, offering a smoky, fire-roasted aroma that is impossible to replicate in a standard kitchen. The vegetables become tender and sweet in their own steam, while the proteins soak up the spices, creating a self-contained feast that feels like a warm hug. It’s practical, rugged, and incredibly satisfying to unwrap a steaming packet of goodness.
Ingredients
- Heavy-duty aluminum foil
- Sliced smoked sausage or kielbasa
- Fingerling potatoes, halved
- Zucchini rounds
- Bell pepper chunks
- Olive oil and Cajun seasoning
How to make it
- Cut all your vegetables and proteins into uniform, bite-sized pieces to ensure they cook at exactly the same rate.
- Lay out large squares of heavy-duty aluminum foil; if using standard foil, double the layers to prevent tearing over the coals.
- Toss the ingredients in a large bowl with olive oil and a generous amount of Cajun seasoning until every piece is glistening and coated.
- Portion the mixture onto the center of the foil sheets, leaving plenty of room at the edges.
- Bring the long sides of the foil together and fold them down tightly, then fold the ends inward to create a completely airtight seal.
- If cooking over a campfire, place the packets on a grate over hot coals (not direct flames) for 20-25 minutes, flipping halfway through.
- Check for doneness by carefully piercing the foil with a fork; the potatoes should be soft and the sausage browned.
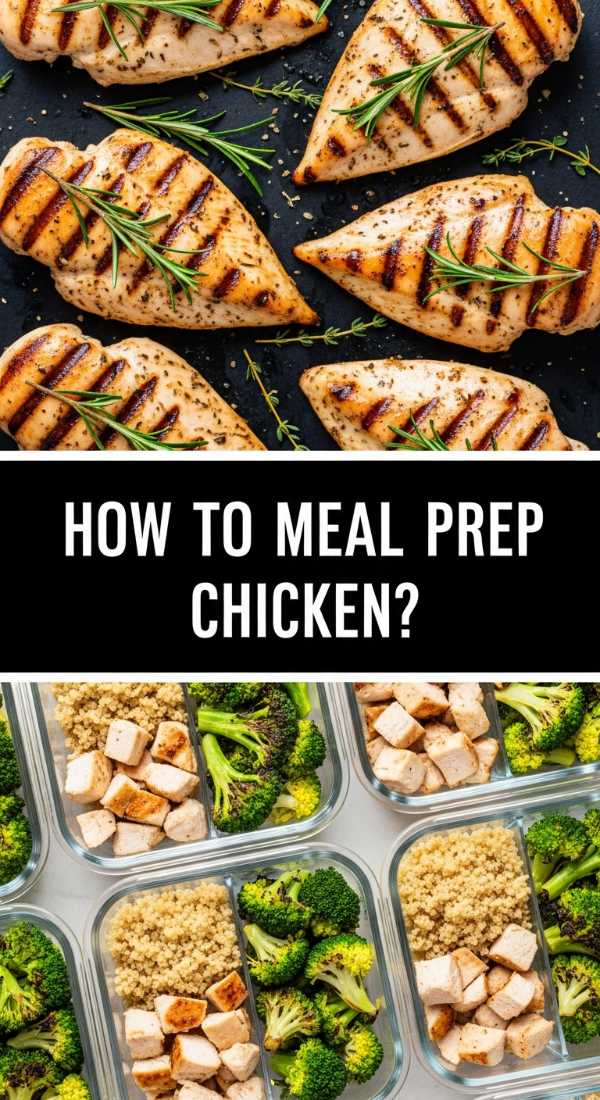
How to meal prep chicken?
Why we love this
Having perfectly prepped chicken on your board is a game-changer for versatility and nutrition. We love this method because it results in chicken that is incredibly juicy on the inside with a beautifully browned, seasoned crust that looks professional. It lacks the dryness often associated with meal prep, instead offering a savory, tender bite that pairs perfectly with dips or salads. The scent of smoked paprika and garlic powder creates a warm, inviting profile that anchors the entire board.
Ingredients
- 2 lbs boneless, skinless chicken breasts
- 2 tbsp olive oil
- 1 tsp garlic powder
- 1 tsp smoked paprika
- Salt and black pepper to taste
How to make it
- Start by slicing the chicken breasts horizontally to create thinner cutlets of even thickness; this ensures they cook quickly without drying out.
- Pat the chicken dry and season aggressively on both sides with the salt, pepper, garlic powder, and paprika.
- Heat a large cast-iron or stainless steel skillet over medium-high heat with the olive oil until it ripples.
- Place the chicken in the pan and sear for 4-5 minutes without moving it; you are looking for a deep, golden-brown crust to form.
- Flip the chicken and cook for another 3-4 minutes, or until the internal temperature reaches exactly 160°F (it will rise to 165°F while resting).
- Remove the chicken from the pan and place it on a cutting board, tenting it loosely with foil for at least 5-10 minutes.
- Slice against the grain into thin strips to keep the fibers short and the texture exceptionally tender for grazing.
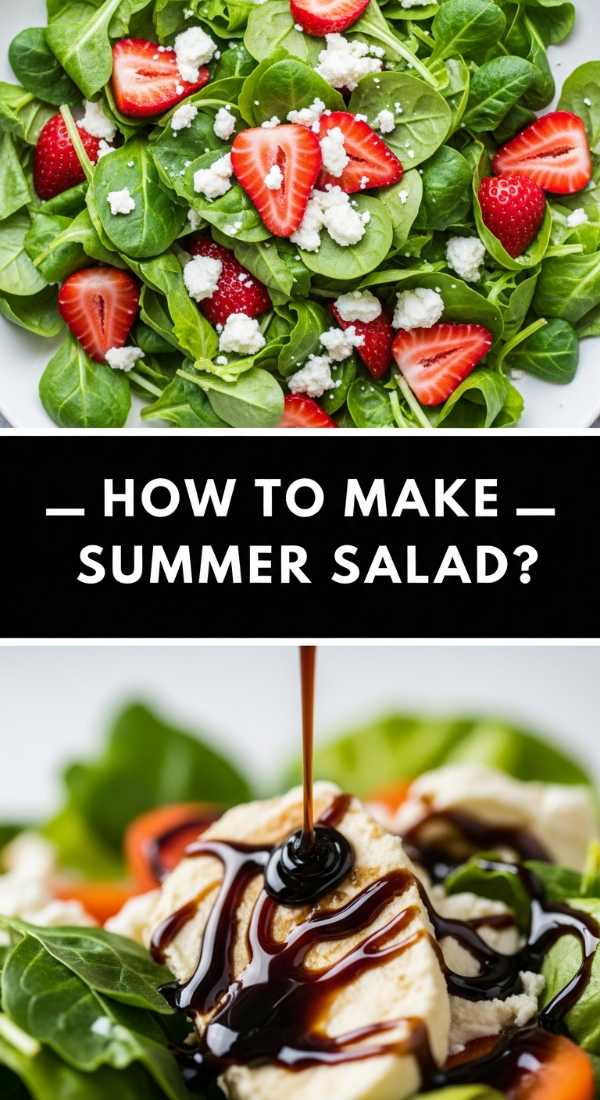
How to make summer salad?
Why we love this
The summer salad is the ‘cool’ factor of your food board, bringing a burst of hydration and vibrant color. Imagine the peppery bite of fresh arugula meeting the velvet sweetness of a ripe peach, all tied together by the creamy richness of burrata. It smells like a sun-drenched garden and feels like pure refreshment. It’s light enough to balance out heavier cheeses or meats, providing a crisp, sophisticated palate cleanser that looks stunning with its pops of orange and deep green.
Ingredients
- 4 cups baby arugula
- 2 ripe peaches, sliced into wedges
- 1 ball of fresh burrata cheese
- 1/4 cup toasted pecans
- Balsamic glaze and extra virgin olive oil
How to make it
- Begin by washing your arugula in ice-cold water and spinning it completely dry; wet leaves will make the salad soggy and prevent the oil from adhering.
- Arrange the dry arugula as a fluffy bed on a shallow platter or a section of your food board.
- Nestle the peach wedges into the greens, distributing them evenly for a splash of color.
- Place the burrata ball in the center and use a knife to gently break the outer skin, allowing the creamy stracciatella center to spill out slightly.
- Scatter the toasted pecans over the top for a necessary crunch and an earthy, nutty depth.
- Just seconds before serving, drizzle the olive oil first to coat the leaves, followed by a decorative swirl of thick balsamic glaze.
- Finish with a pinch of flaky sea salt over the peaches and cheese to make the flavors pop.
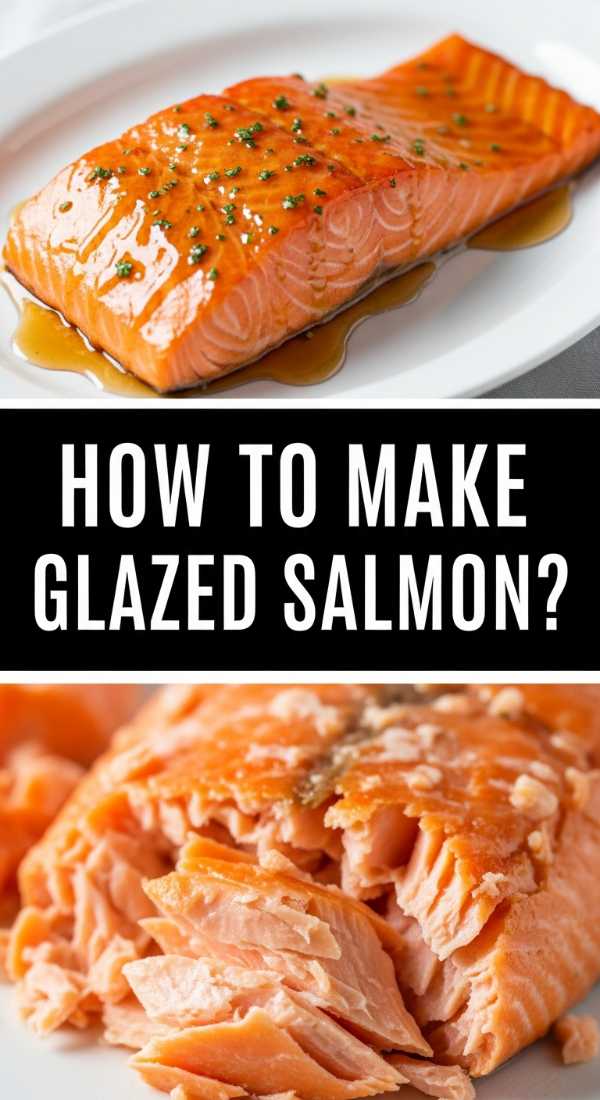
How to make glazed salmon?
Why we love this
Glazed salmon is the showstopper of the board, offering a sticky, caramelized exterior that yields to buttery, flaky pink fish. The combination of sweet honey and savory soy sauce creates an umami-rich glaze that smells heavenly as it bubbles in the pan. The texture is a delightful contrast between the slight resistance of the glaze and the melt-in-your-mouth quality of the salmon. It’s an elegant addition that makes any simple food board feel like a high-end catering event.
Ingredients
- 2 salmon fillets (6 oz each)
- 3 tbsp honey
- 2 tbsp soy sauce
- 1 tsp grated fresh ginger
- 1 clove garlic, grated
- Sesame seeds for garnish
How to make it
- Whisk together the honey, soy sauce, ginger, and garlic in a small bowl until the honey is fully incorporated into the liquid.
- Season the salmon fillets with a tiny pinch of salt (remembering the soy sauce is already salty) and black pepper.
- Heat a non-stick skillet over medium heat and add a teaspoon of oil.
- Place the salmon skin-side down (if it has skin) and cook for 4-5 minutes until the skin is crispy and the heat has traveled halfway up the side of the fish.
- Flip the fillets and immediately pour the glaze mixture into the pan.
- Let the glaze bubble and reduce for 2-3 minutes, using a spoon to constantly baste the top of the salmon with the thickening liquid.
- Once the glaze is thick and syrupy and the salmon flakes easily with a fork, remove from heat and garnish with sesame seeds.
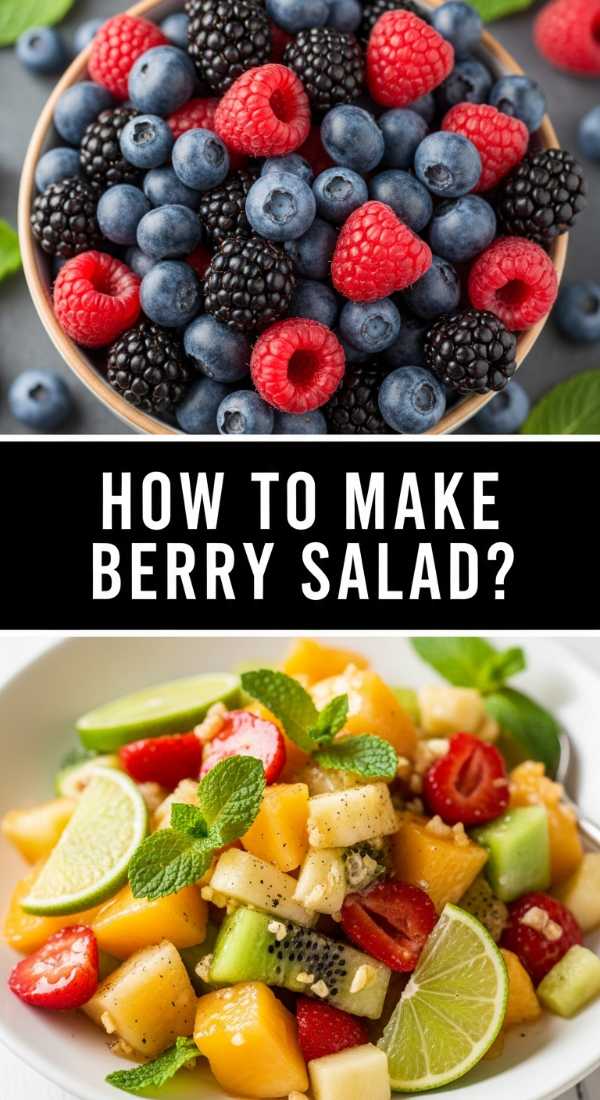
How to make berry salad?
Why we love this
A berry salad is the crown jewel of the board, offering a brilliant spectrum of reds, blues, and purples. Each berry provides a different sensory experience: the tart snap of a blueberry, the juicy explosion of a blackberry, and the floral sweetness of a strawberry. Tossed in a light lime-honey dressing, the berries glisten like jewels and smell incredibly fresh. It acts as both a healthy dessert option and a bright, acidic contrast to the savory elements on your platter.
Ingredients
- 1 pint strawberries, hulled and quartered
- 1 cup blueberries
- 1 cup blackberries
- 1 tbsp honey
- Zest and juice of 1 lime
- Small handful of fresh mint leaves, torn
How to make it
- Rinse the berries in a colander under a gentle stream of cold water and spread them out on a clean towel to air dry completely.
- In a small jar, shake together the lime juice, lime zest, and honey until the honey is no longer settled at the bottom.
- Place the dry berries in a glass mixing bowl; using glass prevents the fruit from reacting with metal and changing flavor.
- Pour the dressing over the berries and use a large rubber spatula to fold them gently, being careful not to crush the delicate blackberries.
- Let the salad sit at room temperature for about 10 minutes; this allows the lime juice to macerate the fruit slightly, releasing their natural juices.
- Top with the torn mint leaves just before adding to your food board to keep the herbs from wilting or turning black.
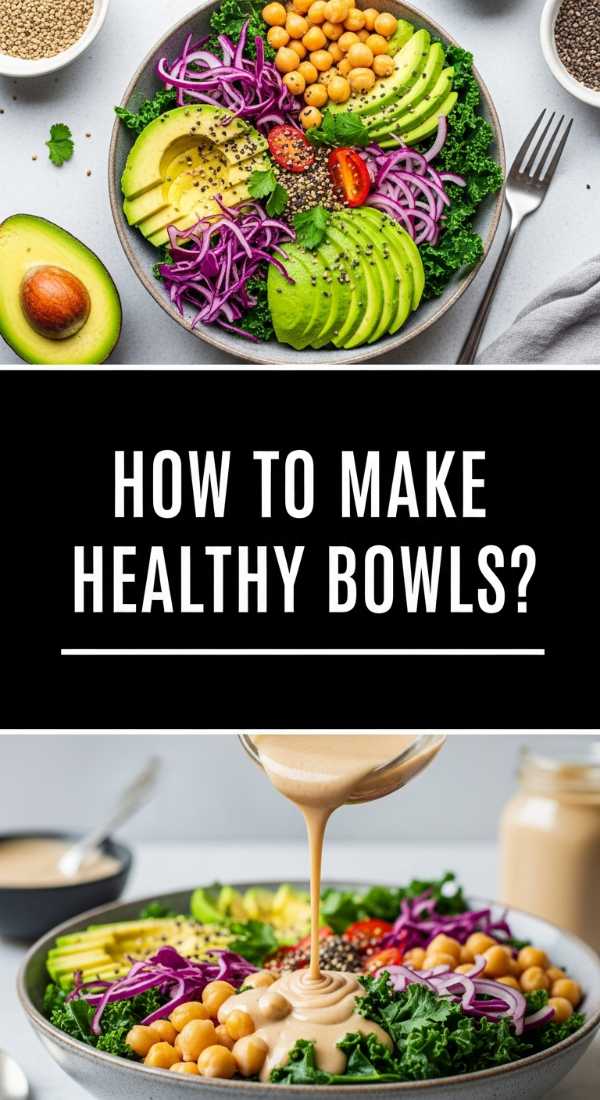
How to make healthy bowls?
Why we love this
Healthy bowls are the architecture of a great food board, allowing you to build layers of texture and nutrition. We love the combination of fluffy, nutty quinoa against the substantial bite of roasted chickpeas and the creamy finish of a tahini drizzle. It’s a bowl that feels grounded and nourishing, with earthy aromas that ground the lighter fruit and vegetable elements. Each bite is balanced, providing a satisfying density that ensures your guests feel full and fueled.
Ingredients
- 1 cup cooked quinoa
- 1 can chickpeas, drained and patted dry
- 2 cups shredded kale
- 1/2 avocado, sliced
- 2 tbsp tahini mixed with 1 tsp lemon juice and water
How to make it
- Preheat your oven to 400°F and toss the dry chickpeas with olive oil, salt, and cumin; roast for 20-25 minutes until they are crunchy and golden.
- While the chickpeas roast, place the shredded kale in a bowl with a drop of olive oil and a pinch of salt; massage the leaves with your hands for 2 minutes until they turn dark green and tender.
- Fluff your pre-cooked quinoa with a fork to ensure there are no clumps and it is light and airy.
- Create a base on your board or in a small bowl with the massaged kale, followed by a generous scoop of the quinoa.
- Top with the crispy chickpeas and the sliced avocado for a mix of crunch and creaminess.
- Whisk the tahini, lemon juice, and a splash of water until it reaches the consistency of heavy cream.
- Drizzle the tahini sauce generously over the bowl in a zig-zag pattern for a professional, viral-worthy finish.
How to grill summer corn?
[IMAGE_10]
Why we love this
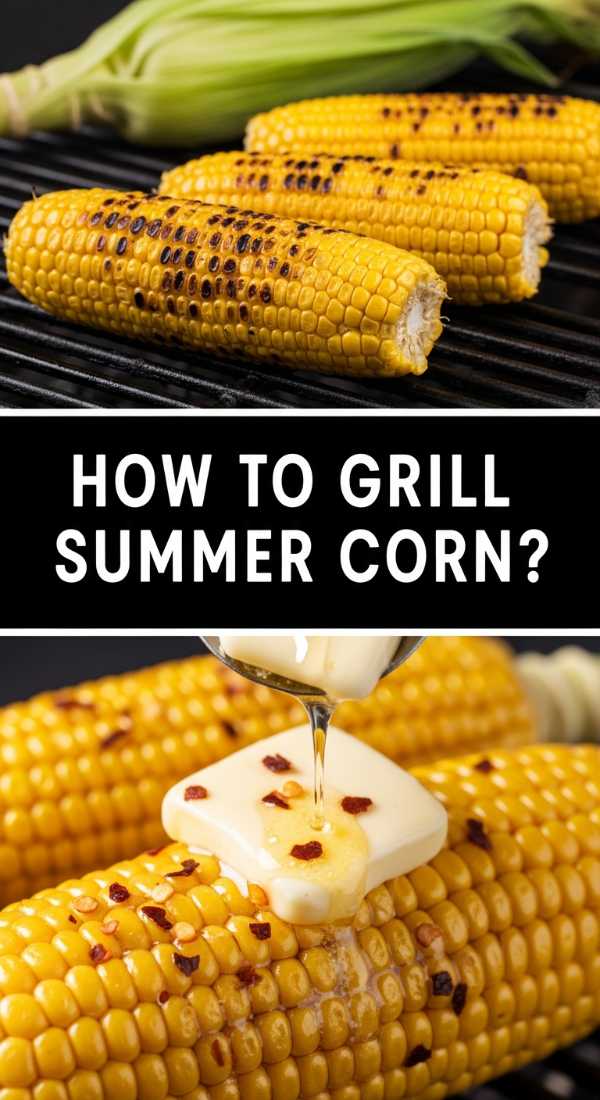
Grilled summer corn is the ultimate tactile experience on a food board. There is something so satisfying about the smell of charred husks and the sweet, concentrated aroma of caramelized kernels. The texture is a perfect ‘pop’ followed by a juicy interior, especially when slathered in melting butter and a hint of lime. It brings a rustic, smoky element to the spread that instantly signals a summer celebration and encourages everyone to get their hands a little messy in the best way possible.
Ingredients
- 4 ears of fresh sweet corn, husks removed
- 3 tbsp melted butter
- 1/2 tsp chili powder
- 1 lime, cut into wedges
- Fresh cilantro, chopped
How to make it
- Preheat your grill to medium-high heat (about 400°F) and ensure the grates are clean and lightly oiled.
- Place the corn ears directly onto the grates; do not wrap them in foil, as we want direct contact for those beautiful char marks.
- Grill the corn for 8 to 12 minutes, turning the ears a quarter-turn every 2 minutes. The goal is to have some kernels charred black while others are bright yellow and tender.
- While the corn is grilling, mix the melted butter with the chili powder in a small ramekin.
- Remove the corn from the grill and immediately brush the spiced butter over the hot kernels so it soaks into the crevices.
- Squeeze fresh lime juice over each ear to add a bright, acidic zing that cuts through the rich butter.
- Garnish with a sprinkle of chopped cilantro and serve either whole or sliced into smaller ‘ribs’ for easier grazing on the board.
Wrapping Up the Ultimate Food Board
Creating a viral-style food board is less about following a strict set of rules and more about embracing a variety of flavors and textures. By combining these ten elements—from the sweet dandelion jelly to the smoky grilled corn—you create a landscape of food that invites exploration and connection. Remember to arrange your items with height and color in mind, using small bowls for the wetter items and letting the salads and proteins flow across the board. Happy grazing!
Frequently Asked Questions
Can I prepare these items in advance? Yes! Most items like the dandelion jelly, pasta salad, and meal prep chicken can be made a day ahead. However, I recommend grilling the corn and searing the shrimp right before serving for the best texture.
How do I keep the board looking fresh for hours? Keep your fruit salads and dressed greens in separate bowls nestled on the board, and add the dressings at the very last second. Use ice packs hidden under the board if you are serving outdoors in the heat.
What are the best substitutions for dietary restrictions? For a gluten-free board, swap the rotini for chickpea pasta. For a vegan-friendly version, use maple syrup instead of honey in the salmon glaze (and use tofu!) and omit the feta cheese in the pasta salad.