
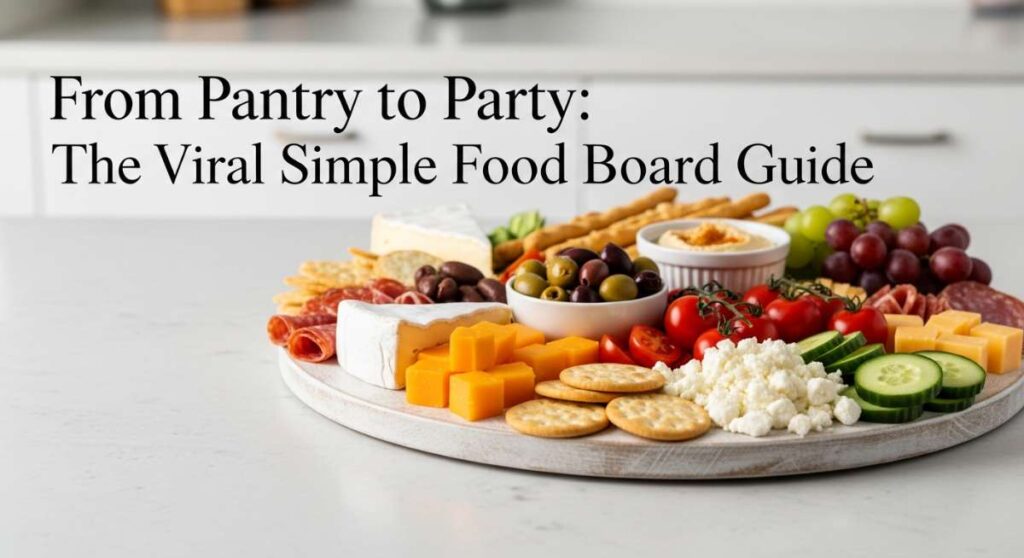
From Pantry to Party: The Viral Simple Food Board Guide
We’ve all been there—standing in front of an open fridge at 6:00 PM, the light reflecting off a half-empty jar of pickles and a wilting bunch of kale, wondering how on earth we’re going to feed ourselves (or a group of friends) without calling for takeout. There is a specific kind of magic in turning the mundane components of a pantry into something that looks like it belongs on a glossy magazine cover. The ‘Food Board’ trend isn’t just about aesthetics; it’s about a lifestyle shift toward intentional, beautiful, and nourishing eating that doesn’t require a culinary degree or a three-hour prep window.
When I first started arranging my weekly meals onto large wooden boards and assembly-style bowls, my relationship with food completely changed. It stopped being a chore and started being a creative outlet. There is something deeply communal and grounding about seeing a rainbow of roasted vegetables, perfectly seared proteins, and zesty dressings spread out before you. It invites you to slow down, appreciate the textures, and actually enjoy the process of nourishing your body. This guide is your roadmap to mastering that viral ‘board’ look while keeping the nutrition and simplicity at the forefront of every bite.
How to make chicken bowls?

Why we love this
There is nothing quite as comforting as a perfectly balanced chicken bowl, where the steam rises from a fluffy bed of grains to carry the scent of toasted cumin and bright lemon. We love this because of the incredible contrast in textures—the snap of fresh cucumbers against the tender, juicy pull of herb-marinated chicken. Each bite is a sensory journey, offering the creamy tang of feta cheese and the earthy richness of quinoa, making it a meal that feels both indulgent and incredibly clean. It’s the kind of dish that leaves you feeling energized rather than weighed down, sparking joy with every colorful forkful.
Ingredients
- 2 large chicken breasts, sliced into strips
- 1 cup dry quinoa or farro
- 1 English cucumber, diced
- 1 pint cherry tomatoes, halved
- 1/2 red onion, thinly sliced
- 1/4 cup Kalamata olives
- 2 tbsp olive oil
- 1 tsp dried oregano
- 1 lemon (juiced)
- Salt and cracked black pepper to taste
How to make it
- Begin by rinsing your quinoa under cold water to remove the bitter saponin coating. Place it in a pot with a 2:1 ratio of water to grain. Bring to a rapid boil, then immediately reduce heat to the lowest setting, cover, and simmer for 15 minutes. Once done, let it sit covered for 5 minutes before fluffing with a fork to achieve maximum fluffiness.
- Pat the chicken strips completely dry with paper towels; moisture is the enemy of a good sear. Toss the chicken in a bowl with olive oil, oregano, lemon juice, salt, and pepper until evenly coated.
- Heat a heavy-bottomed skillet over medium-high heat. When the pan is hot enough that a drop of water sizzles instantly, add the chicken. Let it sear undisturbed for 4-5 minutes per side. You are looking for a deep golden-brown crust, which indicates the Maillard reaction has occurred, locking in the juices.
- While the chicken rests, chop your vegetables. Aim for uniform sizes so that every bite contains a bit of everything.
- Assemble the bowls by placing a generous scoop of grain at the base, followed by a fan of chicken and clusters of the fresh vegetables. Drizzle with extra virgin olive oil and a squeeze of fresh lemon for a bright finish.
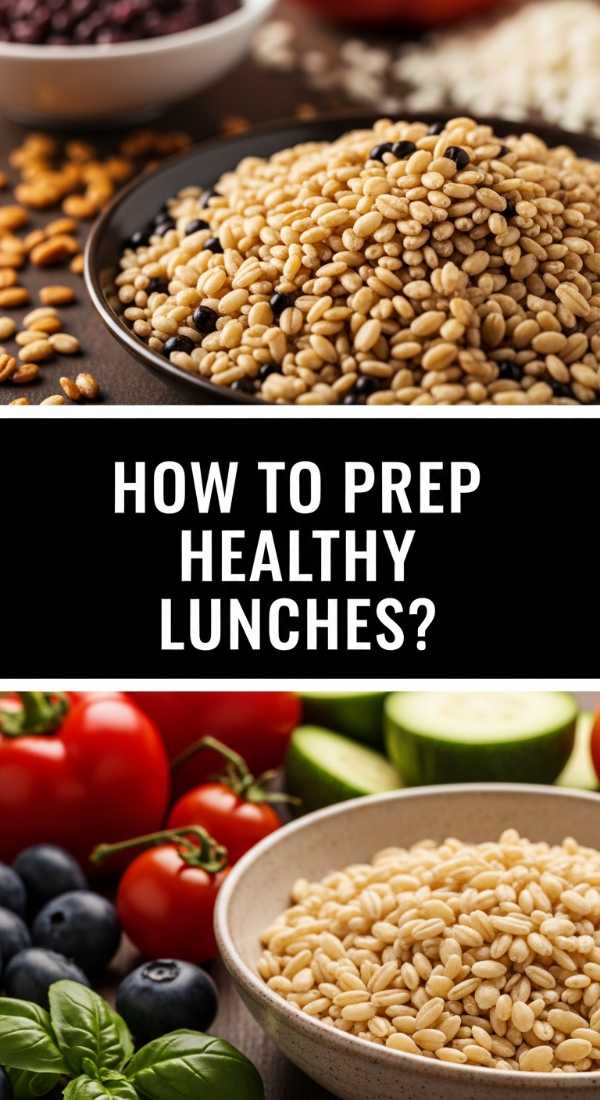
How to prep healthy lunches?
Why we love this
Prepping healthy lunches is essentially a love letter to your future self, ensuring that during the peak of a chaotic Wednesday, you have a vibrant, delicious meal waiting for you. We love this approach because it eliminates decision fatigue and guarantees that you’re fueling your brain with high-quality ingredients. Imagine opening a container to find vibrant greens that haven’t wilted, crunchy seeds, and a dressing that smells of fresh herbs and garlic. It transforms the midday break from a rushed snack into a moment of genuine restoration, providing the crunch and zest needed to power through the afternoon with clarity and ease.
Ingredients
- 4 cups mixed baby greens (spinach, arugula, kale)
- 2 cups roasted chickpeas (canned is fine, drained and dried)
- 1 avocado, sliced (add fresh daily)
- 1/2 cup pumpkin seeds or pepitas
- 1 cup shredded carrots
- 2 cups cooked lentils or black beans
- Homemade vinaigrette (olive oil, dijon mustard, apple cider vinegar)
How to make it
- The secret to a long-lasting prep is the layering technique. Start by whisking your dressing at the very bottom of your containers. This prevents the greens from coming into contact with the acid and salt, which causes wilting.
- Add your sturdier ingredients next. Legumes like lentils or chickpeas act as a barrier. They will actually marinate in the dressing, becoming more flavorful over the next few days.
- Layer in your dense vegetables like shredded carrots or sliced radishes. These provide a structural layer that keeps the lighter ingredients elevated.
- Place your delicate greens at the very top, filling the container to the brim to minimize the amount of air inside, which helps preserve freshness.
- Seal tightly and store in the coldest part of your refrigerator. When you’re ready to eat, simply shake the container vigorously or flip it into a bowl to allow the dressing to coat everything perfectly.
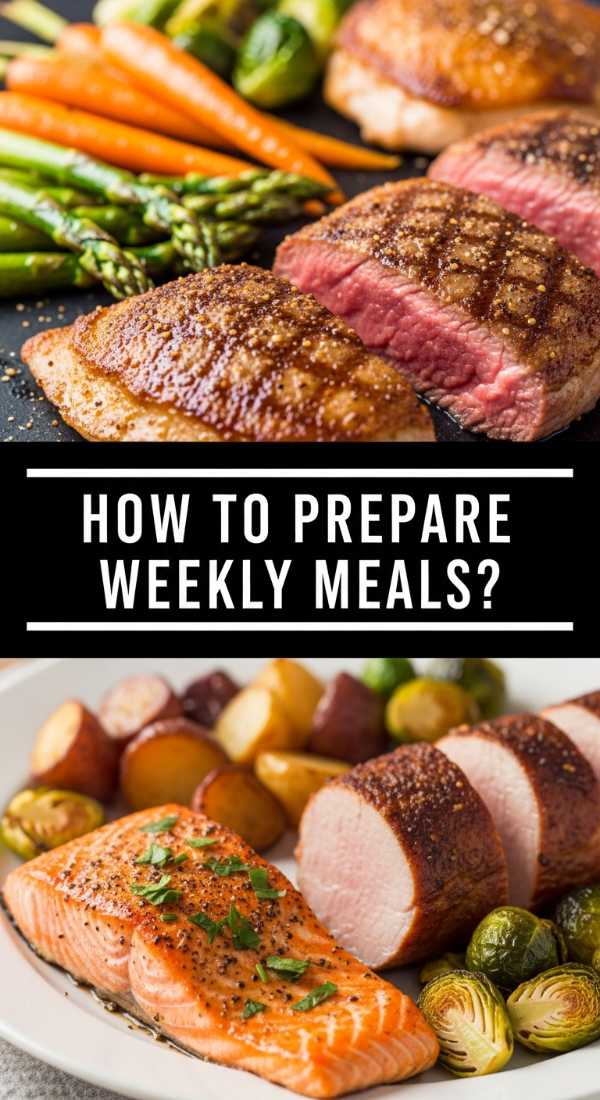
How to prepare weekly meals?
Why we love this
The beauty of weekly meal preparation lies in the rhythm of the ritual, turning a Sunday afternoon into a productive session of culinary architecture. We love how it creates a sense of calm for the week ahead, knowing that the foundation of your nutrition is already handled with care and variety. There is a deep satisfaction in seeing rows of glass containers filled with roasted sweet potatoes that smell of cinnamon, or blanched broccoli that retains its bright emerald hue. This method allows you to mix and match components like a professional chef, creating a ‘board’ style dinner every night that feels fresh and exciting rather than repetitive.
Ingredients
- 3 lbs sweet potatoes, cubed
- 2 heads of broccoli, cut into florets
- 1 lb bell peppers, sliced
- 2 cups brown rice or jasmine rice
- 1 lb lean ground turkey or tofu crumbles
- Bulk spices (garlic powder, smoked paprika, onion powder)
- High-heat cooking oil (avocado or grapeseed oil)
How to make it
- Preheat your oven to 400°F (200°C). Arrange your cubed sweet potatoes on a large baking sheet, ensuring they aren’t crowded; crowding causes steaming rather than roasting. Toss with avocado oil and smoked paprika. Roast for 25-30 minutes until edges are caramelized and centers are soft.
- On a separate tray, toss your broccoli and peppers with oil and garlic powder. These require less time, so add them to the oven for the final 15-20 minutes of the sweet potato cook time. Watch for the broccoli tips to char slightly—this adds a smoky depth.
- While veggies roast, cook your bulk grain on the stovetop. Use chicken or vegetable broth instead of water to infuse the rice with savory notes from the inside out.
- Brown your protein in a large skillet over medium heat. Season generously and break it into small crumbles. Drain any excess fat to keep the meal light.
- Allow all components to cool completely to room temperature before lidding. This prevents condensation, which leads to soggy textures during storage.
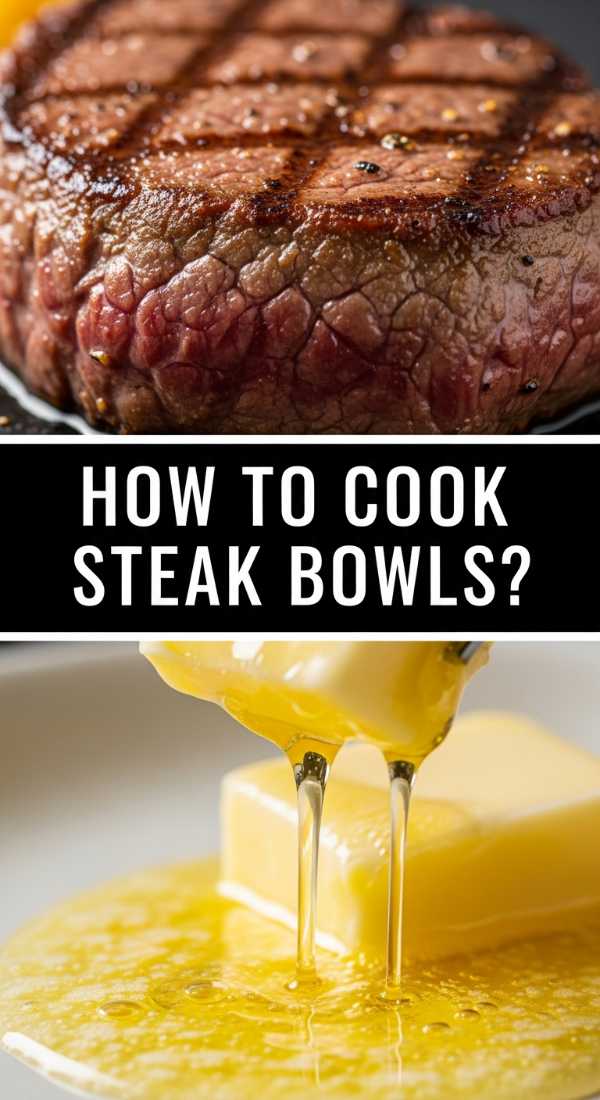
How to cook steak bowls?
Why we love this
Steak bowls are the epitome of rustic luxury, bringing the steakhouse experience into a convenient, everyday format that feels incredibly special. We love the sensory overload of a perfectly seared ribeye or sirloin, where the crust is salty and crisp while the interior remains a buttery, melt-in-your-mouth pink. The aroma of garlic butter basting the meat is intoxicating, filling the kitchen with a richness that promises a satisfying meal. Paired with charred corn and a spicy chimichurri, it’s a bowl that hits every flavor profile—salty, savory, spicy, and acidic—making it an absolute crowd-pleaser for any board-style gathering.
Ingredients
- 1 lb flank steak or top sirloin
- 2 cups cooked white rice
- 1 cup charred corn (fresh or frozen)
- 1/2 cup pickled red onions
- Fresh cilantro and lime wedges
- 2 tbsp butter
- 3 cloves garlic, smashed
- Kosher salt and coarse black pepper
How to make it
- Take your steak out of the fridge at least 30 minutes before cooking. Bringing the meat to room temperature ensures even cooking throughout the cut. Season aggressively with salt and pepper on all sides.
- Heat a cast-iron skillet over high heat until it begins to slightly smoke. Add a high-smoke-point oil. Place the steak in the pan and sear for 3-4 minutes without moving it to develop a dark, flavorful crust.
- Flip the steak. Add the butter and smashed garlic cloves to the pan. As the butter melts and foams, use a spoon to continuously baste the steak with the hot garlic butter. This technique, called ‘arrosé’, adds incredible flavor and moisture.
- Remove the steak when it reaches an internal temperature of 130°F (for medium-rare). Transfer to a cutting board and let it rest for a full 10 minutes. This allows the fibers to relax and the juices to redistribute.
- Slice the steak against the grain into thin strips. Arrange in bowls over the rice, topped with the corn, pickled onions, and a heavy drizzle of the pan juices.
How to master meal prep?
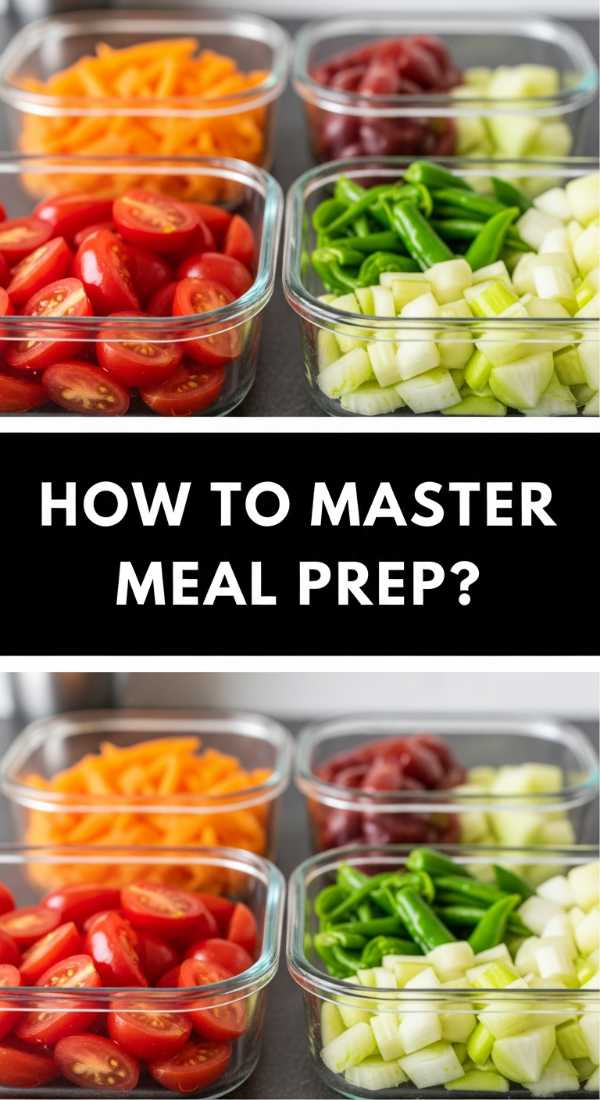
Why we love this
Mastering meal prep is like unlocking a superpower that buys you back hours of your life every single week. We love the mental clarity that comes with an organized fridge, where every container represents a conscious choice to eat well. It’s about the tactile joy of handling fresh produce, the rhythmic sound of a sharp knife on a wooden board, and the visual reward of a completed ‘set’ of meals. This mastery allows you to move through your busy work week with a sense of ease, knowing that you have delicious, ‘viral-worthy’ bowls ready to go at a moment’s notice, saving you from the ‘hanger’ that leads to poor food choices.
Ingredients
- Assorted glass storage containers
- 3 base grains (Quinoa, Rice, Farro)
- 5 different colored vegetables
- 3 protein sources (Chicken, Tofu, Eggs)
- 2 signature sauces (Tahini, Pesto)
- Dry garnishes (Nuts, seeds, dried fruit)
How to make it
- Start with a ‘Component’ mindset rather than a ‘Recipe’ mindset. Spend one hour roasting three different vegetables and boiling two types of grains. This modular approach allows for variety so you don’t get bored.
- Invest in high-quality glass containers. Glass doesn’t retain odors or stains and provides a clear view of your beautiful food, which makes you more likely to actually eat it.
- Prep your ‘aromatics’ early. Mince garlic, chop onions, and grate ginger at the start of your prep session and store them in small jars. This makes the actual cooking phase lightning fast.
- Make ‘Sauce Packs.’ Instead of dressing everything, keep sauces in small separate containers. A fresh sauce can make a 3-day-old prep taste brand new.
- Use the ‘First In, First Out’ (FIFO) method. Organize your fridge so the oldest prep is at the front, ensuring nothing goes to waste and your ingredients are always at peak flavor.
How to pack lunch bowls?
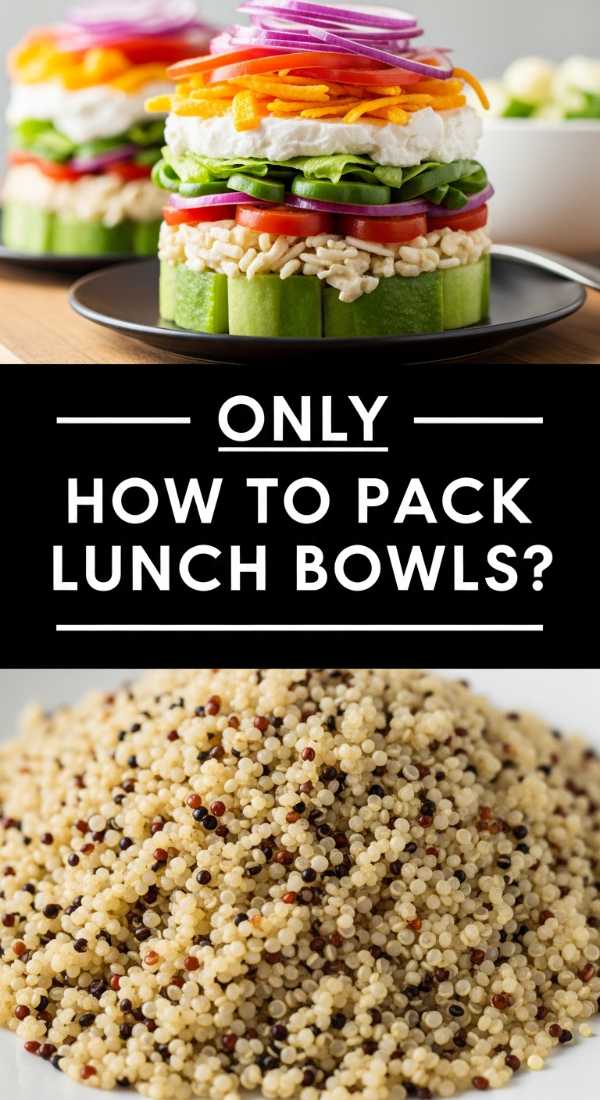
Why we love this
The art of packing a lunch bowl is what separates a sad desk lunch from a midday highlight that your coworkers will envy. We love the thoughtful assembly that goes into creating a bowl that stays vibrant and textured until the moment you peel back the lid. There’s a secret satisfaction in the ‘crunch factor’—that sound of a fresh radish or a toasted almond that hasn’t gone soft. It’s about creating a portable feast that feels like a gift to yourself, full of bright colors and bold flavors that remind you to take a real break and enjoy the fuel you’ve prepared.
Ingredients
- Wide-mouth quart jars or flat bento boxes
- Hearty greens (Kale or Romaine)
- Cooked protein of choice
- Crunchy toppings (sliced almonds, pepitas, or tortilla strips)
- Dressing on the side
- Moisture-rich veggies (cucumber, tomato)
How to make it
- If using a jar, the dressing must go in first. If using a flat box, keep the dressing in a separate leak-proof tin. Keeping the liquid separate is the #1 rule for a non-soggy lunch.
- Create a ‘buffer’ layer. Place hard vegetables like carrots, celery, or radishes directly on top of the dressing (if using a jar) or at one end of the box.
- Place your grains and protein in the middle. These items are sturdy and won’t be affected by the slight moisture of the vegetables.
- Add your greens last. They should be tucked into the top of the container, as far away from any moisture as possible.
- Store your ‘crunch’ (nuts/seeds) in a small reusable baggie or a separate compartment. Only add them to the bowl the literal second before you eat to ensure they provide that essential texture.
How to make salmon bowls?

Why we love this
Salmon bowls feel like a spa day in a dish—refreshing, nutrient-dense, and undeniably elegant. We love the way the fatty, flakey salmon interacts with creamy avocado and the zing of ginger-soy dressing. The aroma of sesame oil and searing fish creates an atmosphere of sophisticated healthy eating. There’s a beautiful balance of temperature too; the warm, crispy-skinned salmon resting against chilled edamame and cool pickled ginger creates a palate-cleansing experience that is as satisfying as it is light. It’s the ultimate ‘glow-up’ meal for your weekly rotation.
Ingredients
- 2 salmon fillets (skin-on preferred)
- 1 cup sushi rice or brown rice
- 1 avocado, sliced
- 1/2 cup edamame, shelled
- 1/2 cup shredded purple cabbage
- Soy sauce, honey, and sesame oil glaze
- Toasted sesame seeds
How to make it
- Pat the salmon skin extremely dry. Score the skin slightly with a sharp knife; this prevents the fish from curling when it hits the heat. Season with salt only on the skin side.
- Place salmon skin-side down in a cold non-stick pan, then turn the heat to medium-high. This gradual heating renders the fat and results in a glass-like, crispy skin. Press down gently with a spatula for the first 30 seconds.
- Cook for about 5-6 minutes on the skin side until it’s golden and releases easily from the pan. Flip and cook for only 1-2 minutes on the flesh side to keep it moist and medium-rare.
- In the final minute, brush the top with a mixture of soy sauce, honey, and a drop of sesame oil. The residual heat will thicken the glaze into a beautiful sheen.
- Assemble the bowl by fanning the salmon over rice, surrounding it with cabbage, edamame, and avocado. Sprinkle with sesame seeds and a drizzle of extra glaze.
How to start meal prepping?
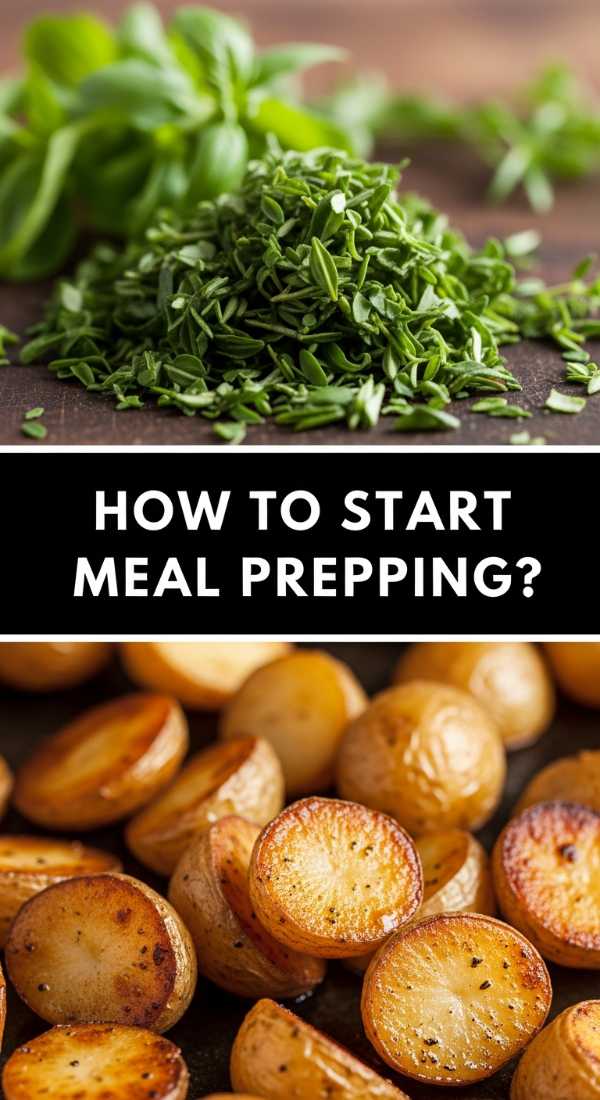
Why we love this
Starting your meal prep journey is about reclaiming your time and your health in one fell swoop. We love the feeling of empowerment that comes with that first successful Sunday session—the sight of the kitchen counter lined with colorful ingredients ready to be transformed. It’s not about perfection; it’s about the messy, wonderful process of learning what fuels your body best. The aroma of roasting garlic and the bright citrus scents of fresh marinades make the kitchen feel like the heart of the home, and the relief you feel on Monday morning when lunch is already done is absolutely priceless.
Ingredients
- 1 large sheet pan
- 1 large stockpot
- A set of sharp knives
- 1 dozen eggs
- 2-3 types of seasonal fruit
- Basic pantry staples (olive oil, vinegar, salt, pepper)
How to make it
- Start small. Don’t try to prep 21 meals in your first week. Aim for just 3 days of lunches. This prevents burnout and allows you to find a rhythm that works for your schedule.
- Choose ‘Universal’ ingredients. Roast a large batch of chicken or tofu that can be used in a salad one day, a wrap the next, and a grain bowl the third. Variety comes from the sauces, not necessarily the base.
- Master the ‘Hard-Boiled Egg.’ It is the ultimate prep snack. Place eggs in a pot, cover with water, bring to a boil, then turn off the heat and cover for exactly 11 minutes. Shock in ice water for easy peeling.
- Wash and prep your fruit immediately after grocery shopping. If berries are washed and melons are sliced, you are 80% more likely to eat them before they go bad.
- Create a ‘Prep Playlist.’ Put on your favorite podcast or high-energy music. If you associate meal prepping with a fun, relaxing atmosphere, you’ll be much more likely to stick with the habit long-term.
How to roast veggie bowls?

Why we love this
Vegetable bowls are a masterclass in the transformative power of heat, turning humble roots and greens into caramelized, candy-like treasures. We love the deep, concentrated flavors that roasting coaxes out—the sweetness of a charred carrot, the nuttiness of a crisp floret of cauliflower, and the earthy depth of a roasted beet. The kitchen fills with a warm, savory scent that feels like autumn year-round. It’s a dish that proves vegetables don’t have to be a side act; when roasted to perfection and served with a creamy tahini drizzle, they are a vibrant, textures-rich main event that satisfies even the most dedicated carnivores.
Ingredients
- 1 head cauliflower, cut into steaks or florets
- 1 bunch kale, stems removed
- 2 large carrots, sliced on a bias
- 1 red beet, peeled and cubed
- 1/4 cup tahini
- 1 lemon, juiced
- Smoked paprika and cumin
How to make it
- Preheat your oven to 425°F (220°C). High heat is essential for roasting; lower temperatures will steam the vegetables, leaving them mushy.
- Toss the root vegetables (beets and carrots) in oil and spices and get them in the oven first, as they take the longest—about 35-40 minutes.
- Midway through, add the cauliflower. For the best texture, place the flat side of the cauliflower directly against the pan to maximize browning.
- In the last 5 minutes of roasting, add the kale. Massage it lightly with oil first. It will turn into ‘kale chips’ right on the tray, adding a fantastic salty crunch to your bowl.
- Whisk the tahini, lemon juice, and a splash of warm water until it reaches a pourable consistency. Drizzle this liquid gold over the hot roasted vegetables for a creamy contrast to the charred edges.
How to make teriyaki bowls?
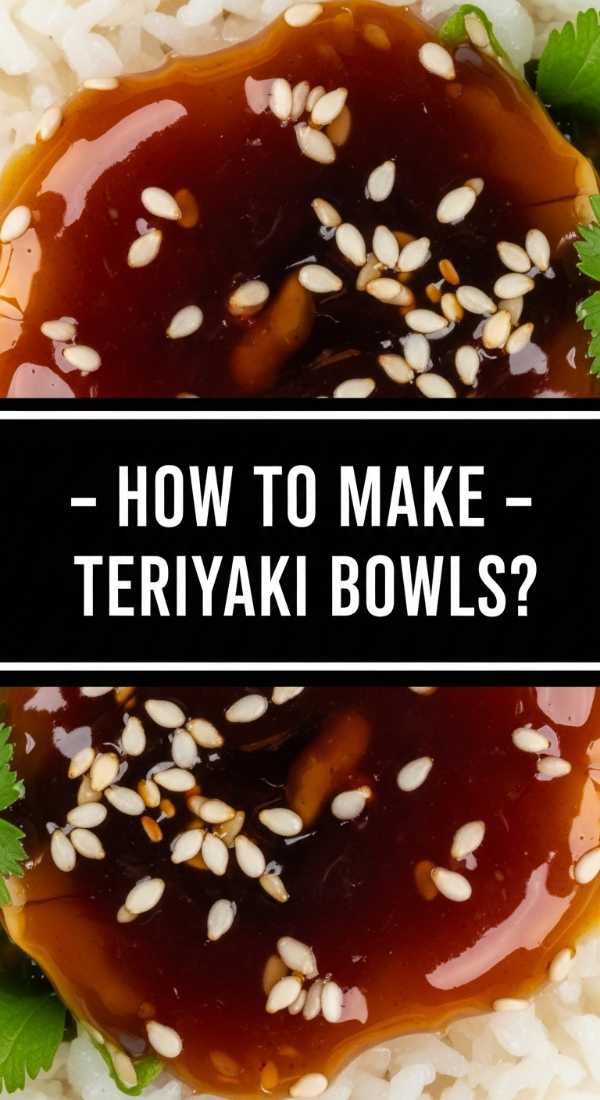
Why we love this
Teriyaki bowls are the ultimate comfort food, offering a sticky, sweet, and savory glaze that clings perfectly to every grain of rice. We love the nostalgic aroma of ginger and garlic simmering in soy sauce, a scent that promises a meal full of umami depth. The visual of the glossy, dark sauce against bright green steamed broccoli and orange carrots is incredibly appetizing. It’s a bowl that hits that ‘takeout’ craving while being much lighter and fresher, providing a satisfying snap from the veggies and a tender bite from the protein, all tied together by that iconic, velvety sauce.
Ingredients
- 1 lb chicken thighs or extra firm tofu
- 2 cups steamed white rice
- 2 cups broccoli florets
- 1/4 cup soy sauce
- 2 tbsp honey or brown sugar
- 1 tsp grated fresh ginger
- 1 clove garlic, minced
- Cornstarch slurry (1 tsp cornstarch + 1 tsp water)
How to make it
- Whisk the soy sauce, honey, ginger, and garlic in a small saucepan. Simmer over low heat for 5 minutes. Slowly whisk in the cornstarch slurry and continue to simmer until the sauce coats the back of a spoon with a thick, glossy sheen.
- Cook your protein in a very hot skillet to get a good sear. If using chicken thighs, keep the heat medium-high to render the fat and get the edges slightly crispy.
- While the protein cooks, steam your broccoli for just 3-4 minutes. You want it to be fork-tender but still retain a vibrant green color and a slight snap.
- Pour half of the teriyaki sauce over the protein in the pan during the last minute of cooking, tossing to ensure every piece is thoroughly glazed and the sauce begins to bubble and caramelize.
- Serve over a mound of steaming rice, adding the veggies to the side. Drizzle the remaining sauce over the entire bowl and garnish with green onions for a fresh, sharp bite.
The Final Touch: Bringing the Board to Life
Whether you’re prepping for a solo week or laying out a massive spread for friends, remember that the ‘viral’ secret is all in the variety. A great food board or bowl is a balance of the cooked and the raw, the soft and the crunchy, the sweet and the acidic. Don’t be afraid to experiment with your pantry staples—that forgotten jar of roasted peppers or the bag of sunflower seeds in the back of the cupboard might just be the star ingredient your next bowl needs. Eating well is an art, but it’s an art that you get to enjoy every single day.