

There is something undeniably magical about a table filled with food that invites everyone to dig in together. In my home, the kitchen isn’t just a place for meal prep; it’s the heartbeat of our gatherings, where the clinking of glasses and the aroma of searing butter create a symphony of hospitality. I’ve always believed that the best memories aren’t made at stiff, formal dinner tables, but rather around a sprawling, vibrant food board that tells a story of comfort and celebration. This ‘pantry to party’ philosophy is all about taking high-quality, simple components and arranging them into a visual masterpiece that tastes even better than it looks.
The secret to a viral food board lies in the contrast of textures and temperatures. Imagine the crunch of a golden potato against the velvet softness of a medium-rare steak, or the zesty pop of garlic shrimp nestled next to a comforting, creamy casserole. It’s about creating an experience where every guest can build their own perfect bite. Whether you’re hosting a casual Sunday football game or a sophisticated backyard soiree, these ten foundational elements will ensure your board is the talk of the neighborhood. Let’s dive into the techniques that turn simple ingredients into legendary party fare.
How to cook perfect steak?
Why we love this
There is nothing quite as primal or satisfying as a perfectly seared steak, its exterior boasting a deep, mahogany crust while the center remains a tender, blushing pink. When you slice into it, the aroma of rendered fat and toasted peppercorns fills the air, promising a rich, savory explosion with every bite. The contrast between the salty, crisp bark and the buttery, melt-in-your-mouth interior is the ultimate luxury, making it the undeniable star of any high-end food board. It brings a sense of decadence and warmth that grounds the entire spread.
Ingredients
- 2 thick-cut Ribeye or New York Strip steaks (at least 1.5 inches thick)
- Kosher salt and freshly cracked black pepper
- 3 tablespoons high-smoke point oil (avocado or grapeseed)
- 4 tablespoons unsalted butter
- 4 cloves garlic, smashed
- 3 sprigs fresh rosemary or thyme
How to make it
- Preparation is key: Remove the steaks from the refrigerator at least 45-60 minutes before cooking to bring them to room temperature, ensuring an even cook throughout.
- Pat the meat extremely dry with paper towels; moisture is the enemy of a good sear. Season aggressively with salt and pepper on all sides, including the fat caps.
- Heat a heavy cast-iron skillet over high heat until it is wisps of smoke start to rise. Add the oil and swirl to coat.
- Carefully lay the steaks into the pan, laying them away from you to avoid splashes. Press down slightly to ensure maximum surface contact. Sear undisturbed for 3-4 minutes until a thick, dark brown crust forms.
- Flip the steaks using tongs. Immediately add the butter, garlic, and herbs to the pan. As the butter melts and foams, tilt the pan and use a large spoon to continuously baste the steaks with the hot, aromatic butter for another 3 minutes.
- Use an instant-read thermometer to check for doneness: pull at 130°F (54°C) for medium-rare. The temperature will rise about 5 degrees while resting.
- Transfer the steaks to a cutting board and let them rest for at least 10 minutes. This allows the juices to redistribute so they don’t run out when you slice them for the board.
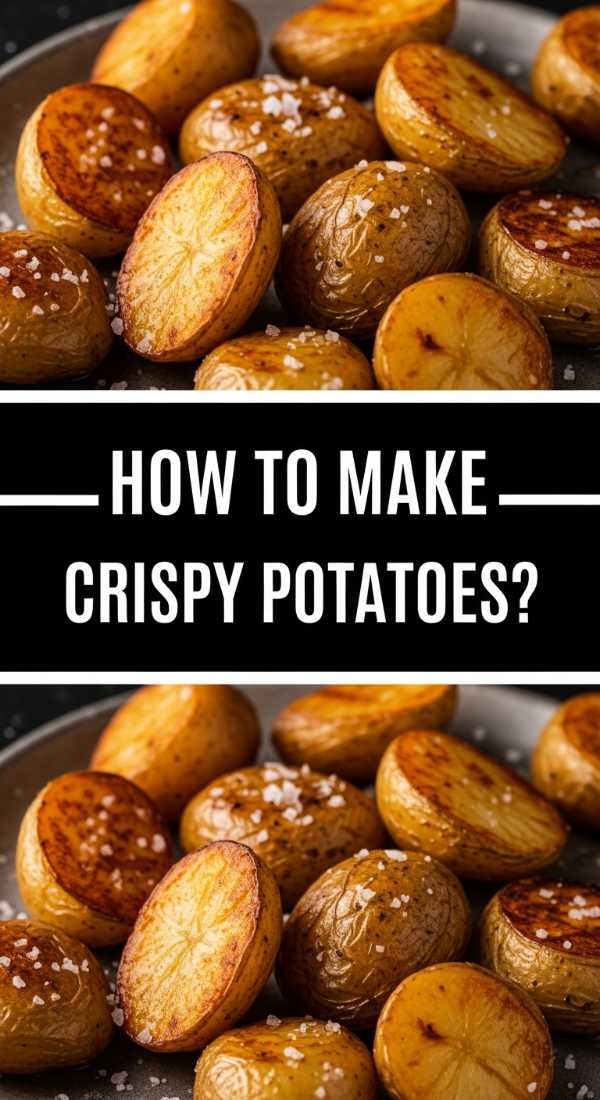
How to make crispy potatoes?

Why we love this
The humble potato reaches its peak form when it achieves a glass-like crunch on the outside while maintaining a fluffy, cloud-like interior that tastes of pure comfort. These golden nuggets catch the light on your board, providing a satisfying tactile experience as they shatter upon impact, releasing a subtle earthy aroma seasoned with salt and herbs. They are the versatile workhorse of the platter, acting as the perfect vessel for dips or simply enjoyed on their own as a salty, addictive snack that guests won’t be able to stop reaching for.
Ingredients
- 2 lbs Yukon Gold potatoes, peeled and cut into 1-inch chunks
- 1/2 teaspoon baking soda
- 1/4 cup extra virgin olive oil or duck fat
- 1 tablespoon chopped fresh rosemary
- 3 cloves garlic, minced
- Maldon sea salt for finishing
How to make it
- Place the potato chunks in a large pot and cover with cold water. Add a generous pinch of salt and the baking soda. The baking soda breaks down the potato’s starch, creating more surface area for maximum crunch.
- Bring to a boil, then reduce to a simmer and cook for about 10 minutes until the exteriors are softened but the centers are still firm. Drain the potatoes.
- Return the drained potatoes to the pot and shake them vigorously for 30 seconds. You want the edges to look mashed and fuzzy; this “fuzz” becomes the ultra-crispy crust.
- Preheat your oven to 450°F (230°C). Pour the olive oil or duck fat onto a large rimmed baking sheet and place it in the oven for 5 minutes to get the oil shimmering hot.
- Carefully spread the potatoes onto the hot sheet in a single layer. Roast for 20 minutes, then flip them. Continue roasting for another 20-30 minutes, turning occasionally, until they are deep golden brown and screamingly loud when tapped with a spatula.
- In the final 5 minutes, toss the minced garlic and rosemary onto the tray so they crisp up without burning. Drain on a wire rack and shower with sea salt immediately.
How to grill juicy burgers?
Why we love this
A great burger is a masterpiece of backyard alchemy, where the char of the flame meets the succulent, dripping juices of high-quality beef. The scent of woodsmoke and rendered fat is the universal signal that the party has started, evoking memories of summer afternoons and laughter. On a food board, mini-sliders or sliced burger patties offer a savory, approachable bite that feels both nostalgic and indulgent, especially when topped with melted cheese that drapes over the sides like a silken blanket.
Ingredients
- 1.5 lbs ground beef (80/20 lean-to-fat ratio is essential)
- Kosher salt and coarse black pepper
- Brioche buns, toasted
- Sliced sharp cheddar or American cheese
- Butter for the buns
How to make it
- Keep the meat cold until the moment you form the patties. Gently shape the beef into 6-ounce rounds, making them slightly wider than the buns. Do not overwork the meat or it will become tough; handle it just enough to hold the shape.
- Use your thumb to create a shallow indentation in the center of each patty. This prevents the burger from puffing up into a ball while cooking.
- Preheat your grill to high heat (around 450°F). Just before placing them on the grates, season both sides of the patties liberally with salt and pepper.
- Place patties on the grill and close the lid. Cook for 3-4 minutes on the first side without pressing down on them; you want to keep those juices inside.
- Flip once. If making cheeseburgers, add the cheese slices now. Close the lid and cook for another 3-4 minutes for medium doneness.
- Remove the burgers and let them rest for 5 minutes on a warm plate. Meanwhile, swipe the buns with butter and toast them on the grill for 30 seconds until golden.
- Assemble and slice into halves or quarters for the board to show off that juicy interior.
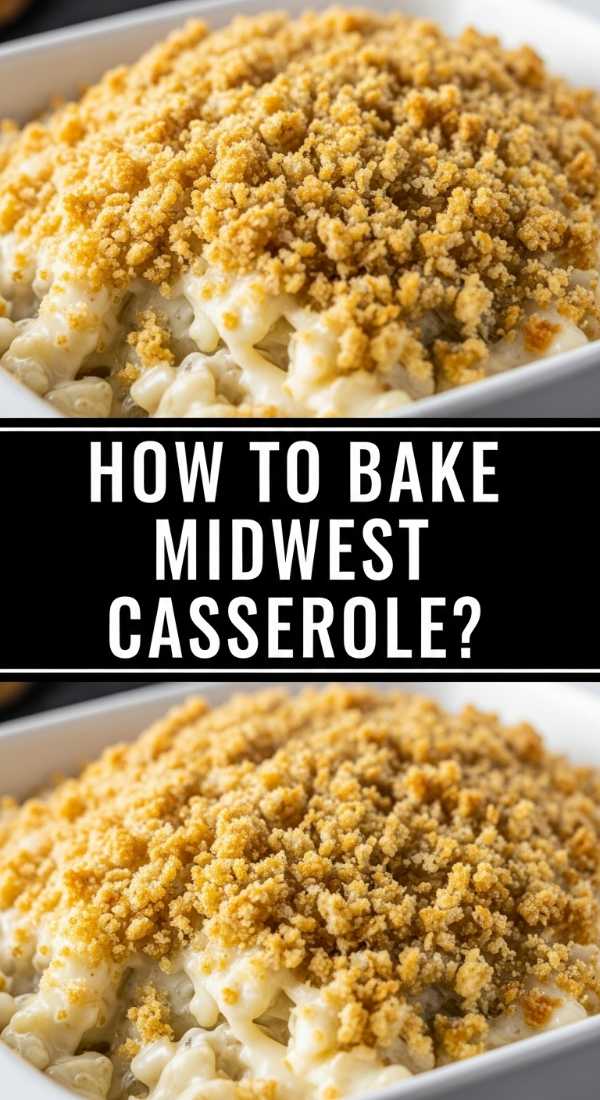
How to bake midwest casserole?
Why we love this
There is a deep, soul-stirring warmth in a Midwest casserole that reminds us of home, community, and the simple joy of a shared meal. This dish is all about the harmony of creamy, velvety sauces and soft, tender proteins, topped with a layer of something undeniably crunchy that shatters with each spoonful. Its aroma is savory and inviting, filling the room with the scent of toasted grains and rich cream. It provides a soft, comforting textural contrast on a board, serving as the ultimate “hug in a dish” that makes everyone feel welcome.
Ingredients
- 1 lb ground turkey or beef
- 1 can cream of mushroom soup
- 1 cup sour cream
- 2 cups frozen green beans or corn
- 3 cups crispy tater tots or crushed butter crackers
- 1 cup shredded cheddar cheese
- 1 teaspoon onion powder and garlic powder
How to make it
- Preheat your oven to 375°F (190°C). Grease a 9×13 inch baking dish lightly with butter or non-stick spray.
- In a large skillet, brown the ground meat over medium-high heat until no pink remains. Drain any excess fat. Stir in the onion powder, garlic powder, salt, and pepper.
- In a large mixing bowl, whisk together the cream of mushroom soup and sour cream until smooth. Fold in the cooked meat and the frozen vegetables.
- Spread the mixture evenly into the prepared baking dish. Top with an even layer of shredded cheddar cheese.
- Arrange the tater tots in neat rows over the top, or sprinkle the crushed crackers generously. This top layer is crucial for the texture.
- Bake for 35-40 minutes. You are looking for the edges to be bubbling vigorously and the top to be a deep, golden brown. If using tots, they should be audibly crispy when touched.
- Let the casserole sit for 10 minutes before serving on the board in small ramekins or squares so it holds its shape.
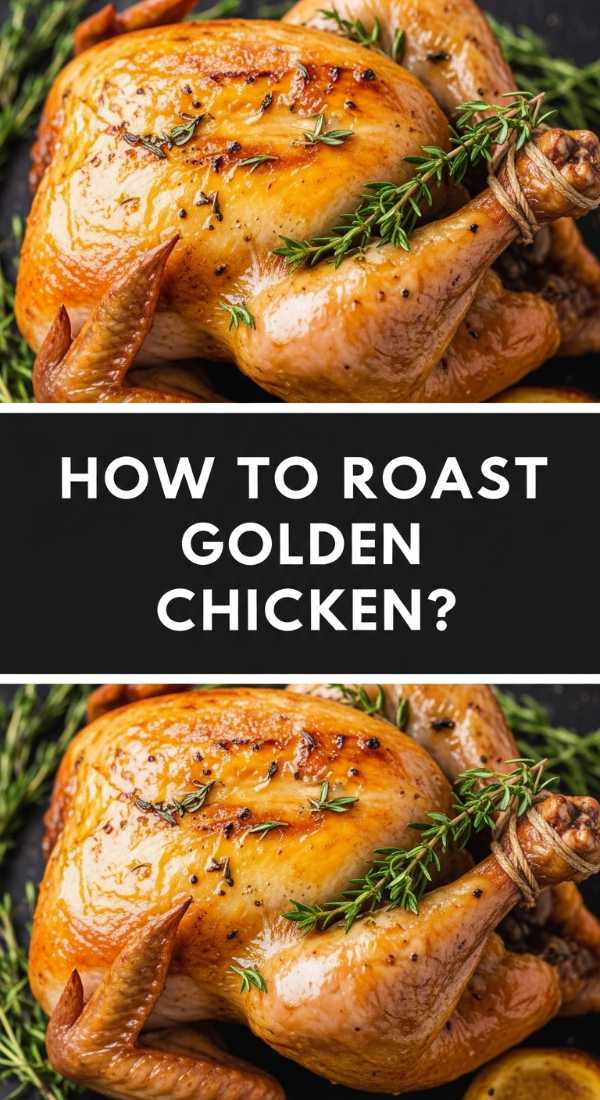
How to roast golden chicken?

Why we love this
Roast chicken is the hallmark of a skilled home cook, offering a sensory journey from its crackling, paper-thin golden skin to the succulent, steaming meat beneath. The fragrance of lemon, garlic, and thyme infuses every fiber of the bird, creating a bright yet deeply savory profile that appeals to everyone. It adds a rustic, elegant aesthetic to your food board, looking like a centerpiece from a Tuscan feast. Each piece offers a different experience, from the rich dark meat of the thighs to the clean, delicate flavor of the breast.
Ingredients
- 1 whole chicken (4-5 lbs), patted extremely dry
- 3 tablespoons softened unsalted butter
- 1 lemon, halved
- 1 head of garlic, halved crosswise
- Large bunch of fresh thyme
- Kosher salt and cracked black pepper
How to make it
- Preheat your oven to 425°F (220°C). High heat is essential for that golden, crispy skin.
- Remove any giblets and pat the chicken dry inside and out. Season the cavity generously with salt and pepper, then stuff with the lemon halves, garlic, and half the thyme.
- Tie the legs together with kitchen twine and tuck the wing tips under the body. This ensures the chicken cooks evenly and looks beautiful on the board.
- Rub the softened butter all over the skin, reaching into every crevice. Season the exterior heavily with salt and pepper.
- Place the chicken on a rack in a roasting pan. Roast for 1 hour to 1 hour and 15 minutes. Professional tip: Do not baste the chicken while it roasts; liquid will make the skin soggy.
- The chicken is done when an instant-read thermometer inserted into the thickest part of the thigh (without hitting bone) reads 165°F (74°C) and the juices run clear.
- Crucial step: Let the chicken rest for 20 minutes before carving. This keeps the meat incredibly juicy. Carve into drumsticks, wings, and sliced breast meat for the board.
How to fry crispy dumplings?

Why we love this
Fried dumplings are the ultimate crowd-pleaser, offering a rhythmic play of textures that starts with a sharp, lacy crunch and ends with a juicy, ginger-scented filling. The contrast between the translucent, steamed top and the dark, caramelized bottom is visually striking and incredibly satisfying. They bring an international flair to your board, accompanied by the bright, acidic zing of a dipping sauce that cuts through the richness of other components. It’s a finger food that feels elevated yet fun.
Ingredients
- 1 pack of high-quality frozen or fresh dumplings (pork, shrimp, or veggie)
- 2 tablespoons neutral oil
- 1/2 cup water
- 1 teaspoon sesame oil
- For dipping: Soy sauce, rice vinegar, and chili oil
How to make it
- Heat the neutral oil in a non-stick skillet over medium-high heat until it shimmers.
- Place the dumplings in the pan, flat side down, in a circular pattern. Fry them undisturbed for 2-3 minutes until the bottoms are a deep golden brown. Lift one to check; it should look like a toasted crust.
- Carefully pour the water into the pan (it will hiss and steam) and immediately cover with a tight-fitting lid. Reduce heat to medium.
- Steam for 5-7 minutes (closer to 7 if they were frozen). This cooks the filling through and softens the top of the wrapper.
- Remove the lid and continue to cook for another 2 minutes until all the water has evaporated. This “re-crisps” the bottoms.
- Drizzle the sesame oil into the pan in the last 30 seconds for a nutty aroma and extra shine.
- Slide the dumplings onto the board, crispy side up, to maintain their texture.
How to sear fresh salmon?

Why we love this
Searing salmon is about celebrating the delicate, fatty elegance of the sea. When done right, the skin becomes a salty, potato-chip-like crackle that protects the tender, flaking pink flesh inside. The aroma is clean and buttery, often accented by a squeeze of fresh lemon that brightens the entire board. It’s a lighter protein option that adds a pop of vibrant coral color to your display, looking sophisticated while remaining incredibly easy to eat with a fork or as part of a small crostini.
Ingredients
- 4 salmon fillets (6 oz each), skin-on
- 2 tablespoons olive oil
- 2 tablespoons butter
- 1 lemon, sliced into rounds
- Kosher salt and white pepper
How to make it
- Take the salmon out of the fridge 15 minutes early. Pat the skin side extremely dry with paper towels. Season both sides with salt and white pepper.
- Heat olive oil in a stainless steel or cast-iron pan over medium-high heat. When the oil is shimmering, place the salmon fillets skin-side down.
- Use a flexible spatula to press down firmly on each fillet for about 30 seconds. This prevents the skin from curling and ensures the entire surface gets crispy.
- Lower the heat to medium and cook for 5-6 minutes on the skin side. You will see the color of the fish change from opaque to pale pink moving up the side of the fillet.
- When the skin releases easily from the pan, flip the fish. Add the butter and lemon rounds to the pan.
- Sear for only 1-2 minutes on the second side for a perfect medium-rare center. The internal temperature should be around 125°F (52°C).
- Remove from the pan and let it rest for 3 minutes. Place on the board with the lemon rounds tucked between the fillets.
How to bake outdoor pizza?
Why we love this
There is nothing quite like the charred, bubbly crust of a pizza baked in the open air, infused with a hint of wood smoke and the intense heat of a stone oven. The sight of bubbling mozzarella and vibrant red sauce emerging from the flames is pure theater, making it the perfect interactive element for a party board. The texture is a beautiful contradiction: a crisp, thin base that gives way to a chewy, airy crumb, dotted with “leopard spots” of char that provide a complex, bitter-sweet depth of flavor.
Ingredients
- 1 ball of high-hydration pizza dough (room temperature)
- 1/2 cup San Marzano tomato sauce
- 4 oz fresh mozzarella, torn
- Fresh basil leaves
- Extra virgin olive oil
- Semolina flour or cornmeal for dusting
How to make it
- Preheat your outdoor pizza oven (like an Ooni or Gozney) for at least 20 minutes until the stone reaches 750°F-850°F (400°C-450°C).
- On a surface dusted with semolina, gently stretch the dough from the center outwards, leaving a slightly thicker rim for the crust (the cornicione). Avoid using a rolling pin to keep the air bubbles intact.
- Lightly dust your pizza peel with semolina and slide the dough onto it. Work quickly so it doesn’t stick.
- Spread a thin layer of sauce, followed by the torn mozzarella and a drizzle of olive oil. Do not over-top, or the pizza will become soggy and hard to launch.
- Launch the pizza onto the center of the hot stone. After 30-40 seconds, use a turning peel to rotate the pizza 90 degrees.
- Continue rotating every 20 seconds for about 90 seconds total. The crust should be puffed and charred, and the cheese should be blistered.
- Remove, top with fresh basil, and slice into thin wedges perfect for grazing.
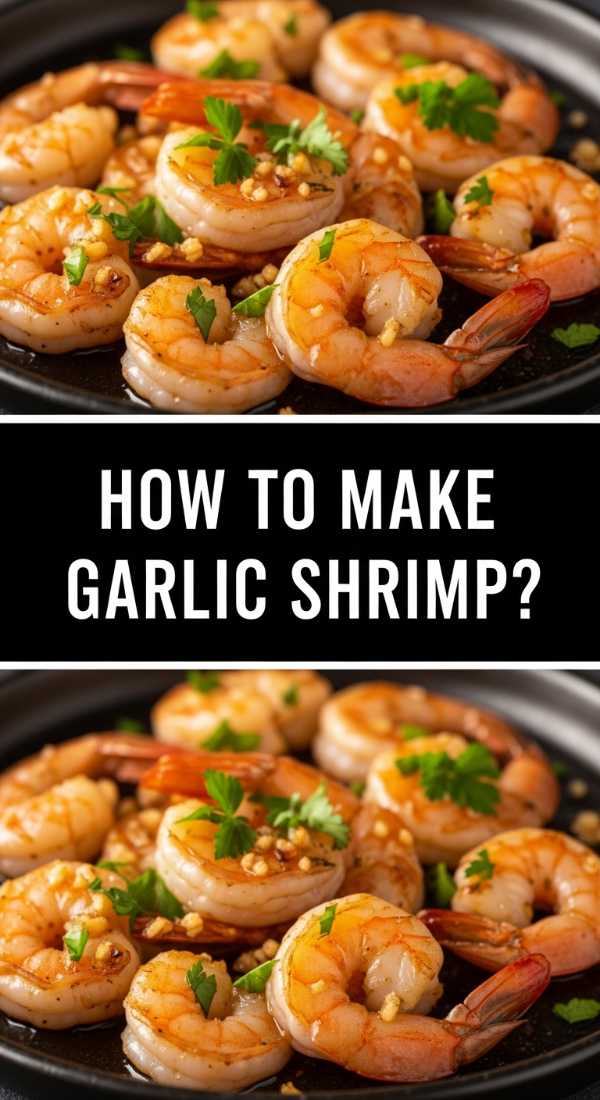
How to make garlic shrimp?
Why we love this
Garlic shrimp are tiny, succulent morsels of joy that bring a Mediterranean brightness to your board. They cook in a flash, turning from translucent grey to a beautiful, opaque pearly pink, bathed in a sauce of shimmering gold butter and toasted garlic. The aroma is intoxicating—bold, zesty, and buttery—drawing guests in from across the room. They are the perfect “one-bite” addition, offering a snap of freshness and a lingering warmth from red pepper flakes that keeps the palate excited.
Ingredients
- 1 lb large shrimp, peeled and deveined (tails on for easy grabbing)
- 4 tablespoons unsalted butter
- 5 cloves garlic, thinly sliced
- 1/2 teaspoon crushed red pepper flakes
- 1/4 cup dry white wine or lemon juice
- Fresh parsley, chopped
How to make it
- Pat the shrimp very dry with paper towels. Season with salt.
- In a large skillet, melt the butter over medium heat. When the butter stops foaming and starts to smell slightly nutty, add the sliced garlic and red pepper flakes.
- Cook the garlic for about 1 minute, stirring constantly, until it is fragrant and just beginning to turn a very pale golden brown. Do not let it burn, or it will turn bitter.
- Increase the heat to high and add the shrimp in a single layer. Sear for 1-2 minutes per side until they form a “C” shape and are opaque.
- Pour in the white wine or lemon juice. Let it bubble and reduce for 30 seconds, scraping up any delicious browned bits from the bottom of the pan.
- Remove from heat and toss with fresh parsley. The residual heat will finish cooking them through.
- Serve them in a shallow bowl or directly on the board, drizzled with the remaining garlic butter.
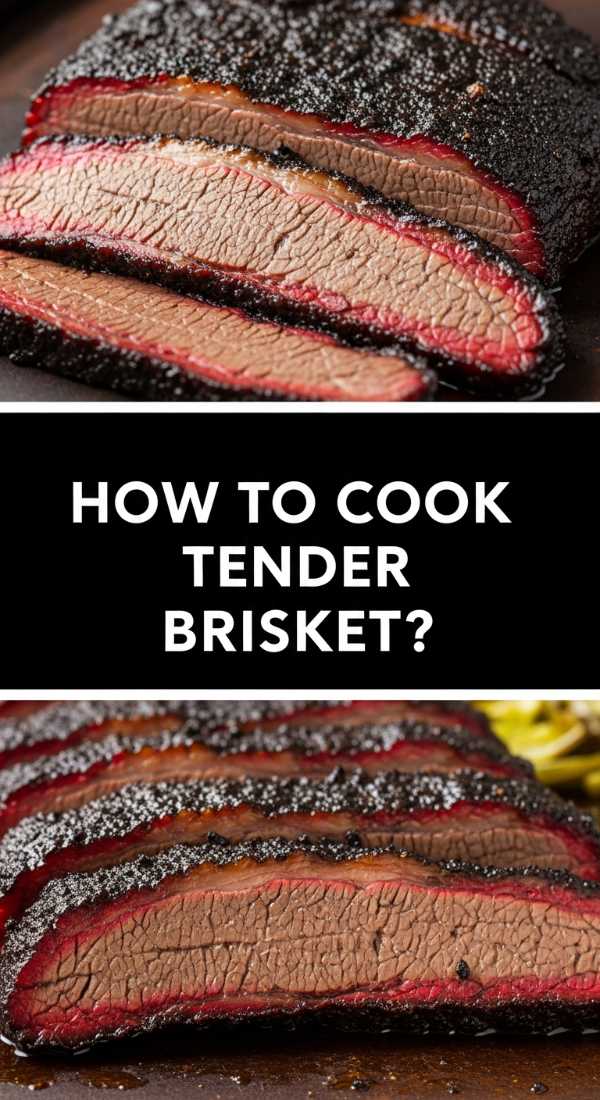
How to cook tender brisket?
[IMAGE_10]
Why we love this
Tender brisket is the ultimate labor of love, a piece of meat that has been transformed by time and low heat into something that practically dissolves on the tongue. It carries a deep, smoky complexity, with a dark, peppery bark that yields to ribbons of succulent fat and beefy goodness. On a food board, it represents the heart of the feast—bold, rustic, and incredibly generous. It’s the kind of dish that makes guests lean in, eyes widening as they pull apart the tender fibers with nothing but a fork.
Ingredients
- 3-4 lb beef brisket (flat or point cut)
- 1/4 cup yellow mustard (as a binder)
- 1/2 cup “Dalmatian rub” (equal parts Kosher salt and coarse black pepper)
- 1/2 cup beef broth for spritzing
- Butter and butcher paper for wrapping
How to make it
- Trim the fat cap of the brisket to about 1/4 inch thickness. This allows the smoke and seasoning to penetrate while keeping the meat basted.
- Rub a thin layer of mustard all over the meat. Coat heavily with the salt and pepper rub; you want to see a thick layer of seasoning.
- Preheat your smoker or oven to 225°F (107°C). If using an oven, place the brisket on a rack over a baking sheet.
- Cook undisturbed for about 4-5 hours. Every hour after the first 3, lightly spritz the meat with beef broth to keep the surface moist.
- Once the internal temperature reaches 165°F and the exterior has a dark, hard “bark,” remove it and wrap it tightly in butcher paper with a few pats of butter.
- Return to the heat and continue cooking until the internal temperature reaches 203°F (95°C). The probe should slide in like it’s hitting room-temperature butter.
- Rest the brisket in a cooler or a warm oven for at least 1-2 hours before slicing. Slice against the grain into thin strips to ensure maximum tenderness for your guests.
The Art of the Finished Board
Creating a viral food board is about more than just the recipes; it’s about the curation of a moment. When you arrange these ten show-stopping elements—from the charred edges of the pizza to the golden gleam of the potatoes—you’re building a landscape of flavor that invites conversation and connection. Don’t be afraid to fill the gaps with fresh herbs, bright pickles, or seasonal fruits to add color and acidity. Remember, the best boards are the ones that look well-loved and lived-in. So, pour a drink, put on some music, and let your pantry turn into the best party your friends have ever seen.