
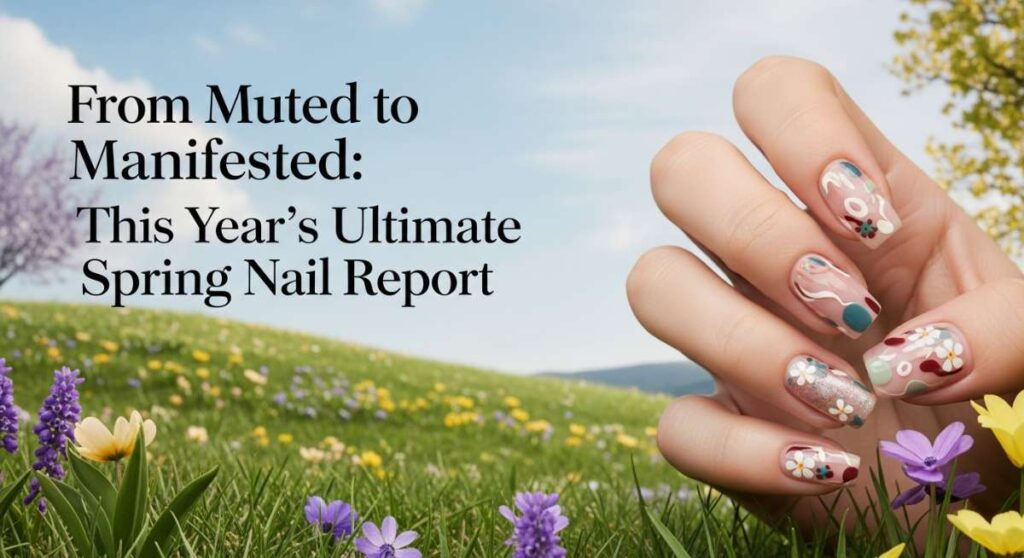
From Muted to Manifested: This Year’s Ultimate Spring Nail Report
Hi loves, can you feel it? The air is shifting, and the winter chill is finally melting into the soft, honey-soaked light of April. It is that magical time when we shed our heavy knits and start manifesting the vibrant, soulful energy of a new season. For me, that transformation always starts right at my fingertips. There is something so deeply grounding about taking an hour for yourself, choosing a palette that speaks to your heart, and watching your hands turn into a canvas of spring dreams.
This year, I’ve been leaning into textures that feel like a cloud-soft embrace—think buttery yellows, crisp linens, and the playful pop of berry tones. Whether you are sipping an iced matcha in the garden or heading to a sun-drenched brunch, your nails should feel like an extension of your own glowing aura. I’ve spent weeks curating the ultimate guide to help you transition from those muted winter tones to a fully manifested spring aesthetic.
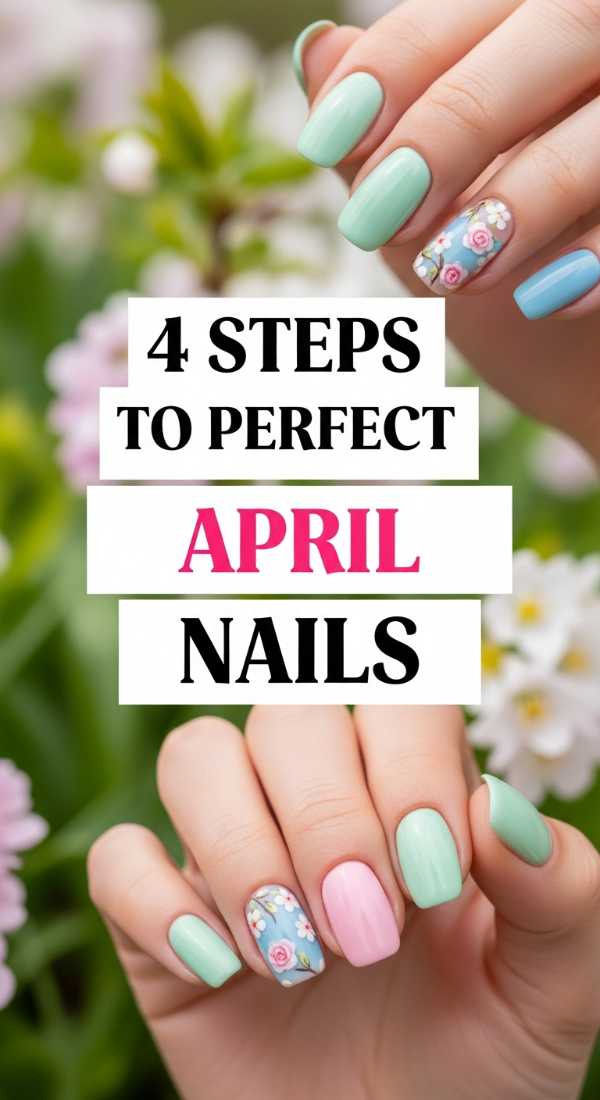
4 steps to perfect April nails
Why to love this Design:
April nails are all about that transition from the damp earth to the first blooming buds. It’s a design that feels fresh, clean, and incredibly revitalizing, perfect for anyone looking to reset their intentions for the month.
Essential Elements:
- Sheer peach base
- Micro-floral decals
- High-shine glass top coat
- Soft almond shape
How to Prepare:
- Gently push back cuticles to maximize the nail bed space.
- Apply a strengthening base coat to protect from spring moisture.
- Layer two thin coats of a sheer, skin-complementing peach.
- Place tiny floral accents on the ring finger and seal with gloss.
Budget Range
- Essie ‘Soothe Bolt’ ($10)
- Olive & June Flower Stickers ($8)
- Seche Vite Dry Fast Top Coat ($9)
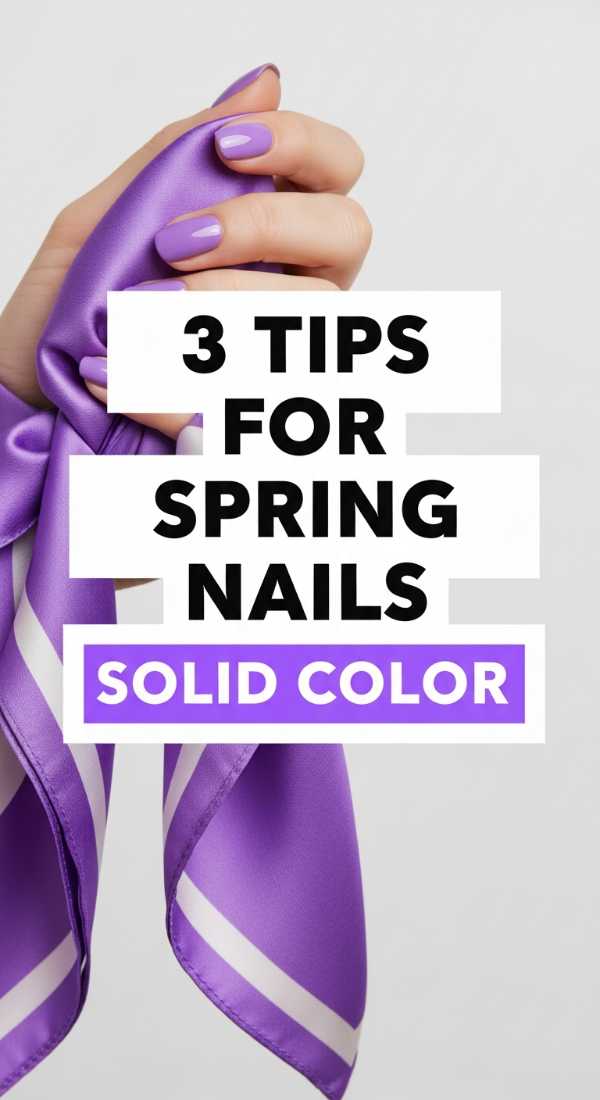
3 tips for spring nails solid color
Why to love this Design:
Sometimes, the loudest statement is the simplest one. A solid color in a curated spring shade feels intentional, polished, and effortlessly chic, allowing your natural beauty to take center stage.
Essential Elements:
- Pigment-rich pastel cream
- Precision edge cleaning
- Matching cuticle oil finish
How to Prepare:
- Roll the bottle between your hands to mix pigment without creating air bubbles.
- Apply the first coat in three strokes: middle, left, then right.
- Use a clean-up brush dipped in acetone to ensure a perfect, salon-grade perimeter.
Budget Range
- OPI ‘You’re Such a Budapest’ ($11)
- Zoya ‘Dacey’ ($12)
- Sally Hansen Insta-Dri ($6)
5 ways to style yellow nails

Why to love this Design:
Yellow is the color of manifestation and joy. It’s like carrying a little bit of sunshine with you wherever you go, instantly brightening your mood and your outfit.
Essential Elements:
- Buttercream matte finish
- Gold leaf accents
- White geometric lines
- Dainty daisy centers
- Lemon-zest gloss
How to Prepare:
- Choose a yellow that matches your skin’s undertone (cool lemons for fair skin, warm ambers for deep skin).
- Apply your base yellow and let dry completely.
- Use a toothpick to dot white petals or lay gold leaf over the tip.
- Mix and match textures—try one matte finger against four glossy ones.
Budget Range
- Holo Taco ‘Buttercream’ ($13)
- Cirque Colors ‘Lemonade’ ($12)
- Gold Leaf Flakes from Amazon ($5)
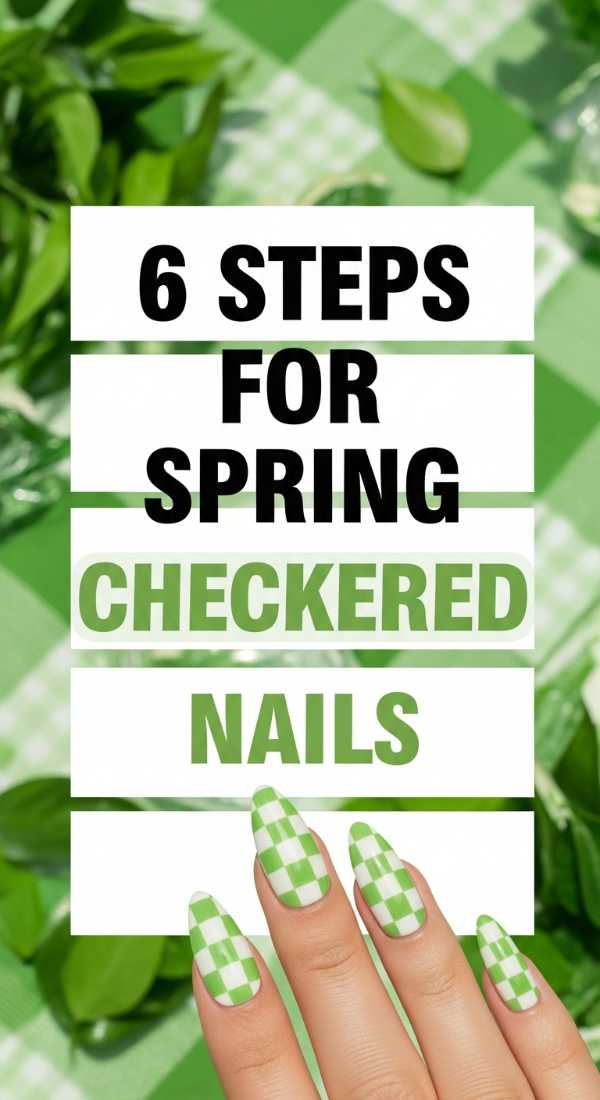
6 steps for spring checkered nails
Why to love this Design:
The checkered look is so playful and nostalgic, reminiscent of spring picnics and vintage linens. It adds a structured yet whimsical touch to your seasonal wardrobe.
Essential Elements:
- Two contrasting pastel shades
- Ultra-thin striping brush
- Steady hand or nail tape
- Creamy white base
How to Prepare:
- Paint a solid white base and let it dry for at least 20 minutes.
- Divide the nail into a 4×4 grid using a light pencil or thin brush.
- Fill in alternating squares with your primary spring color.
- Wait for the first color to set before filling the remaining gaps if using a second shade.
- Clean up the edges with a precision tool.
- Seal with a thick top coat to level out the texture.
Budget Range
- Nails Inc. ‘Plant Power’ Set ($15)
- Modelones Liner Gel Brushes ($7)
- Orly ‘White Tips’ ($12)
4 secrets to neutral spring nails
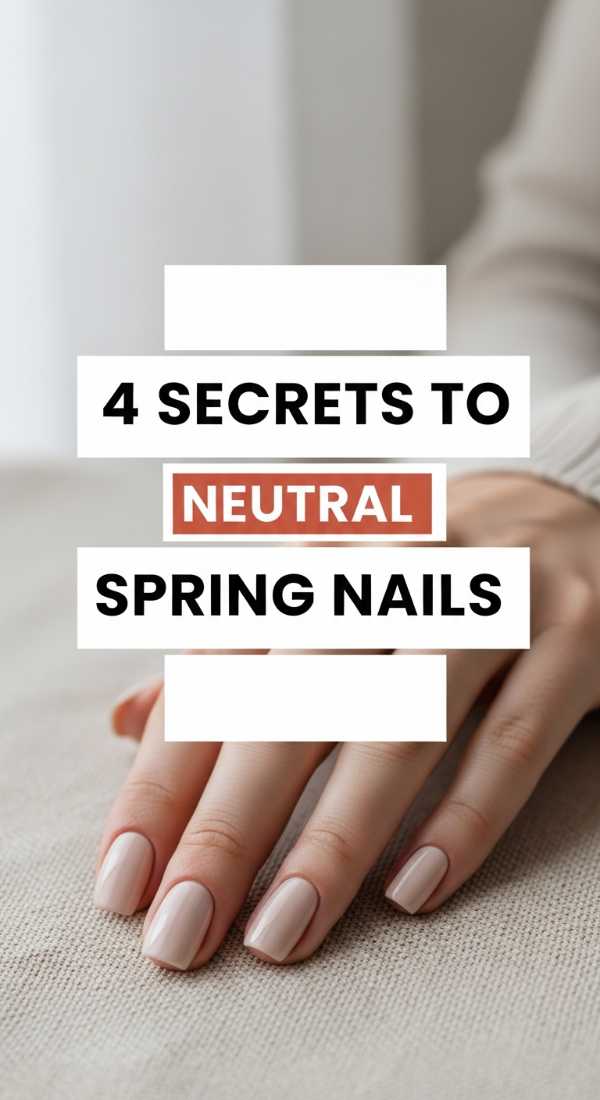
Why to love this Design:
Neutral nails are the ultimate ‘clean girl’ aesthetic. They manifest a sense of calm and organization, making you feel put-together even on your busiest spring mornings.
Essential Elements:
- Translucent ‘milky’ polish
- Beige-taupe undertones
- Buffed natural shine
- Minimalist dotting
How to Prepare:
- Buff the nail surface to a high natural shine before applying any color.
- Apply one coat of a semi-transparent ‘milk’ shade to let the natural moon show through.
- Add a single tiny dot of coffee-brown at the base of each nail for interest.
- Finish with a UV-filter top coat to prevent yellowing in the sun.
Budget Range
- Dazzle Dry ‘be chic’ ($22)
- Lights Lacquer ‘Paper Snow’ ($13)
- CND Vinylux ‘Field Fox’ ($11)
7 steps to yellow blueberry nails
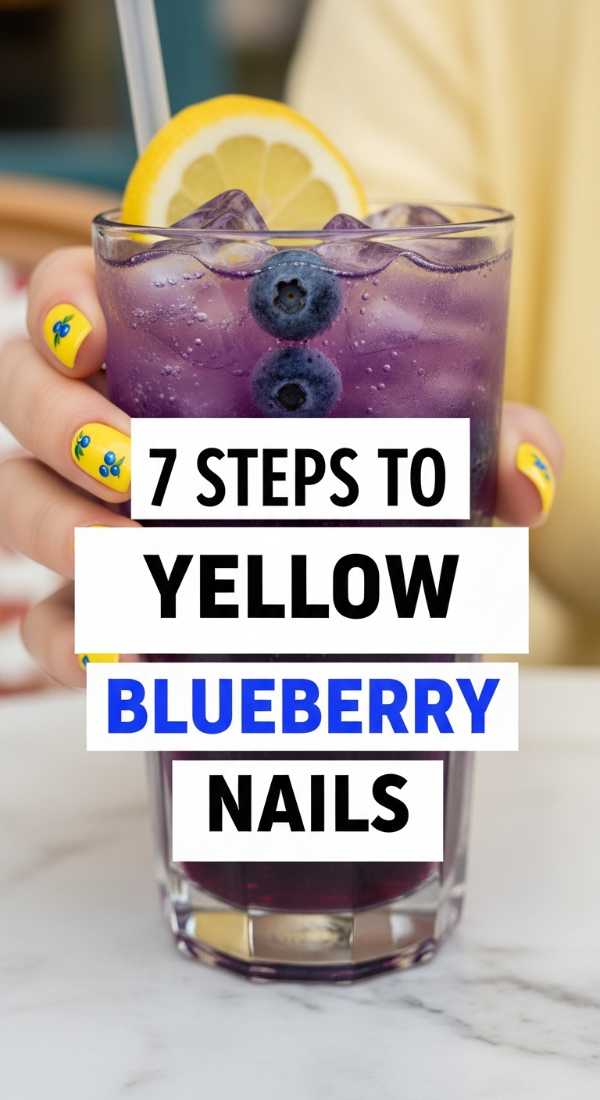
Why to love this Design:
This is the ‘it’ combo of the season! The contrast between sunny yellow and deep blueberry creates a sophisticated yet garden-fresh vibe that is totally unique.
Essential Elements:
- Sunflower yellow base
- Deep navy or blueberry accent
- Fine detailing tool
- Leaf-green shimmer
How to Prepare:
- Paint three nails yellow and two nails a soft blueberry cream.
- On the yellow nails, use a dotting tool to create small clusters of three blue dots.
- Add a tiny green ‘stem’ to each cluster using a toothpick.
- Invert the pattern on the blue nails with yellow micro-dots.
- Ensure no colors bleed by waiting for layers to dry.
- Apply a plump, gel-effect top coat.
- Moisturize with a berry-scented oil.
Budget Range
- Butter London ‘Lemon Drop’ ($18)
- OPI ‘Mi Casa Es Blue Casa’ ($11)
- Ella + Mila ‘Lush’ ($11)
5 easy steps to April French nails

Why to love this Design:
A classic French manicure with a spring twist feels light and airy. It’s a timeless look that manifests elegance and grace during the season of renewal.
Essential Elements:
- Soft pink base
- Pastel-colored tips
- Curved smile-line guide
- Glossy finish
How to Prepare:
- Apply a sheer pink base coat to even out nail tone.
- Place a guide sticker slightly below the free edge of your nail.
- Swipe a pastel lavender or mint across the tip.
- Remove the sticker while the polish is still slightly tacky for a crisp line.
- Finish with a high-gloss top coat to blend the transition.
Budget Range
- Essie ‘Ballet Slippers’ ($10)
- Manucurist Paris ‘Mint’ ($14)
- French Tip Guide Tapes ($4)
3 easy ways for pastel yellow nails
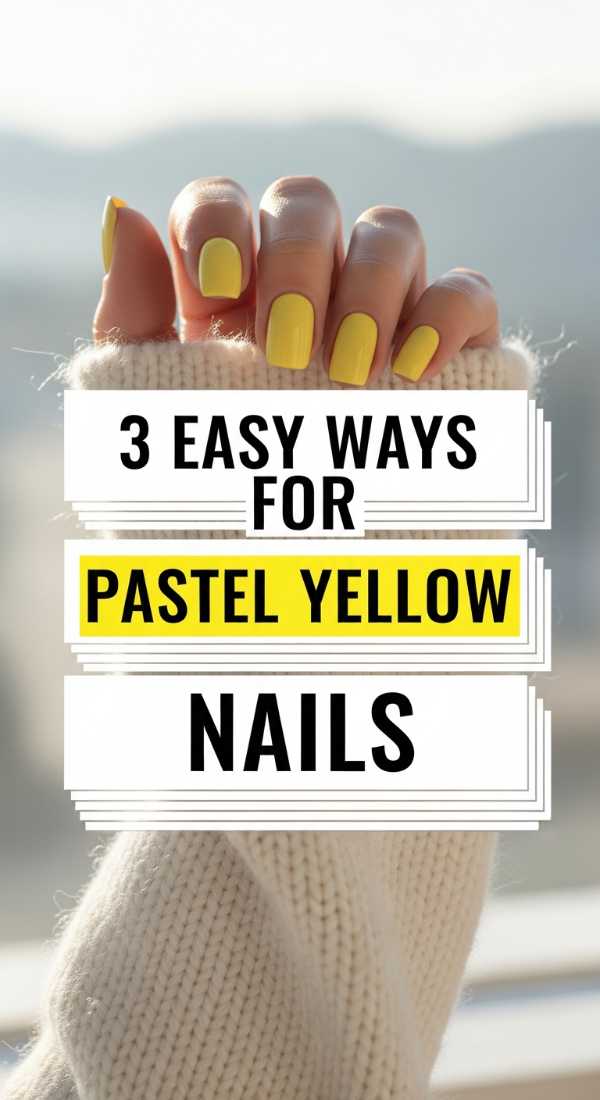
Why to love this Design:
Pastel yellow is the ‘quiet luxury’ of the spring color world. It’s soft, approachable, and looks incredible against the new greenery of the season.
Essential Elements:
- Pale lemon cream polish
- Satin finish top coat
- Short, square-round shape
How to Prepare:
- Apply a white base coat first to make the pastel yellow pop without needing four coats.
- Layer two thin coats of pastel yellow, allowing 5 minutes between each.
- Finish with a satin-top coat for a modern, eggshell texture.
Budget Range
- Revlon ‘Enchanting’ ($6)
- Deborah Lippmann ‘Yellow Submarine’ ($20)
- OPI Matte Top Coat ($11)
4 steps for neutral checkered nails

Why to love this Design:
For my loves who want the trend without the bright colors, the neutral checkerboard is pure aesthetic bliss. It’s sophisticated, earthy, and goes with every single outfit.
Essential Elements:
- Sand and Mocha polish
- Matte finish
- Precision detail brush
How to Prepare:
- Paint nails with two coats of a sandy beige.
- Using a mocha shade, paint a grid pattern on just the ring and middle fingers.
- Fill in the squares carefully to create the ‘checker’ effect.
- Top with a matte coat to give it a linen-fabric feel.
Budget Range
- J. Hannah ‘Eames’ ($22)
- Pear Nova ‘Vibe Check’ ($14)
- Essie ‘Matte About You’ ($10)
6 ways to mix blueberry nails
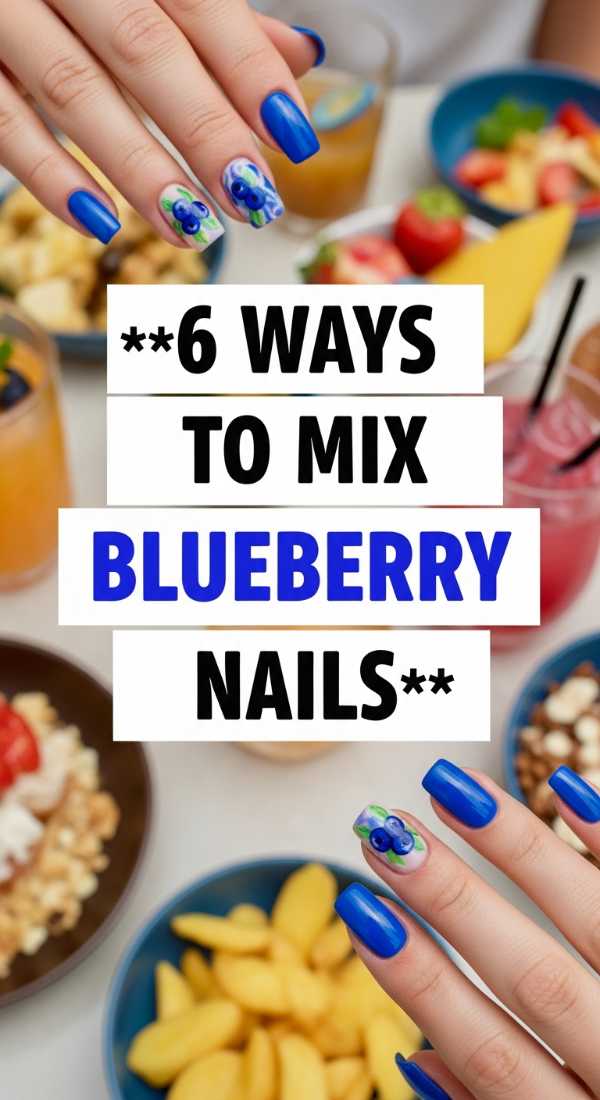
Why to love this Design:
Mixing your blueberry tones allows for a gradient effect that feels like a crisp spring morning. It’s cool-toned, refreshing, and deeply calming.
Essential Elements:
- Range of blues (from icy to navy)
- Silver foil accents
- Sponge for ombre effect
- Creamy white for mixing
- Glitter topper
- Glossy sealant
How to Prepare:
- Select five shades of blue, from lightest to darkest.
- Paint each finger a different shade to create a ‘skittle’ gradient.
- Use a sponge to dab the darkest blue onto the tip of the lightest blue for an ombre accent.
- Apply silver foil flakes to the thumb for a touch of light.
- Add a tiny white star on the pinky for a whimsical touch.
- Seal the entire look with a thick, protective top coat.
Budget Range
- Zoya ‘Skylar’ ($12)
- Olive & June ‘BP’ ($9)
- Nail Art Foil Kit ($6)
Embrace Your Spring Glow
As we wrap up this spring nail journey, remember that these designs are more than just polish—they are a way to celebrate yourself. Every time you look down at your hands, let them be a reminder that you are blooming, growing, and manifesting exactly where you are meant to be. Take these ideas, make them your own, and step into the sunlight with confidence. I can’t wait to see which look you choose, my loves!