

I used to look out my back window and feel a wave of anxiety instead of the relaxation I craved. My ‘backyard oasis’ was less of a retreat and more of a graveyard for deflated flamingo floats, soggy towels draped over mismatched chairs, and sunscreen bottles scattered across the pavers. The magic of summer was being swallowed by the clutter, and I knew that if I wanted to truly enjoy the sun-drenched days ahead, I needed a total transformation from the ground up.
We have all seen those viral Pinterest boards where everything looks so effortless—the towels are perfectly rolled, the floats are tucked away like art, and every corner whispers ‘resort living.’ I decided it was time to stop pinning and start doing. By focusing on smart storage and cohesive styling, I’ve turned my messy patio into a serene sanctuary that feels like a five-star getaway every single day. Let’s dive into the steps I took to reclaim my space!
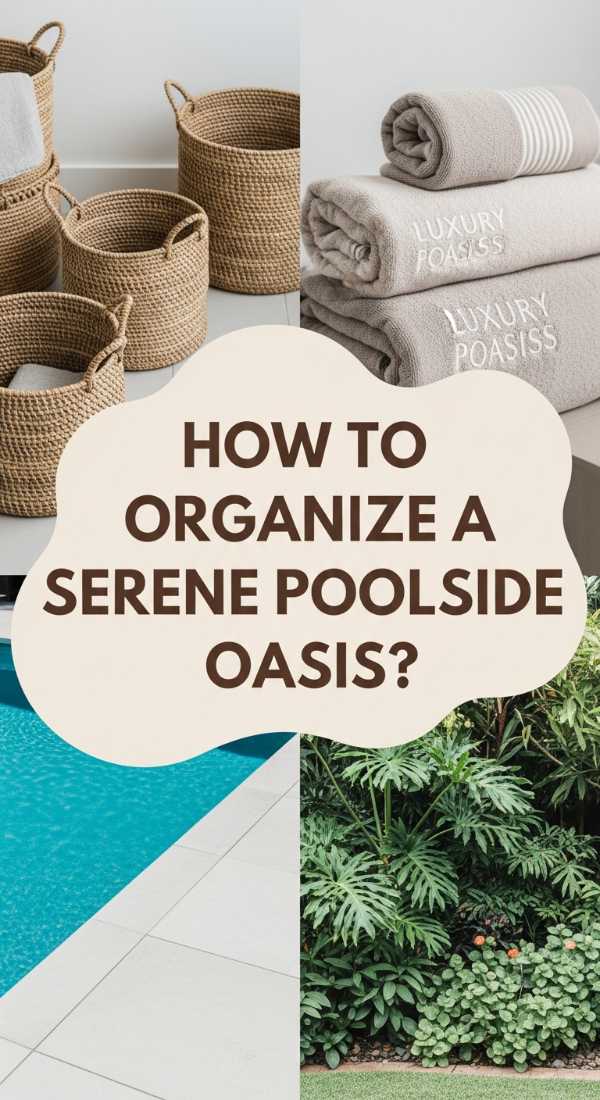
How to Organize a Serene Poolside Oasis for Maximum Summer Bliss
Why we love this
There is something truly transformative about a space that engages all your senses in the most calming way possible. When you step into a well-organized oasis, you immediately smell the subtle, tropical scent of jasmine or potted citrus, hear the rhythmic splashing of water against clean tiles, and feel the soft, cool texture of a well-placed outdoor rug beneath your feet. It creates an environment where the mind can finally go quiet, allowing the warmth of the sun to melt away any lingering stress from the work week.
Essential Elements:
- A cohesive color palette (neutrals or soft blues).
- Weather-resistant outdoor furniture.
- Strategic greenery (palms or succulents).
- Ambient lighting (string lights or solar lanterns).
- Dedicated zones for lounging, dining, and swimming.
How to make it
- Begin by clearing the entire area of every item to assess the space with fresh eyes. Pressure wash the deck or pavers to remove any grime, ensuring a clean slate.
- Identify specific ‘zones’ for different activities—place your loungers in the sunniest spot and your dining set in a shaded area to maximize comfort throughout the day.
- Select a color palette of 3-4 shades to create visual harmony; using monochromatic cushions or rugs helps tie the different zones together seamlessly.
- Incorporate natural elements like oversized terracotta pots with architectural plants like Bird of Paradise to add height and a lush, tropical feel.
- Install outdoor lighting at various levels; use overhead string lights for a festive glow and low-level solar path lights to define the pool’s edge for evening safety and ambiance.
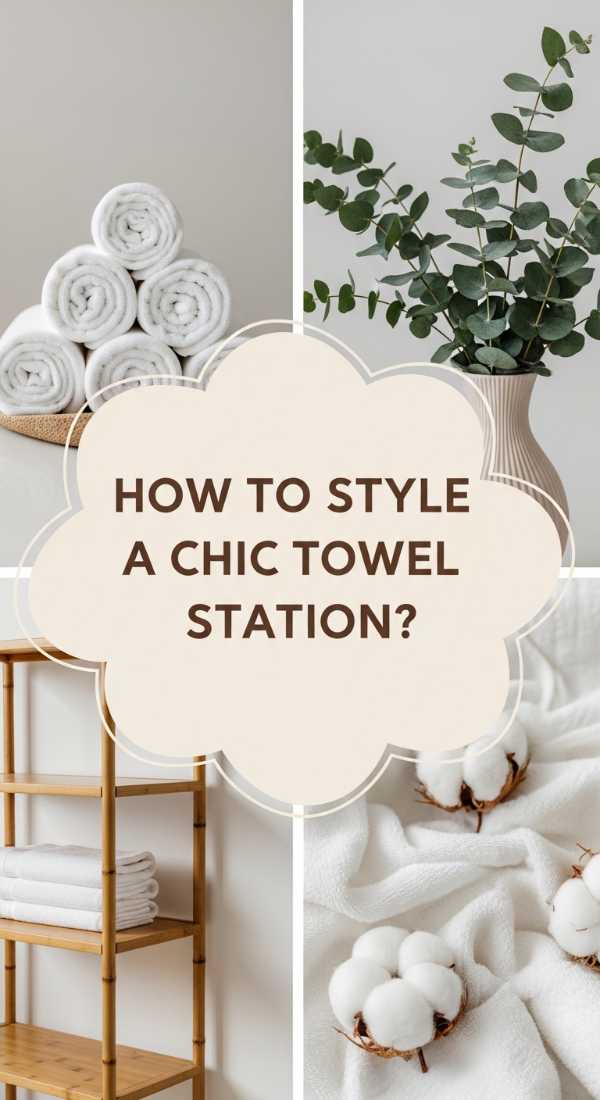
How to Style a Chic Towel Station for the Ultimate Resort Vibe
Why we love this
Nothing says ‘luxury resort’ quite like a dedicated towel station that looks as good as it functions. Imagine reaching for a plush, sun-warmed towel that feels like a soft cloud against your skin, knowing that there is a beautiful spot to drop it when you’re finished. The visual appeal of neatly stacked textiles in natural wicker baskets adds a tactile softness to the hard surfaces of a pool deck, making the entire area feel more curated, inviting, and high-end.
Essential Elements:
- Large wicker or seagrass baskets.
- Matching high-quality cotton towels.
- Small side table or shelving unit.
- A designated hamper for wet towels.
- Decorative signage or a small tray for essentials.
How to make it
- Choose a sheltered spot near the pool entrance to keep towels dry from splashes but easily accessible for those exiting the water.
- Use the ‘log roll’ technique for your towels: fold them in half lengthwise, then roll tightly from one end to the other for a uniform, spa-like appearance.
- Arrange the rolled towels vertically in a deep basket so guests can grab one without disturbing the rest of the stack.
- Place a secondary, breathable mesh or wire basket nearby with a clear label for ‘Wet Towels’ to ensure the clean ones stay fresh and dry.
- Add a small tray on top of the station containing reef-safe sunscreen and a carafe of infused water to elevate the hospitality for your family and guests.
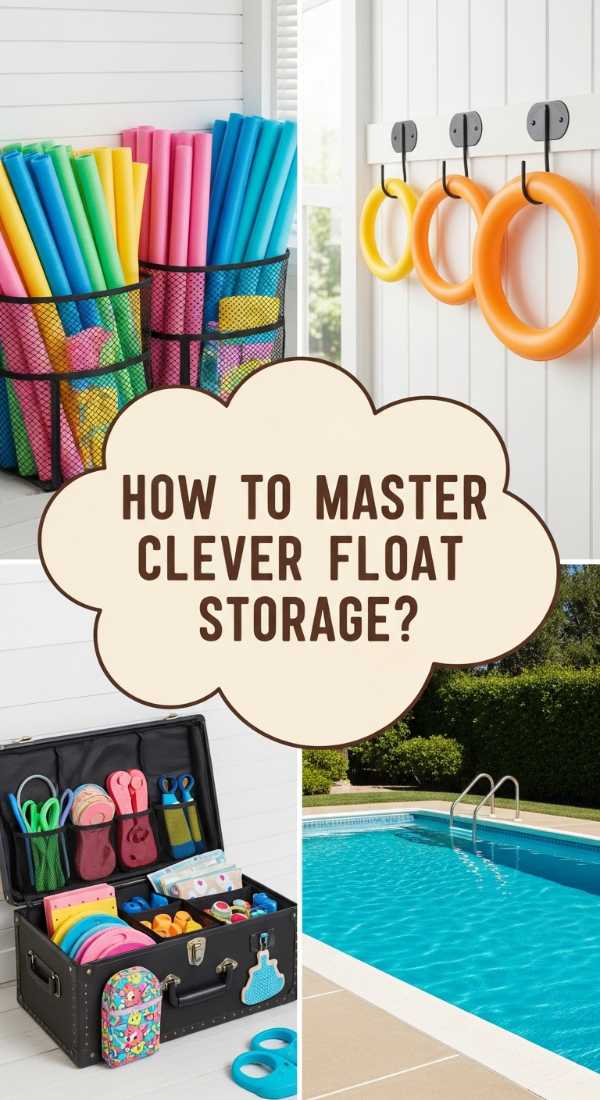
How to Master Clever Float Storage for a Clutter Free Deck
Why we love this
Floats are the soul of the pool, but they are also the primary cause of backyard clutter. Mastering their storage means you no longer have to dodge a giant inflatable swan while carrying a tray of drinks. There is a satisfying ‘click’ to an organized system where everything has a place, and seeing your colorful floats neatly secured against a wall feels like a modern art installation. It preserves the lifespan of your inflatables while keeping your deck looking spacious and clean.
Essential Elements:
- Vertical wall hooks or bungee cords.
- Large mesh storage bags.
- A designated ‘drying zone.’
- PVC pipe or metal rack systems.
- Outdoor storage bin for smaller toys.
How to make it
- Establish a strict ‘dry before you store’ rule; designate a sunny spot away from the main walkway where floats must sit for 15 minutes before being put away to prevent mold.
- Install heavy-duty, rust-resistant wall hooks on a fence or the side of the house at eye level to hang larger rings and animal-shaped floats by their handles.
- For smaller items like noodles or beach balls, use a tall, upright mesh bin that allows for maximum airflow and drainage through the bottom.
- Use adjustable bungee cords stretched between two posts to create a ‘cage’ that holds large floats against a vertical surface without them blowing away in the wind.
- Organize by frequency of use; keep the daily-use loungers in the front and seasonal or party-specific floats in a deeper, more permanent storage container.
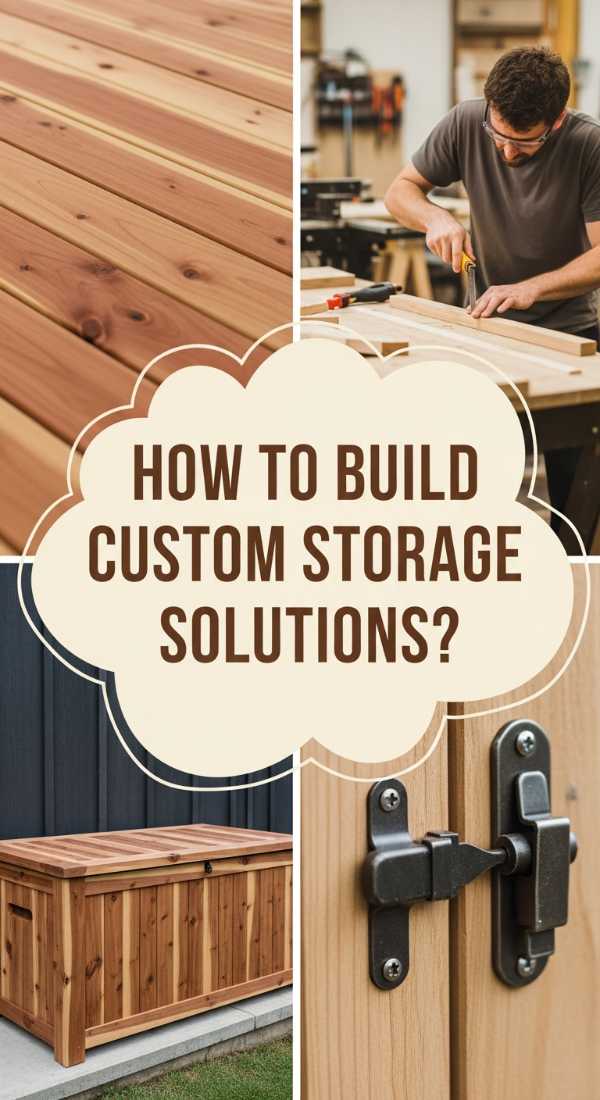
How to Build Custom Storage Solutions for a Personal Backyard Retreat
Why we love this
Custom storage is the secret weapon of any viral backyard transformation because it hides the ‘ugly’ essentials while adding architectural interest. There is a deep sense of satisfaction in running your hand over a smooth, cedar-planked bench that secretly hides all your pool chemicals and cleaning tools. It creates a seamless aesthetic where the storage itself becomes part of the decor, making your retreat feel intentionally designed and perfectly tailored to your specific needs.
Essential Elements:
- Pressure-treated lumber or cedar planks.
- Exterior-grade screws and hinges.
- Weatherproof wood sealant or stain.
- Heavy-duty casters (optional for mobility).
- Internal dividers for organization.
How to make it
- Measure your largest items, such as pool vacuums or long-handled skimmers, to ensure your custom box or bench is long enough to accommodate them.
- Build a sturdy internal frame using 2×4 lumber, ensuring it is level and squared to prevent the lid from sticking over time.
- Clad the exterior with cedar or composite decking boards, leaving a 1/8-inch gap between planks for ventilation to prevent moisture buildup inside the unit.
- Apply a high-quality UV-resistant stain or sealant to protect the wood from the harsh summer sun and frequent splashes from the pool.
- Install a soft-close hinge on the lid to prevent finger-pinching and add a set of heavy-duty wheels to the bottom if you need the flexibility to move the unit during parties.
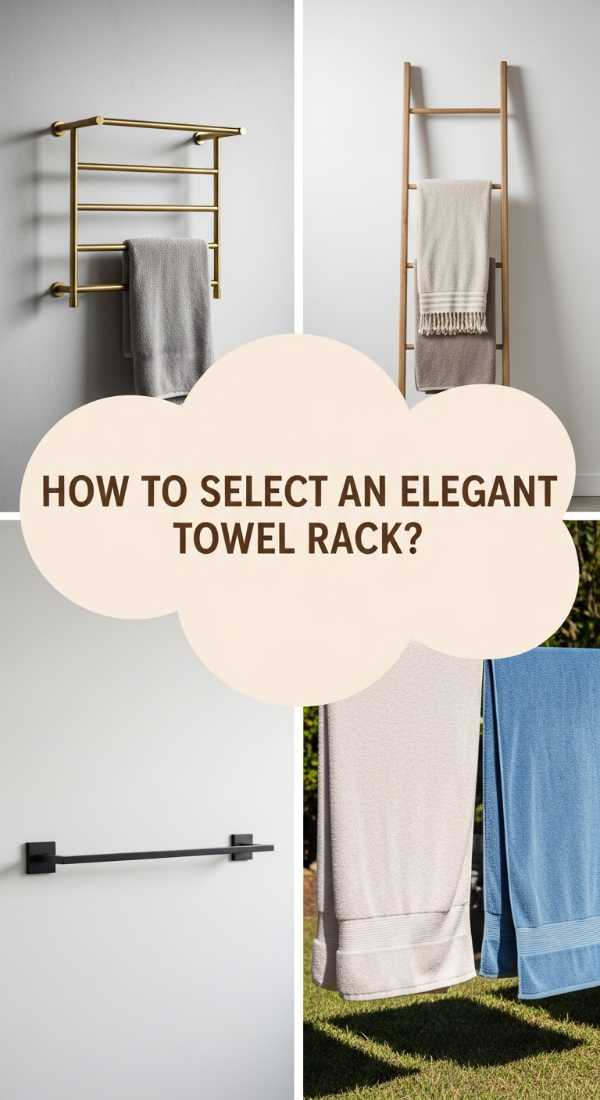
How to Select an Elegant Towel Rack for Sophisticated Poolside Living
Why we love this
An elegant towel rack is the focal point that bridges the gap between utility and high fashion. It offers a graceful way to display your textiles, allowing them to catch the breeze and dry quickly while looking effortlessly chic. Whether it is a sleek minimalist metal frame or a rustic wooden ladder, the right rack adds a vertical element to your poolside layout, drawing the eye upward and making even a small patio feel more expansive and thoughtfully decorated.
Essential Elements:
- Freestanding metal or wooden rack.
- Rust-proof finish (stainless steel or powder-coated).
- Sturdy base to withstand wind.
- Multiple tiers or rungs for airflow.
- Minimalist aesthetic to match your decor.
How to make it
- Choose a material that complements your outdoor furniture—matte black powder-coated steel for a modern look or teak wood for a warmer, organic vibe.
- Position the rack in a spot that receives afternoon sun and a good cross-breeze; this ensures towels dry in record time between swim sessions.
- When hanging towels, avoid overlapping them; spread each towel across its own rung to maximize the surface area exposed to the air.
- Secure the base of a freestanding rack by using sandbags hidden in decorative planters if you live in a particularly windy area.
- Every few days, wipe down the rungs with a damp cloth to remove any salt or chlorine buildup that could eventually damage the rack’s finish.
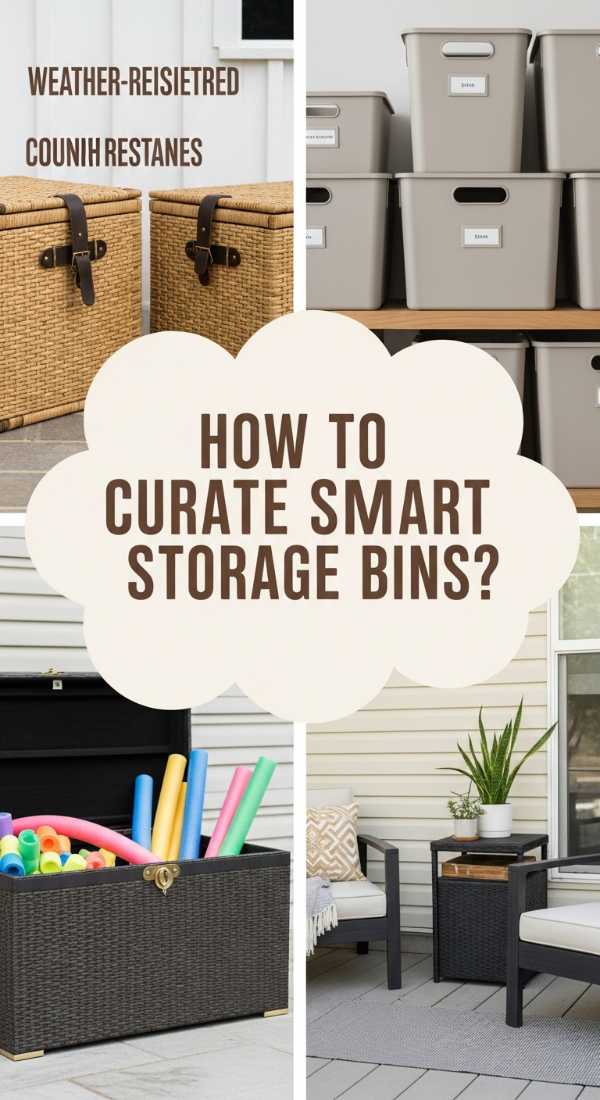
How to Curate Smart Storage Bins for a Tidier Outdoor Space
Why we love this
There is a hidden joy in opening a storage bin to find exactly what you need, perfectly preserved and ready for use. Smart bins eliminate the ‘junk drawer’ effect that often plagues backyards, replacing it with a system of tidy, labeled containers that protect your gear from the elements. The smooth slide of a lid and the orderly appearance of stacked bins create a visual calm that allows you to focus on the fun of the pool rather than the chore of finding the goggles.
Essential Elements:
- UV-resistant plastic or resin bins.
- Airtight seals or gaskets.
- Clear labeling system.
- Stackable designs for space-saving.
- Drainage holes for items used in the water.
How to make it
- Group your outdoor items by category: ‘Goggles and Masks,’ ‘Diving Toys,’ ‘Cleaning Supplies,’ and ‘Sun Protection’ to determine how many bins you need.
- Select bins with a uniform look; even if they are different sizes, keeping them in the same color family (like all grey or all white) makes the space look organized.
- Apply waterproof, vinyl labels to the front of each bin so that children and guests know exactly where items belong when they are done using them.
- Drill small drainage holes in the bottom of bins intended for wet toys to prevent water from pooling and becoming a breeding ground for insects.
- Store the bins on a raised shelf or inside a larger deck box to keep them off the ground and away from crawling pests.
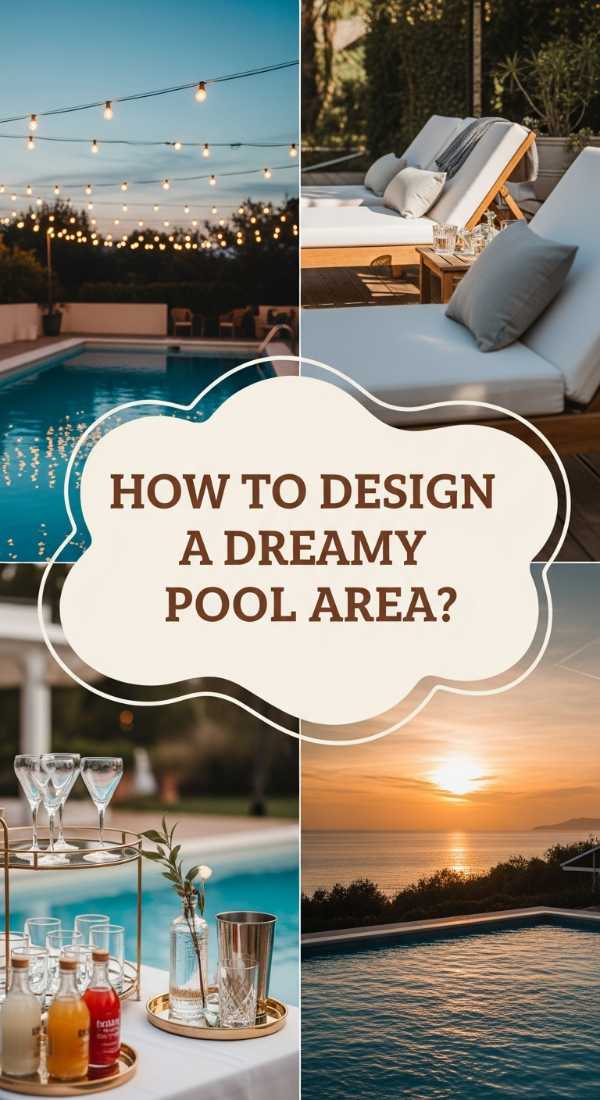
How to Design a Dreamy Pool Area for Seamless Summer Relaxation
Why we love this
A dreamy pool area is more than just a place to swim; it is an emotional experience that makes you feel like the best version of yourself. It is the combination of soft textures, shimmering water reflections, and a layout that flows naturally from one activity to the next. When a space is designed for seamless relaxation, you never have to think about ‘where’ to go or ‘how’ to get comfortable—everything you need is within arm’s reach, wrapped in a beautiful, cohesive package.
Essential Elements:
- Comfortable, layered seating (poufs, chairs, rugs).
- Shade solutions (umbrellas or pergolas).
- Side tables for drinks and books.
- Outdoor-rated textiles in soft fabrics.
- A focal point (like a fire pit or water feature).
How to make it
- Map out the ‘traffic flow’ of your backyard; ensure there is a clear, unobstructed path from the back door to the pool and from the pool to the seating area.
- Layer your textiles by placing an oversized outdoor rug under your seating group to anchor the space and add a ‘living room’ feel to the exterior.
- Incorporate adjustable shade; use a cantilever umbrella that can be moved as the sun shifts throughout the afternoon to keep the lounging area cool.
- Use a mix of textures—pair a smooth stone side table with a woven wicker chair and a soft linen throw pillow to create a rich, sensory experience.
- Finish the design by adding a small ‘refreshment’ nook with an ice bucket and a stack of clean glasses to keep everyone hydrated without constant trips inside.
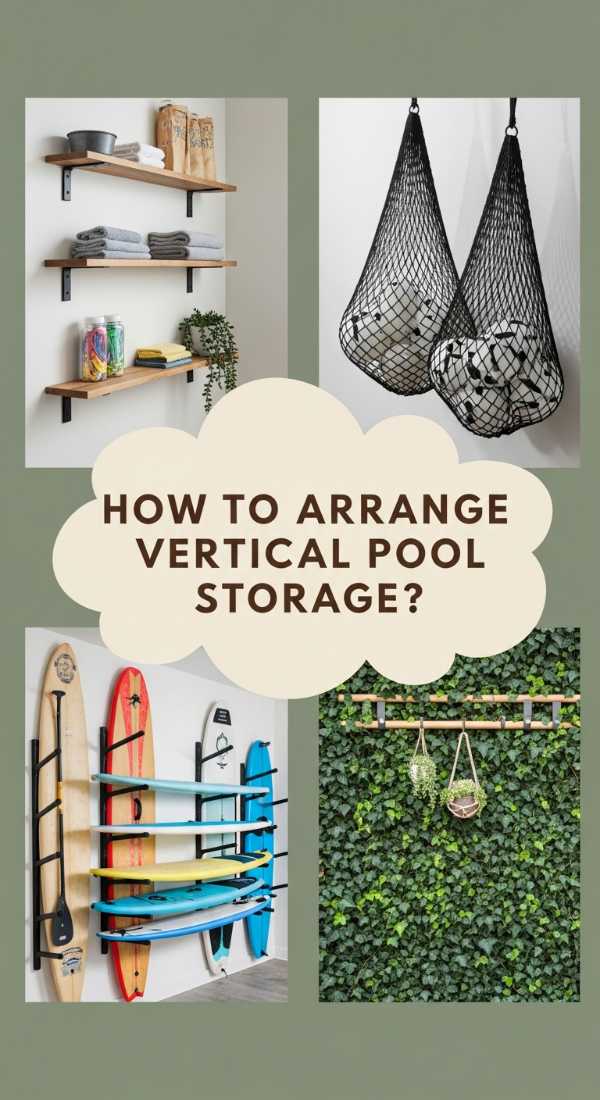
How to Arrange Vertical Pool Storage for a Spacious Garden Feel
Why we love this
Vertical storage is the ultimate space-saving hack that makes even the smallest garden feel like a sprawling estate. By moving your pool gear off the floor and onto the walls or fences, you open up the sightlines of your backyard, allowing the lush greenery and blue water to take center stage. There is a rhythmic beauty to a wall of organized hooks and shelves that makes your tools look like part of the decor, turning a functional necessity into a stylish statement piece.
Essential Elements:
- Wall-mounted grids or pegboards.
- Heavy-duty S-hooks.
- Floating shelves for decor and small items.
- Climbing plants for camouflage.
- Weather-resistant mounting hardware.
How to make it
- Identify an unused wall or fence section that is hidden from the main view but close enough to the pool for convenience.
- Install a heavy-duty vinyl or powder-coated metal grid system, ensuring it is anchored into the studs or fence posts for maximum weight capacity.
- Hang your longest items, like skimmer poles and brushes, horizontally across the top of the grid to keep them straight and prevent warping.
- Use hanging baskets attached to the grid for smaller, odd-shaped items like pool weights, thermometers, and chemical test kits.
- Soften the look of the storage wall by hanging a few trailing plants, like ivy or creeping jenny, among the tools to blend the storage into the garden.
How to Craft a Bohemian Poolside Nook for Effortless Outdoor Comfort
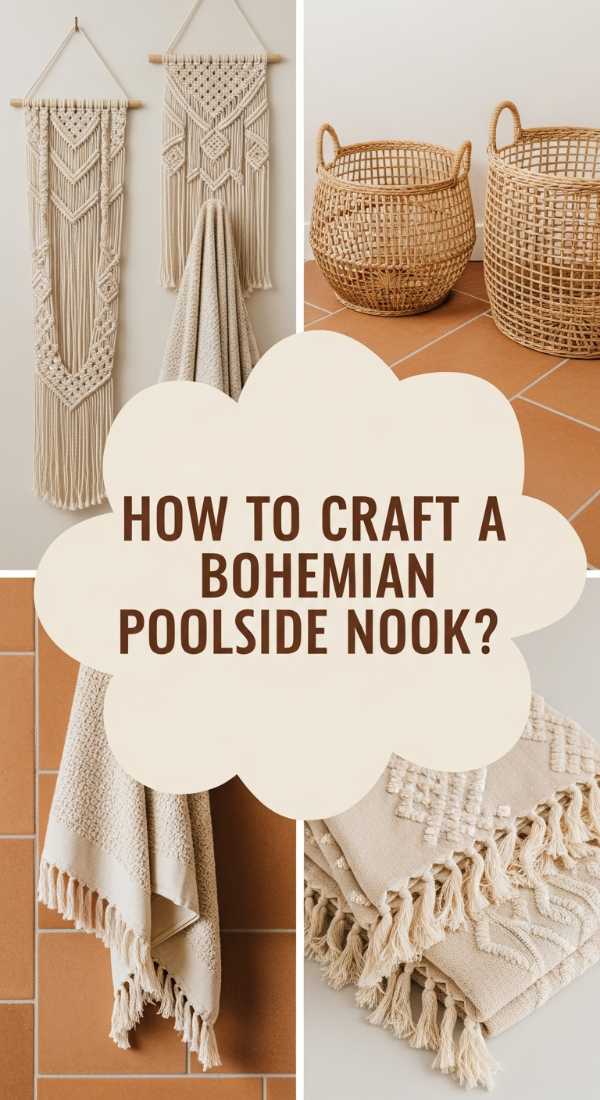
Why we love this
The Bohemian look is all about relaxed elegance and the celebration of organic materials, making it perfect for a poolside setting. It invites you to kick off your shoes, sprawl out on a pile of fringe-trimmed pillows, and lose yourself in a book for hours. The mixture of macramé, rattan, and sun-faded textiles creates a ‘lived-in’ luxury that feels approachable and warm, turning a forgotten corner of your patio into the most coveted seat in the house.
Essential Elements:
- Macramé accents (hammocks or wall hangings).
- Rattan or bamboo furniture.
- Multi-colored floor cushions.
- Woven lanterns and string lights.
- Natural fiber rugs (jute or sisal).
How to make it
- Find a low-traffic corner of your deck and start with a base layer of a textured jute rug to define the ‘nook’ and provide a soft surface for bare feet.
- Introduce a low-profile rattan chair or a hanging macramé chair as the primary seating, ensuring it has enough clearance for a gentle sway.
- Layer in a variety of weather-resistant floor pillows and poufs in mismatched patterns and earthy tones like terracotta, mustard, and sage green.
- Add a small, low wooden table to hold a candle or a plate of fruit, keeping the height consistent with the ‘floor-level’ lounge vibe.
- Hang a string of warm Edison bulbs or place several solar-powered woven lanterns around the perimeter to create a magical, cozy glow after sunset.
How to Implement Minimalist Pool Organization for a Clean Modern Look
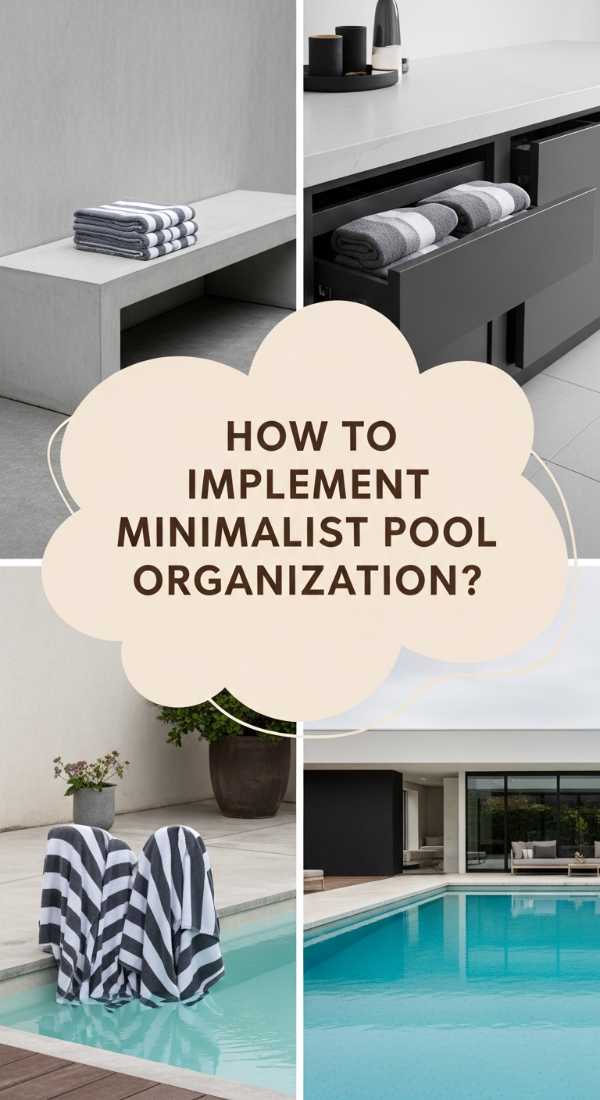
Why we love this
Minimalism brings a sense of profound order and quietude to a pool area, stripping away the visual noise of the everyday world. When you embrace a ‘less is more’ philosophy, every object that remains must be both functional and beautiful. The clean lines, monochromatic colors, and hidden storage solutions create a sharp, modern aesthetic that feels incredibly high-end and sophisticated, allowing the natural beauty of the water to be the undisputed star of the show.
Essential Elements:
- Monochromatic color scheme (black, white, or grey).
- Hidden or built-in storage.
- Sleek, handle-less cabinets.
- Uniform containers.
- Open ‘white space’ on the deck.
How to make it
- Perform a ‘ruthless edit’ of your poolside belongings; if an item hasn’t been used in two seasons or is broken, remove it from the space entirely.
- Invest in high-quality, ‘hidden’ storage, such as a deck box that matches your siding or built-in stone benches that blend into the pool’s coping.
- Choose furniture with slim profiles and open frames to keep the ‘visual weight’ of the deck light and airy, avoiding bulky pieces that clutter the view.
- If you must have items on display, use only one or two ‘hero’ pieces—like a single architectural planter or one designer towel rack—rather than a collection of small items.
- Commit to a daily ‘reset’ where you spend 5 minutes putting everything back into its hidden home, ensuring the minimalist look is maintained every single morning.
Conclusion
Transforming your pool area from a cluttered mess to a resort-ready oasis doesn’t happen overnight, but the journey is so worth it. By focusing on smart storage, cohesive styling, and a bit of ‘Pinterest-inspired’ creativity, you can create a space that not only looks viral-worthy but also functions perfectly for your lifestyle. Remember, the best organization system is one that you can actually maintain, so start with the zone that stresses you out the most and watch the transformation ripple through the rest of your backyard. Here is to a summer filled with more relaxation and less searching for that lost pair of goggles!