

From Grass to Greatness: How to Build a Custom Adventure Zone on a Budget
There is a specific kind of quiet that falls over a backyard when it is just a flat patch of grass. It is a silent canvas, waiting for the brushstroke of a child’s imagination to turn it into something legendary. I remember standing on my back porch, clutching a lukewarm coffee, looking at our scorched lawn and realizing that my kids didn’t need a thousand-dollar plastic set from a big-box store. They needed a place where they could be wild, where the dirt under their fingernails was a badge of honor and every corner held a new secret.
Building your own adventure zone isn’t just about saving money; it’s about crafting a narrative for your children’s childhood. It’s about the smell of freshly cut cedar, the smooth touch of sanded pine, and the soft landing of organic mulch. By moving away from pre-fabricated sets and toward custom, DIY builds, we invite our children to interact with the world in a way that is tactile, sustainable, and deeply personal. Let’s roll up our sleeves and turn that boring lawn into a kingdom of play.
How to Build a DIY Kids Playground for Endless Creative Joy
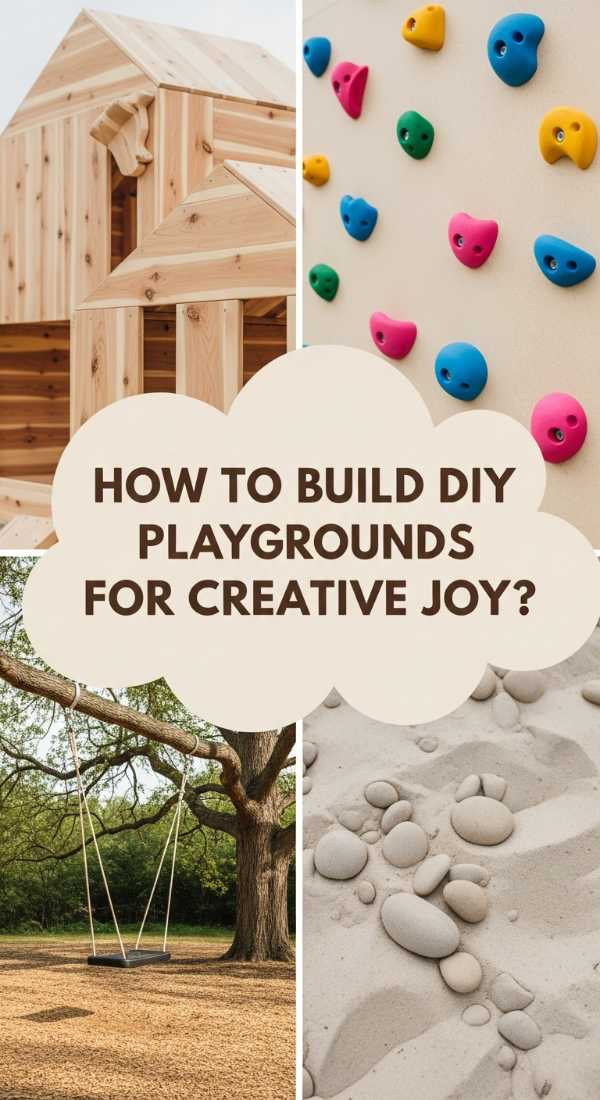
Why we love this
This approach to play focuses on the ‘blank canvas’ philosophy, where the structure itself invites artistic expression and role-playing. There is something intoxicating about the aroma of sun-warmed chalkboard paint and the tactile crunch of sidewalk chalk against a vertical surface. When children have a dedicated creative zone, you can practically feel the hum of their imagination, vibrating through the air like a summer breeze. It is a space that smells of cedar and possibilities, offering a cool, shaded sanctuary where the only limit is how far their minds can wander.
Essential Elements:
- Weatherproof outdoor chalkboard
- Raised wooden platform with cedar decking
- Integrated art supply bin with drainage holes
- Washable outdoor cushions
- Overhead sun sail for UV protection
How to make it
- Level the ground by removing a 4-inch deep layer of turf in a 6×6 foot area and filling it with leveling sand to ensure a stable base.
- Construct a base frame using pressure-treated 2x4s, spaced 16 inches on center, and secure them with 3-inch deck screws for maximum structural integrity.
- Install cedar decking boards across the frame, leaving a 1/8-inch gap between boards for expansion and water drainage; pre-drill holes to avoid splitting the wood.
- Build a vertical back wall using 4×4 corner posts anchored to the platform, then attach a large sheet of exterior-grade plywood treated with three coats of outdoor chalkboard paint.
- Sand all edges with 120-grit sandpaper until they are buttery smooth to the touch, and finish the wood with a non-toxic, water-based sealant to protect against the elements.
How to Create a Natural Outdoor Playground for Organic Exploration
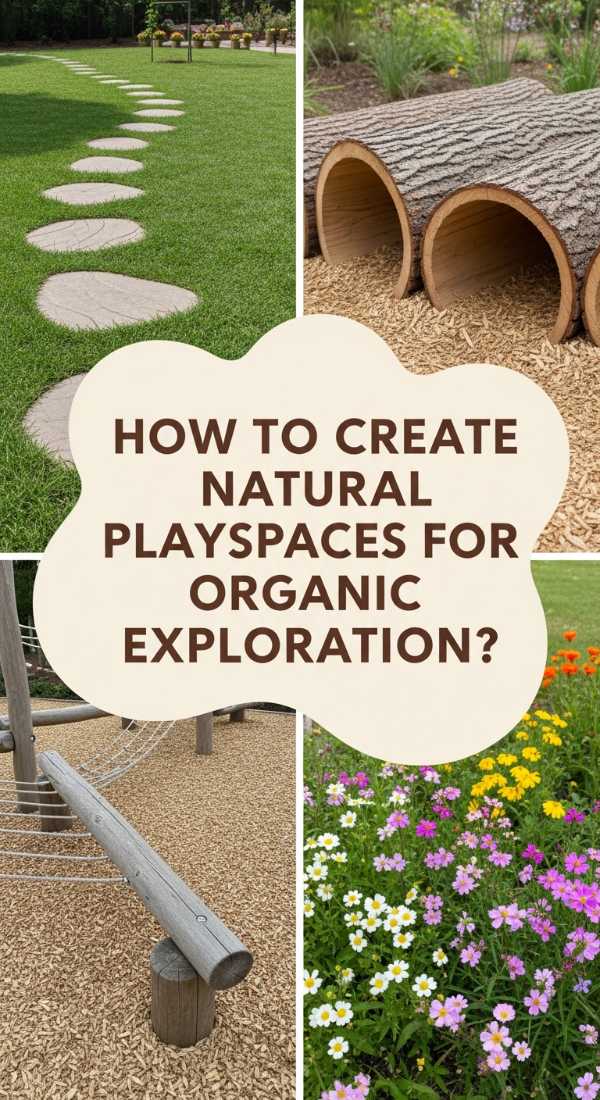
Why we love this
Organic exploration is all about the harmony between the child and the earth, featuring textures like rough bark, smooth river stones, and the damp, earthy scent of a mud kitchen. We love this because it encourages a grounded way of playing, where the environment isn’t a backdrop but a participant in the fun. There is a primal satisfaction in the feeling of cool mud squishing between fingers or the steady balance required to walk across a fallen log. This space feels alive, changing with the seasons and offering a sensory richness that plastic simply cannot replicate.
Essential Elements:
- Debarked hardwood logs of varying heights
- Smooth river stones and pea gravel
- A wooden mud kitchen station with a stainless steel sink
- Hardy, non-toxic plants like rosemary or lavender
- Bamboo privacy screening
How to make it
- Source locally fallen hardwood logs (oak or locust are best) and strip the bark using a drawknife to prevent rot and remove hiding spots for unwanted insects.
- Dig holes for ‘stepping stumps’ at least 1/3 the height of the log, fill the bottom with 2 inches of gravel for drainage, and tamp the earth firmly around them to prevent wobbling.
- Create a ‘dry creek bed’ by digging a shallow, winding trench and lining it with landscape fabric before filling it with a mix of smooth river rocks and pea gravel.
- Construct a simple mud kitchen using upcycled wooden pallets; sand them thoroughly and attach a drop-in sink bowl made from a refurbished metal basin.
- Plant fragrant herbs around the perimeter to provide a multi-sensory experience and attract butterflies, ensuring the soil is well-drained and enriched with organic compost.
How to Design a Backyard Play Area for Kids for a Magical Childhood

Why we love this
A magical childhood play area is defined by its ability to transport children into a fairytale realm through soft lighting and hidden nooks. Think of the golden glow of fairy lights at dusk, the whispering sound of wind through willow branches, and the cozy scent of outdoor textiles. This design captures the essence of wonder, providing a space that feels like a secret garden hidden away from the adult world. It is the kind of place where memories are forged in the shadows of a teepee, surrounded by the soft rustle of leaves and the distant chirping of crickets.
Essential Elements:
- Canvas A-frame tent or teepee
- Solar-powered string lights
- Hanging willow or rattan chair
- Stepping stones painted like toadstools
- Climbing roses or jasmine vines
How to make it
- Select a secluded corner of the yard, preferably under a mature tree canopy, to provide natural shade and a sense of enclosure.
- Build a simple A-frame structure using 2×2 redwood poles, lashing them at the top with heavy-duty jute twine and draping with heavy-weight outdoor canvas.
- Install solar-powered fairy lights along the roofline of the house or fence, ensuring the solar panel receives at least 6 hours of direct sunlight for a long-lasting evening glow.
- Create ‘toadstool’ stepping stones by using round concrete pavers and painting them with red outdoor masonry paint and white polka dots.
- Install a sturdy overhead branch or a free-standing wooden frame to hang a rattan swing chair, using a heavy-duty carabiner and a weather-resistant nylon rope.
How to Craft a Playground Backyard for Ultimate Summer Fun
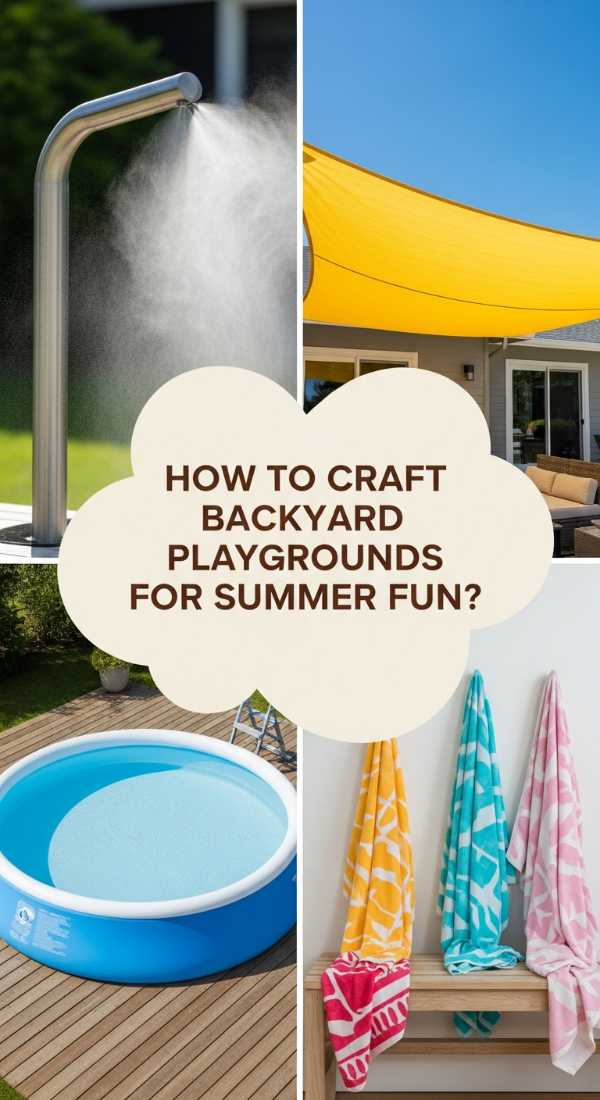
Why we love this
Ultimate summer fun is synonymous with water, movement, and high-energy thrills that leave everyone breathless and laughing. We adore the cooling mist of a built-in sprayer and the smooth, slick texture of a well-maintained slide under the bright July sun. The air here smells of sunblock and fresh-cut grass, filled with the splashing sounds of a water table and the rhythmic beat of feet on a sturdy deck. It is a high-octane environment designed to burn off energy while keeping everyone refreshed in the beautiful outdoor heat.
Essential Elements:
- Heavy-duty wave slide
- Integrated misting system
- Multi-level climbing deck
- Sand and water sensory table
- PVC pipe ‘car wash’ station
How to make it
- Build a dual-level platform using 4×4 pressure-treated posts sunk 2 feet into the ground and anchored with quick-set concrete for absolute stability.
- Attach a commercial-grade polyethylene wave slide to the upper deck using 2-inch lag bolts, ensuring the exit point is angled slightly upward for a safe landing.
- Run a 1/4-inch poly-pipe misting kit along the underside of the deck railing, connecting it to a standard garden hose with a pressure regulator to create a cooling zone.
- Construct a ‘car wash’ using 1-inch PVC pipes to create a walk-through frame, drilling small holes in the top bar to allow water to rain down on cyclists.
- Fill a lower-level compartment with sterilized play sand and add a drainage valve to the adjacent water basin to prevent stagnant water and mosquitoes.
How to Construct a DIY Playground for Eco Friendly Living

Why we love this
Eco-friendly play spaces celebrate the beauty of repurposed materials and the integrity of sustainable forestry. There is a grounded, honest feeling to this setup, characterized by the silver-grey patina of reclaimed wood and the springy texture of recycled rubber or wood chips. We love the way this design honors the planet while providing a rugged, durable area for children to test their limits. It smells of cedar mulch and rain-washed timber, offering a guilt-free environment where the playground itself teaches a lesson in stewardship and environmental respect.
Essential Elements:
- FSC-certified cedar or redwood timber
- Recycled tire swings (thoroughly cleaned)
- Natural wool felt flags
- Biodegradable hemp climbing ropes
- Recycled plastic hardware
How to make it
- Select FSC-certified lumber to ensure the wood was harvested responsibly, and avoid any wood treated with older, arsenic-based preservatives.
- Repurpose old tractor tires by power-washing them and coating them with a specialized rubber paint to prevent black residue from rubbing off on clothing.
- Use 3/4-inch hemp rope for climbing nets, securing ends with marine-grade knots and melting the tips to prevent fraying over time.
- Apply a finish made from linseed oil and beeswax to the wood; this provides a water-resistant barrier without introducing volatile organic compounds (VOCs) into the soil.
- Line the base of the playground with 12 inches of certified playground-grade wood fiber (EWF) which provides excellent fall protection and eventually biodegrades.
How to Arrange a Natural Outdoor Playground for Sensory Development
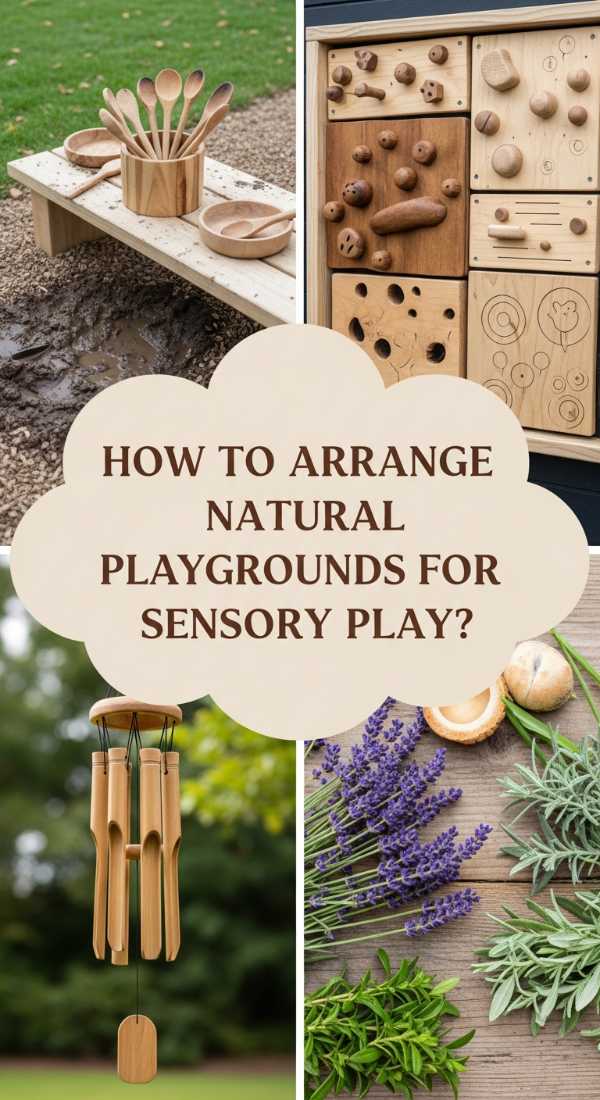
Why we love this
Sensory development is at the heart of how children understand the physical world, and this layout prioritizes a symphony of tactile experiences. From the crunch of pea gravel to the silky smoothness of sand and the fragrant aroma of crushed mint underfoot, every inch of this space is designed to stimulate. We love the way the different zones transition from ‘loud’ textures to ‘quiet’ ones, creating a balanced landscape that supports both high-energy play and calm reflection. It’s a rich, multi-layered experience that feels as good as it looks.
Essential Elements:
- Textured walking path (stones, wood, moss)
- Interactive chime or sound wall
- Aromatic herb garden border
- Sand box with hidden ‘fossils’
- Light-filtering colored acrylic panels
How to make it
- Design a ‘sensory path’ by creating 2×2 foot rectangular frames along a walkway and filling each with a different material: river rock, pine bark, outdoor carpet, and smooth pavers.
- Build a sound wall by mounting old pots, pans, and copper pipes to a wooden fence, providing wooden mallets for children to explore different pitches and tones.
- Integrate a ‘fossil dig’ by burying resin dinosaur bones in a deep sandbox lined with a weed barrier to keep the sand clean and contained.
- Mount colored acrylic sheets within a wooden frame facing the sun, so that as the day progresses, vibrant patches of colored light dance across the playground floor.
- Surround the area with a ‘smell garden’ featuring lemon balm, chocolate mint, and lavender, which release their scents when brushed against or stepped on.
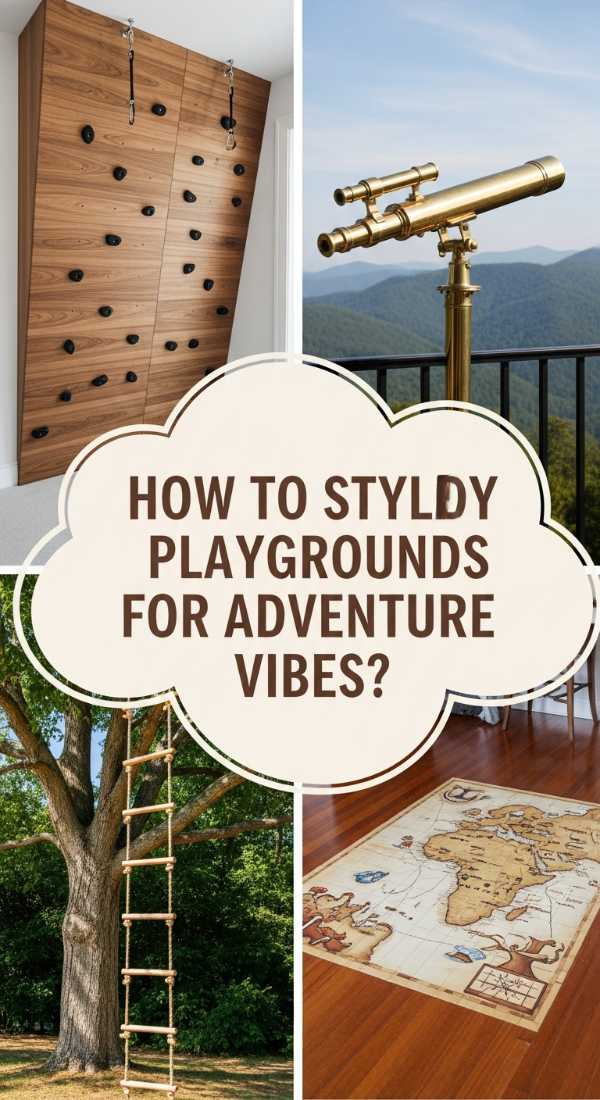
How to Style a DIY Kids Playground for Adventure Vibes
Why we love this
Adventure vibes are all about the thrill of the climb and the rush of the swing, creating a space that feels like a mountain peak or a deep jungle. This style features the rugged texture of climbing holds, the tension of taut rope, and the bold, earthy colors of an expedition basecamp. We love the feeling of height and the confidence-building challenge that an adventure-themed space provides. It smells like fresh air and pine needles, and it looks like a scene straight out of an explorer’s journal, complete with maps and rugged hardware.
Essential Elements:
- Plywood climbing wall with resin holds
- Cargo net climbing structure
- Telescope and steering wheel accessories
- Heavy-duty zip line (if space permits)
- Army-surplus style shade netting
How to make it
- Construct a vertical or slightly angled climbing wall using 3/4-inch ACX exterior plywood, reinforced with a 2×4 frame on the back for rigidity.
- Install T-nuts on the back of the plywood before mounting, allowing you to screw in professional-grade resin climbing holds in various configurations.
- Weave a cargo net using 5/8-inch nylon rope, creating 6-inch square openings, and secure it to a stout timber frame using heavy-duty galvanized eye bolts.
- Install ‘explorer tools’ like a rotating telescope and a ship’s wheel at the highest point of the structure to encourage imaginative navigation.
- Use camouflage-style sun sails or army surplus netting to provide shade, securing them with bungee cords to allow for some movement in the wind.
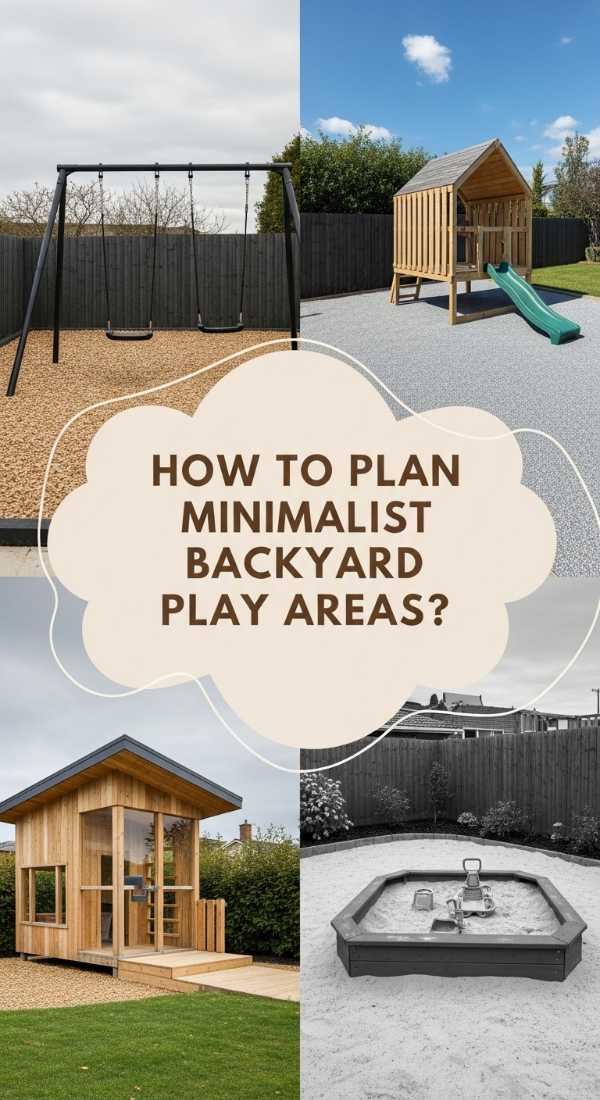
How to Plan a Backyard Play Area for Kids for Minimalist Design
Why we love this
Minimalist design brings a sense of calm and order to the often-chaotic world of childhood play. By using clean lines, a neutral color palette, and high-quality natural materials, this play area feels like a seamless extension of a modern home. We love the way the smooth, pale wood looks against the dark green of a manicured lawn, and the absence of visual clutter that allows a child’s own ideas to take center stage. It is a sophisticated space that smells of Scandinavian pine and crisp air, proving that play can be both beautiful and functional.
Essential Elements:
- Sleek geometric wooden frames
- Monochromatic color scheme (grey, white, natural)
- Recessed hardware for a flush finish
- Black powder-coated metal accents
- Simple rubber tile flooring
How to make it
- Design structures based on simple geometric shapes like triangles and cubes, using 4×4 square-edge timbers rather than rounded poles for a modern look.
- Use a ‘hidden fastener’ system or countersink all screws and fill the holes with matching wood plugs to create a perfectly smooth, hardware-free aesthetic.
- Apply a translucent grey or white-wash stain to the timber to maintain the wood grain while achieving a sophisticated, neutral tone.
- Install black powder-coated steel bars for monkey bars or swings to provide a high-contrast, industrial-chic finish that is also incredibly durable.
- Border the area with a clean-cut steel or aluminum edging to keep the play surface (like grey rubber mulch) perfectly contained and visually sharp.
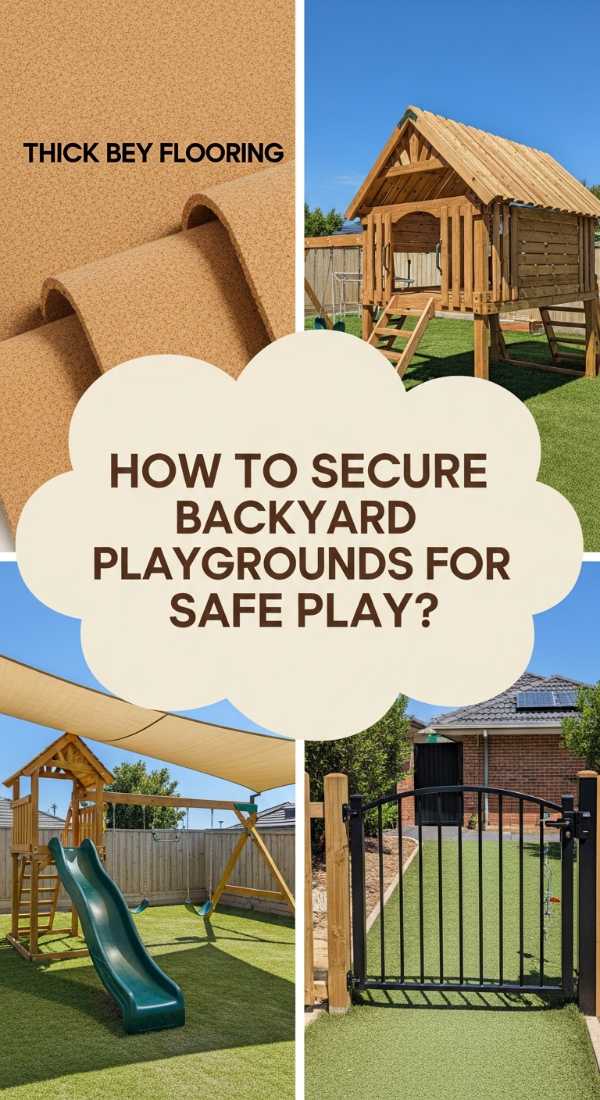
How to Secure a Playground Backyard for Safe Play
Why we love this
Safety is the ultimate luxury, providing parents with the peace of mind to let their children roam free. A secure playground features the soft, bouncy texture of thick mulch, the reassuring sturdiness of rounded edges, and the reliable grip of non-slip surfaces. We love this because it removes the ‘no’ from the backyard experience, allowing kids to take calculated risks in a controlled environment. It smells of clean rubber and protective sealant, creating a sanctuary where the only things falling are the leaves from the trees.
Essential Elements:
- ASTM-rated playground mulch or rubber tiles
- Recessed bolts and rounded wood corners
- Non-slip grip tape for ladder rungs
- Sturdy perimeter fencing with child-proof latches
- Impact-absorbing swing seats
How to make it
- Perform a ‘head probe’ test on all openings to ensure they are either smaller than 3.5 inches or larger than 9 inches to prevent accidental entrapment.
- Use a router with a 1/2-inch round-over bit on every single exposed edge of wood to eliminate sharp corners and minimize the risk of scrapes.
- Dig out the ‘fall zone’—the area extending 6 feet in all directions from the equipment—and fill it with 9 to 12 inches of loose-fill surfacing like engineered wood fiber.
- Anchor the entire structure using galvanized steel earth anchors screwed deep into the ground to prevent the set from tipping during high winds or vigorous play.
- Check all hardware monthly and tighten any bolts that have loosened due to wood shrinkage or vibration, applying a drop of thread-locker for extra security.
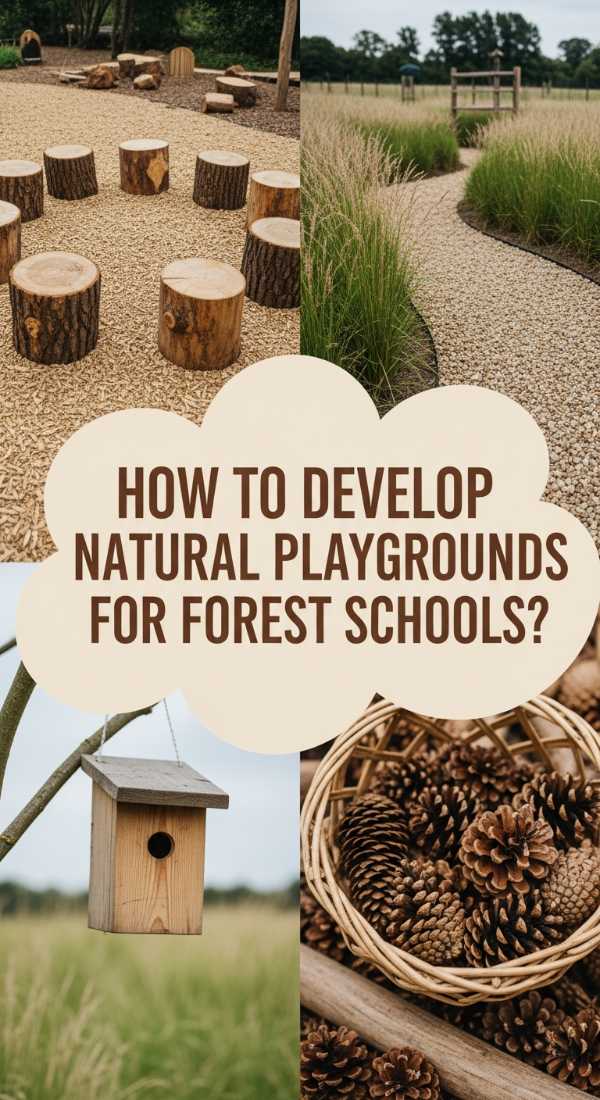
How to Develop a Natural Outdoor Playground for Forest Schools
Why we love this
The forest school philosophy is rooted in the belief that nature is the best teacher, and this playground design reflects that deep respect for the wild. It’s a space filled with ‘loose parts’—sticks, stones, and pinecones—that can be manipulated and moved. We love the earthy, damp smell of the forest floor and the way the dappled sunlight filters through the canopy to light up a circle of stumps. This is a place for building forts, observing bugs, and learning the rhythms of the natural world, offering a deeply grounding experience that fosters resilience and curiosity.
Essential Elements:
- Circle of seating stumps (log rounds)
- Loose parts bin (branches, rocks, planks)
- Low-impact wattle fencing (woven willow)
- Bug hotel or ‘biodiversiy wall’
- Sheltered ‘bushcraft’ area
How to make it
- Create a ‘council circle’ using flat-topped logs of varying diameters, sanding the tops smooth and treating them with a natural oil to prevent decay.
- Dedicate an area for ‘loose parts play’ by providing a sturdy wooden crate filled with safe, sanded branches, pinecones, and lengths of untreated rope.
- Build a bug hotel using a wooden frame filled with drilled logs, bamboo tubes, and dry leaves to encourage local pollinators and insects to move in.
- Construct a wattle fence by driving upright hazel stakes into the ground and weaving flexible willow branches between them for a soft, natural boundary.
- Set up a simple lean-to frame using heavy timbers where children can practice ‘building’ their own shelters using tarps or natural debris found in the yard.
The Final Transformation
As the sun sets over your newly transformed backyard, you’ll realize that ‘From Grass to Greatness’ isn’t just a catchy title—it’s a lifestyle shift. You have created a world where your children are the masters of their own destiny, where every climb builds confidence and every mud pie is a masterpiece. These DIY spaces are more than just timber and screws; they are the backdrop for the stories your children will tell for years to come. So, keep the tools handy, keep the imagination flowing, and enjoy the beautiful, messy, wonderful adventure you’ve built right at home.