
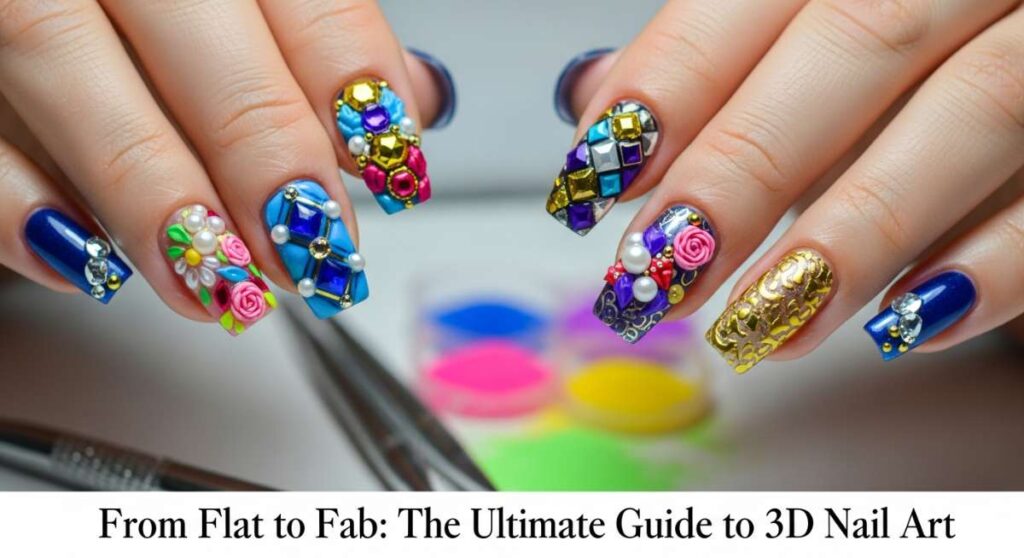
From Flat to Fab: The Ultimate Guide to 3D Nail Art
Hello, my loves! Welcome back to our cozy little corner of the internet. Today, I want you to take a deep breath, grab a mug of something warm, and imagine your fingertips as tiny canvases waiting for a little piece of your soul to be painted onto them. There is something so incredibly healing about taking the time to care for ourselves, and for me, that magic happens through the vibrant, tactile world of 3D nail art.
I remember the first time I moved beyond a simple flat polish; it felt like stepping into a whole new dimension of self-expression. It’s not just about the color, sweet friends—it’s about the texture, the height, and the way the light catches a sculpted petal or a neon swirl. Let’s embark on this colorful journey together and turn those flat nails into something truly fabulous and full of life.
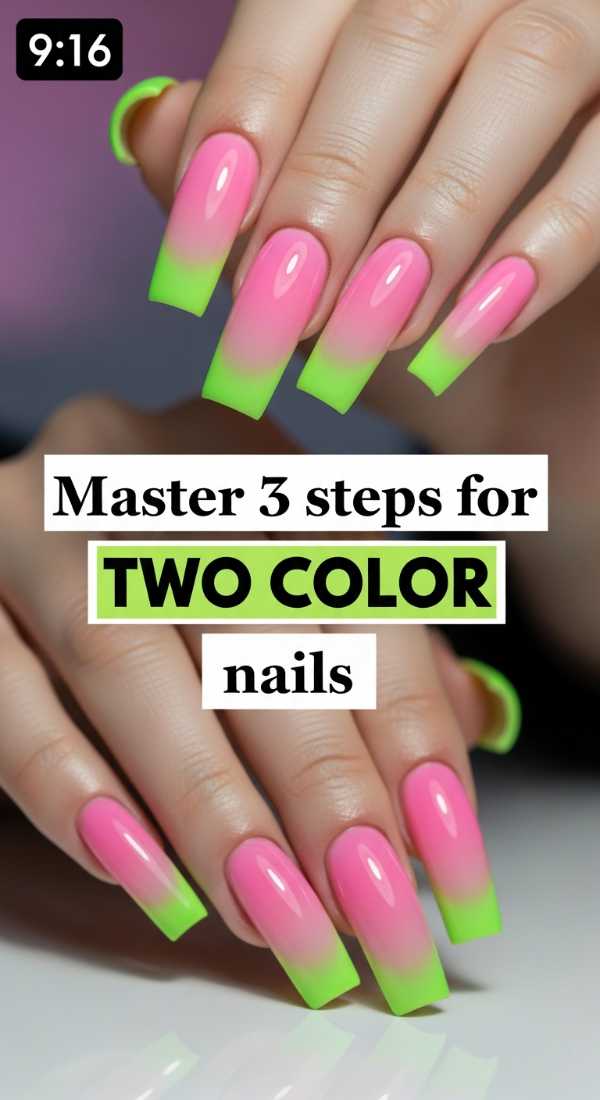
Master 3 Steps for Two Color Nails
Why to love this recipe:
This is the gentle beginning of your 3D journey. It’s like a soft hug for your nails, blending two of your favorite worlds into one seamless, elegant transition that feels both sophisticated and playful.
Essential Ingredients:
- Two complementary acrylic powders
- Monomer liquid
- Acrylic brush (Size 8 or 10)
How to Prepare:
- Pick your base color and apply it to the bottom half of the nail, thinning it out as you reach the middle.
- Apply the second color at the tip, blending it softly downward into the first shade while still wet.
- Smooth the transition with a clean brush dipped in a tiny bit of monomer.
Budget Range
- Mia Secret Acrylic Powder ($8 – $12)
- Modelones Monomer ($10 – $15)
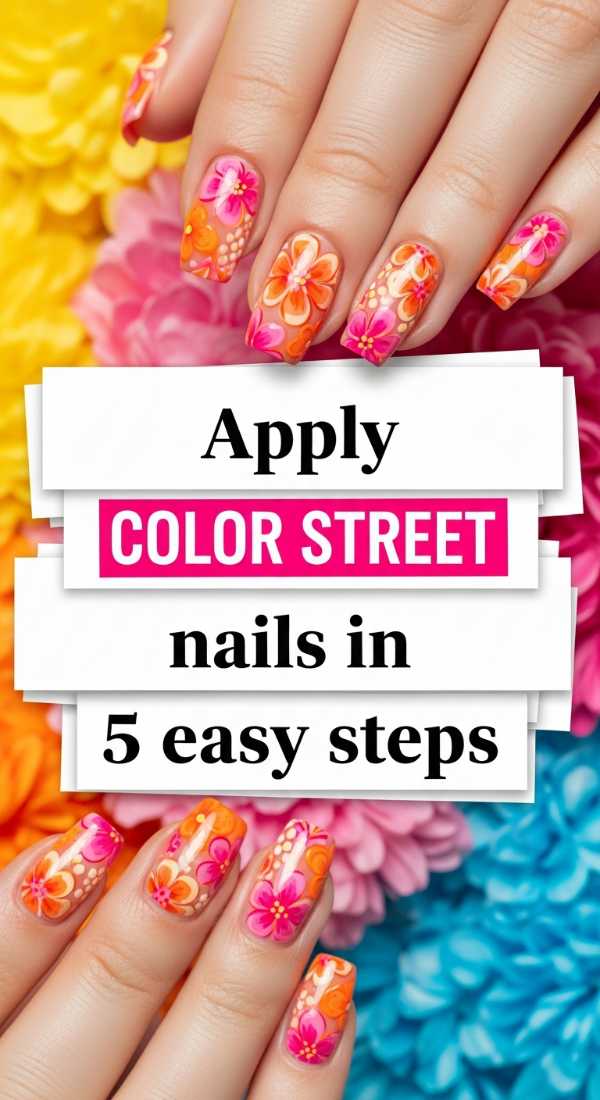
Apply Color Street Nails in 5 Easy Steps
Why to love this recipe:
When life feels a bit rushed but you still want that cloud-soft touch of beauty, these strips are a literal lifesaver. They offer instant joy without the dry time, perfect for a busy heart.
Essential Ingredients:
- Color Street nail strips
- Nail prep pad
- Glass nail file
How to Prepare:
- Cleanse your natural nails thoroughly with the prep pad.
- Select the strip size that best matches your nail bed.
- Peel the clear cover and the polish strip from the backing.
- Apply the strip to the nail, smoothing it from the center outward to remove bubbles.
- Fold the excess over the tip and file it off in a gentle downward motion.
Budget Range
- Color Street Standard Sets ($11 – $14)
- Bona Fide Glass File ($7 – $10)
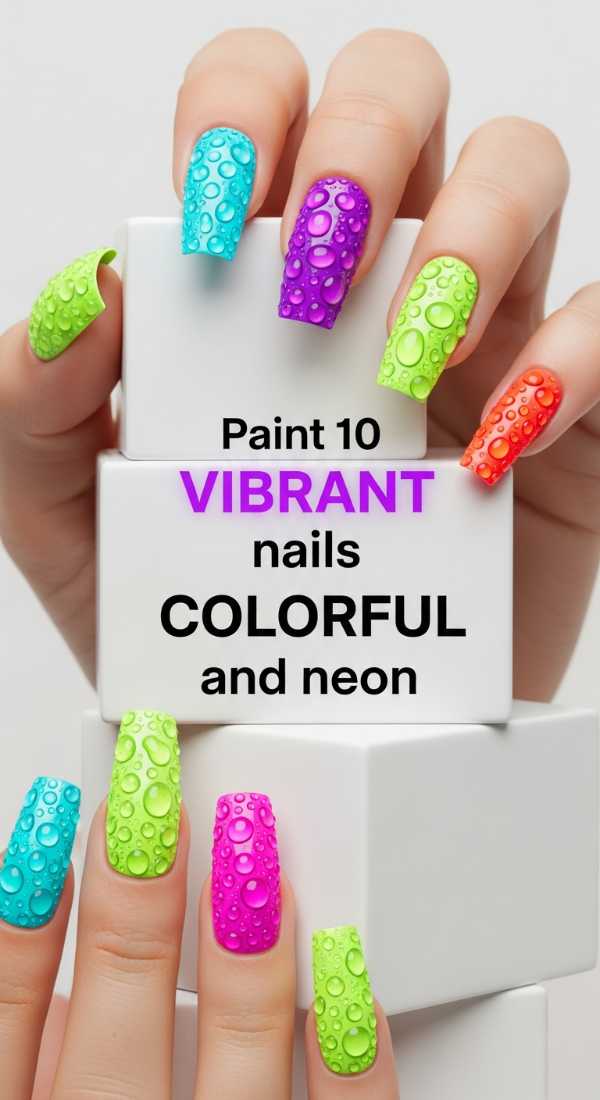
Paint 10 Vibrant Nails Colorful and Neon
Why to love this recipe:
Sometimes we just need to shout our happiness from the rooftops! This look is a high-energy celebration of color that makes every tap on your keyboard feel like a tiny party.
Essential Ingredients:
- Neon gel polish set (Pink, Orange, Yellow, Green)
- White base coat
- LED/UV lamp
How to Prepare:
- Apply a crisp white base coat to make the neons truly pop like a summer sunset.
- Paint each nail a different neon shade, alternating for a rainbow effect.
- Cure under the lamp for 60 seconds.
Budget Range
- Beetles Neon Gel Set ($15 – $20)
- SunUV LED Lamp ($25 – $35)
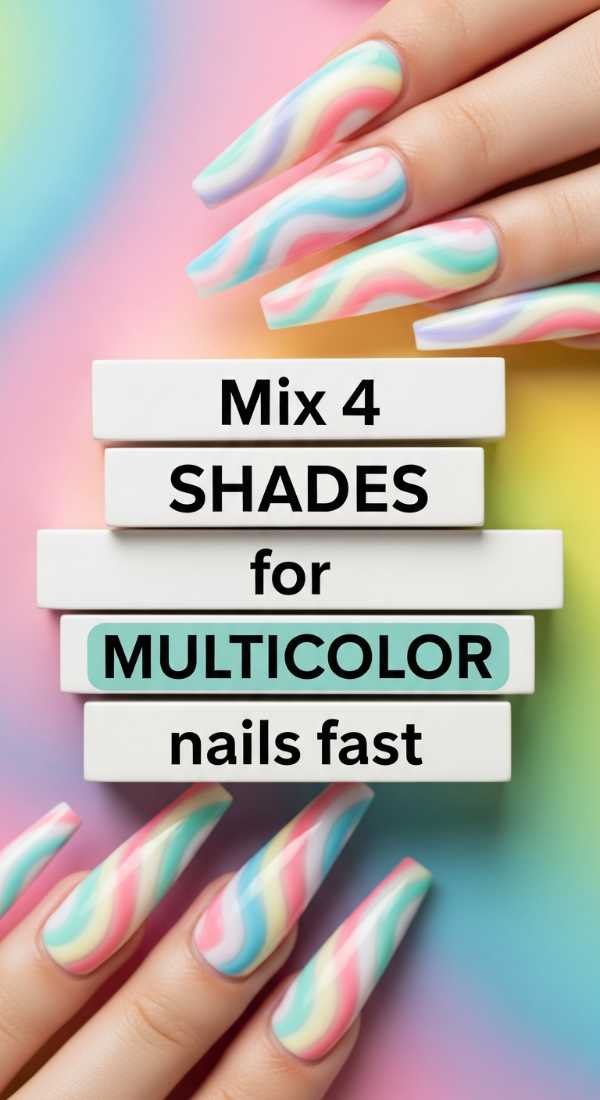
Mix 4 Shades for Multicolor Nails Fast
Why to love this recipe:
This is for my creative souls who can’t choose just one mood. It’s a fast-paced dance of colors that creates a marbled, dreamy effect that looks much harder than it actually is.
Essential Ingredients:
- 4 contrasting acrylic powders
- A small dappen dish
- Mixing spatula or orange wood stick
How to Prepare:
- Scoop small amounts of each powder into your dish but don’t fully mix them.
- Pick up a large bead of monomer and dip it into the marbled powder mixture.
- Place the bead on the nail and gently guide it to cover the surface, letting the colors swirl naturally.
Budget Range
- Saviland Acrylic Powder Kit ($20 – $30)
- Stainless Steel Mixing Spatula ($5 – $8)
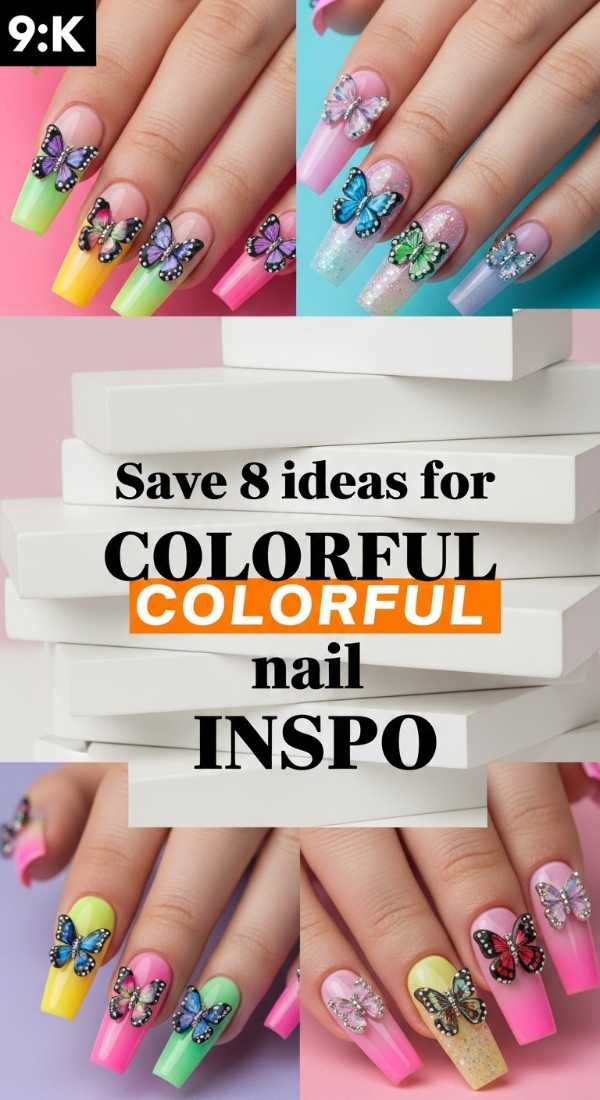
Save 8 Ideas for Colorful Nail Inspo
Why to love this recipe:
This isn’t just a tutorial; it’s a mood board for your soul. Having a collection of ideas allows you to choose the vibe that matches your energy for the week ahead.
Essential Ingredients:
- Pinterest or Instagram account
- A physical or digital notebook
- Screenshots of your favorite artists
How to Prepare:
- Search for ‘3D floral acrylics’ or ‘neon geometric nails’.
- Group your favorites into categories like ‘Soft Pastels’ or ‘Bold Neons’.
- Pick one element from three different photos to create a unique look that is uniquely you.
Budget Range
- Free digital apps ($0)
- Moleskine Journal for sketches ($15 – $22)
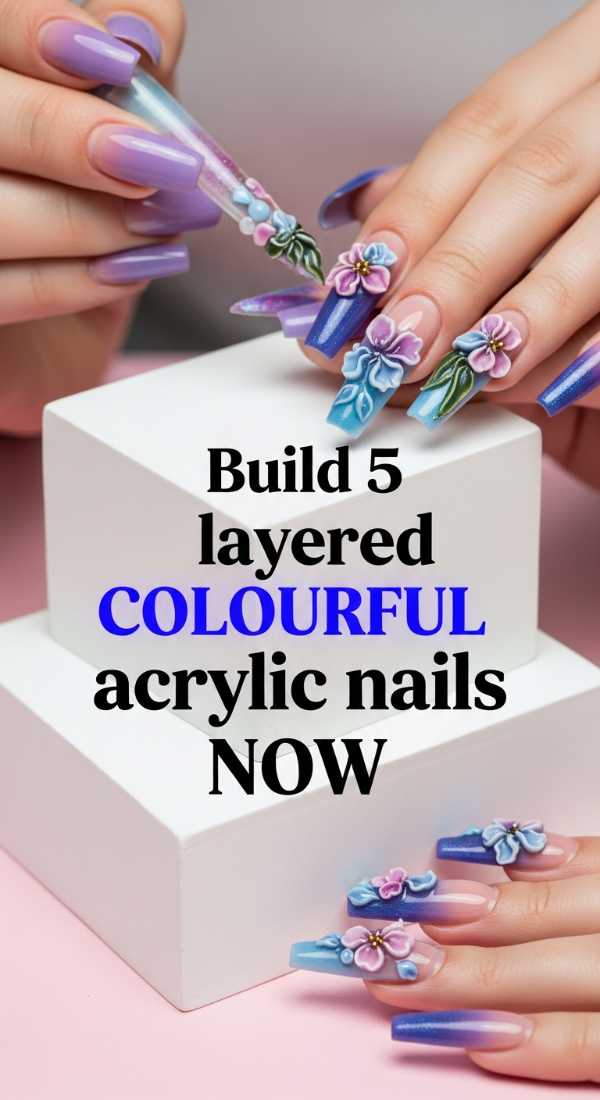
Build 5 Layered Colourful Acrylic Nails Now
Why to love this recipe:
Depth is where the magic happens, loves! Creating layers is like building a little 3D world on your finger, giving you a sense of accomplishment and a texture that’s so satisfying to touch.
Essential Ingredients:
- Clear building gel or acrylic
- Dried flowers or tiny charms
- Thin liner brush
How to Prepare:
- Apply a thin base layer of clear acrylic.
- Place your colorful charms or dried flowers onto the wet surface.
- Encapsulate them with another layer of clear acrylic.
- File the surface smooth to reveal the hidden gems inside.
- Apply a top coat for that glass-like finish.
Budget Range
- Makartt Rhinestone Glue/Gel ($10 – $12)
- Mixed Nail Art Charms ($8 – $15)
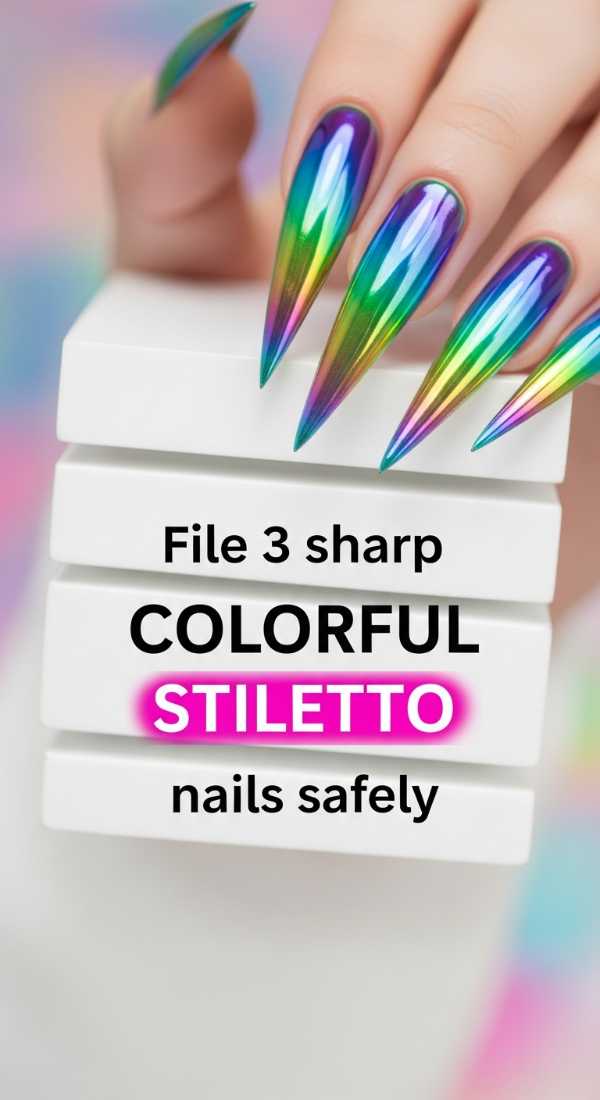
File 3 Sharp Colorful Stiletto Nails Safely
Why to love this recipe:
There is such a beautiful power in a sharp silhouette. It’s about feeling strong and capable while still being wrapped in the softest colors of the rainbow.
Essential Ingredients:
- 80/100 grit nail file
- Buffer block
- Cuticle oil
How to Prepare:
- Find the center point of your nail tip.
- File from the sidewalls toward that center point at a 45-degree angle.
- Repeat on the other side until you reach a point, then gently buff the edges so they aren’t dangerously sharp.
Budget Range
- OPI Edge File ($5 – $7)
- Cuccio Revitalize Cuticle Oil ($10 – $13)
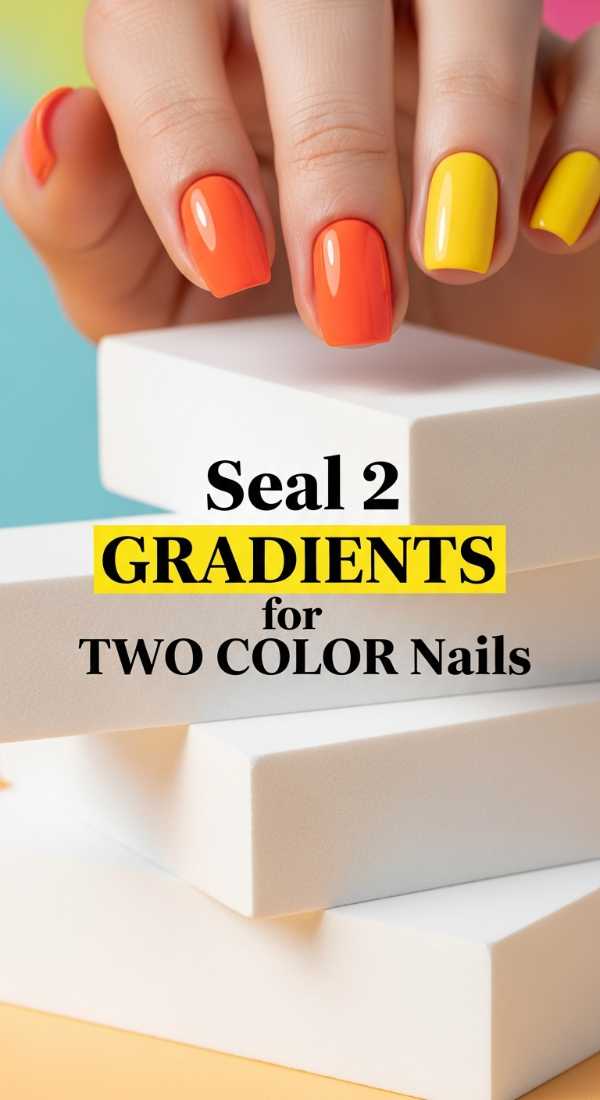
Seal 2 Gradients for Two Color Nails
Why to love this recipe:
The seal is the promise of longevity. It protects your hard work and ensures those two beautiful colors stay blended in perfect harmony for weeks.
Essential Ingredients:
- High-gloss no-wipe top coat
- UV Lamp
- Lint-free wipes
How to Prepare:
- Ensure your gradient is fully dry or cured.
- Apply a generous but even layer of top coat, sealing the free edge carefully.
- Cure for double the time (90-120 seconds) for a rock-hard, shiny finish.
Budget Range
- Kupa Gelfinity Top Coat ($15 – $18)
- Lint-Free Wipes bulk pack ($6 – $10)
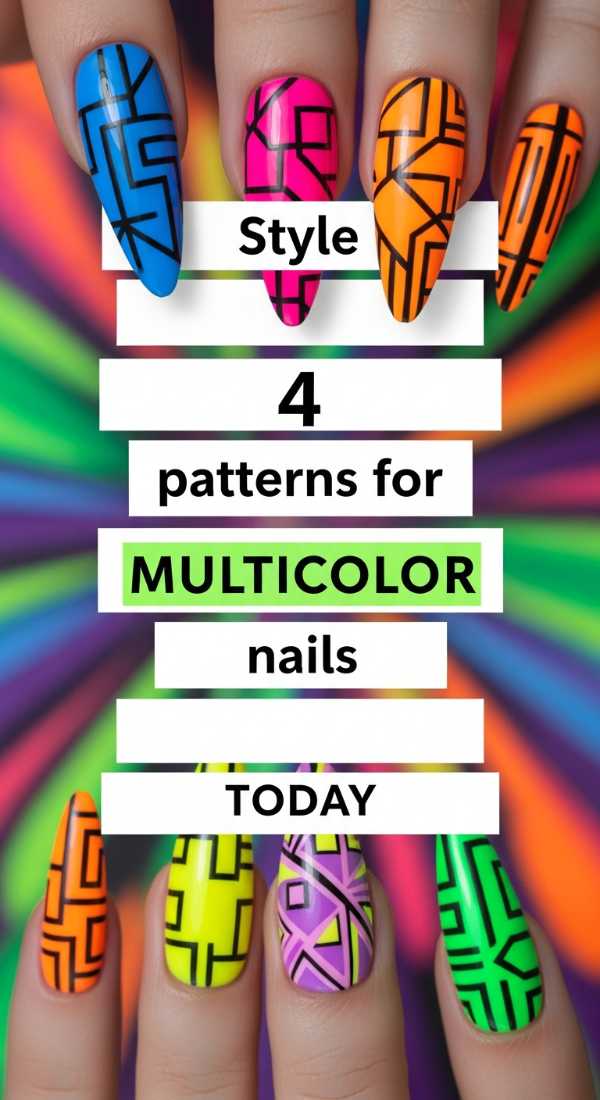
Style 4 Patterns for Multicolor Nails Today
Why to love this recipe:
Patterns are the rhythm of the soul! Whether it’s stripes, dots, or swirls, adding patterns to your multicolor base brings a sense of order to the beautiful chaos.
Essential Ingredients:
- Dotting tools
- Striper brushes
- Highly pigmented painting gel
How to Prepare:
- Choose a base color and let it dry completely.
- Use a dotting tool to create ‘animal print’ clusters in a secondary color.
- Add thin stripes with a liner brush for a geometric touch.
- Finish with a swirl pattern to connect the different color blocks.
Budget Range
- Winstonia Detail Brush Set ($12 – $15)
- Generic Dotting Tool Set ($5 – $8)
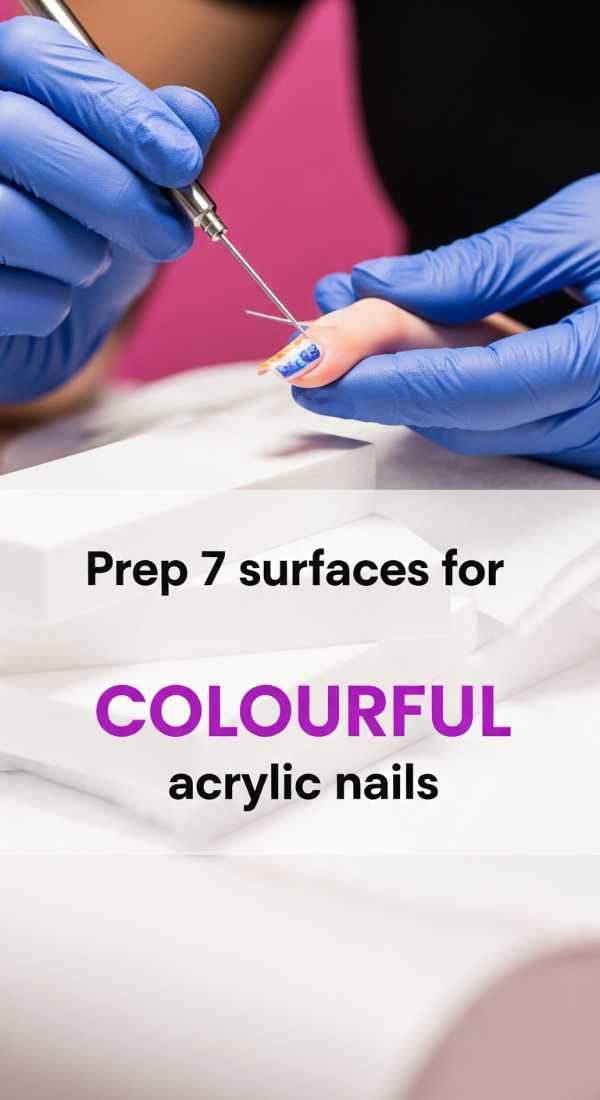
Prep 7 Surfaces for Colourful Acrylic Nails
Why to love this recipe:
A good foundation is like a warm embrace—it supports everything that follows. Prepping correctly ensures your art stays beautiful without lifting or breaking.
Essential Ingredients:
- Dehydrator
- Acid-free primer
- Cuticle pusher
How to Prepare:
- Gently push back cuticles to reveal the full nail plate.
- Buff the shine off the natural nail.
- Cleanse with alcohol.
- Apply dehydrator to remove oils.
- Apply two coats of primer.
- Ensure the surface is tacky but not wet.
- Avoid touching the prepped surface with your fingers!
Budget Range
- Young Nails Protein Bond ($15 – $20)
- Morovan Dehydrator and Primer Set ($12 – $16)
Embrace Your Inner Artist
My sweet friends, I hope this guide makes you feel empowered to try something new. 3D nail art isn’t just about the finished look; it’s about the quiet moments of focus and the joy of seeing your vision come to life. Remember, there are no mistakes in art—only unique expressions of who you are. Go forth and sparkle!