
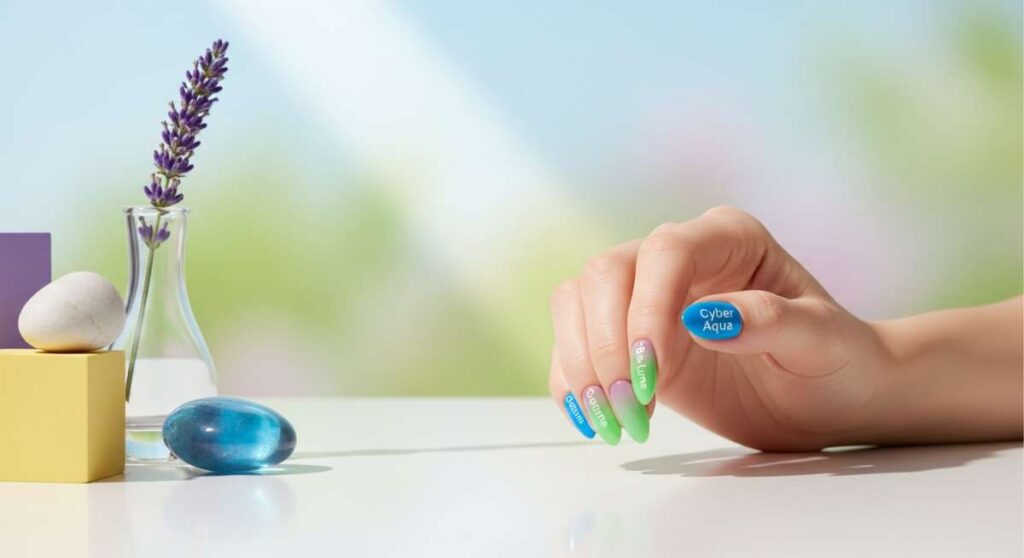
From Digital Lavender to Bio-Lume: The Spring 2026 Manicure Report
Hi loves! Can you feel it? That soft, whispered promise of renewal in the air? As we pack away our heavy knits and step into the gentle light of Spring 2026, I’ve been thinking so much about how our hands tell our stories. This season is all about the transition from the tech-driven ‘Digital Lavender’ we loved last year to something more organic, glowing, and alive—what I’m calling ‘Bio-Lume.’ It’s like a cloud-soft embrace for your fingertips.
I’ve spent the last few weeks sipping herbal tea and playing with the dreamiest palettes to bring you this report. Whether you’re looking for a burst of sunshine or a moment of grounded neutrality, there is a little piece of art waiting for you here. Let’s dive into the trends that are making my heart flutter this season, shall we?
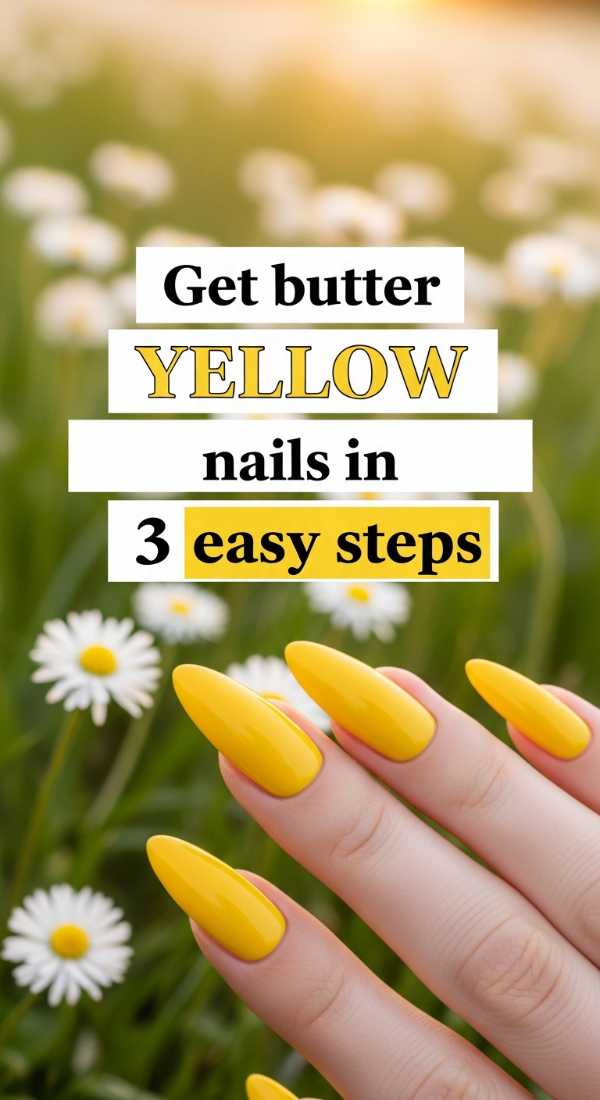
Get butter yellow nails in 3 easy steps
Why to love this Design:
Butter yellow is the ultimate ‘mood lifter’ for 2026. It’s less ‘neon sun’ and more ‘creamy morning light.’ It feels like a warm hug and looks incredible against every skin tone, bringing a soft, optimistic glow to your daily coffee runs.
Essential Elements:
- Creamy pastel yellow polish
- High-gloss top coat
- Nourishing cuticle oil
How to Prepare:
- Cleanse and shape your nails into a soft oval to mimic the gentle curves of spring petals.
- Apply two thin coats of creamy yellow polish, allowing each to dry fully to avoid bubbles.
- Seal with a thick gloss top coat to give it that ‘melted butter’ finish.
Budget Range
- Essie ‘Soothe Bolt’ Yellow: $10
- OPI Top Coat: $11
- Glass Nail File: $8
Create checkered patterns in 4 simple steps

Why to love this Design:
The picnic-chic aesthetic is getting a modern upgrade! Checkered patterns are playful yet structured, offering a nostalgic nod to the 90s while staying fresh with Spring 2026’s muted pastel palettes. It’s for the girl who loves a bit of organized chaos.
Essential Elements:
- Two contrasting pastel polishes
- Fine-liner nail brush
- Steady hand or striping tape
How to Prepare:
- Paint your base color and let it dry completely.
- Use a fine-liner brush to draw a vertical line down the center and a horizontal line across.
- Fill in the alternating squares with your second color carefully.
- Finish with a matte top coat for a soft, fabric-like texture.
Budget Range
- Nail Art Brush Set: $7
- Pastel Polish Duo (Mini): $12
- Matte Top Coat: $9
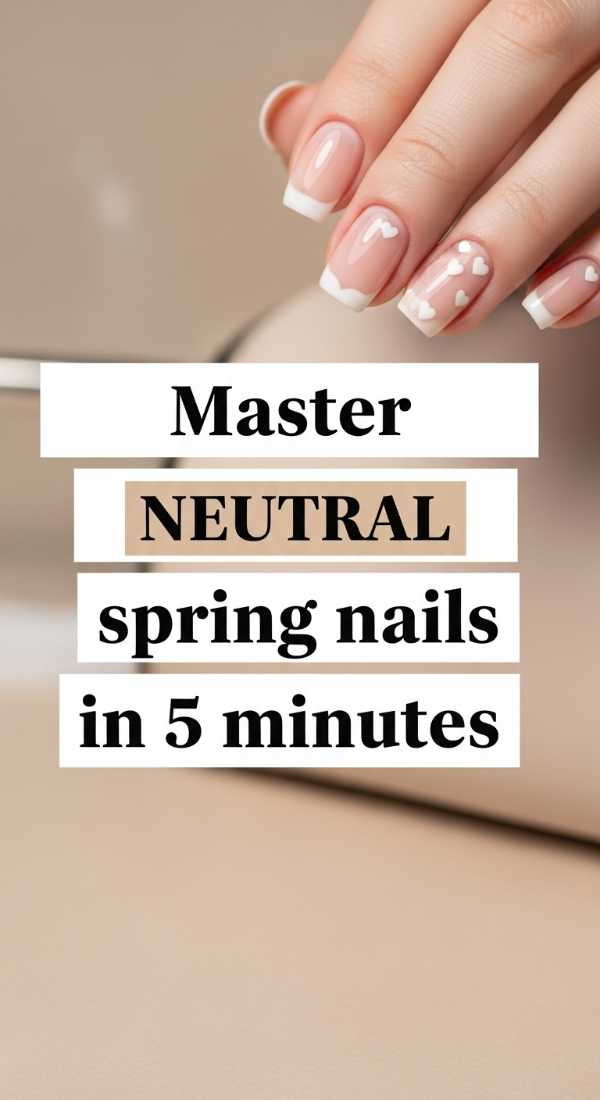
Master neutral spring nails in 5 minutes
Why to love this Design:
Sometimes, the soul just needs silence. These neutral nails are the ‘clean girl’ aesthetic evolved—think sheer linens and misty mornings. They make your hands look elongated, healthy, and effortlessly polished in under five minutes.
Essential Elements:
- Sheer beige or soft ‘cloud’ pink polish
- Buffing block
- Vitamin E cuticle treatment
How to Prepare:
- Buff the nail surface to a natural shine.
- Apply one single, even coat of sheer polish for a ‘your nails but better’ look.
- Massage cuticle oil into the skin for a hydrated, healthy glow.
Budget Range
- Zoya Naked Manicure: $12
- Buffer Block: $3
- SolarOil: $9
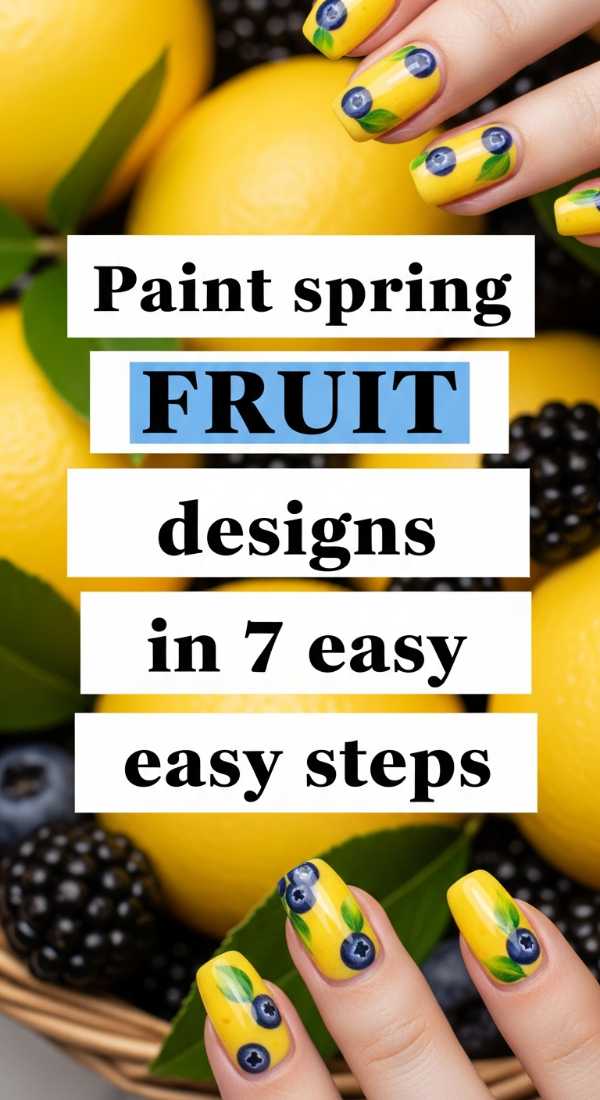
Paint spring fruit designs in 7 easy steps
Why to love this Design:
Tiny strawberries and lemons are the jewelry of the nail world this year. They add a whimsical, cottage-core charm that reminds us of farmer’s markets and fresh beginnings. It’s pure, wearable joy.
Essential Elements:
- Red, green, and yellow polishes
- Dotting tool
- Fine detail brush
- Pale base color
How to Prepare:
- Apply a pale cream base coat.
- Use a dotting tool to create a small red oval for a strawberry or a yellow circle for a lemon.
- With a fine brush, add tiny green leaves at the top.
- Add microscopic white or black dots for seeds.
- Let the art dry for at least 10 minutes.
- Apply a protective top coat.
- Seal the edges to prevent chipping.
Budget Range
- Dotting Tool Set: $5
- Fruit Toned Polish Bundle: $20
- Detail Brush: $6
Style short square tips in 4 quick steps
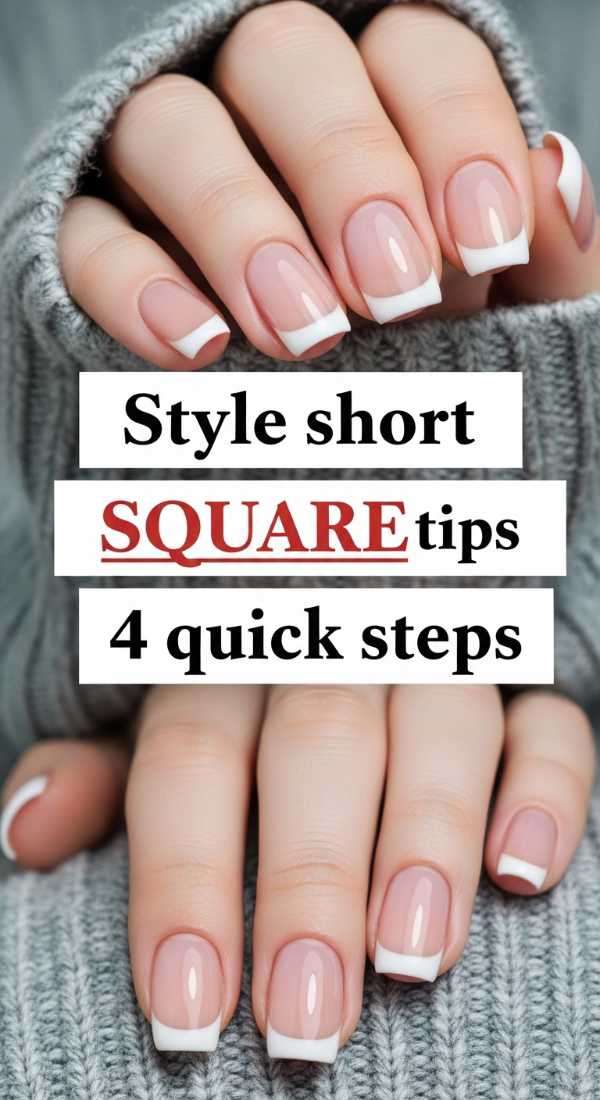
Why to love this Design:
Short square nails are back, and they are the height of ‘quiet luxury.’ They are practical for our digital lives but look incredibly chic and deliberate. It’s the ‘it-girl’ shape for 2026—structured but soft around the edges.
Essential Elements:
- Sturdy nail file
- Strengthening base coat
- Opaque crème polish
How to Prepare:
- File the nails straight across the top.
- Slightly round only the very corners to prevent snagging.
- Apply a strengthening base coat to support the shorter length.
- Finish with an opaque, solid color to emphasize the clean lines.
Budget Range
- Sally Hansen Hard as Nails: $6
- Professional Grade File: $4
- Opaque Polish: $9
Apply spring chrome powder in 3 simple steps
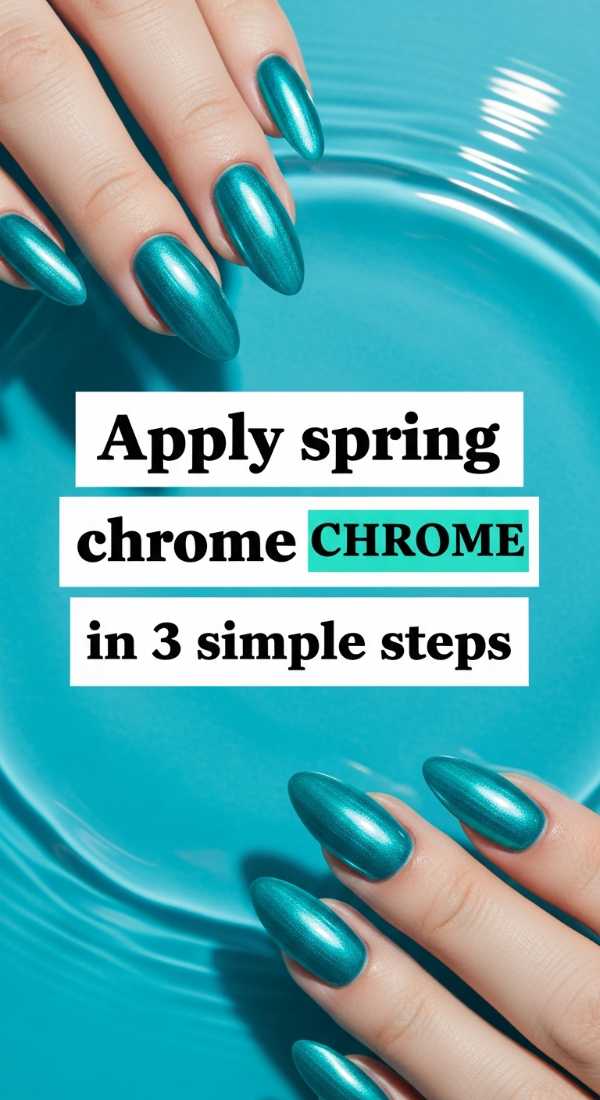
Why to love this Design:
This is where ‘Bio-Lume’ comes to life! Chrome in 2026 isn’t metallic; it’s iridescent like a dragonfly’s wing. It gives a futuristic, ethereal glow that changes with every movement of your hand.
Essential Elements:
- Pearlescent chrome powder
- Sponge applicator
- No-wipe gel top coat (or specialized air-dry chrome sealer)
How to Prepare:
- Apply your base color and a no-wipe top coat; cure or dry until just tacky.
- Gently rub the chrome powder onto the nail using the sponge applicator until it glows.
- Seal with a final top coat to lock in the iridescent shimmer.
Budget Range
- Chrome Powder Pigment: $8
- Applicator Sponges: $3
- No-Wipe Gel Top Coat: $15
Recreate Tuscan 2000s nails in 6 easy steps
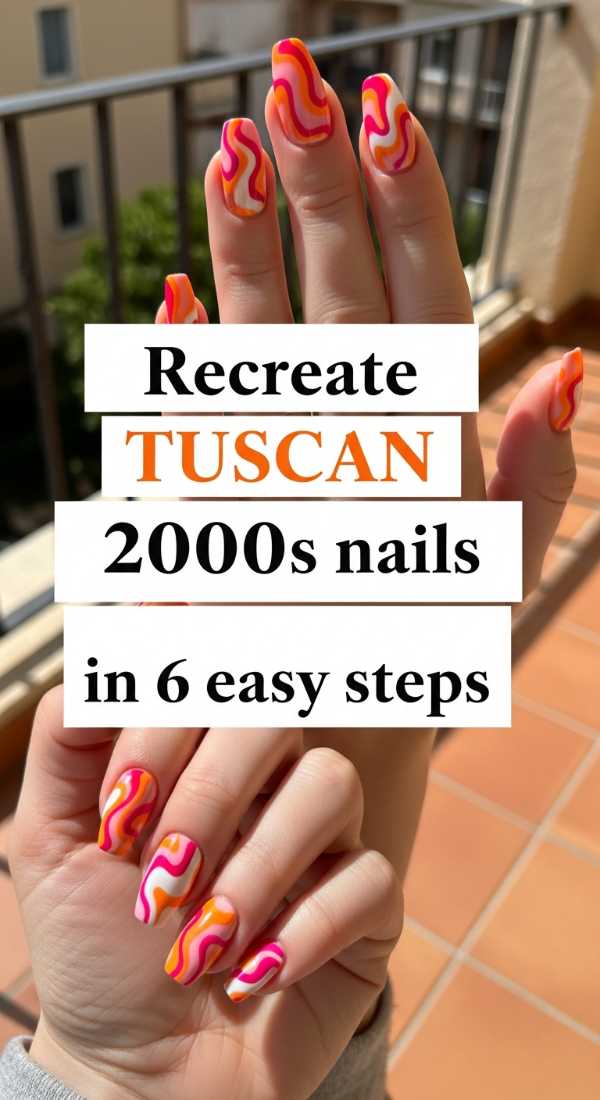
Why to love this Design:
Think warm terra cotta, burnt apricot, and 2000s-inspired swirls. It’s a nostalgic trip to a Mediterranean summer, blending the warmth of the earth with the Y2K energy we still crave. It feels grounded and sun-kissed.
Essential Elements:
- Warm earth-tone polishes (terracotta, gold, sand)
- Striping brush
- Glossy finish
How to Prepare:
- Apply a sandy beige base.
- Use a striping brush to create ‘S’ shaped swirls in terracotta.
- Layer a second swirl in a soft gold or copper.
- Add a few small dots near the curves of the swirls.
- Wait for the design to set.
- Apply a high-shine top coat to mimic ceramic glazes.
Budget Range
- Earth Tone Polish Set: $18
- Striping Brush: $5
- Gold Foil Flakes (optional): $6
Design abstract spring art in 5 fun steps
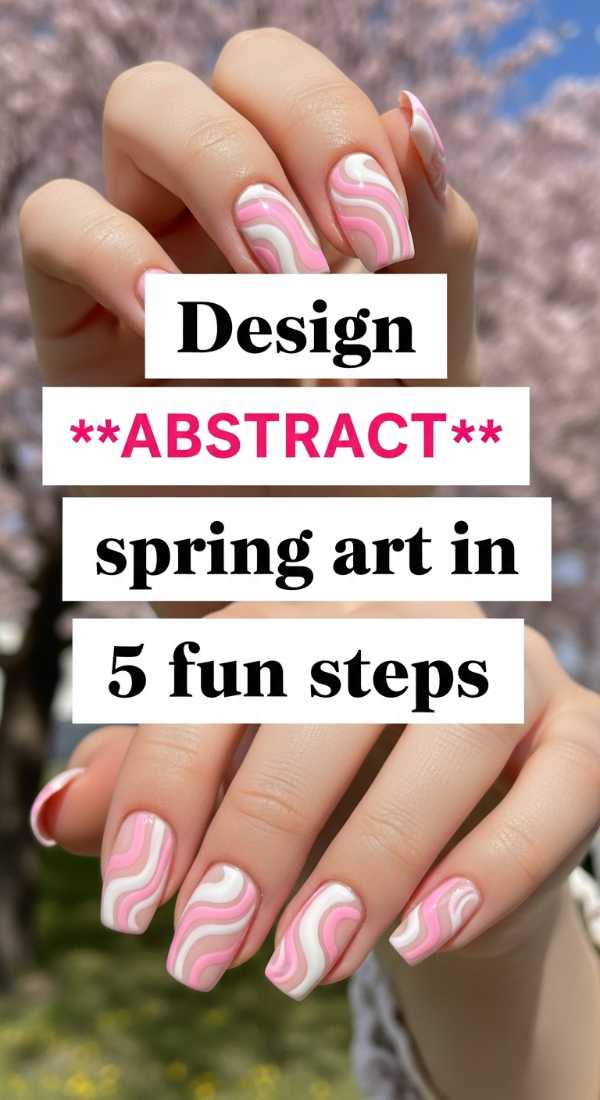
Why to love this Design:
Abstract art is the ultimate form of self-expression. There are no mistakes, only ‘vibe shifts.’ It’s perfect for the creative soul who wants their nails to look like a watercolor painting in a boutique gallery.
Essential Elements:
- 3-4 complementary spring shades
- A piece of crumpled plastic wrap or a dry brush
- Matte or gloss top coat
How to Prepare:
- Apply a white or very light base color.
- Place random blobs of your chosen colors on the nail.
- Lightly dab with crumpled plastic wrap to blend the edges organically.
- Add one or two thin ‘veins’ of a darker color with a brush for depth.
- Seal the masterpiece with your preferred top coat.
Budget Range
- Assorted Polish Colors: $25
- Plastic Wrap: $0 (from kitchen)
- Matte Top Coat: $10
Achieve red spring vibes in 4 bold steps
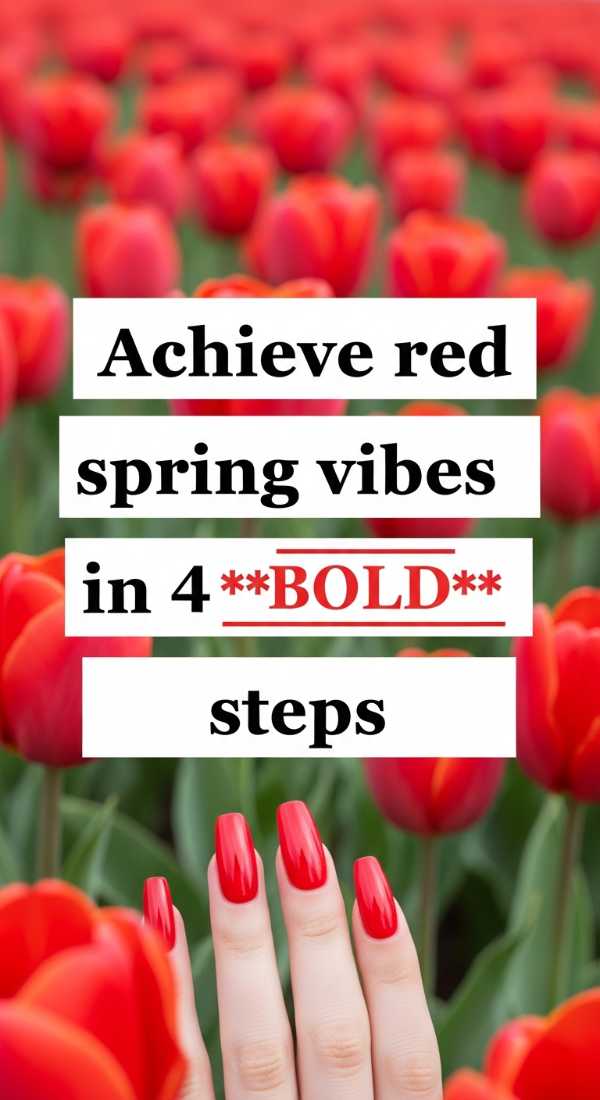
Why to love this Design:
Red isn’t just for winter! For Spring 2026, we are seeing ‘Cherry Blossom Red’—a lighter, more translucent poppy red that feels energetic and bold without being heavy. It’s the ‘pop of red’ your spring wardrobe needs.
Essential Elements:
- Jelly-finish red polish
- Moisturizing hand cream
- High-gloss top coat
How to Prepare:
- Prep the nail bed meticulously, as red draws attention to the cuticles.
- Apply two thin layers of a ‘jelly’ red polish for a translucent, juicy look.
- Apply a top coat twice for extra ‘plump’ depth.
- Finish with a rich hand cream to make the red pop against glowing skin.
Budget Range
- Jelly Polish: $12
- Luxury Hand Cream: $15
- Plumping Top Coat: $12
Perfect your French tips in 3 simple steps
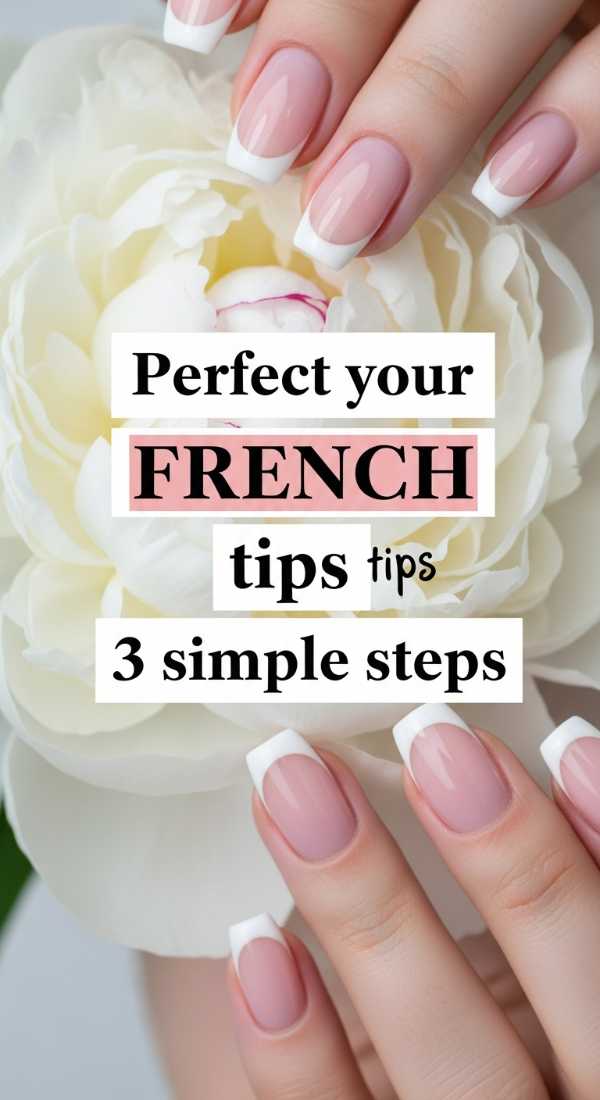
Why to love this Design:
The micro-French is the sophisticated sister of the classic tip. In 2026, we are using soft pastels instead of white for a ‘Bio-Lume’ edge. It’s clean, professional, and endlessly elegant.
Essential Elements:
- Nude base polish
- Pastel tip color
- French tip guides or a steady liner brush
How to Prepare:
- Paint the entire nail with a sheer nude base.
- Using a very fine brush, trace a paper-thin line along the very edge of the tip with your pastel color.
- Swipe a top coat over the entire nail to blend the transition.
Budget Range
- Micro-Liner Brush: $5
- French Tip Guides: $4
- Nude/Pastel Duo: $15
Closing the Season with Love
As you try out these trends, remember that your nails are just an extension of the beautiful light you already carry. Whether you choose the futuristic glow of Bio-Lume chrome or the earthy warmth of a Tuscan swirl, let it be a ritual of self-care. Take those five minutes for yourself, breathe in the spring air, and let your hands reflect the bloom that’s happening inside you. I can’t wait to see which look you choose, my loves!