
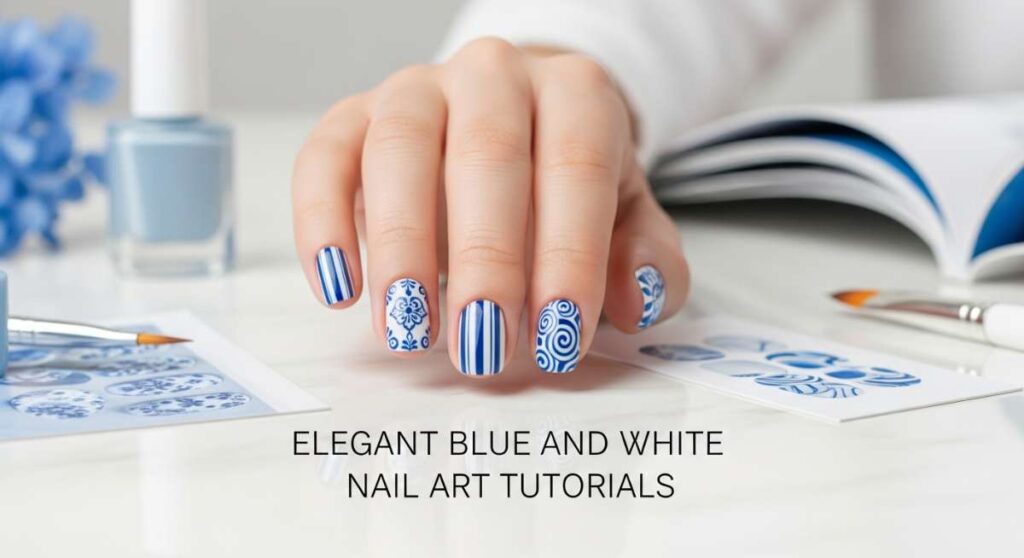
From Classic to Modern: Elegant Blue and White Nail Art Tutorials
Hello, my darling loves. Isn’t there something so incredibly soothing about the ritual of painting your nails? It’s a moment of quiet, a soft pause in the middle of a busy world where we get to create something beautiful just for ourselves. Lately, I’ve been finding so much peace in the combination of blue and white—it feels like a cloud-soft embrace for your fingertips, reminiscent of a clear summer sky or the delicate patterns of vintage porcelain.
Blue and white is a timeless pairing that speaks to the soul. Whether you’re leaning into the deep, mysterious depths of navy or the whimsical lightness of a baby blue, there is a design here for every mood and every hand. I’ve gathered these tutorials to help you find your own moment of zen through creativity. Let’s dive into these dreamy designs together, shall we?
3 Easy Steps to Blue and White Nails
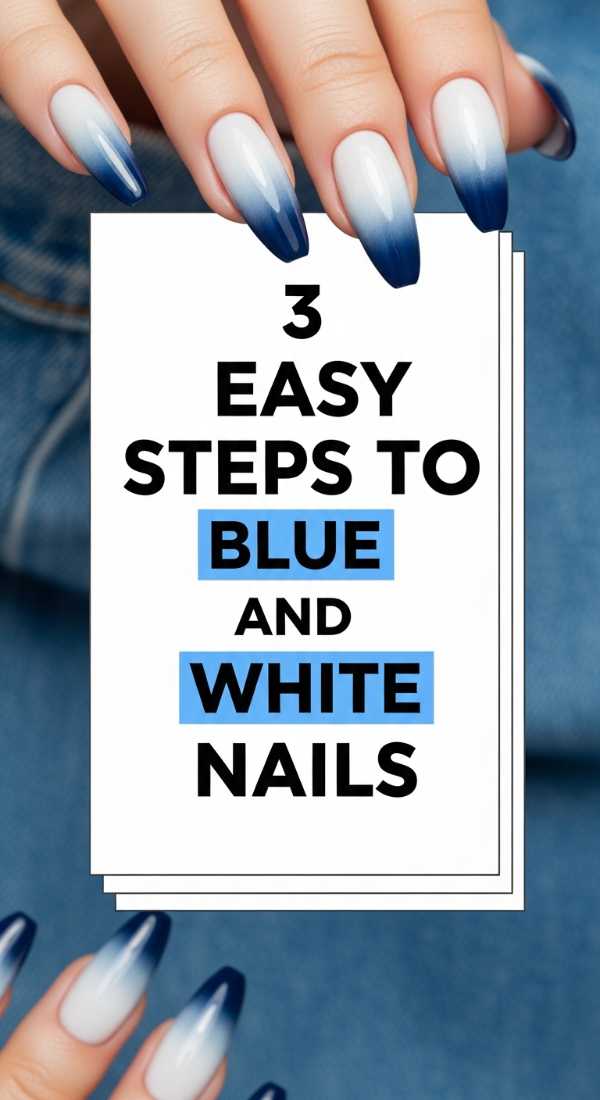
Why to love this Design:
This is the perfect ‘entryway’ design for my loves who are just starting their nail art journey. It’s clean, crisp, and provides that classic nautical vibe that never goes out of style. It feels like a fresh breeze on a warm afternoon.
Essential Elements:
- Opaque White Polish
- Cobalt Blue Polish
- Fine Liner Brush
How to Prepare:
- Apply two thin coats of white polish as your base and let dry completely.
- Use a liner brush to paint a single vertical blue stripe down the center of each nail.
- Seal with a high-shine top coat to blend the colors together seamlessly.
Budget Range
- Essie ‘Bikini So Teeny’ ($10)
- OPI ‘Alpine Snow’ ($11.50)
- Sally Hansen Insta-Dri Top Coat ($6)
4 Ways to Master Light Blue and White Nails
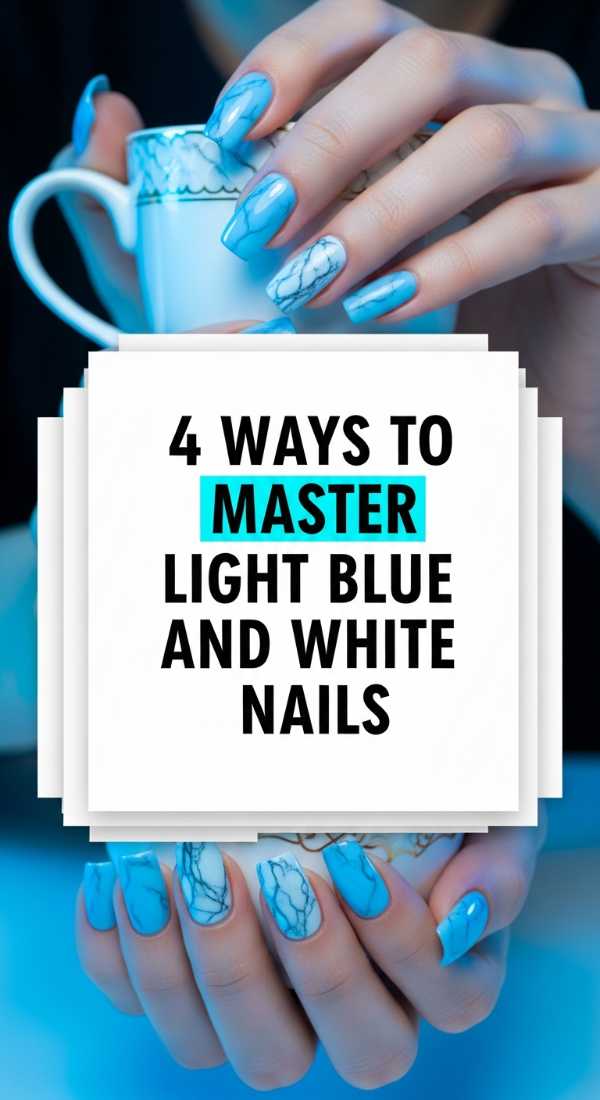
Why to love this Design:
Light blue and white is the ultimate ‘dreamy’ combination. It’s ethereal and soft, making your hands look delicate and polished. It’s like wearing a piece of the morning sky right on your nails.
Essential Elements:
- Pastel Blue Polish
- Pure White Polish
- Makeup Sponge
- Matte Top Coat
How to Prepare:
- Apply the pastel blue as your base color.
- Create an ombre effect by sponging white onto the tips.
- Try a ‘cloud’ shape by dotting white circles in clusters.
- Apply a matte top coat for a soft, velvet-like finish.
Budget Range
- Zoya ‘Blu’ ($12)
- Wet n Wild ‘Wild Shine’ White ($2)
- Barry M Matte Top Coat ($5)
5 Simple Tips for Navy Blue and White Nails
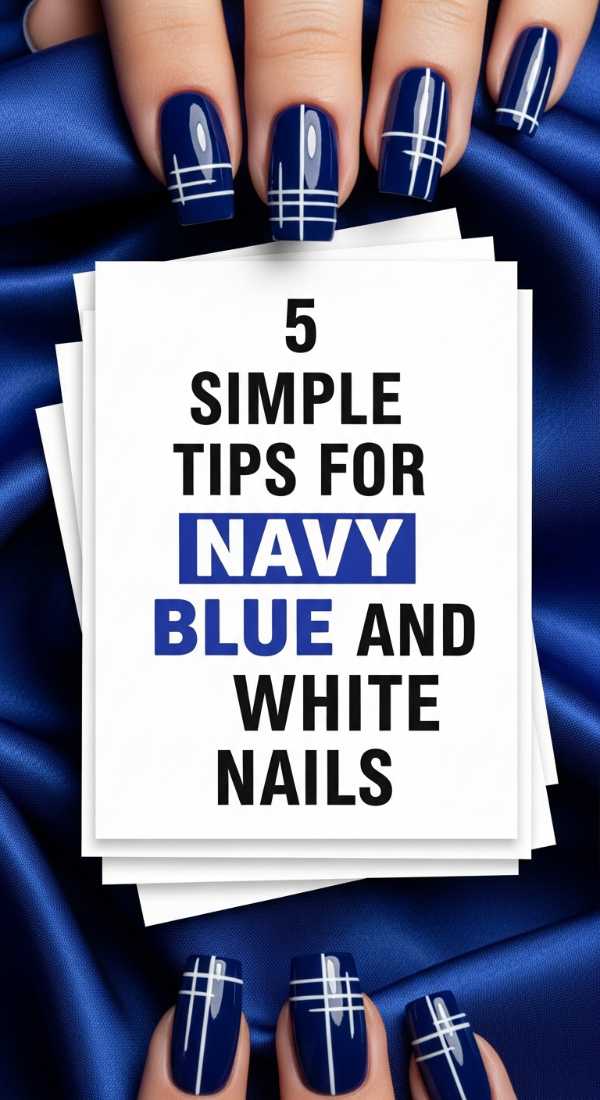
Why to love this Design:
Navy blue offers a sophisticated depth that white highlights beautifully. This look is for my loves who want something elegant enough for a gala but cool enough for a coffee date. It’s the ‘midnight stars’ of nail art.
Essential Elements:
- Deep Navy Polish
- White Striper Pen
- Gold Foil Accents
How to Prepare:
- Start with a navy base; darker colors need two coats for full opacity.
- Use a white striper pen for ultra-thin geometric lines.
- Keep a cleanup brush dipped in acetone nearby for crisp edges.
- Add a tiny fleck of gold foil at the base for luxury.
- Always use a base coat to prevent the navy from staining your natural nails.
Budget Range
- Chanel ‘Le Vernis Rhythm’ ($30)
- Nail Art Gold Leaf Kit ($8)
- Holo Taco ‘One-Coat Black’ (as base for depth) ($13)
Get Blue and White French Tip Nails in 3 Steps
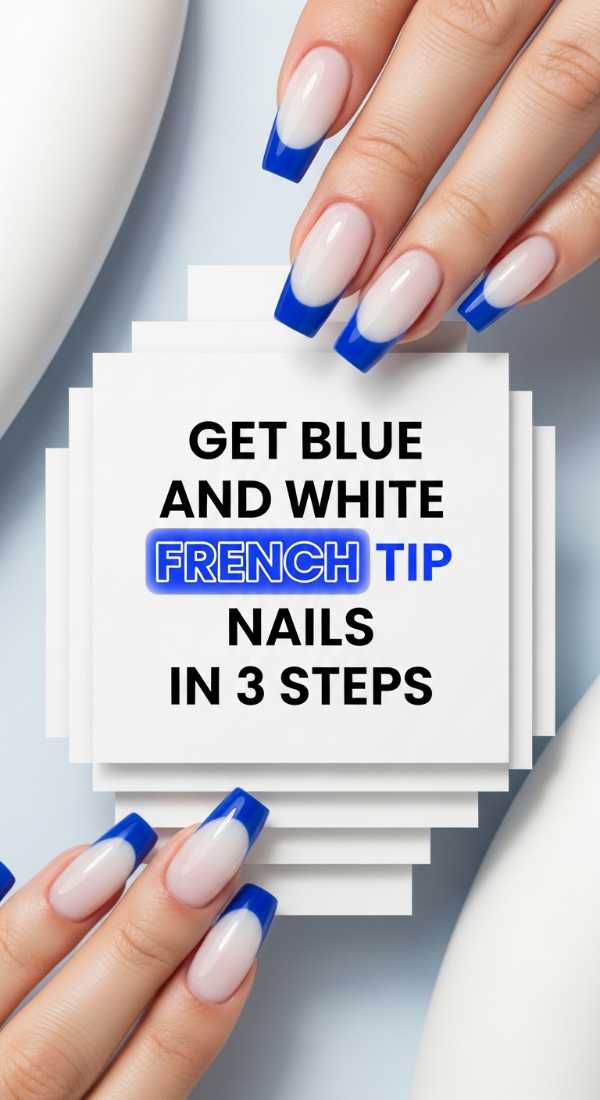
Why to love this Design:
The French manicure is a classic for a reason, but adding blue gives it such a modern, playful twist. It’s chic, professional, and just a little bit unexpected—perfect for showing off your creative side gently.
Essential Elements:
- Sheer Nude Base
- Electric Blue Polish
- French Tip Guides or Tape
How to Prepare:
- Apply your sheer nude base and wait for it to be 100% dry.
- Place the tip guides slightly below the free edge of your nail.
- Paint the tips with electric blue, then peel the tape away while the polish is still slightly tacky.
Budget Range
- Orly ‘Rose-Colored Glasses’ ($15)
- Mani-Me French Tip Guides ($5)
- China Glaze ‘Sultry Solstice’ ($8)
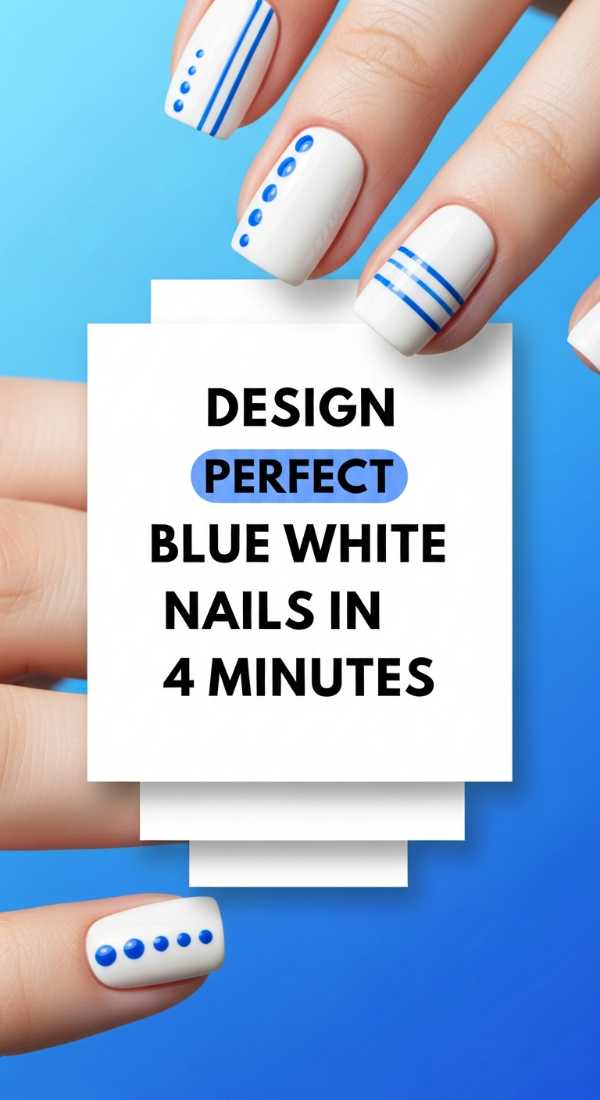
Design Perfect Blue White Nails in 4 Minutes
Why to love this Design:
We all have those days where we are rushing but still want to feel put-together. This 4-minute miracle uses the ‘marble’ technique to create a high-end look with almost zero effort. It’s art in an instant.
Essential Elements:
- Quick-dry Blue Polish
- Quick-dry White Polish
- Toothpick or Needle
How to Prepare:
- Place a few random dots of blue and white polish on the nail while they are wet.
- Quickly swirl them together with a toothpick in a ‘figure-8’ motion.
- Don’t over-mix, or it will turn grey!
- Finish with a quick-dry top coat.
Budget Range
- Sally Hansen Insta-Dri ‘Jet Setter’ ($7)
- Seche Vite Dry Fast Top Coat ($10)
6 Techniques for Blue and White Nail Designs
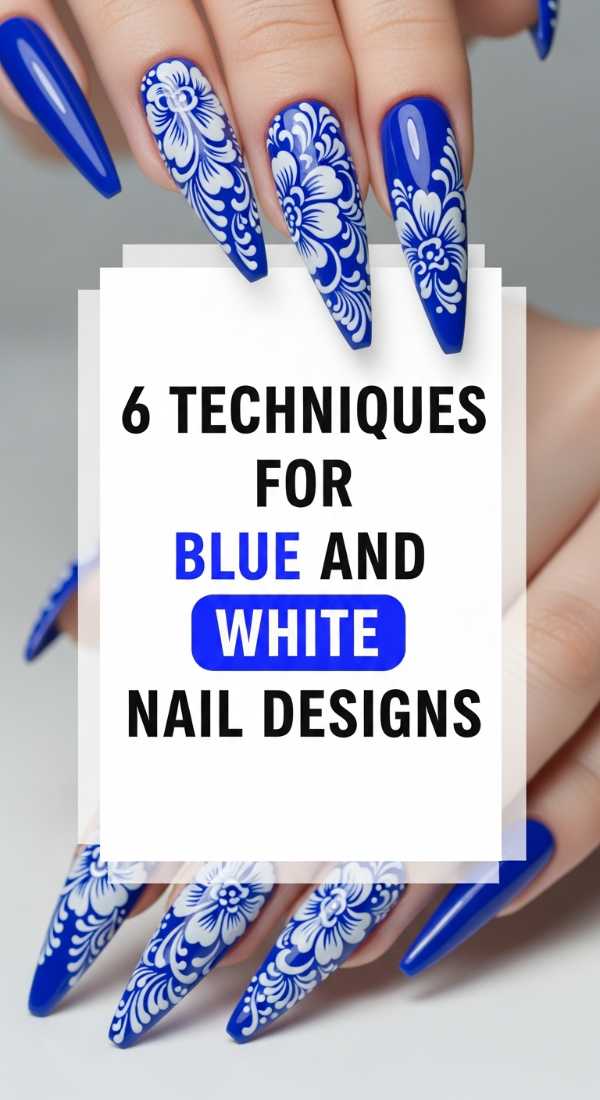
Why to love this Design:
If you love variety, this approach is for you. Mixing techniques allows you to express every facet of your personality. It’s like a tiny art gallery on your hands that showcases your skill and flair.
Essential Elements:
- Stamping Plates
- Dotting Tools
- Striping Tape
How to Prepare:
- Try ‘Stamping’ for intricate floral patterns.
- Use ‘Dotting’ for a cute polka-dot vibe.
- Use ‘Tape’ for sharp, modern angles.
- Experiment with ‘Dry Brushing’ for a distressed denim look.
- Use ‘Water Marbling’ for fluid transitions.
- Try ‘Sponge Gradients’ for sunset vibes.
Budget Range
- Born Pretty Stamping Starter Kit ($15)
- Winstonia Dotting Tool Set ($7)
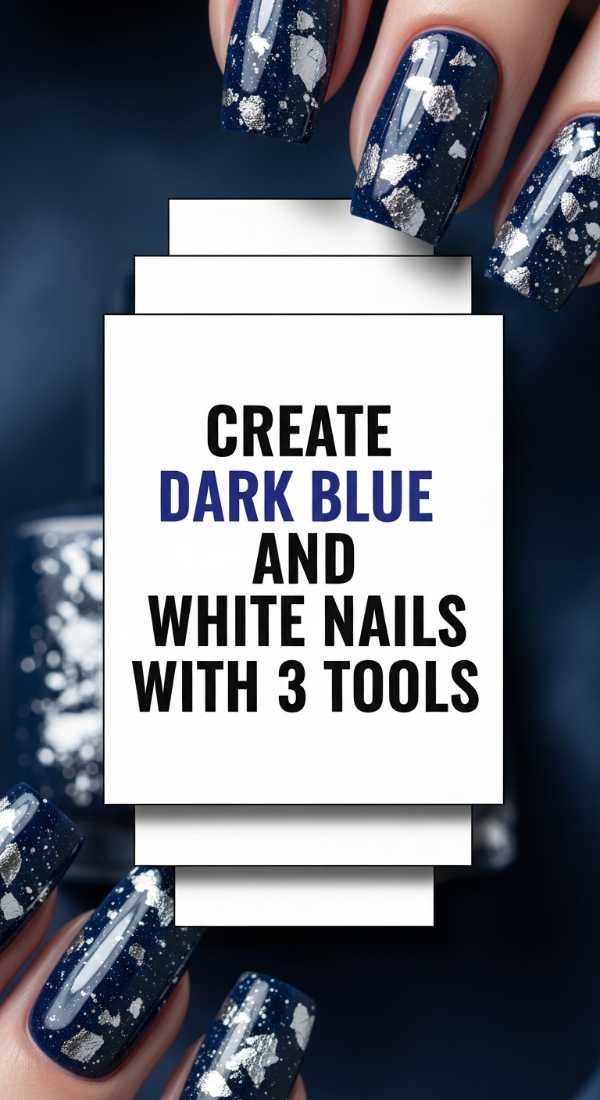
Create Dark Blue and White Nails with 3 Tools
Why to love this Design:
Dark blue and white provides the highest contrast, making it look incredibly sharp and professional. By using just three specific tools, you keep the process intentional and focused, which is so therapeutic.
Essential Elements:
- Angle Detail Brush
- Makeup Sponge
- Silicon Mat
How to Prepare:
- Create ‘decals’ on your silicon mat by painting white squares and letting them dry.
- Peel and stick them onto a dark blue base.
- Use the angle brush to clean the cuticles for a salon-perfect finish.
Budget Range
- Revlon ‘Ultra HD Blue’ ($9)
- Maniology Silicon Mat ($12)
5 Genius Blue and White Nail Ideas to Try

Why to love this Design:
Sometimes we just need a little spark of inspiration to try something new. These ideas are ‘genius’ because they use common household items to create high-fashion results. It’s about seeing the beauty in the everyday.
Essential Elements:
- Plastic Wrap (for texture)
- Blue Glitter
- White Acrylic Paint
How to Prepare:
- Crunch up plastic wrap and dab blue over white for a stone/marble effect.
- Use white acrylic paint for easier ‘freehand’ drawing before sealing with top coat.
- Apply blue glitter only at the cuticles for a ‘reverse sparkle’ look.
- Try mismatched nails (some blue, some white) for a trendy aesthetic.
- Add a tiny white heart on a blue ring finger.
Budget Range
- Holo Taco ‘Sonic Unicorn Skin’ ($13)
- Apple Barrel White Acrylic ($2)
Achieve Baby Blue and White Nails in 4 Phases

Why to love this Design:
This is the ‘Sunday Morning’ of nail art. It’s soft, gentle, and incredibly comforting. Following these four phases ensures your manicure lasts all week long, extending that feeling of peace.
Essential Elements:
- Cornflower Blue Polish
- White Polish
- Base Coat and Top Coat
How to Prepare:
- Phase 1: Prep (Buff, file, and dehydrate the nail bed).
- Phase 2: The Base (Thin layer of baby blue).
- Phase 3: The Art (Soft white swirls or ‘clouds’).
- Phase 4: The Protection (Dual layers of top coat).
Budget Range
- Butter London ‘Cotton Buds’ ($18)
- Olive & June ‘BP’ ($9)
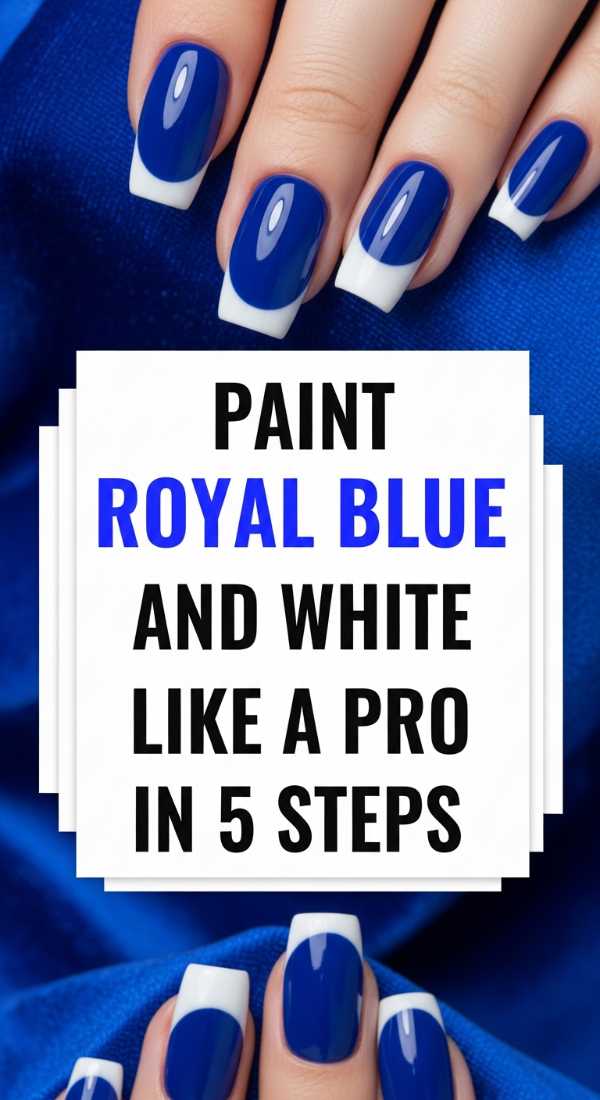
Paint Royal Blue and White Nails like a Pro in 5 Steps
Why to love this Design:
Royal blue is the color of confidence. When paired with crisp white, it looks regal and powerful. This tutorial is for my loves who are ready to take on the world while looking absolutely stunning.
Essential Elements:
- High-pigment Royal Blue
- White Gel Polish (optional for thickness)
- Nail Rhinestones
How to Prepare:
- Apply a rich royal blue base.
- Draw a ‘V’ shape starting from the sides toward the tip using white.
- Place a single rhinestone at the base of the ‘V’.
- Cure or air-dry thoroughly between layers.
- Finish with a ‘Plumping’ top coat for a gel-like look.
Budget Range
- Christian Louboutin ‘Blue’ ($50)
- Pacific ‘Royal Blue’ ($10)
- Swarovski Nail Crystals Pack ($12)
Embrace Your Inner Artist
My loves, I hope these tutorials inspire you to carve out a little time for yourself this week. Whether you choose the bold royal blue or the whisper-soft baby blue, remember that the beauty lies in the process as much as the result. Your hands do so much for you every day—they hold your loved ones, they create, they comfort. Giving them a little ‘blue and white’ love is such a beautiful way to say thank you to yourself. Stay dreamy!