
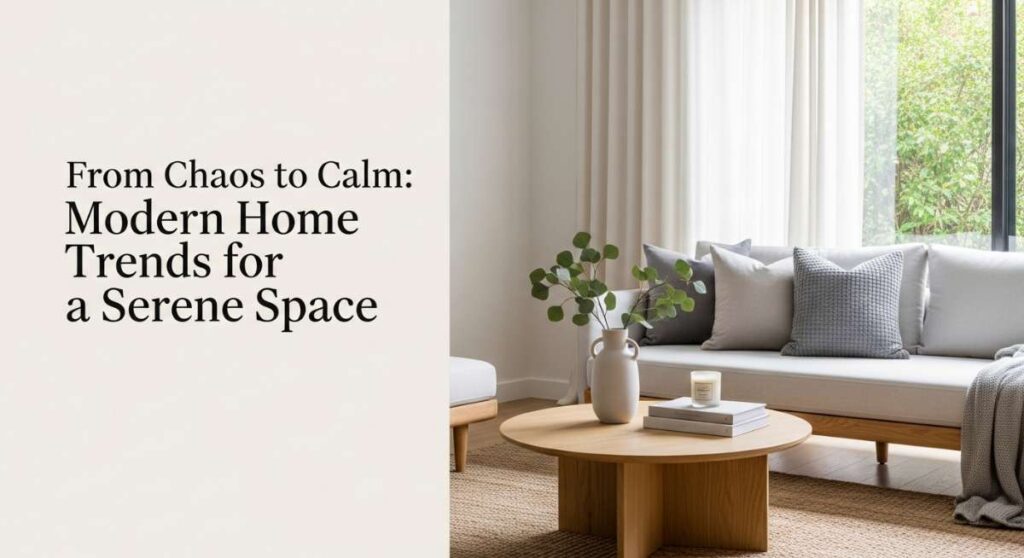
Do you ever pull into your driveway after a long day and feel a sudden weight lift off your shoulders, or is your home currently just another source of ‘to-do’ list anxiety? We’ve all been there—tripping over shoes in the entryway or staring at a cluttered desk that makes focus feel impossible. Your home should be your sanctuary, a place where the chaos of the outside world melts away into soft textures, intentional lighting, and spaces that breathe with you.
Lately, I’ve been obsessed with the idea of ‘Lifestyle Design’—the art of Curating our surroundings to reflect the peace we want to feel inside. It’s not about spending thousands on a total renovation; it’s about those intentional shifts, from the way the sun hits your desk to the rustle of a new garden lattice in the breeze. Today, we’re diving into ten transformative ways to bring that serenity home, making every corner a curated experience of calm.
How to Transform a Simple Landscaping Front Yard for Ultimate Curb Appeal

Why we love this
There is nothing quite like the feeling of pulling up to a home that greets you with a burst of life and color. A well-landscaped front yard isn’t just about property value; it’s about the sensory experience of returning to your nest. Imagine the scent of damp mulch and blooming jasmine hitting you as you step out of the car, the visual harmony of deep green boxwoods against crisp white gravel, and the soft rustle of ornamental grasses. It creates a transitional bridge between the public world and your private retreat, offering a moment of beauty before you even reach the front door.
Essential Elements:
- Hardy evergreen shrubs (like Boxwood or Yew)
- Premium dark brown or black mulch
- Natural stone edging or pavers
- Layered perennials (Lavender, Salvia, or Coneflowers)
- Solar-powered warm-toned path lights
How to make it
- Begin by defining your edge; use a garden hose to map out a fluid, curved line for your flower beds to create a more organic, calming look than harsh straight lines.
- Excavate the grass within your mapped area to a depth of 3 inches, ensuring you remove all root systems to prevent future weed breakthrough.
- Amend the soil with high-quality organic compost, tilling it into the existing earth to a depth of 6 inches to ensure your plants have the nutrients needed for vibrant growth.
- Place your ‘anchor’ plants first—these are your larger shrubs—keeping them spaced at least 3 feet from the house foundation to allow for air circulation and growth.
- Infill with smaller perennials, staggering them by height with the tallest in the back; once planted, apply a 2-inch layer of mulch, being careful not to ‘volcano’ it around the stems, which can cause rot.
- Install your path lights at 4-foot intervals, angling them slightly toward the walkway to provide a soft, welcoming glow that guides the eye toward the entrance.
How to Arrange an Office Desk Setup for a Productive Work Day

Why we love this
The psychology of a clean workspace is profound; when your desk is a mess, your mind often follows suit. A curated office setup feels like a fresh start every single morning, with the tactile satisfaction of a smooth desktop and the ergonomic comfort of a chair that supports your flow. We love the blend of tech and nature here—the cool metal of a monitor arm contrasted with the warm wood of a desk organizer. It’s about creating a ‘cockpit’ for your creativity where everything you need is within reach, but nothing unnecessary is in sight.
Essential Elements:
- Ergonomic height-adjustable desk
- Monitor riser or arm
- Cable management tray or clips
- Desk mat (felt or leather)
- Small potted plant (Snake plant or Pothos)
- Task lighting with adjustable color temperature
How to make it
- Clear the entire surface of your desk and wipe it down with a microfiber cloth; starting with a literal blank slate is essential for visual clarity.
- Position your monitor so the top third of the screen is at eye level, approximately an arm’s length away, to prevent neck strain and maintain a neutral spine.
- Center your keyboard and mouse on a high-quality desk mat; this defines your ‘action zone’ and provides a comfortable texture for your wrists during long typing sessions.
- Route all cables through a dedicated tray underneath the desk or use adhesive clips along the legs; the goal is to have zero visible ‘cable spaghetti’ hanging down, which reduces visual noise.
- Place your task light on the opposite side of your dominant hand to minimize shadows across your documents or notepad while you work.
- Add a single green plant in the corner of your vision; studies show that ‘micro-breaks’ spent looking at greenery can significantly reduce stress and improve focus.
How to Find the Best JBL Speakers Wallpapers for an Aesthetic Tech Vibe
Why we love this
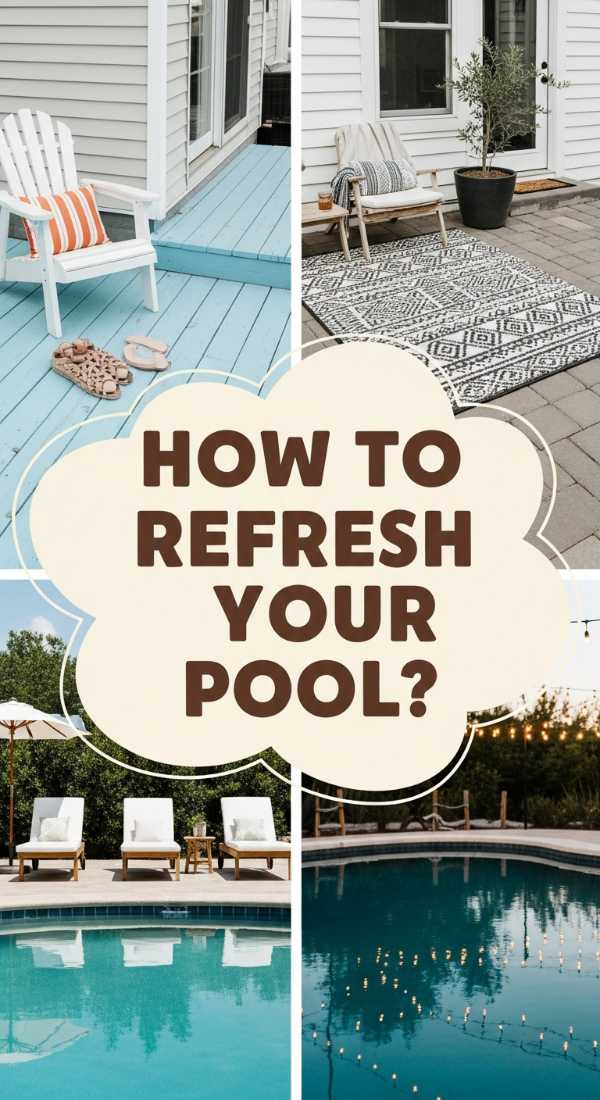
In our digital-first world, your screen is essentially a piece of furniture you look at for hours a day. Finding the perfect wallpaper that features iconic tech like JBL speakers adds a ‘lo-fi’ or ‘studio’ aesthetic to your devices that feels both modern and nostalgic. We love the way the rugged texture of a speaker grille or the glow of a status light looks when captured in high-definition photography. It brings a sense of rhythm and musical energy to your digital space, making even a spreadsheet feel a little more rhythmic and cool.
Essential Elements:
- High-resolution image sources (Unsplash, Pexels, or official brand kits)
- Photo editing app for color grading
- Aspect ratio knowledge for your specific device
- Minimalist icon packs to match
How to make it
- Search for ‘JBL macro photography’ or ‘studio aesthetic’ on high-res image repositories to find shots that focus on texture and light rather than just a product shot.
- Download the ‘Original’ or ‘4K’ resolution version to ensure there is no pixelation when the image is stretched across a large desktop monitor.
- Open the image in a basic editor and slightly lower the ‘Exposure’ and increase the ‘Contrast’—this ensures your desktop icons remain legible against the darker background.
- Adjust the ‘Temperature’ slider toward the blue side if you want a sleek, techy feel, or toward the amber side for a warm, cozy studio vibe.
- Apply the wallpaper using the ‘Fill’ setting on your computer to ensure no black bars appear on the sides, and sync the accent color of your OS to a color found within the speaker’s logo.
How to Design Cheap Pool Deck Ideas for a Budget Summer Oasis
Why we love this
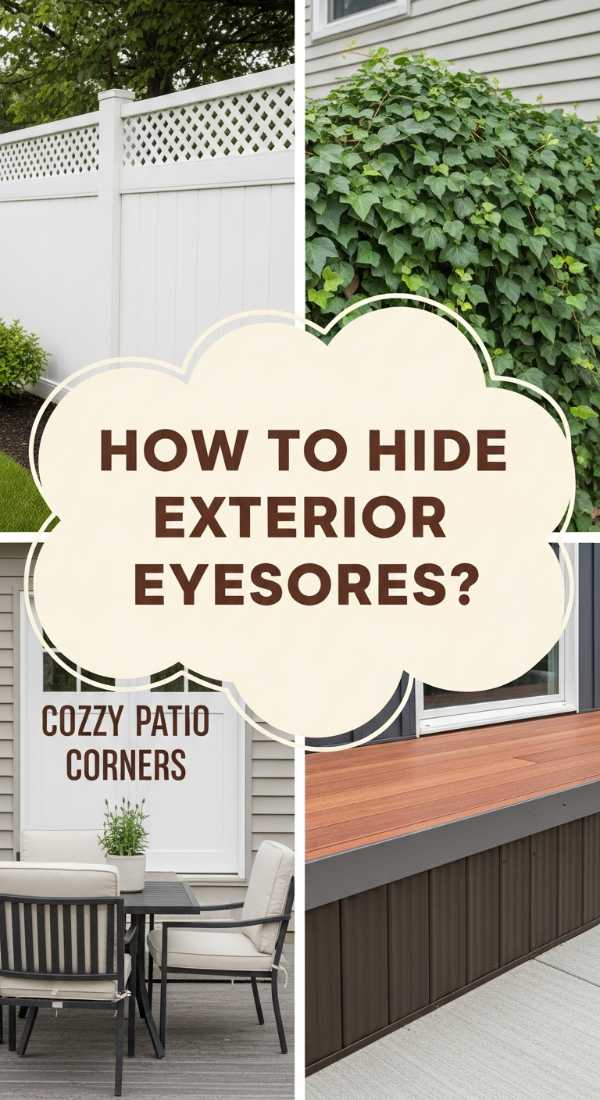
You don’t need a sprawling estate to feel like you’re at a five-star resort. A budget-friendly pool deck is all about clever materiality—the rough-hewn charm of treated timber, the softness of an outdoor rug, and the sparkle of water under the sun. It’s the ultimate setting for those slow Saturday afternoons where the only schedule is the movement of the sun. We love how a few DIY touches, like painted concrete or pallet furniture, can turn a standard backyard into a destination that feels luxurious and deeply personal.
Essential Elements:
- Interlocking deck tiles or pressure-treated wood
- Outdoor-rated weather-resistant rugs
- Strand of Edison-style string lights
- Large outdoor floor cushions
- Potted palms for a tropical touch
How to make it
- Level the ground around your pool area using a rake and a spirit level; if you are working over grass, lay down a heavy-duty weed barrier fabric first.
- Install interlocking composite deck tiles directly over the leveled ground or existing concrete; these snap together easily and provide an instant, high-end look without a professional contractor.
- Build a simple perimeter ‘bench’ using heat-treated wooden pallets; sand them thoroughly with 80-grit then 120-grit sandpaper to prevent splinters before applying a waterproof sealant.
- Layer a large, patterned polypropylene rug over the center of your new deck to define the lounging area and provide a cool surface for bare feet.
- String lights across the space using 4×4 posts secured in weighted planters; ensure the lights are at least 8 feet high to provide an ambient ‘canopy’ effect.
- Finish the space with oversized weather-proof cushions and a few potted Majesty Palms to create privacy and a lush, resort-like atmosphere.
How to Install Vinyl Lattice Panels for Privacy and Garden Charm

Why we love this
Privacy is the ultimate luxury. Vinyl lattice panels offer a gorgeous, low-maintenance way to create an ‘outdoor room’ that feels secluded and intimate. We love the play of light and shadow that the diamond pattern creates on a sunny afternoon, and how it serves as a perfect trellis for climbing roses or ivy. Unlike wood, vinyl won’t rot or peel, meaning your garden sanctuary stays looking crisp and clean year after year with nothing more than a quick spray from the hose.
Essential Elements:
- 4×8 Vinyl lattice panels
- Vinyl U-channel molding
- Stainless steel screws
- Power drill and circular saw
- Climbing plants (Clematis or Star Jasmine)
How to make it
- Measure the area between your porch posts or garden stakes, subtracting 1/4 inch from the width to allow for the vinyl’s natural expansion in the heat.
- Cut the lattice panels to size using a circular saw with a fine-tooth blade; wear safety goggles as vinyl can produce small flying shards during cutting.
- Slide the U-channel molding onto the edges of the lattice; this provides a finished, professional look and adds structural rigidity to the panel.
- Pre-drill holes through the U-channel and into your support posts; do not over-tighten the screws, as the vinyl needs room to shift slightly with temperature changes.
- Space your screws every 12 inches along the perimeter to ensure the panel doesn’t bow in high winds.
- Plant your climbers at the base of the lattice, gently weaving the initial tendrils through the bottom diamonds to ‘train’ the plant to grow upward.
How to Style Summer Table Centerpieces for a Breath of Fresh Air

Why we love this
A beautiful table is an invitation to linger over a meal and actually talk to one another. Summer centerpieces should feel effortless—like you just wandered through a meadow and gathered whatever was beautiful. We love the combination of organic textures: the crinkle of a linen runner, the cool glass of a vase, and the zesty, bright aroma of sliced citrus. It’s a sensory feast that makes even a simple Tuesday night dinner feel like a celebration of the season.
Essential Elements:
- Natural linen table runner
- Assorted glass bud vases
- Fresh seasonal blooms (Sunflowers, Zinnias, or Peonies)
- Fresh citrus (lemons or limes)
- Unscented taper candles
How to make it
- Lay down a neutral linen runner, bunching it slightly in the center rather than laying it perfectly flat to create a relaxed, ‘lived-in’ texture.
- Fill three to five glass vases of varying heights with room-temperature water and a drop of floral preservative.
- Trim your flower stems at a 45-degree angle under running water; this maximizes their surface area for water intake and keeps them vibrant for days.
- Arrange the vases in a staggered line down the center of the table, placing the tallest in the middle and smaller bud vases toward the ends.
- Slice a few lemons into rounds and place them inside the larger vases, or scatter whole citrus fruits along the runner for a pop of color and a faint, clean scent.
- Add two or three slender taper candles in simple holders to provide a warm ‘flicker’ that mimics the golden hour sun.
How to Create a Patriotic Front Porch for a Festive Summer Season

Why we love this
There’s a classic, nostalgic charm to a patriotic porch that feels like a slice of Americana. It’s about the bold contrast of navy blue, crisp white, and vibrant red against the soft backdrop of a summer afternoon. We love how this look can be both festive and sophisticated—think high-quality cotton flags snapping in the wind and the comfort of a rocking chair with a striped pillow. it evokes memories of parades, fireworks, and ice-cold lemonade, making your home the heart of the neighborhood.
Essential Elements:
- High-quality embroidered American flag
- Red and white striped outdoor pillows
- Navy blue ceramic planters
- White rocking chairs or a porch swing
- Red geraniums or white petunias
How to make it
- Clean your porch floor and railings thoroughly; a fresh, dust-free surface makes the colors of your decor pop much more effectively.
- Mount your flag holder at a 45-degree angle on a main support pillar, ensuring the flag has enough clearance to wave without hitting the roof or bushes.
- Place a pair of white rocking chairs symmetrically on the porch to create a balanced, welcoming focal point.
- Incorporate navy blue planters filled with bright red geraniums on either side of the front door; the red-blue-white triad provides a high-contrast visual that is instantly recognizable.
- Add striped pillows to the seating, ensuring they are made of ‘Solution Dyed Acrylic’ fabric so the red doesn’t fade into pink under the harsh summer sun.
- Layer a coir doormat over a larger navy-and-white patterned rug for a modern, ‘layered’ look that adds depth to the entryway.
How to Achieve a Whimsical Apartment Aesthetic for a Magical Home Feel

Why we love this
Who says we have to grow up entirely? A whimsical aesthetic turns a standard apartment into a storybook retreat. It’s about soft textures like velvet and faux fur, the magical twinkle of fairy lights reflected in ornate mirrors, and a collection of ‘curiosities’ that spark conversation. We love this style because it prioritizes joy over ‘perfection.’ It feels cozy, safe, and just a little bit enchanted—like a hidden world where the light is always soft and the vibes are always magical.
Essential Elements:
- Warm-white LED fairy lights or ‘curtain’ lights
- Vintage-style ornate gold mirrors
- Velvet throw blankets in jewel tones
- Hanging macramé plant holders
- Whimsical art prints or botanical illustrations
How to make it
- Drape fairy lights behind a sheer white curtain to create a soft, ethereal glow that blurs the lines of the room and makes it feel larger and more magical.
- Lean a large, floor-length ornate mirror against a wall; this reflects the light and ‘doubles’ your greenery, making the apartment feel like a lush indoor garden.
- Group your furniture in ‘nooks’—put a velvet chair in a corner with a small side table and a reading lamp to create a dedicated space for dreaming.
- Use Command hooks to hang macramé planters at varying heights from the ceiling; choose trailing plants like ‘String of Pearls’ for a dripping, vine-like effect.
- Mix and match vintage frames for your gallery wall, ensuring they all share one common element (like color) while varying in shape and size.
- Scent the space with a vanilla or sandalwood diffuser to add a warm, ‘old library’ or ‘forest’ aroma that completes the sensory experience.
How to Master Aquarium Setup Ideas for a Calming Underwater World
Why we love this
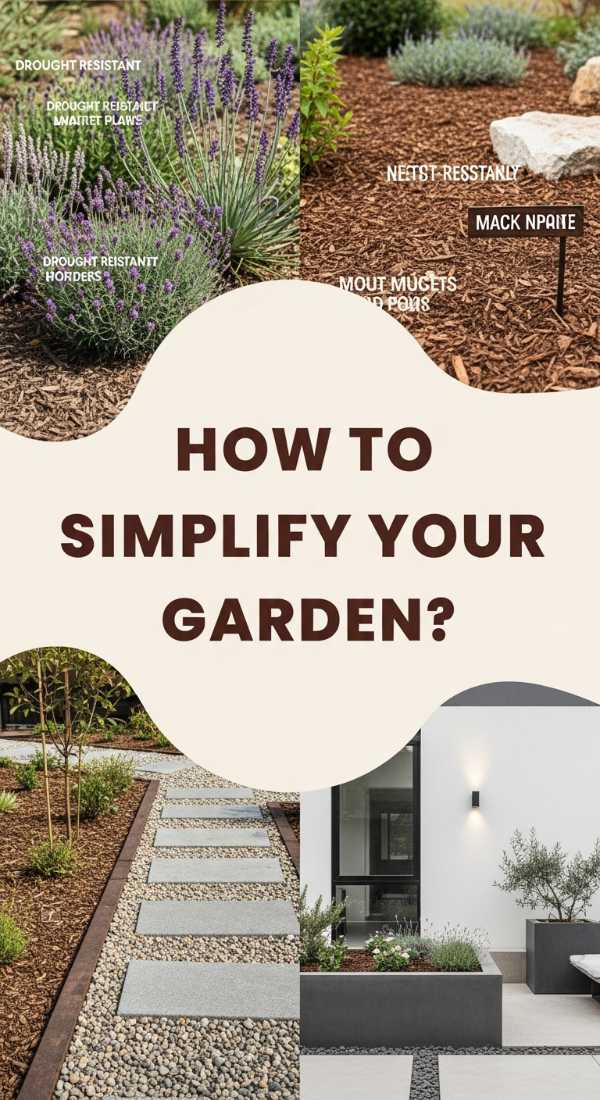
An aquarium is more than a pet habitat; it’s living art and a natural humidifier for your home. The gentle hum of the water and the rhythmic movement of fish have been scientifically proven to lower heart rates and reduce anxiety. We love the ‘aquascaping’ trend, which focuses on creating a miniature natural landscape using real stones, driftwood, and aquatic moss. It’s like having a tiny, silent forest inside your living room that you can watch for hours instead of a television screen.
Essential Elements:
- Rimless glass tank for a modern look
- Natural substrate (aquasol or fine sand)
- Spider wood or Seiryu stones
- Low-light aquatic plants (Anubias or Java Fern)
- High-quality LED aquarium light with a ‘sunset’ timer
How to make it
- Rinse your substrate thoroughly in a bucket until the water runs clear; this prevents the ‘cloudy tank’ look that can last for weeks if skipped.
- Place your ‘hardscape’ (the wood and rocks) using the ‘Rule of Thirds’—place your main focal point slightly off-center for a more natural, pleasing composition.
- Secure your plants to the wood or rocks using a tiny dab of cyanoacrylate gel (super glue) or clear fishing line; these specific plants don’t like their roots buried in sand.
- Fill the tank slowly by pouring water over a dinner plate held at the bottom; this prevents the force of the water from disturbing your carefully placed substrate and plants.
- Install a heater and filter, setting the temperature to a steady 78°F, and let the tank ‘cycle’ for at least two weeks to allow beneficial bacteria to grow before adding fish.
- Set your LED light to a timer that provides 8 hours of light per day, mimicking a natural day/night cycle to keep the plants healthy and the fish stress-free.
How to Plan Simple Landscaping Front Yard Projects for Low Maintenance
[IMAGE_10]
Why we love this
The best kind of beauty is the kind that doesn’t demand your entire weekend. Low-maintenance landscaping is for the modern homeowner who wants a ‘done’ look without the constant weeding and pruning. We love the minimalist elegance of clean stone beds and hardy perennials that return every year like clockwork. It’s about working with nature rather than against it, selecting plants that thrive in your local climate so you can spend your time enjoying the view from your porch rather than pushing a lawnmower.
Essential Elements:
- Pea gravel or river rock
- Landscape fabric (commercial grade)
- Native ornamental grasses
- Stone boulders for visual weight
- Drip irrigation kit (optional but recommended)
How to make it
- Spray any existing weeds with a vinegar-based killer and wait 48 hours; once dead, scrape the area flat with a hoe to create a smooth foundation.
- Lay down heavy-duty landscape fabric, overlapping the edges by 6 inches and securing them with metal garden staples every 2 feet to ensure no light reaches the soil.
- Cut ‘X’ shapes into the fabric only where you intend to plant; this keeps the rest of the soil covered and weed-free.
- Select native plants like ‘Little Bluestem’ or ‘Coneflowers’ which require significantly less water and are naturally resistant to local pests.
- Spread a 3-inch layer of river rock or pea gravel over the entire area; stone doesn’t decompose like mulch, so it never needs to be replaced—only topped off every few years.
- Position one or two large ‘feature’ boulders near the entrance; these add immediate maturity and ‘weight’ to the landscape without requiring a single drop of water.
Conclusion
Transforming your home from a place of chaos to a sanctuary of calm is a journey, not a weekend project. Whether you’re starting with a single whimsical corner in your apartment or overhauling your front yard for that perfect curb appeal, the goal is the same: to create a space that supports your soul. Take it one step at a time, lean into the textures and scents that make you feel at peace, and remember that your home is the canvas for the life you want to live. Happy decorating!