
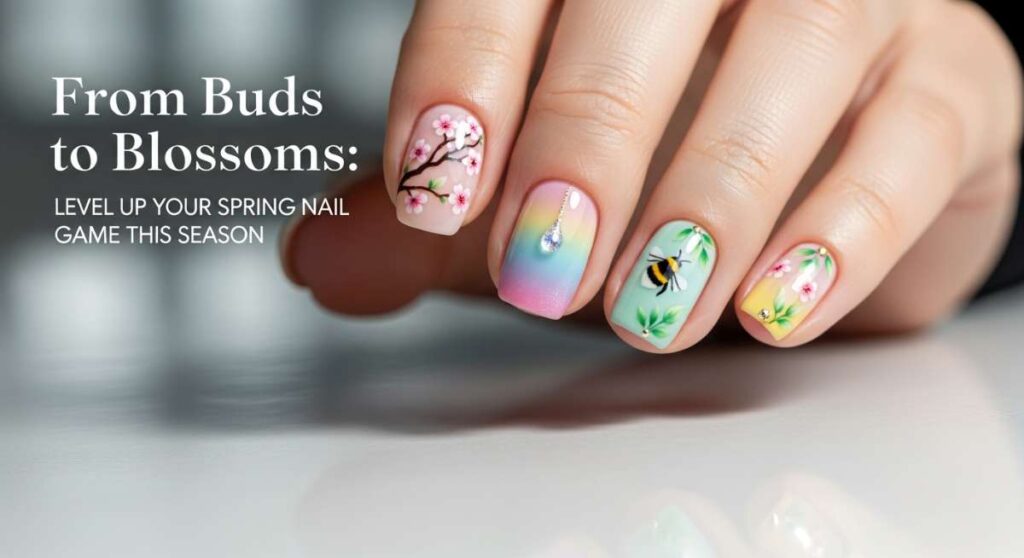
From Buds to Blossoms: Level Up Your Spring Nail Game This Season
Hello, my loves! Can you feel it? That soft, sweet shift in the air when the world finally decides to wake up from its winter slumber? There is something so magical about this time of year—the way the light lingers just a little longer and the first tiny green buds start peeking through the soil. It always makes me want to shed my heavy layers and embrace everything light, airy, and beautiful. It’s a time for renewal, and what better way to celebrate a fresh start than with a gorgeous new manicure that mirrors the blooming world outside?
I’ve spent the last few rainy afternoons tucked away in my sunroom, experimenting with colors that feel like a cloud-soft embrace and designs that make my heart flutter. Whether you’re a seasoned pro with a steady hand or someone who just loves a quiet moment of self-care with a fresh bottle of polish, this spring nail art masterclass is for you. We’re going to walk through this together, step-by-step, turning our fingertips into tiny canvases of joy. Let’s dive into these dreamy designs, shall we?
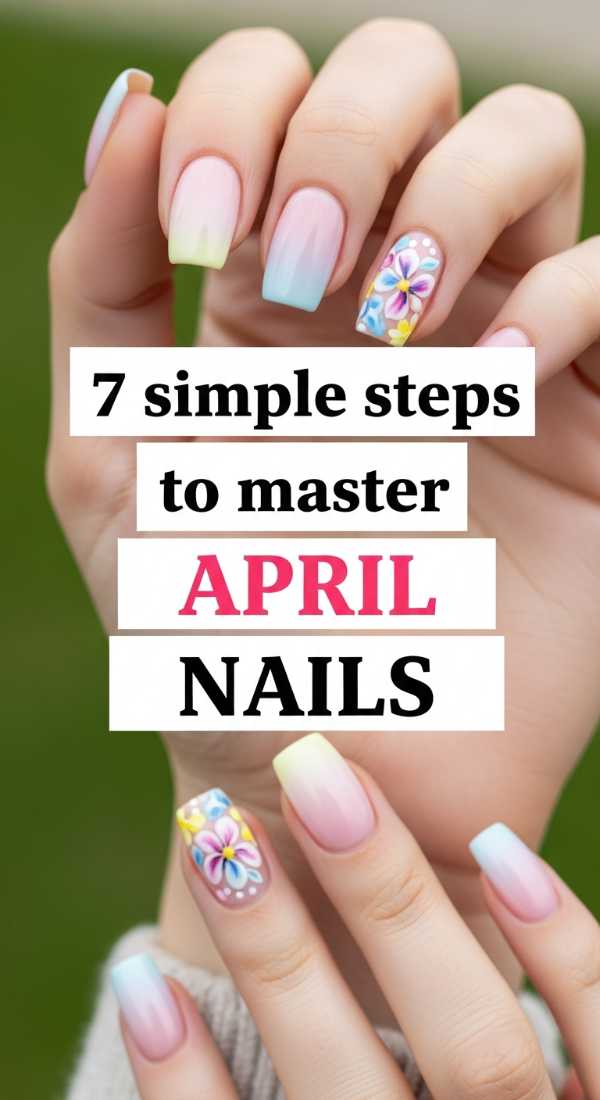
7 simple steps to master April nails
Why to love this Design:
April nails are all about capturing that transition from rain to flowers. This look celebrates the freshness of the season with soft pastels and a hint of dew-like shimmer that feels incredibly grounding yet hopeful.
Essential Elements:
- Soft sky blue polish
- Clear iridescent glitter
- Floral nail decals
- High-gloss top coat
How to Prepare:
- Clean and shape nails into a soft oval.
- Apply a nourishing base coat.
- Paint two thin layers of sky blue.
- Wait for the polish to be tacky, not wet.
- Gently place a floral decal on the ring finger.
- Dab iridescent glitter near the cuticles for a ‘dewy’ look.
- Seal everything with a thick, glossy top coat.
Budget Range
- Essie ‘Saltwater Happy’ ($10)
- Olive & June Floral Stickers ($8)
- Sally Hansen Shiny Top Coat ($6)
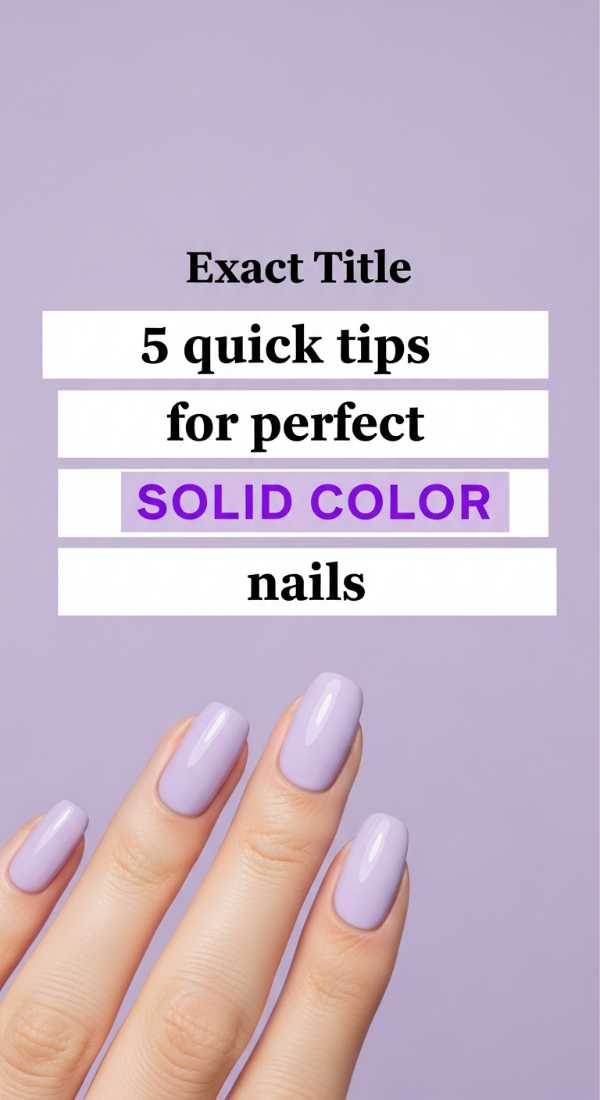
5 quick tips for perfect solid color nails
Why to love this Design:
Sometimes, my loves, the most beautiful statement is the simplest one. A flawless solid color in a spring hue is the epitome of ‘quiet luxury’ and looks so clean and intentional with every outfit.
Essential Elements:
- A creamy pastel pigment
- Quality base and top coat
- A cleanup brush
How to Prepare:
- Dehydrate the nail plate with rubbing alcohol.
- Apply a very thin layer of base coat to prevent staining.
- Apply the first coat using the ‘three-stroke’ method.
- Let it dry completely before the second coat.
- Use a small brush dipped in remover to clean the edges for a salon finish.
Budget Range
- OPI ‘It’s a Boy!’ ($11)
- Orly Bonder Base ($12)
- Angled Eyeliner Brush for cleanup ($3)
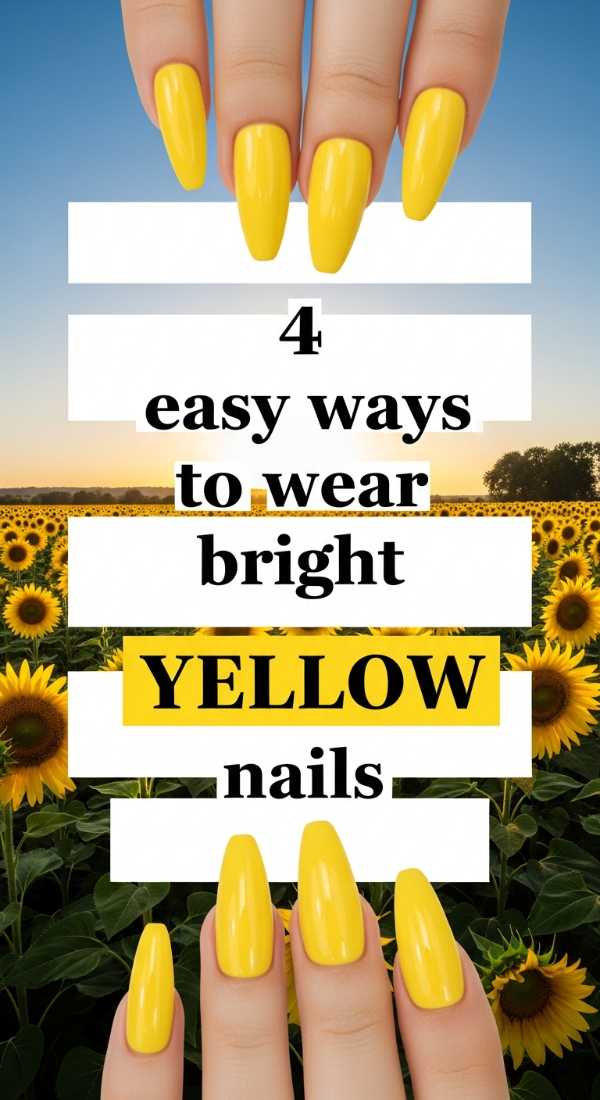
4 easy ways to wear bright yellow nails
Why to love this Design:
Yellow is literally sunshine in a bottle! It’s impossible to be grumpy when you look down and see these bright, cheerful tips. It’s bold, it’s happy, and it’s the ultimate spring mood booster.
Essential Elements:
- Opaque canary yellow polish
- Matte and glossy top coats
- White polish (as a primer)
How to Prepare:
- Apply a coat of white polish first to make the yellow pop.
- Paint two coats of your favorite yellow.
- Try a ‘Skittles’ look by using different shades of yellow on each finger.
- Experiment by finishing one nail with a matte top coat for texture.
Budget Range
- Holo Taco ‘Butterscotch Hop’ ($13)
- Wet n Wild White Polish ($2)
- Essie Matte About You ($10)
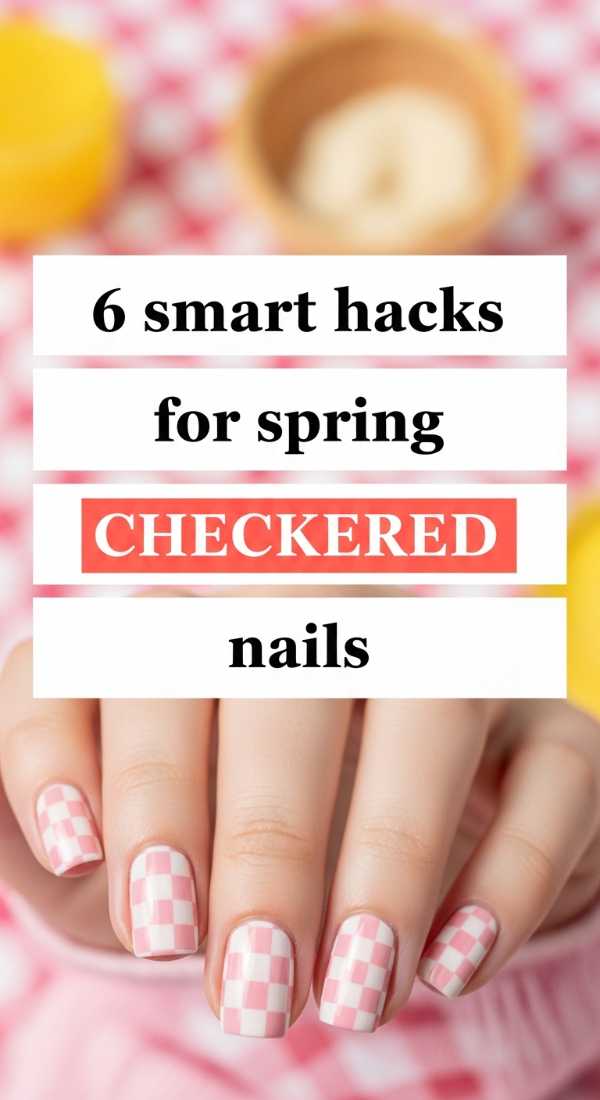
6 smart hacks for spring checkered nails
Why to love this Design:
Checkered patterns are so playful and remind me of a vintage picnic blanket spread across a field of daisies. It’s a retro-cool vibe that adds so much personality to your spring style.
Essential Elements:
- Two contrasting spring colors (like lilac and mint)
- Striping tape
- Steady hand or a grid stencil
How to Prepare:
- Paint your base color and let it dry for at least an hour.
- Place striping tape in a grid pattern over the nail.
- Paint the second color over the entire nail.
- Carefully peel the tape back while the polish is still slightly wet.
- Use a toothpick to fix any tiny bleeds.
- Finish with a generous top coat to level the surface.
Budget Range
- Nail Art Striping Tape Set ($5)
- Beetles Pastel Gel Polish Set ($15)
- Makartt Top Gel ($9)
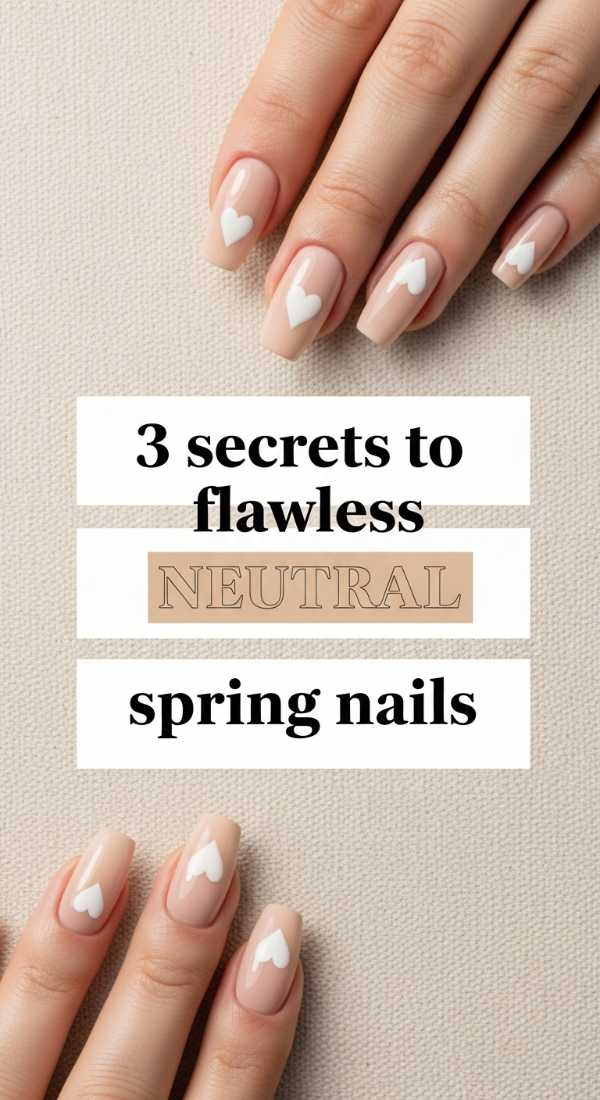
3 secrets to flawless neutral spring nails
Why to love this Design:
For my loves who adore the ‘clean girl’ aesthetic, neutral spring nails are like a soft linen sheet. They are sophisticated, timeless, and make your hands look elongated and elegant.
Essential Elements:
- Sheer beige or ‘milky’ pink polish
- A glass nail file
- Nail buffer
How to Prepare:
- Buff the nail surface to a high shine before polishing.
- Choose a shade that complements your skin’s undertone (warm vs cool).
- Apply only two sheer coats to keep the look light and airy.
Budget Range
- Zoya ‘Bela’ ($12)
- Mont Bleu Glass Nail File ($10)
- Flowery Nail Buffer ($3)
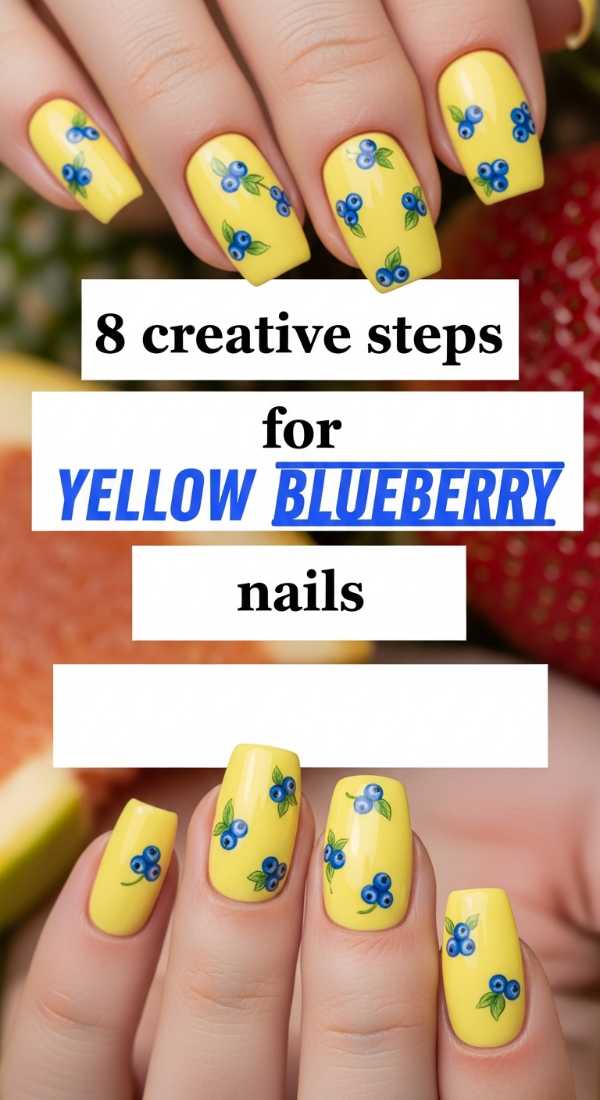
8 creative steps for yellow blueberry nails
Why to love this Design:
This is such a whimsical, cottagecore dream! The contrast between the bright yellow base and the tiny blue berries is so unexpected and darling—it’s a conversation starter for sure.
Essential Elements:
- Bright yellow base polish
- Dark blue and light blue polish
- Green polish for leaves
- Dotting tool
How to Prepare:
- Apply two coats of yellow.
- Let it dry completely.
- Use a large dotting tool to make two dark blue circles close together.
- Add a tiny light blue dot on top for a ‘highlight.’
- Use a toothpick to draw two tiny green leaves at the top of the berries.
- Repeat on 2-3 nails for an accent look.
- Add tiny white dots for ‘sparkle.’
- Seal with a smudge-free top coat.
Budget Range
- Sally Hansen Insta-Dri Yellow ($6)
- Nail Art Dotting Tools ($4)
- Acrylic Paint for details ($2 per tube)
10 professional tricks for trendy April nails

Why to love this Design:
If you want that ‘just stepped out of a high-end boutique’ look, these professional tricks are your secret weapon. It’s about the technique that makes even a simple design look expensive.
Essential Elements:
- Cuticle pusher
- 91% Isopropyl alcohol
- Lint-free wipes
- Quality cuticle oil
How to Prepare:
- Push back cuticles gently after a warm shower.
- Remove ‘hidden’ cuticle skin from the nail plate.
- Wipe with alcohol to remove all oils.
- Always use a base coat to prevent yellowing.
- Cap the free edge of your nail with every layer.
- Keep layers paper-thin.
- Wait 2 minutes between coats.
- Use a fan to speed up drying (not a hair dryer!).
- Apply cuticle oil only AFTER the polish is dry.
- Re-apply top coat every 3 days.
Budget Range
- Cuccio Revitalize Cuticle Oil ($14)
- Blue Cross Cuticle Remover ($6)
- Lint-free Wipes ($7)
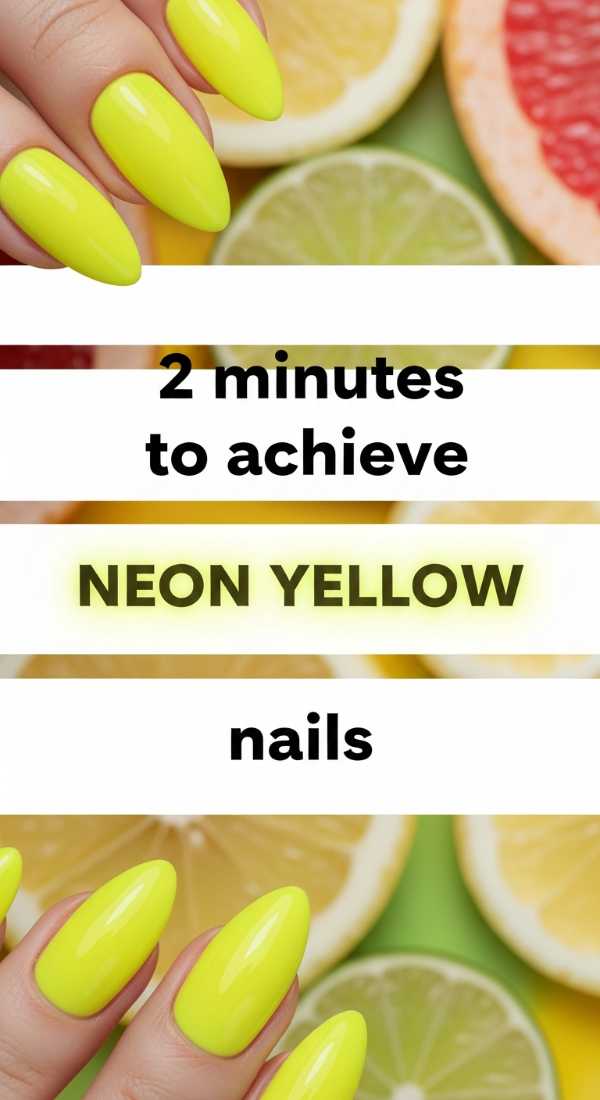
2 minutes to achieve neon yellow nails
Why to love this Design:
For the girl on the go who still wants to make an impact! Neon yellow is electric and fun. This method is all about high-speed vibrance for those busy spring days.
Essential Elements:
- Fast-drying neon polish
- White base coat
How to Prepare:
- Swipe a quick-dry white base coat (it makes the neon pop instantly).
- Apply one thick, smooth coat of neon yellow.
Budget Range
- Orly ‘Electric Jungle’ ($10)
- Pop-arazzi White Polish ($3)
5 best methods for chic neutral spring nails
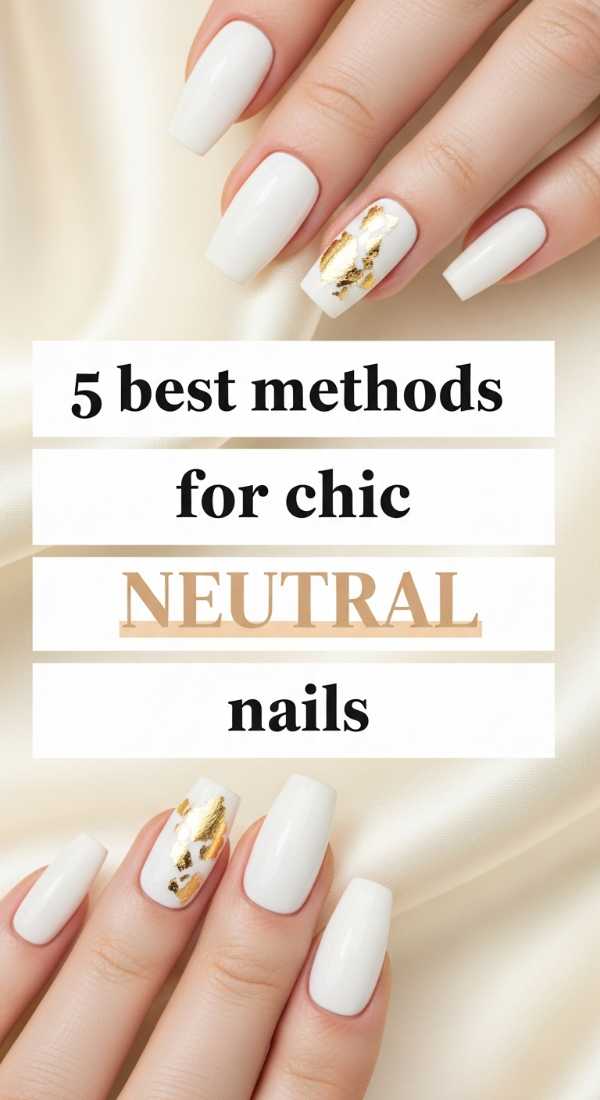
Why to love this Design:
Neutral doesn’t have to be boring! These methods add a bit of ‘chic’ to your natural look, making your nails look polished and professional yet effortless.
Essential Elements:
- Mauve, taupe, or cream polish
- Makeup sponge (for ombre)
- Matte top coat
How to Prepare:
- The Ombre Method: Sponge a lighter neutral onto the tips.
- The French Tip: Use a sheer pink base with a cream tip.
- The Matte Mix: Use matte on four nails and glossy on one.
- The Accent Dot: One tiny gold dot at the base of a neutral nail.
- The Negative Space: Leave a small half-moon at the base unpainted.
Budget Range
- Butter London ‘Nude Mood’ Set ($25)
- Wedge Makeup Sponges ($4)
- Essie ‘Spin the Bottle’ ($10)
9 simple stages for DIY checkered nails
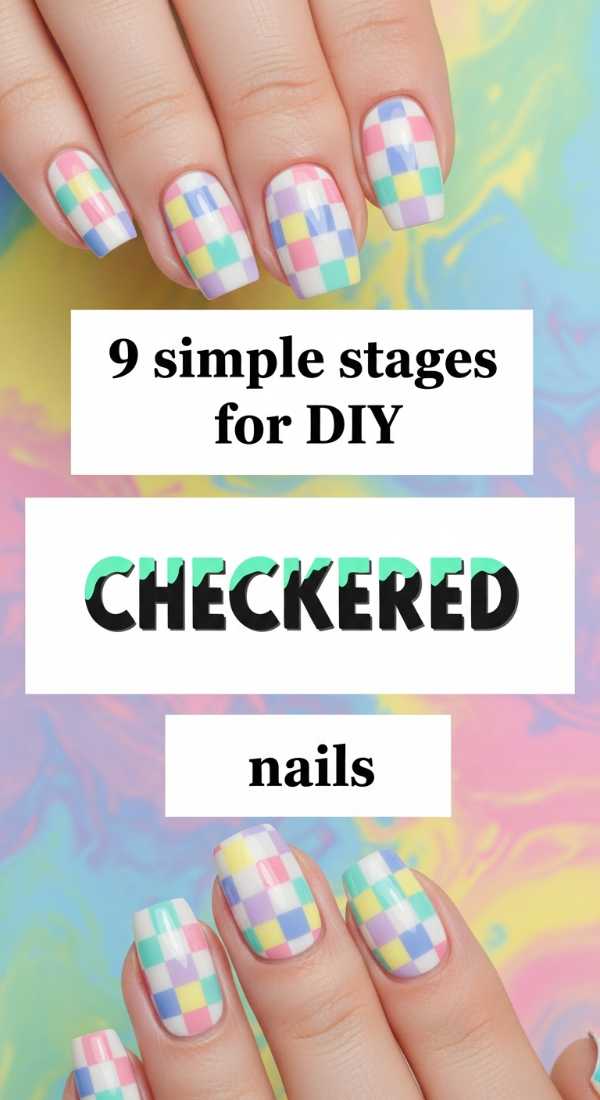
Why to love this Design:
There is such a sense of pride in saying “I did this myself!” This DIY approach to checkers is slow, intentional, and yields the most charming, perfectly imperfect results.
Essential Elements:
- Fine detail brush
- Two pastel polishes
- Patience!
How to Prepare:
- Paint a solid base coat.
- Decant a drop of the second color onto foil.
- Draw a vertical line down the center.
- Draw two more vertical lines on the sides.
- Draw a horizontal line across the middle.
- Add two more horizontal lines.
- Fill in every other square like a chessboard.
- Touch up the lines with the base color if needed.
- Seal with a thick top coat to smooth the ridges.
Budget Range
- Precision Nail Art Brushes ($6)
- Revlon Enamel Polish ($7)
- Aluminum Foil (Kitchen staple!)
Embrace Your Inner Bloom
I hope these ideas inspire you to take a little time for yourself this week, my loves. Painting your nails isn’t just about the color; it’s about the ten or twenty minutes where you get to sit still, breathe, and create something beautiful just for you. Whether you go for the bold sunshine yellow or the soft, quiet neutrals, remember that like the flowers outside, you are meant to bloom in your own time and in your own gorgeous way. I can’t wait to see your spring creations—tag me in your photos and let’s spread some color together!