
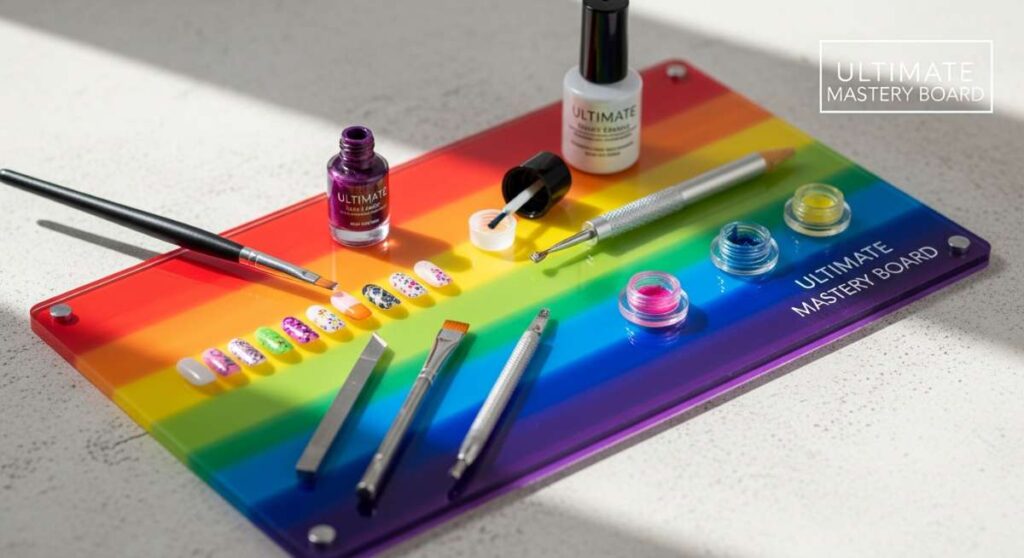
From Basic to Brilliant: Transforming Your Nails with the Ultimate Mastery Board
Hi loves, welcome back to my little corner of the internet. There is something so incredibly soothing about sitting down with a warm cup of herbal tea, putting on your favorite playlist, and spending a quiet hour just pampering yourself. For me, nail art has become a form of meditation—a way to color my world when things feel a bit grey. I used to think I needed a professional salon to get those dreamy, vibrant looks, but I’ve learned that the magic is actually in our own hands.
Today, I am so excited to share my Ultimate Colorful Nail Art Mastery Board with you. Think of this as a cloud-soft embrace for your creativity. Whether you are a total beginner or a seasoned pro looking for fresh inspiration, these ‘recipes’ for beautiful nails are designed to make you feel confident, artistic, and completely brilliant. Let’s dive into this colorful journey together!
5 Easy Steps for Two Color Nails
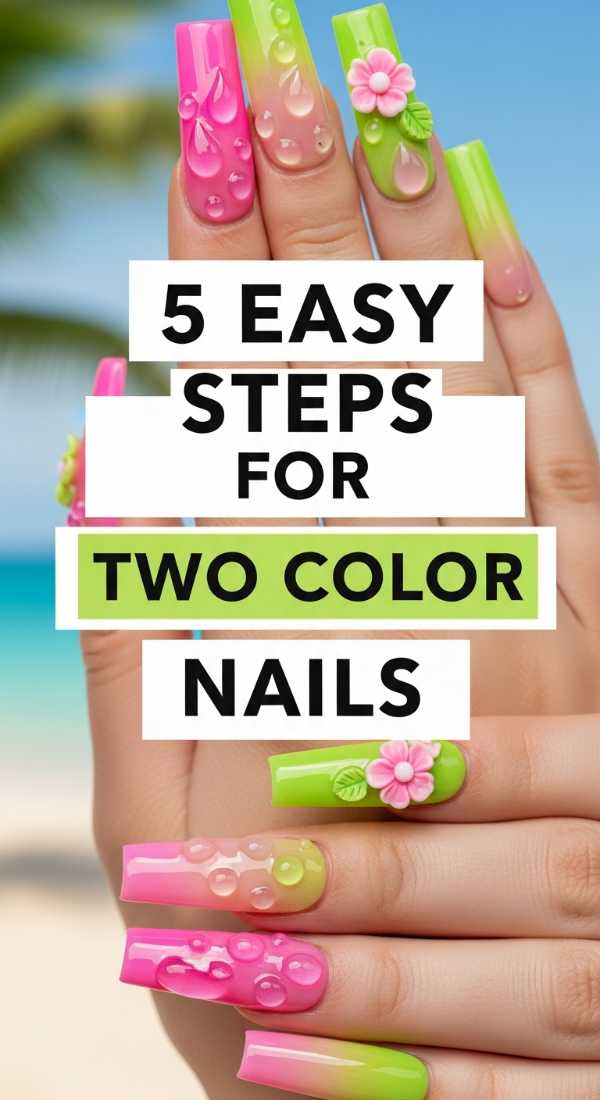
Why to love this recipe:
This recipe is like a gentle hug for your hands. It’s the perfect way to dip your toes (or fingers!) into the world of nail art without feeling overwhelmed by complex tools. It creates a clean, sophisticated look that feels intentionally styled but remains wonderfully simple to achieve on a lazy Sunday afternoon.
Essential Ingredients:
- Two complementary polish colors (e.g., soft lavender and deep plum)
- Base coat and top coat
- Nail guide tape or masking tape
- Nail polish remover and a small cleanup brush
How to Prepare:
- Apply your base coat to protect your natural nails.
- Paint the entire nail with your lighter base color and let it dry completely.
- Place a piece of tape across the nail to section off where you want the second color.
- Apply the darker color to the exposed half of the nail.
- Peel the tape away while the polish is still slightly tacky and seal with a top coat.
Budget Range
- Essie Glossy Shine Top Coat: $10
- OPI Nail Lacquer: $11
- Washi Tape: $3
Apply Your Color Street Nails in 3 Minutes
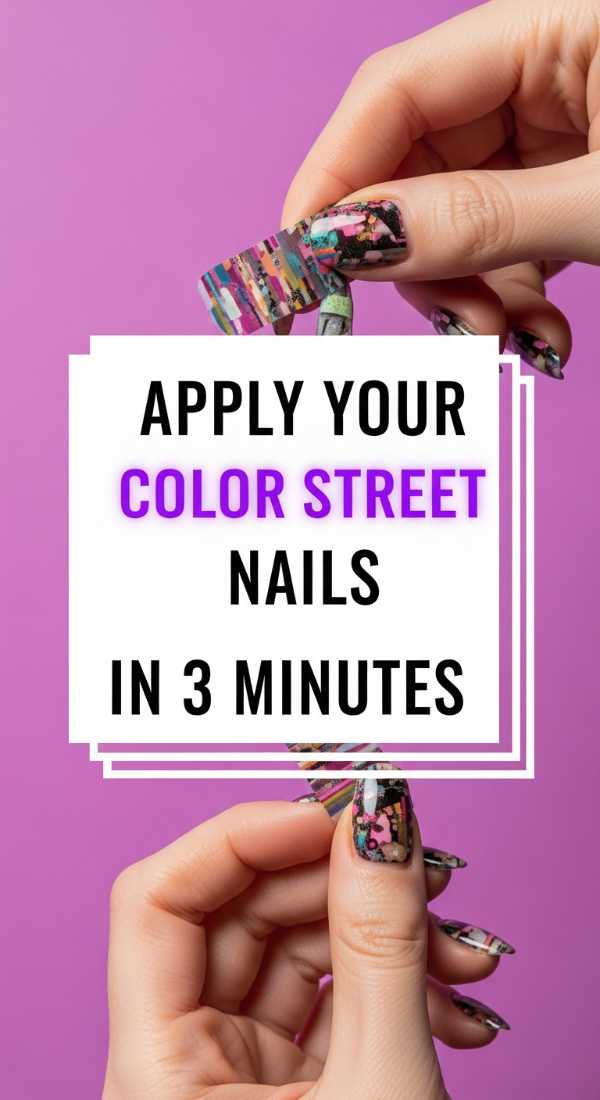
Why to love this recipe:
Loves, we all have those chaotic mornings where we need to look polished in a pinch. This recipe is your secret weapon for a salon-quality manicure when you’re short on time. It’s mess-free, stress-free, and yields results that look like you spent hours at the studio.
Essential Ingredients:
- Color Street nail strips
- Alcohol prep pads
- Nail file (usually included)
- A cuticle pusher
How to Prepare:
- Cleanse your nails thoroughly with an alcohol prep pad to remove oils.
- Select the strip size that best fits your nail.
- Peel the clear plastic cover and the paper backing away.
- Apply the strip to the nail, stretching gently for a smooth fit.
- Crease the strip over the nail edge and file downward to remove the excess.
Budget Range
- Color Street Set: $11-$14
- Glass Nail File: $7
Create 7 Vibrant Nails Colorful Designs
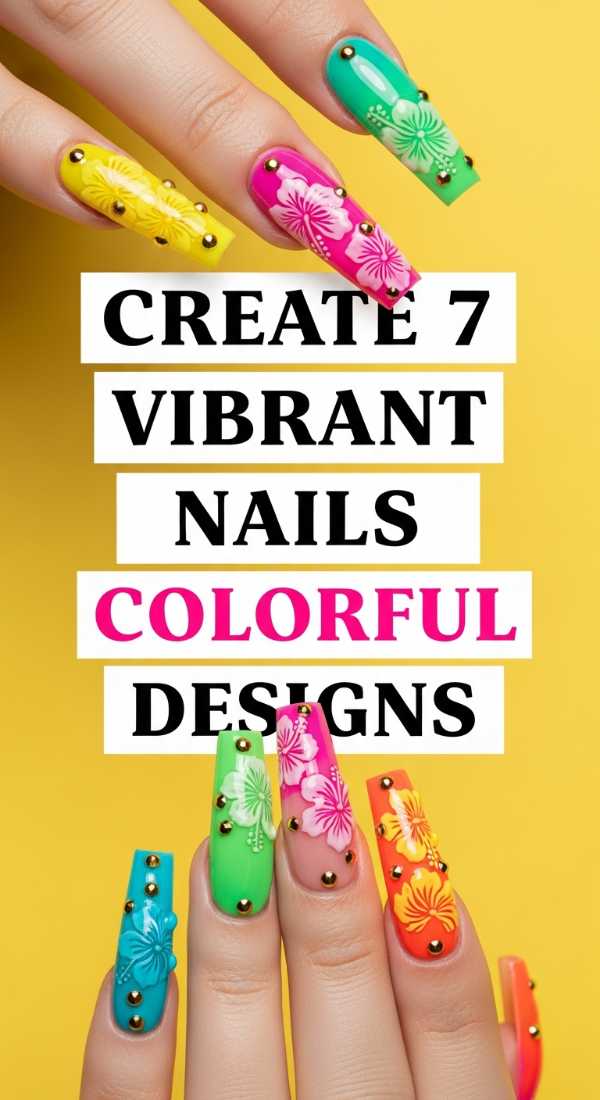
Why to love this recipe:
This is for the days when you want your personality to shine as bright as a rainbow. These designs are high-energy and joyful, turning your fingertips into a tiny gallery of modern art. It’s about celebrating every hue in the box and letting go of perfection.
Essential Ingredients:
- A set of 7 rainbow polishes
- A fine detailing brush
- A dotting tool
- Matte and glossy top coats
How to Prepare:
- Choose a different vibrant base for each finger to create a mismatched ‘skittle’ look.
- On the thumb, use the detailing brush to draw tiny daisies.
- Add delicate polka dots using the dotting tool on the index finger.
- Create a ‘blob’ art design on the middle finger by layering three colors.
- Paint a mini rainbow arch on the ring finger.
- Use a dry brush technique for a textured look on the pinky.
- Finish with a high-shine top coat to make the colors pop.
Budget Range
- Holler and Glow Polish Set: $15
- Generic Dotting Tool Set: $5
Style Your Multicolor Nails in 4 Easy Ways
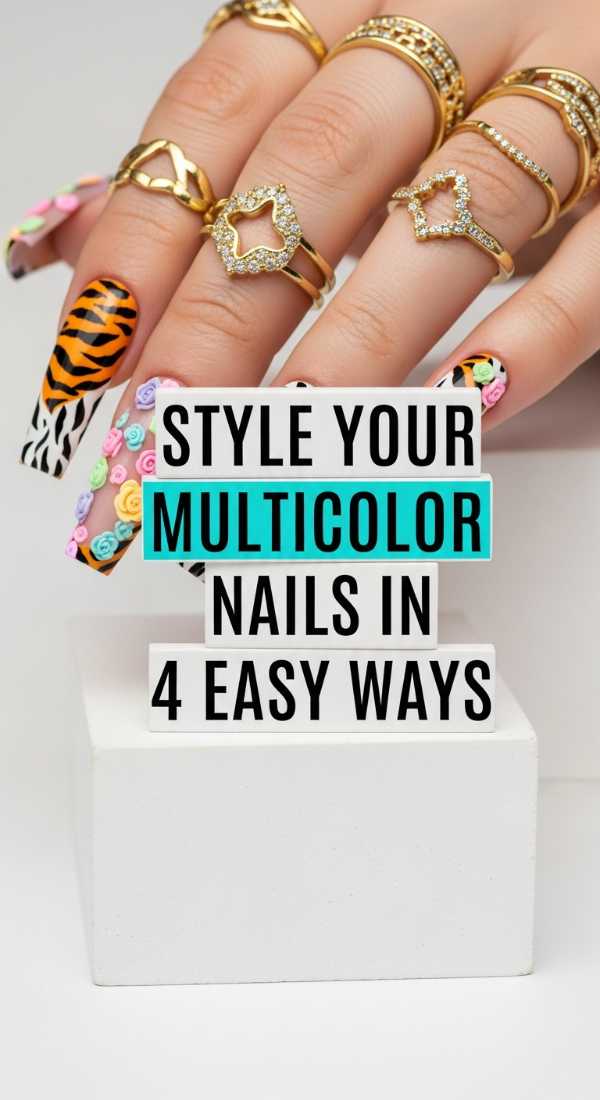
Why to love this recipe:
Styling multicolor nails is all about balance and harmony. This recipe teaches you how to wear multiple shades without it feeling cluttered. It’s like finding the perfect outfit—once you know the ‘how,’ everything just clicks into place beautifully.
Essential Ingredients:
- 3-5 harmonizing shades (like a sunset palette)
- A makeup sponge
- Liquid latex (for easy cleanup)
- A gold striping tape
How to Prepare:
- Option 1: The Gradient – Sponge three colors together for a seamless transition.
- Option 2: The Accent – Keep four nails neutral and one nail a wild multicolor mix.
- Option 3: The Half-and-Half – Use striping tape to divide the nail vertically into two bold shades.
- Option 4: The Abstract – Swipe three colors randomly across the nail for a painterly effect.
Budget Range
- Sally Hansen Insta-Dri Polishes: $6 each
- Beauty Sponges: $4
Find 10 Unique Colorful Nail Inspo Looks
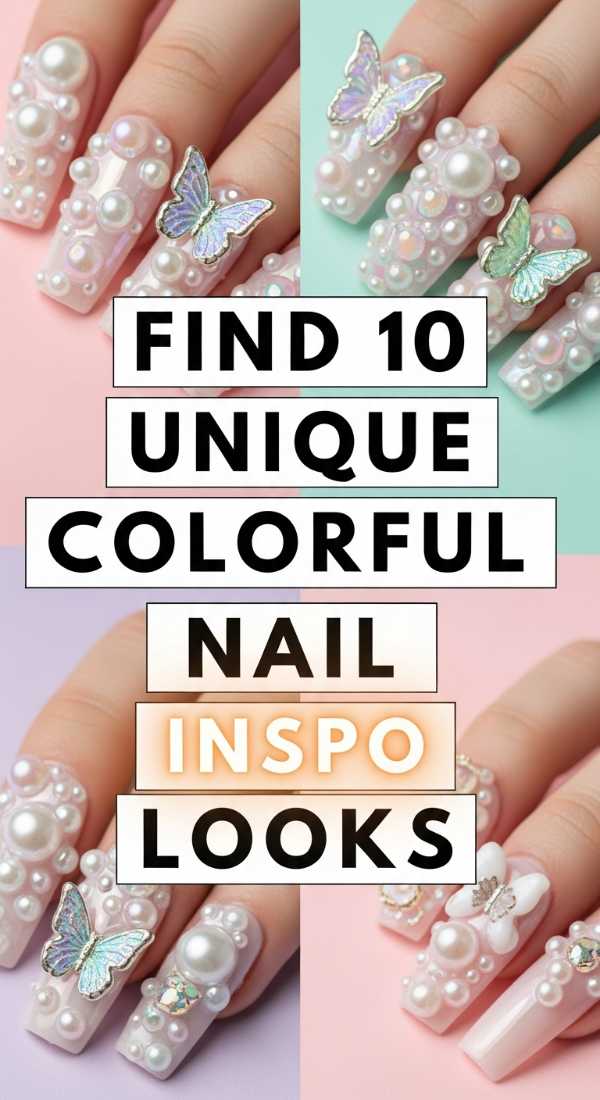
Why to love this recipe:
Sometimes we just need a spark of imagination to get started. This ‘recipe’ is more of a curated mood board to help you discover your personal nail aesthetic. It’s about exploring textures, finishes, and color stories that speak to your soul.
Essential Ingredients:
- Pinterest or Instagram for reference
- A notebook for sketching ideas
- A variety of finishes (chrome, holographic, cream)
- Patience and an open mind
How to Prepare:
- Look for ‘Negative Space’ designs using bright neons.
- Explore ‘Velvet Nails’ using magnetic polishes.
- Try ‘Jelly Nails’ for a translucent, candy-like finish.
- Experiment with ‘Tortoiseshell’ patterns mixed with bright oranges.
- Mix metals—try silver and gold together.
- Look at ‘Mismatched French’ tips.
- Try ‘Cow Print’ in pastel colors.
- Experiment with ‘Aura Nails’ using a sponge.
- Consider ‘Fruit Art’ like tiny cherries or lemons.
- Try ‘Geometric Blocking’ with contrasting primary colors.
Budget Range
- ILNP Holographic Polish: $10
- Nail Art Inspiration Book: $15
Shape 3 Perfect Colourful Acrylic Nails Sets
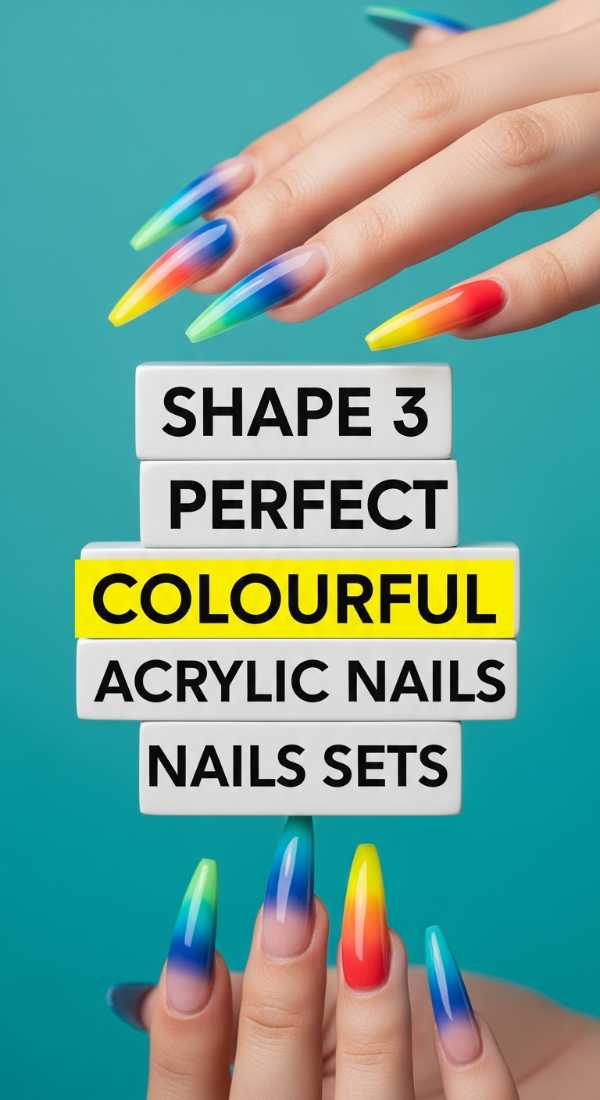
Why to love this recipe:
Acrylics offer a canvas that is larger and sturdier, allowing for incredible architectural beauty. This recipe focuses on the foundation—the shape—which is the secret to making any color look expensive and professional. It’s about structure meeting style.
Essential Ingredients:
- Acrylic powder and liquid monomer
- Nail forms or tips
- A high-grit nail file and buffer
- Cuticle oil
How to Prepare:
- The Almond: Taper the sides and round the tip for a delicate, elongating look.
- The Coffin: Taper the sides but file the tip perfectly flat for a modern, edgy vibe.
- The Square: Keep the sides straight and the tip flat for a classic, powerful silhouette.
Budget Range
- Mia Secret Acrylic Kit: $25
- Professional Nail File Set: $8
Design 6 Fierce Colorful Stiletto Nails Ideas
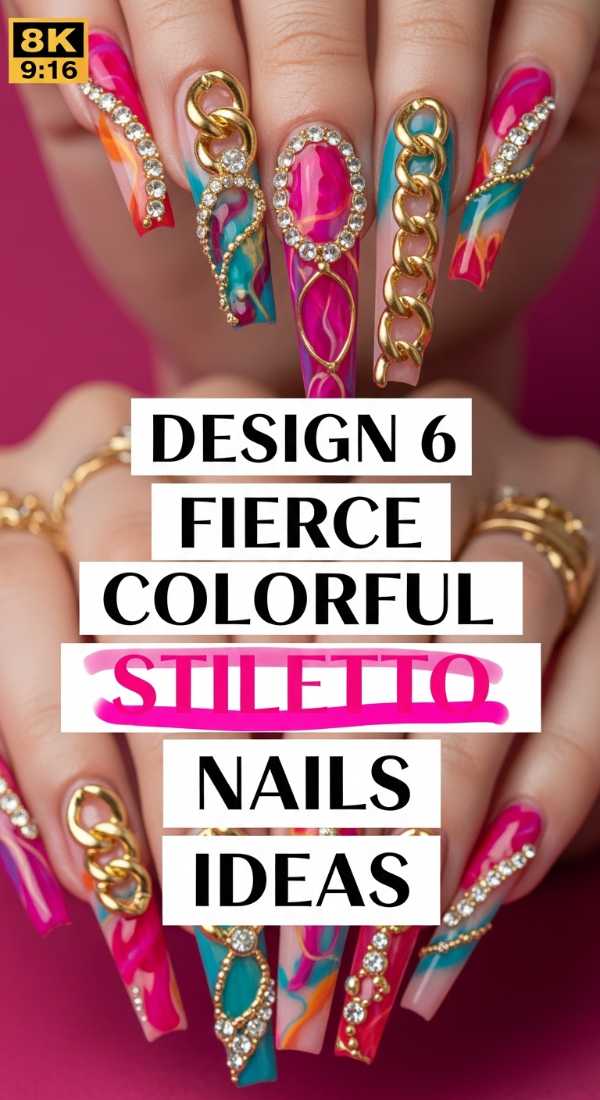
Why to love this recipe:
Stiletto nails are the ultimate statement of confidence. This recipe is for my bold loves who aren’t afraid to take up space. It’s fierce, it’s dramatic, and it transforms your hands into a stunning accessory that demands attention.
Essential Ingredients:
- Long stiletto nail tips
- Strong nail glue
- Bold neon polishes
- 3D charms or rhinestones
How to Prepare:
- Apply the tips and ensure they are symmetrical and sharp.
- Design 1: Neon Ombre from yellow to pink.
- Design 2: Flame art using a detailing brush.
- Design 3: Drip art (like melting paint) in contrasting colors.
- Design 4: Encapsulated glitter within the acrylic.
- Design 5: Animal print over a bright base.
- Design 6: Full crystal embellishment on a single ‘fierce’ nail.
Budget Range
- Makartt Nail Tips: $10
- Rhinestone Picker Tool: $6
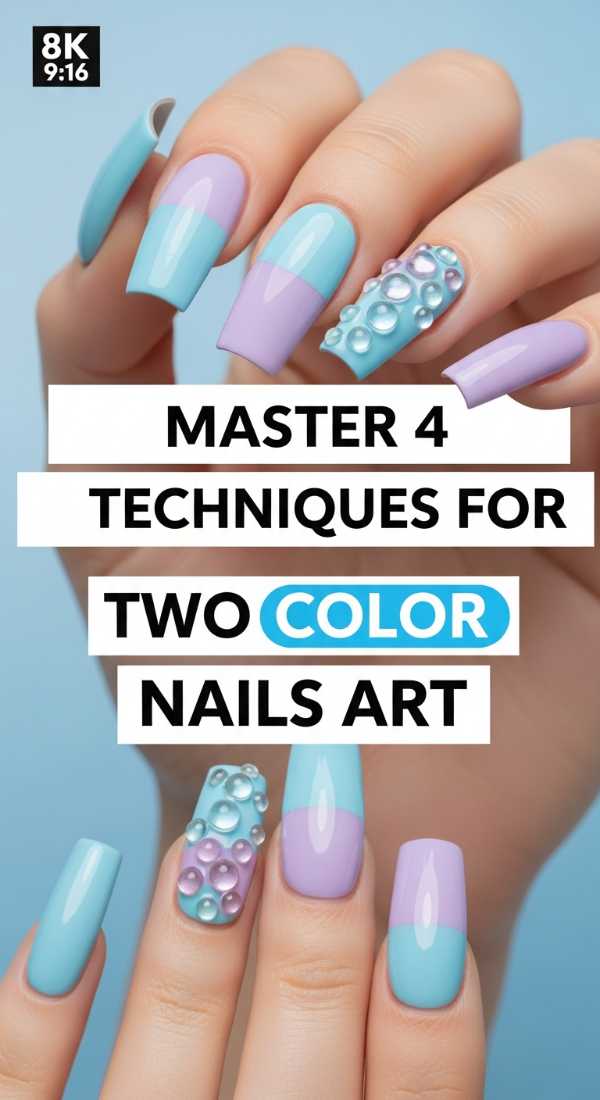
Master 4 Techniques for Two Color Nails Art
Why to love this recipe:
Once you master the technique, the possibilities are endless. This recipe is like learning the basic chords on a guitar; once you know them, you can play a thousand songs. It’s about building your skill set one beautiful swipe at a time.
Essential Ingredients:
- Two high-contrast polishes
- A thin striping brush
- A clean makeup sponge
- Stamping plates and a stamper
How to Prepare:
- Technique 1: Sponging – Create a soft ombre blend.
- Technique 2: Striping – Use a thin brush to create crisp, clean lines.
- Technique 3: Stamping – Transfer a complex pattern from a plate onto your nail.
- Technique 4: Marbling – Swirl two colors together on a palette before applying.
Budget Range
- MoYou London Stamping Starter Kit: $20
- Detailing Brushes: $7
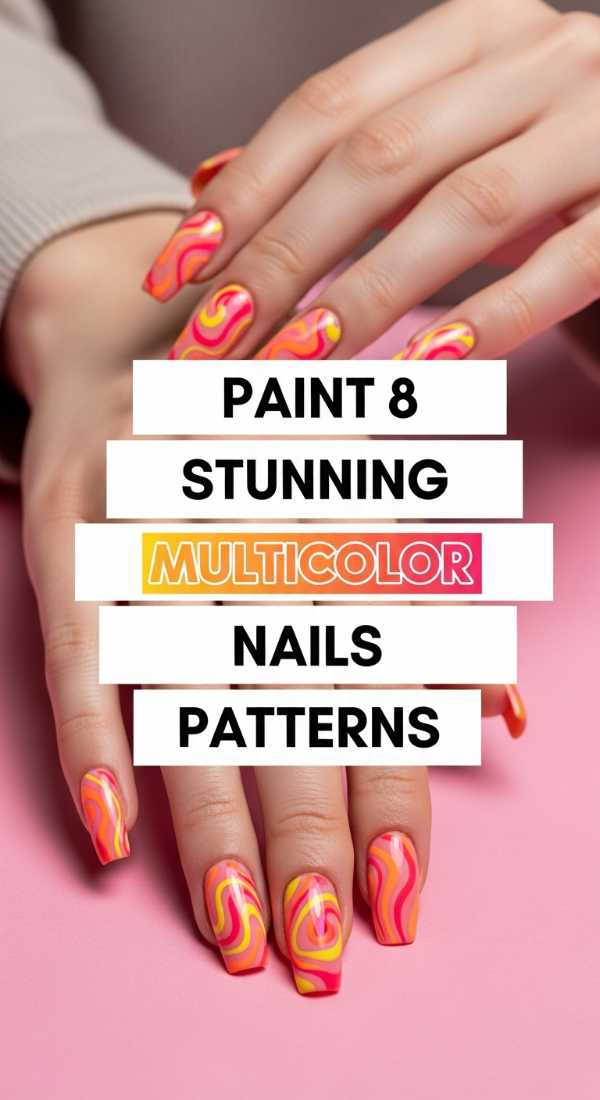
Paint 8 Stunning Multicolor Nails Patterns
Why to love this recipe:
Patterns bring a sense of rhythm and texture to your nails. This recipe is a playground for your inner artist, offering ways to mix dots, lines, and shapes into a cohesive and stunning multicolor tapestry that looks far more complicated than it actually is.
Essential Ingredients:
- A palette of at least 5 colors
- Fine liners and dotting tools
- Matte top coat
- Gold leaf flakes
How to Prepare:
- Pattern 1: Checkerboard in alternating pastels.
- Pattern 2: Micro-floral using tiny dots.
- Pattern 3: Vertical pinstripes.
- Pattern 4: Abstract terrazzo stone effect.
- Pattern 5: Evil eye designs.
- Pattern 6: Retro swirls from the 70s.
- Pattern 7: Geometric triangles at the base.
- Pattern 8: Leopard print in ‘unnatural’ colors like teal and orange.
Budget Range
- Modelones Gel Polish Set: $20
- Gold Leaf Foil: $5
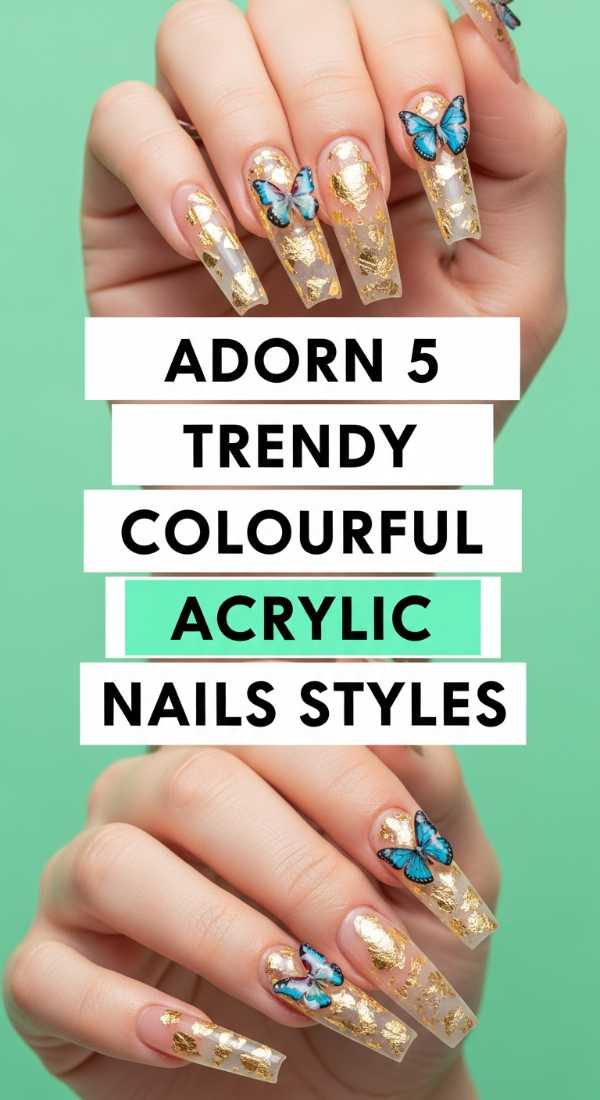
Adorn 5 Trendy Colourful Acrylic Nails Styles
Why to love this recipe:
Staying on trend is about more than just fashion; it’s about participating in the cultural conversation of beauty. This recipe gives you the latest ‘it-girl’ looks that are currently taking over social media, ensuring your acrylics are always ahead of the curve.
Essential Ingredients:
- Gel polish in ‘trending’ shades (bottega green, barbie pink)
- Chrome powder
- 3D gel for texture
- Matte top coat
How to Prepare:
- Style 1: The ‘Clean Girl’ colorful French (thin, vibrant tips).
- Style 2: 3D ‘Jelly’ textures—adding raised drops of clear gel.
- Style 3: Glazed donut finish over a bright color.
- Style 4: Aura nails with a dark border.
- Style 5: Velvet/Cat-eye effect in a deep jewel tone.
Budget Range
- Chrome Powder Kit: $12
- Saviland 3D Builder Gel: $10
Wrapping Your Nails in Love
My loves, I hope this mastery board feels like a breath of fresh air for your self-care routine. Remember, your nails are your smallest canvas, and there are no mistakes in art—only ‘happy accidents’ that lead to new discoveries. Whether you choose a simple two-color look or a fierce set of stiletto nails, the most important thing is that you feel like the most brilliant version of yourself. Go forth and create something beautiful!