
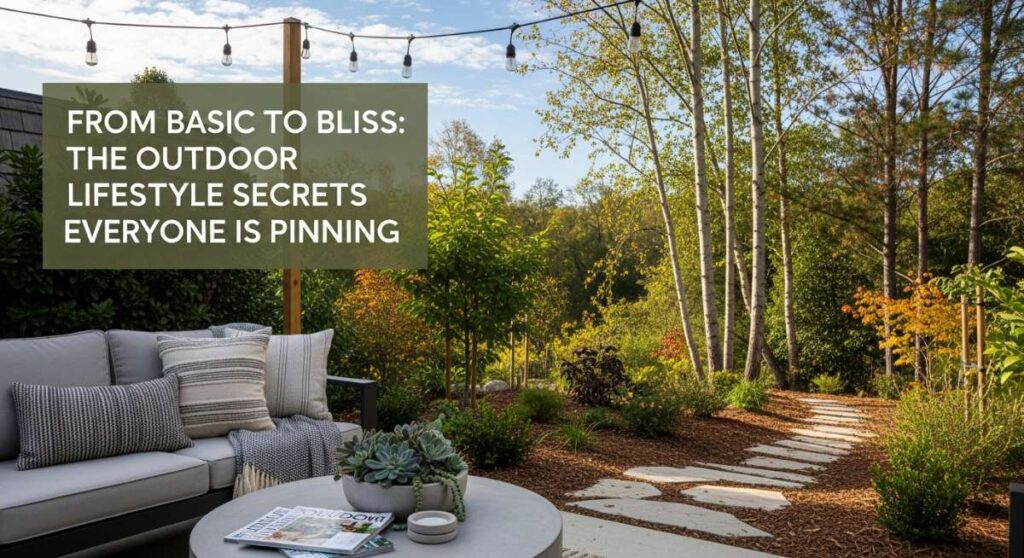
From Basic to Bliss: The Outdoor Lifestyle Secrets Everyone is Pinning
Have you ever spent hours scrolling through Pinterest, looking at sun-drenched patios and perfectly manicured gardens, only to look out your window and feel a little… uninspired? We’ve all been there. That gap between our ‘current reality’ and our ‘dream aesthetic’ can feel like a canyon, but I’m here to tell you that the bridge to a more beautiful life is built with small, intentional steps rather than a massive renovation budget.
This year, the viral lifestyle trends are all about reclaiming our spaces—both indoors and out—to create personal sanctuaries that breathe life back into our busy routines. From the way the morning light hits your refreshed front porch to the satisfying click of a perfectly organized desk, these changes aren’t just about looks; they are about how these spaces make you feel. It’s time to stop pinning and start doing, transforming your home from basic to absolute bliss.
In this guide, I’m breaking down the exact projects that are taking the internet by storm. These are the high-impact, low-stress secrets that will make your neighbors stop and stare and make you never want to leave home. Let’s dive into the curated world of outdoor living and lifestyle elevation!
How to Design Simple Front Yard Landscaping for Instant Curb Appeal

Why we love this
There is nothing quite like the smell of fresh cedar mulch and the sight of crisp, clean edges to make a home feel loved and inviting. A well-designed front yard offers a sensory greeting every time you pull into the driveway, blending the earthy aroma of damp soil with the vibrant visual pop of seasonal blooms. It creates a transition zone from the chaotic outside world to your private sanctuary, providing a sense of pride that radiates through the entire neighborhood.
Essential Elements:
- Dark hardwood or cedar mulch
- Metal or stone landscape edging
- A mix of perennial shrubs (like Boxwoods or Hydrangeas)
- Solar-powered path lights
- Decorative river rocks or gravel
How to make it
- Start by defining your bed shapes using a garden hose to visualize curves; once satisfied, use a sharp spade to cut a clean 4-inch deep edge into the turf to prevent grass from encroaching.
- Clear the area of all weeds and debris, then lay down a high-quality landscape fabric if you struggle with invasive growth, securing it with garden staples.
- Position your largest plants first as focal points, ensuring you leave enough space for their mature width; then fill in with smaller perennials and groundcovers for a layered look.
- Apply a thick 3-inch layer of mulch across the entire bed, smoothing it out with a rake but keeping it a few inches away from the base of plant stems to prevent rot.
- Install solar lights at equal intervals along the walkway and add a few handfuls of river rocks around the base of your focal plants to add texture and professional flair.
How to Elevate Your Office Desk Setup for Professional Focus
Why we love this
A curated desk setup is the ultimate productivity hack, turning the daily grind into a tactile and aesthetic delight. Imagine the smooth, cool touch of a vegan leather desk mat beneath your wrists and the warm, golden glow of a task lamp that softens the harsh glare of the computer screen. When your workspace feels intentional, your brain shifts into a state of deep focus, surrounded by the subtle scent of a nearby eucalyptus plant and the rhythmic, satisfying sound of a mechanical keyboard.
Essential Elements:
- Ergonomic monitor riser (wood or acrylic)
- Large desk mat (felt or leather)
- Low-maintenance indoor plant (like a Pothos)
- Warm-toned LED desk lamp
- Cable management clips or boxes
How to make it
- Clear everything off your desk and wipe it down with a microfiber cloth; starting with a blank slate allows you to visualize the most efficient layout for your workflow.
- Place your monitor on a riser so the top third of the screen is at eye level, which reduces neck strain and creates valuable storage space underneath for your keyboard or notebook.
- Layer your desk mat centered under your monitor and mouse area to provide a soft, cohesive foundation that dampens sound and protects the desk surface.
- Route all cables through a management box or use adhesive clips along the back of the desk legs to hide the visual clutter of ‘tech-spaghetti’ that often drains mental energy.
- Add one ‘life’ element, like a small potted plant, and one ‘light’ element, like a dimmable lamp, to create a warm atmosphere that makes the space feel personal rather than clinical.
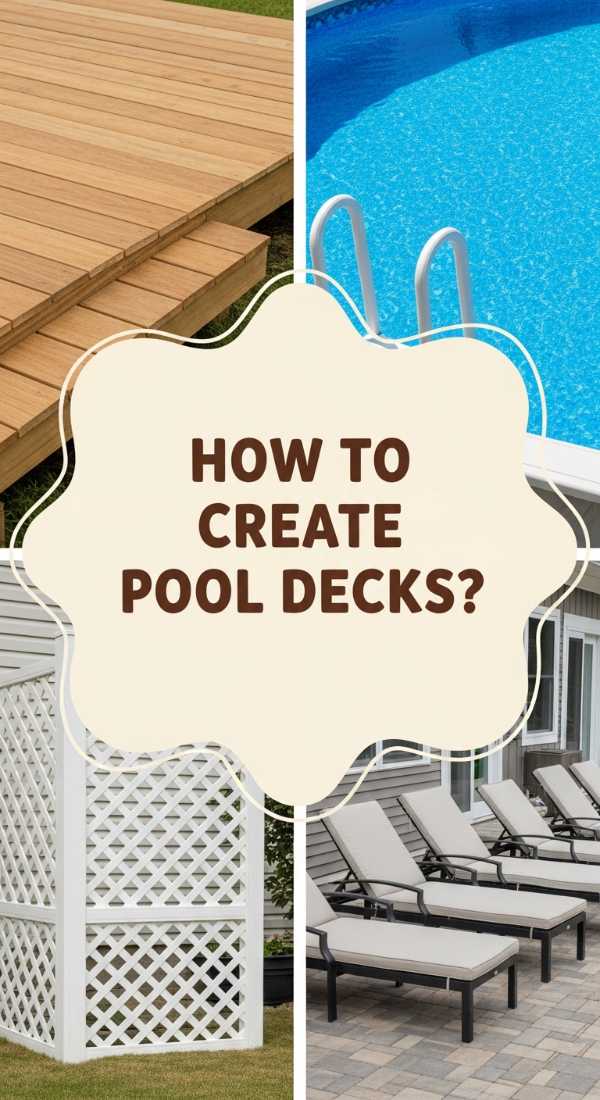
How to Build Cheap Pool Deck Spaces for Budget Friendly Summers

Why we love this
There is a specific kind of magic in the feeling of sun-warmed wood beneath your bare feet just before you plunge into cool, clear water. Building a budget-friendly pool deck turns an ordinary above-ground pool into a high-end resort experience, offering a dedicated space for lounging with a cold drink while the air smells of sunscreen and summer rain. It’s the ultimate DIY victory—creating a sturdy, stylish platform for memories without the staggering price tag of professional masonry.
Essential Elements:
- Pressure-treated 2×4 and 2×6 lumber
- Decking screws and joist hangers
- Concrete deck blocks (for a floating foundation)
- Outdoor wood stain or sealant
- Solar deck cap lights
How to make it
- Level the ground adjacent to your pool using a shovel and a long level; lay down a bed of gravel to provide drainage and a stable base for your concrete deck blocks.
- Space your deck blocks approximately 4 to 5 feet apart in a grid pattern, then set your 2×6 pressure-treated joists into the blocks to create the outer frame.
- Install interior joists every 16 inches on center using joist hangers to ensure the deck can support the weight of multiple people and heavy patio furniture.
- Lay your 5/4-inch deck boards perpendicular to the joists, using a spacer (or a large nail) to maintain a consistent 1/8-inch gap between boards for water drainage and wood expansion.
- Once the structure is complete, sand any rough edges and apply a high-quality weather-resistant stain; allow it to dry for 48 hours before adding chairs and festive solar lighting.
How to Decorate a Patriotic Front Porch for Seasonal Celebrations

Why we love this
A patriotic porch is a timeless slice of Americana that feels both nostalgic and incredibly welcoming during the height of summer. We love the crisp contrast of deep navy blues against stark whites and vibrant reds, especially when paired with the rhythmic creak of a rocking chair and the soft rustle of a flag in the breeze. It evokes feelings of community and celebration, turning your entrance into a festive focal point that smells of blooming petunias and upcoming barbecue smoke.
Essential Elements:
- Tea-stained or traditional American flags
- Red and white striped bunting
- Blue outdoor pillows or cushions
- White rocking chairs or a porch swing
- Galvanized buckets for floral displays
How to make it
- Clean your porch thoroughly by sweeping away cobwebs and washing the floor to ensure your decor pops against a pristine background.
- Hang pleated fans or bunting along the porch railing or above the front door, ensuring they are centered and taut for a professional, symmetrical look.
- Place a large American flag in a sturdy bracket mounted to a porch pillar, ensuring it has enough clearance to wave freely without getting caught on the roofline.
- Style your seating area by adding blue and white throw pillows and a cozy striped rug; this creates a ‘living room’ feel that encourages guests to linger.
- Fill galvanized buckets with red geraniums and white alyssum, placing them on different levels (like steps or small stools) to add height and organic texture to the patriotic theme.
How to Curate a Whimsical Apartment Aesthetic for a Magical Living Space

Why we love this
Stepping into a whimsical apartment feels like walking into a modern-day fairy tale, where the air is light and every corner holds a tiny, delightful surprise. We adore the play of textures—soft velvet against cool brass—and the way sheer curtains catch the light to create a dreamlike, ethereal glow. It’s a style that prioritizes joy and imagination, surrounding you with lush greenery and twinkling lights that make even the smallest city apartment feel like a hidden enchanted forest.
Essential Elements:
- Warm-toned fairy lights or ‘curtain’ lights
- Velvet floor cushions and textured throws
- Hanging macramé plant holders
- Vintage-style gold mirrors
- Ethereal sheer window panels
How to make it
- Swap out heavy drapes for lightweight sheer panels that allow natural light to filter through, creating a soft, hazy atmosphere throughout the day.
- Install ‘curtain’ fairy lights behind your bed or along a main wall; use command hooks to drape them loosely for a cascading, waterfall effect that glows at night.
- Create a ‘jungle corner’ by grouping plants of varying heights on thrifted gold stands and hanging several from the ceiling to draw the eye upward and maximize space.
- Incorporate ‘found objects’ like antique books, crystals, or uniquely shaped candles on open shelving to add a sense of history and personality to the room.
- Layer your textures by placing a plush faux-fur rug over a larger jute one, then topping the space with mismatched velvet cushions to create an inviting, cozy nook for reading.
How to Craft Backyard Projects for a Relaxing Garden Retreat

Why we love this
There is a profound sense of peace that comes from a garden retreat where the only sounds are the rustle of leaves and the distant chirping of birds. A DIY retreat allows you to curate a space specifically for your relaxation needs, whether that’s a quiet corner for meditation or a cozy spot for evening tea. We love the organic feel of natural stone paths and the way a simple wooden trellis can transform a flat wall into a living, breathing tapestry of jasmine or ivy.
Essential Elements:
- Flagstone or paver stones
- Wooden garden trellis or arbor
- Comfortable weather-proof seating (hammock or bench)
- Solar-powered water feature or fountain
- Scented climbing plants (Jasmine, Honeysuckle)
How to make it
- Select a secluded corner of your yard and clear the grass to create a foundation for a small seating area using leveled pavers or a thick layer of pea gravel.
- Install a wooden trellis against a fence or wall and plant climbing vines at the base; guide the early growth with garden twine to encourage the plants to cover the structure quickly.
- Set up a focal point, such as a small solar-powered fountain, which provides a soothing ‘white noise’ effect that masks neighborhood traffic and enhances the tranquility.
- Add a high-quality hammock or a weather-resistant bench with outdoor cushions; ensure it is positioned to catch the afternoon shade or the morning sun, depending on your preference.
- Define the entrance to your retreat with a flagstone path, burying the stones slightly so they are flush with the ground for a natural, ‘always-been-there’ look.
How to Arrange Summer Table Centerpieces for Bright Festive Gatherings

Why we love this
A beautiful summer centerpiece is the heart of any outdoor gathering, setting the tone for long afternoons of laughter and shared meals. We love the bright, citrusy scent of sliced lemons layered in a vase and the explosion of color from fresh-cut zinnias or hydrangeas. It’s a feast for the senses that makes guests feel special and turn a simple Tuesday night dinner into a celebrated event, capturing the very essence of summer’s abundance and warmth.
Essential Elements:
- Clear glass hurricane vases of varying sizes
- Fresh citrus (lemons, limes, or oranges)
- Seasonal blooms (Hydrangeas, Sunflowers, or Zinnias)
- Eucalyptus or fern greenery
- Unscented pillar candles
How to make it
- Start with a clean linen runner as your base; this provides a neutral canvas that makes the colors of your centerpiece pop.
- Use the ‘vase-in-vase’ technique: place a smaller glass inside a larger one, then slide sliced citrus rounds into the gap between them for a stunning, vibrant look that hides stems.
- Fill the inner vase with water and arrange your largest blooms first, then fill the gaps with smaller flowers and trailing greenery like eucalyptus to add movement and depth.
- Place your floral arrangements in the center of the table and flank them with pillar candles of varying heights to provide a warm glow as the sun sets.
- Scatter a few loose petals or small citrus leaves directly on the runner around the vases to create a cohesive, ‘overflowing’ aesthetic that feels organic and lush.
How to Master Aquarium Setup Ideas for a Peaceful Home Environment

Why we love this
An aquarium is a living piece of art that brings a sense of profound calm and rhythmic movement into your home. The gentle hum of the filter and the ethereal sight of colorful fish gliding through a miniature underwater forest can lower stress levels and provide a meditative focal point in any room. We love the combination of smooth river stones, lush green aquatic plants, and the crystal-clear water that reflects the soft blue glow of the tank light, creating a tiny world of serenity.
Essential Elements:
- Glass aquarium tank (10-20 gallons for beginners)
- Nutrient-rich substrate or aquarium sand
- Live aquatic plants (Java Fern, Anubias)
- Driftwood or dragon stone decor
- High-quality LED lighting and filtration system
How to make it
- Rinse your substrate thoroughly until the water runs clear, then spread it across the bottom of the tank, sloping it slightly higher in the back to create a sense of depth and perspective.
- Arrange your ‘hardscape’—the driftwood and stones—following the ‘rule of thirds’ to create a natural-looking environment that provides hiding spots for fish.
- Fill the tank about one-third full with dechlorinated water, then carefully tuck the roots of your live plants into the substrate, using tweezers for precision and to avoid disturbing the sand.
- Finish filling the tank, install your filter and heater, and let the system run for at least 24-48 hours (or longer for a full nitrogen cycle) to ensure the water chemistry is safe for inhabitants.
- Introduce your fish slowly, acclimating them by floating their transport bag in the tank water for 20 minutes to equalize the temperature before releasing them into their new home.
How to Refresh Front Porch Concrete for a Polished Entrance Look

Why we love this
There is nothing more satisfying than seeing a stained, tired concrete porch transformed into a sleek, slate-like masterpiece. A concrete refresh instantly modernizes your home’s exterior, providing a smooth, clean surface that feels sophisticated and intentional. We love the industrial-chic vibe of a fresh coat of gray stain and the way it highlights the colors of your front door and potted plants, making the entire entrance feel expensive and well-maintained without the cost of a full tear-out.
Essential Elements:
- Concrete degreaser and stiff scrub brush
- Concrete etch or muriatic acid solution
- Outdoor concrete stain or epoxy paint
- Paint roller with an extension pole
- High-gloss or matte concrete sealer
How to make it
- Deep clean the concrete by applying a degreaser and scrubbing vigorously to remove oil, dirt, and old paint; rinse thoroughly with a power washer for the best results.
- Apply a concrete etching solution according to the manufacturer’s instructions to open the pores of the concrete, which ensures the stain will bond permanently to the surface.
- Once the porch is completely dry (wait at least 24 hours), use a brush to ‘cut in’ the edges and a roller to apply the first thin, even coat of concrete stain in long, overlapping strokes.
- Apply a second coat after the first has dried to ensure full opacity and a rich, consistent color; avoid walking on the surface for at least 12 hours between coats.
- Finish with a clear, weather-resistant sealer to protect the color from UV rays and foot traffic, giving your porch a professional, polished finish that lasts for years.
How to Style Cheap She Shed Ideas for the Perfect Creative Escape
[IMAGE_10]
Why we love this
The ‘She Shed’ is the ultimate symbol of reclaiming space for creativity and solitude, providing a backyard sanctuary that smells of cedar and fresh possibilities. We love the idea of turning a basic storage shed into a boutique studio, where thrifted furniture gets a new life and the walls are covered in inspiration. It’s a place where you can leave your projects out without judgment, surrounded by cozy rugs and bright windows that invite the outside in while keeping the chaos of the household out.
Essential Elements:
- Standard wooden or resin garden shed
- Lightweight insulation and plywood wall panels
- Thrifted desk or workbench
- Battery-powered or solar chandeliers
- Peel-and-stick floor tiles or a large area rug
How to make it
- Clean out your shed and check for any leaks; seal any gaps with caulk to ensure your creative space remains dry and pest-free throughout the seasons.
- If using a wooden shed, install basic fiberglass insulation and cover it with thin plywood panels or beadboard; paint the interior a bright, airy white to make the small space feel much larger.
- Install peel-and-stick flooring in a fun pattern like checkerboard or light wood grain to provide a durable, stylish foundation that is easy to clean.
- Zone your space by placing a desk for work in one corner and a cozy chair for reading in another; use vertical shelving to keep your supplies organized and off the floor.
- Add a solar-powered light fixture or string lights for evening ambiance, and hang personalized art or a vision board to truly claim the space as your creative headquarters.
Conclusion
Transforming your daily environment from ‘basic’ to ‘bliss’ doesn’t require a magic wand—it just requires a little bit of time and a lot of heart. Whether you are refreshing a concrete porch or curating a whimsical corner in your apartment, these projects prove that our living spaces have a profound impact on our well-being. By focusing on sensory details and intentional design, you can create a home that isn’t just a place to sleep, but a sanctuary that fuels your soul and inspires everyone who walks through your door. Now, go grab that paint brush or those garden shears and start creating your own version of bliss!