
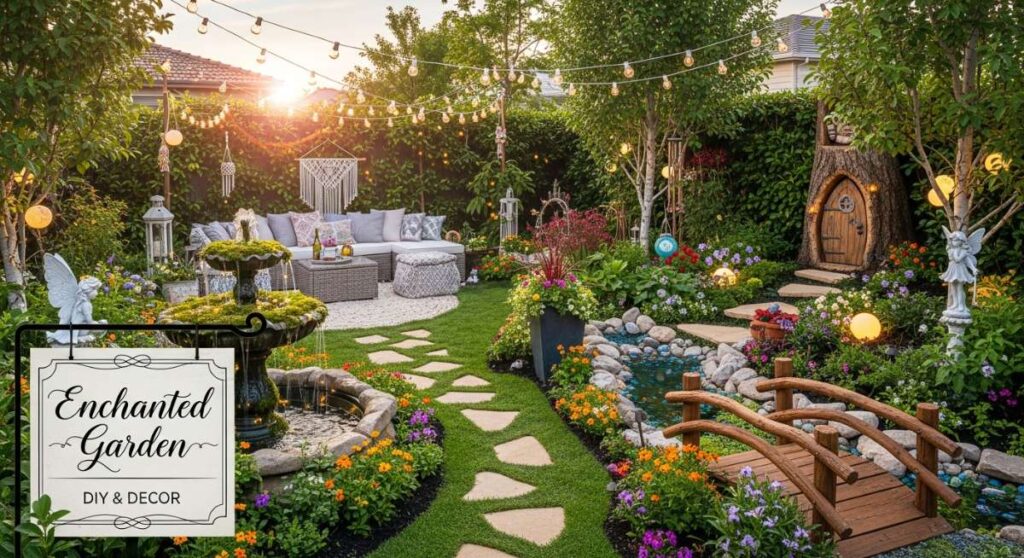
Have you ever stepped into your backyard and felt like something was… missing? Like the grass was just grass, and the trees were just trees, but the magic you used to feel as a child in the woods was nowhere to be found? I spent years looking at my flat, uninspired lawn before I realized that a garden shouldn’t just be a patch of land; it should be a portal. It should be the place where you sip your morning coffee and feel like you’ve been transported into the pages of a forgotten storybook, surrounded by the whispers of leaves and the soft glow of hidden lights.
Creating a fairytale backyard isn’t about having a massive budget or a professional landscaping team; it’s about the soul you pour into the small details. It’s the way a mossy stone sits next to a hand-painted mushroom, or how a vintage ladder becomes a cascading waterfall of petunias. Today, I’m sharing my favorite ways to weave enchantment into your outdoor space, turning your home into a sanctuary that feels both grounded and otherworldly. Let’s roll up our sleeves and sprinkle some stardust on that soil!
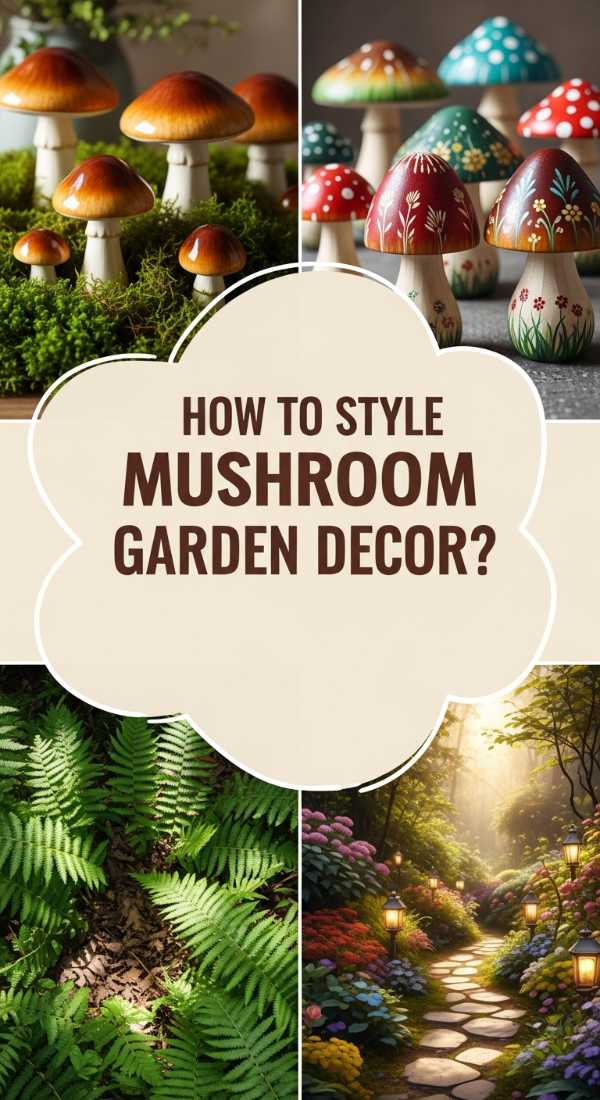
How to Design Whimsical Mushroom Garden Decor for Enchanting Backyard Vibes
Why we love this
There is something inherently nostalgic about the silhouette of a toadstool peeking out from beneath a hosta leaf. It brings back childhood memories of searching for fairies and hidden worlds within the damp, earthy fragrance of a garden after the rain. These little pops of color add a sense of movement and curiosity, drawing the eye down to the intricate textures of the soil and moss. The contrast between the bright red caps and the deep, forest-green foliage creates a visual rhythm that feels both playful and sophisticated.
Essential Elements:
- Terra cotta pots and saucers
- Outdoor acrylic paint (Red and White)
- Waterproof exterior sealant
- Heavy-duty construction adhesive
- Decorative moss or river stones
How to make it
- Begin by selecting terra cotta pots in varying heights to serve as the mushroom stems. Scrub them clean of any dust or debris and let them dry completely in the sun to ensure the paint adheres perfectly.
- Flip the pots upside down and paint them with an off-white or cream outdoor acrylic paint. Use a sponge brush for a smooth finish, applying two thin coats rather than one thick one to prevent dripping.
- Take the saucers, which will be your mushroom caps, and paint the undersides white and the tops a vibrant, glossy crimson. Once the red paint is dry to the touch, use a small circular stencil or a steady hand to paint white dots of varying sizes across the surface.
- Apply a generous bead of weather-resistant construction adhesive to the bottom rim of the inverted pot. Carefully center the saucer on top, pressing down firmly for 30 seconds. Allow the adhesive to cure for at least 24 hours in a dry area.
- Finish the project by spraying a high-gloss exterior sealant over the entire piece. This protects the color from UV fading and ensures that rain beads off the “cap” just like a real mushroom in the wild.
How to Build Rustic Garden Decor for a Cozy Farmhouse Aesthetic

Why we love this
Rustic farmhouse decor is all about celebrating the beauty of imperfection and the passage of time. When you incorporate weathered wood and galvanized metal into your garden, you’re creating a space that feels lived-in, warm, and deeply comforting. The silver sheen of aged metal against the soft, pastel petals of climbing roses creates a romantic texture that is hard to beat. It’s the kind of aesthetic that invites you to slow down, put your phone away, and breathe in the scent of fresh hay and blooming lavender.
Essential Elements:
- Galvanized wash tubs or buckets
- Repurposed wooden pallets
- Burlap liners
- Hand-stenciled wooden signs
- Vintage-style lanterns
How to make it
- Source a vintage-style galvanized tub and drill several drainage holes into the bottom using a metal-rated drill bit. Proper drainage is the secret to preventing root rot in a rustic container garden.
- Line the bottom of the tub with a layer of coarse gravel to further aid water flow, then fill it with a high-quality potting mix enriched with organic compost.
- Dismantle a wooden pallet and sand the edges to remove splinters, while keeping the natural grain and knots visible. Use these slats to build a simple trellis or a backdrop for the tub.
- Apply a light “white-wash” finish to the wood by mixing one part white paint with two parts water. Brush it on haphazardly and wipe it back with a rag to achieve that sought-after sun-bleached farmhouse look.
- Arrange your plants—think sprawling ivy and upright foxgloves—within the tub. Position a vintage lantern nearby with a battery-operated candle to create a soft, flickering glow that highlights the wood grain at night.
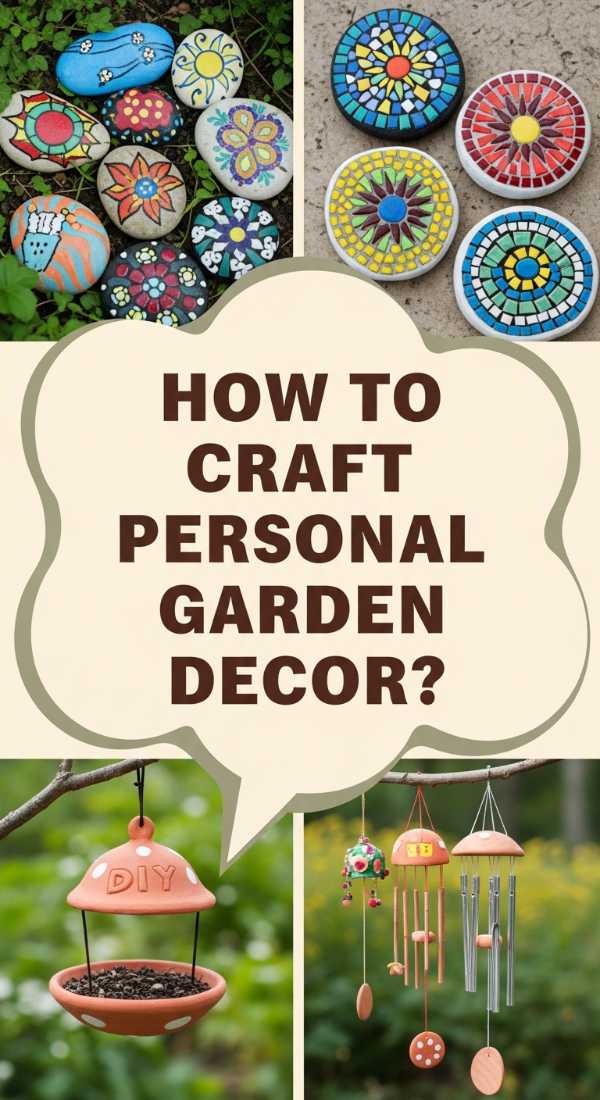
How to Craft Unique DIY Garden Decor for a Personal Outdoor Sanctuary
Why we love this
A personal sanctuary should reflect your inner world, and nothing does that better than handcrafted elements that carry your energy. When you create your own garden decor, you’re not just following a trend; you’re telling a story about what brings you peace. Whether it’s the gentle clinking of a homemade wind chime or a mosaic stepping stone that catches the light, these details transform a yard into a reflective retreat. The tactile experience of working with smooth stones and cool glass is incredibly grounding and therapeutic.
Essential Elements:
- River stones or smooth pebbles
- Glass gems or broken ceramic pieces
- Ready-mix concrete
- Plastic molds (like cake pans)
- Copper wire or fishing line
How to make it
- To create a custom stepping stone, mix your concrete in a bucket until it reaches a peanut-butter-like consistency. Slow-pour the mixture into a lubricated plastic mold, tapping the sides to release any trapped air bubbles.
- Wait about 30 to 45 minutes for the concrete to begin setting. This is the crucial window where the surface is firm enough to hold weight but soft enough to accept decorations.
- Gently press your glass gems, river stones, or even an old piece of jewelry into the concrete. Arrange them in a mandala or a spiral pattern, ensuring the edges are pressed down so they won’t snag on bare feet later.
- Let the stone cure in the shade for 48 hours. Once hardened, pop it out of the mold and use a damp cloth to wipe away any excess concrete dust from the tops of the gems to make them sparkle.
- For a matching wind chime, drill small holes into pieces of driftwood and thread copper wire through them, attaching old keys or glass beads that will sing when the wind catches them.
How to Arrange Stunning Outdoor Garden Decor for the Perfect Summer Soiree

Why we love this
Hosting a summer soiree is an art form that relies heavily on atmosphere. By layering different textures—from soft outdoor rugs to twinkling strings of lights—you create a space that feels like an outdoor living room where guests can truly relax. There is a magical transition that happens as the sun dips below the horizon and the garden lighting takes over, casting long shadows and highlighting the silhouettes of your favorite plants. It’s about creating an inviting, warm embrace that encourages long conversations and shared laughter.
Essential Elements:
- Edison-style string lights
- Outdoor floor cushions and rugs
- Floating candles for water features
- Floral centerpieces in mason jars
- Woven wicker baskets for throws
How to make it
- Start by defining the “zone” using an outdoor rug made of durable polypropylene. This anchors the furniture and makes the grassy area feel like an intentional room.
- String your lights in a zig-zag pattern overhead. Use sturdy poles or tree branches for support, ensuring the lowest point of the string is at least seven feet high so guests don’t bump their heads.
- Create a focal point on the dining table using a mix of low and high elements. Use mason jars filled with seasonal blooms like zinnias and dahlias, alternating them with small votive candles in glass holders.
- For a cooling sensory detail, fill a large bowl or a birdbath with water and place three to five floating tea lights inside. The reflection on the water adds a shimmering, sophisticated touch.
- Scatter oversized floor cushions around a low coffee table or fire pit. Choose fabrics with botanical prints to tie the seating area into the surrounding greenery of the garden.
How to Create Forest Inspired Mushroom Garden Decor for a Magical Walkway

Why we love this
Walking through a garden should feel like a journey of discovery. By placing forest-inspired mushrooms along a winding path, you’re guiding the visitor’s eye and creating a sense of wonder at every turn. These decorations work best when they look like they’ve just sprouted naturally after a heavy dew. The combination of natural wood textures and the glossy finish of the mushroom caps mimics the vibrant, damp environment of an ancient woodland, making even a suburban walkway feel like a secret trail in a deep forest.
Essential Elements:
- Natural tree stumps or thick branches
- Wooden salad bowls
- Deep forest green and ochre paint
- Clear polyurethane spray
- Epoxy resin
How to make it
- Find natural logs of varying thicknesses and cut them into lengths of 6 to 12 inches. Debark them if you want a cleaner look, or leave the bark on for a more rugged, forest-floor aesthetic.
- Sand the top of each log flat so the “cap” can sit securely. Use a heavy-duty wood glue or epoxy resin to attach an inverted wooden salad bowl to the top of each log.
- Paint the bowls in earthy, forest-inspired tones like deep moss green, burnt orange, or mustard yellow. This creates a more muted, sophisticated palette than the traditional red-and-white fairy mushroom.
- To add a realistic touch, use a sea sponge to dab a lighter shade of paint onto the caps, mimicking the natural variations found in wild fungi.
- Apply three coats of clear polyurethane spray to protect the wood from moisture. Place these along your walkway, partially burying the log bases in the soil to make them look like they are growing out of the earth.
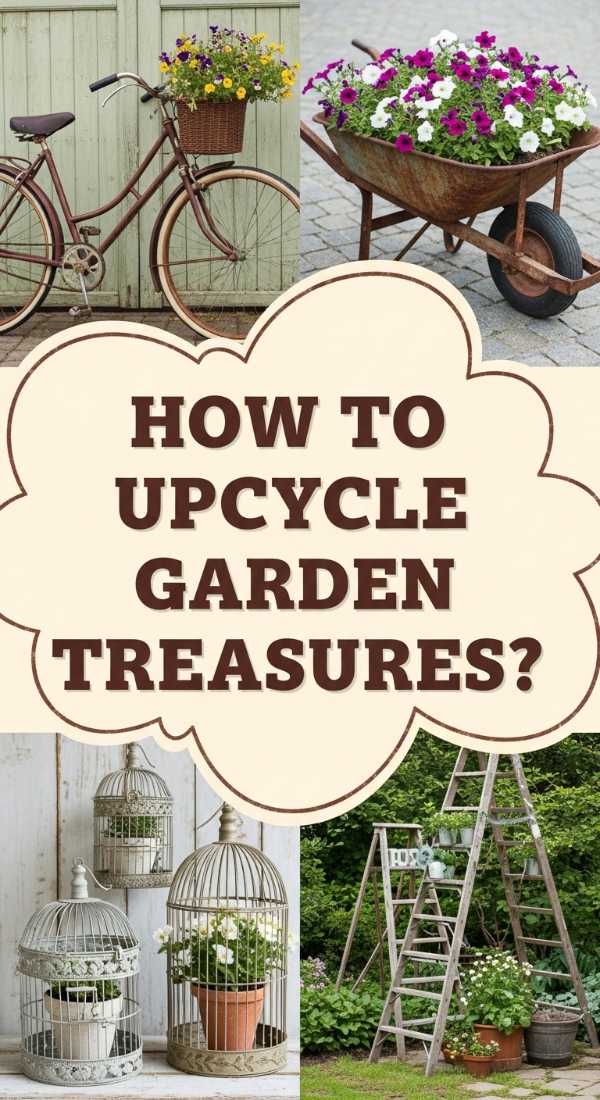
How to Upcycle Vintage Items into Garden Decoration Ideas for Sustainable Beauty
Why we love this
Upcycling is the ultimate way to give a garden character while being kind to the planet. There is a profound beauty in seeing an old, rusty bicycle or a forgotten set of tea cups find a second life amidst the blooms. It’s a conversation starter that shows off your creativity and your commitment to sustainability. These pieces carry a sense of history; they feel like heirlooms that have been reclaimed by nature, blending the man-made world with the organic growth of the garden in a stunning, visual harmony.
Essential Elements:
- Old metal bed frames or bicycles
- Vintage tea sets
- Antique wooden ladders
- Weatherproof adhesive
- Enamel spray paint
How to make it
- Select a vintage metal object, like an old bicycle. Clean off any loose rust with a wire brush, but leave some of the patina for that authentic aged look.
- Spray the object with a clear rust-inhibitor if you want to preserve the current look, or choose a bold enamel color like turquoise or buttercup yellow to make it pop against the green leaves.
- For a vertical garden, lean an antique wooden ladder against a wall or tree. Secure it with brackets if necessary. Place potted herbs and cascading vines on each rung to create a living wall.
- Turn a vintage tea set into a bird feeder by gluing the cup to the saucer with a waterproof glass adhesive. Let it dry for 48 hours, then mount it on a copper pipe or hang it from a sturdy branch using a delicate chain.
- Fill the tea cup with birdseed and watch as local songbirds visit your garden, adding sound and movement to your upcycled sanctuary.
How to Blend Modern Style with Rustic Garden Decor for a Sophisticated Patio

Why we love this
The juxtaposition of sleek, modern lines with the raw, unrefined textures of rustic decor creates a space that feels incredibly high-end yet approachable. It’s the “Modern Organic” look brought outdoors. Think of a clean-lined concrete fire pit surrounded by rough-hewn cedar benches, or black metal planters holding wild, airy grasses. This style appeals to our desire for order and simplicity while still honoring the wildness of nature. It’s sophisticated, balanced, and perfect for the homeowner who wants a fairytale garden that feels grown-up.
Essential Elements:
- Black matte metal planters
- Corten steel accents (which develop a beautiful rust patina)
- Sleek outdoor furniture with neutral cushions
- Concrete pavers
- Architectural plants (like Agave or Boxwood)
How to make it
- Start by creating a grid-like layout for your patio using large, square concrete pavers. Fill the gaps between the pavers with dark grey river stones or dwarf mondo grass to create a sharp, clean contrast.
- Choose planters that feature geometric shapes—cylinders or cubes—in a matte black or charcoal finish. The dark color makes the green of your plants look more vibrant and lush.
- Introduce rustic elements through your choice of wood. Use reclaimed timber for your seating, but ensure the silhouette of the benches is minimal and contemporary.
- Install Corten steel garden edging. This material starts as silver steel but quickly develops a rich, orange-brown rust layer that protects the metal and provides that perfect blend of industrial and earthy.
- Incorporate “smart” outdoor lighting that can be dimmed via an app. Hide the fixtures behind large stones or within the foliage to create an ambient glow that highlights the textures of the wood and metal without seeing the bulbs.
How to Curate Fairy Tale Garden Decoration Ideas for Ultimate Curb Appeal
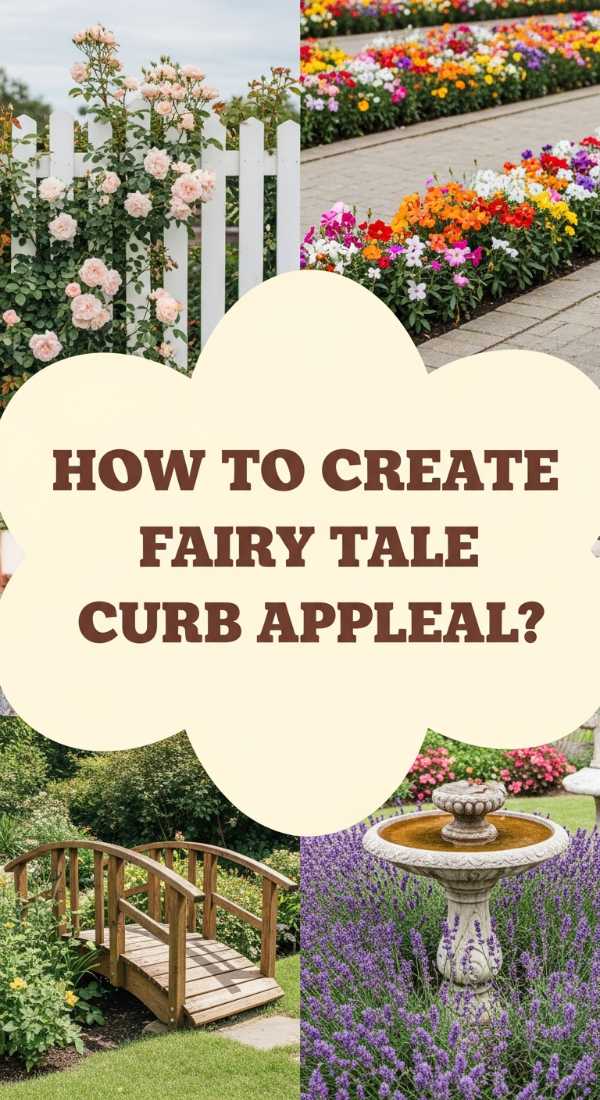
Why we love this
First impressions are everything, and a fairy tale front garden tells the world that magic lives inside your home. By using elements like wrought iron arches and romantic climbing vines, you create a sense of mystery and invitation before a guest even reaches the front door. The sight of soft lavender spilling over a stone path or a vintage-style mailbox draped in jasmine is enough to make anyone stop and smile. It’s about creating a soft, welcoming transition from the busy street into your personal wonderland.
Essential Elements:
- Wrought iron garden arches or trellises
- Climbing roses or Clematis
- Stone-effect path edging
- Antique-style solar lampposts
- Lavender or Nepeta for soft borders
How to make it
- Install a sturdy wrought iron arch at the entrance of your walkway. Ensure the legs are anchored at least 12 inches deep in the ground or set in concrete to withstand the weight of growing vines.
- Plant a climbing variety of rose, like ‘New Dawn’ or ‘Eden’, at the base of the arch on both sides. Use soft garden ties to train the canes upward in a fan shape to encourage maximum blooming.
- Define your walkway with scalloped stone edging. This keeps the mulch in place and gives the path a formal, enchanted-garden structure.
- Line the path with “cloud-like” plants. Lavender is perfect because it provides a soft purple hue and a heavenly scent that greets visitors as they walk by.
- Add a pair of antique-style solar lampposts at the start of the path. Choose ones with a warm-toned LED flicker to mimic the look of traditional gas lanterns, providing safety and charm after dark.
How to Make Affordable DIY Garden Decor for an Instant Backyard Glow Up

Why we love this
You don’t need a royal treasury to create a kingdom. Affordable DIY decor is all about seeing the potential in everyday items and using a little elbow grease to make them shine. The satisfaction of turning a five-dollar thrift store find into a stunning garden focal point is unbeatable. These projects allow you to experiment with color and style without the fear of making an expensive mistake. It’s a grassroots approach to beauty that proves creativity is far more valuable than a big budget, resulting in a garden that feels authentically yours.
Essential Elements:
- Plastic or resin garden statues (from thrift stores)
- Metallic or stone-textured spray paint
- Solar stake lights
- Rope and twine
- Terracotta pots
How to make it
- Hunt for inexpensive plastic garden gnomes or animals at discount stores. Look for interesting shapes rather than colors, as we will be completely transforming the finish.
- Clean the statues thoroughly and apply a “stone” textured spray paint. This creates a heavy, expensive-looking finish that mimics carved granite or aged limestone for a fraction of the price.
- Create an “enchanted rope light” by taking basic solar stake lights and removing the plastic stakes. Use hot glue or twine to wrap the light housing in thick manila rope, leaving the solar panel exposed at the top.
- Coil these rope lights around the base of trees or along the edge of a deck. The rope adds a nautical, rustic texture during the day and a soft glow at night.
- Stack terra cotta pots in decreasing sizes to create a “tumbled” planter look. Secure them by threading a piece of rebar through the drainage holes and into the ground, tilting each pot at an angle as you stack them.
How to Style Lush Botanical Garden Decor for a Refreshing Morning Oasis

Why we love this
There is no time more magical in a garden than the early morning, when the dew is still clinging to the leaves and the world feels quiet and new. Styling a botanical oasis is about maximizing that freshness. By focusing on a palette of deep greens, silvery sage, and crisp whites, you create a cooling effect that is incredibly refreshing during the heat of summer. The sound of a small bubbling fountain and the sight of lush ferns creates a sensory experience that lowers the heart rate and clears the mind, making it the ultimate spot for morning meditation.
Essential Elements:
- Layered greenery (Ferns, Hostas, Fatsia Japonica)
- Small recirculating water fountain
- White porcelain or ceramic garden stools
- Linen textiles
- Shepherd’s hooks with hanging ferns
How to make it
- Select a shady corner of your yard to serve as the oasis. Clear away any dead brush and lay down a fresh layer of dark cedar mulch to provide a high-contrast background for your green plants.
- Arrange your plants in tiers. Place larger-leafed plants like Hostas in the back and delicate, feathery ferns in the front. This layering creates a sense of depth and makes the area feel like a hidden grotto.
- Set up a small plug-in or solar-powered water fountain. The sound of moving water is essential for masking neighborhood noise and creating a tranquil, botanical atmosphere.
- Position a pair of white ceramic garden stools in the center of the greenery. White reflects the morning light and provides a clean, bright spot to sit or place a book.
- Use shepherd’s hooks to hang baskets of Boston ferns at eye level. This brings the botanical theme upward, surrounding you in greenery from every angle.
Creating Your Own Story
Your garden is a living canvas, and every stone, plant, and piece of decor you add is a brushstroke in a larger masterpiece. Whether you choose to go full-on fairytale with whimsical mushrooms or prefer the sophisticated blend of modern and rustic styles, the most important thing is that your backyard feels like an extension of your heart. Don’t be afraid to experiment, to upcycle, and to let things get a little wild. After all, the most enchanting gardens are the ones that feel a little bit untamed and a lot like home. Happy gardening!