
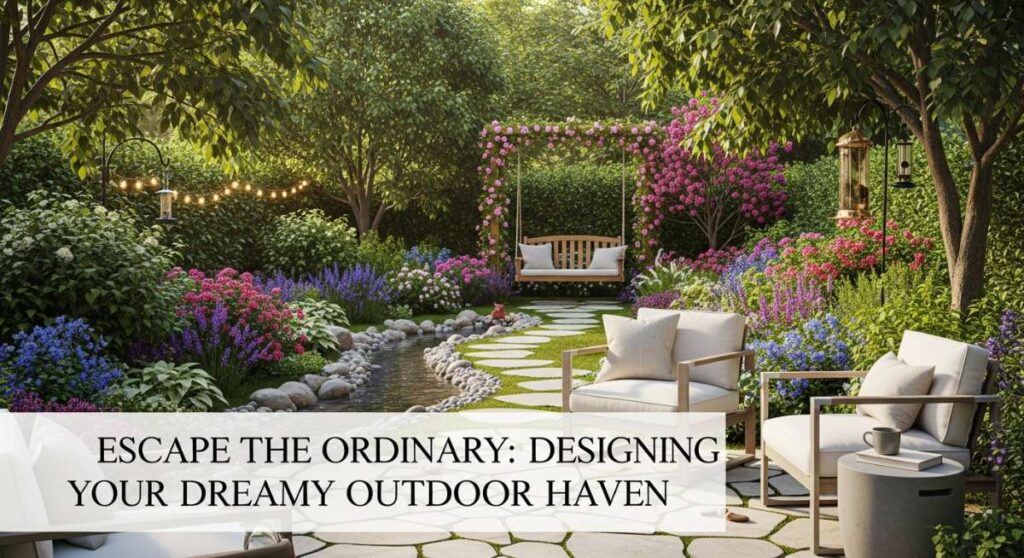
Have you ever stepped outside your back door and felt like the world just… quieted down? There is something truly transformative about a garden that feels less like a chore and more like a sanctuary. It’s that magical moment when the golden hour sun hits the petals just right, and for a second, you’re not just in your backyard—you’re in a living, breathing fairytale. I’ve spent years digging in the dirt, trying to capture that elusive feeling of whimsy, and I’ve finally realized that a dreamy outdoor haven isn’t about having a professional landscaper; it’s about the small, soulful touches that tell your story.
In this guide, we are going to dive deep into the art of the Whimsical Garden Oasis. We’ll explore everything from rustic farmhouse charm to magical forest vibes, ensuring your outdoor space becomes the ultimate escape from the ordinary. Whether you have a sprawling lawn or a cozy balcony, these ideas are designed to ignite your creativity and help you build a space that smells like jasmine, sounds like soft chimes, and feels like home.
How to Create DIY Garden Decor for a Personal Backyard Sanctuary
Why we love this
Creating your own decor adds an inimitable layer of soul to your garden, making it feel like a true extension of your inner self. We love how hand-crafted elements, like personalized stepping stones or custom wind chimes, catch the light and create a rhythmic, grounding atmosphere. The texture of smooth river stones beneath your feet combined with the earthy scent of damp moss creates a sensory groundedness that store-bought items simply can’t replicate. It is the ultimate way to claim your space and turn a patch of grass into a sacred retreat where the stress of the day simply melts away into the soil.
Essential Elements:
- Smooth river stones or concrete mix
- Glass pebbles or mosaic tiles
- Weatherproof sealant
- Driftwood or sturdy branches
- Copper wire and small bells
How to make it
- Begin by selecting your foundation; if making stepping stones, mix your concrete to a thick, peanut-butter consistency, ensuring there are no air bubbles by tapping the mold gently on a flat surface.
- Press your decorative glass or tiles into the wet concrete, burying them just deep enough so the edges are flush with the surface but the colors are vibrantly visible.
- Allow the concrete to cure in a cool, shaded area for at least 48 hours; you will know it is ready when the surface feels stone-cold and no longer yields to a fingernail press.
- For the chimes, drill small holes into your driftwood base using a fine-point bit, maintaining even spacing to prevent the strings from tangling in high winds.
- Thread copper wire through your bells and attach them to the wood at varying lengths to create a multi-tonal soundscape when the breeze kicks up.
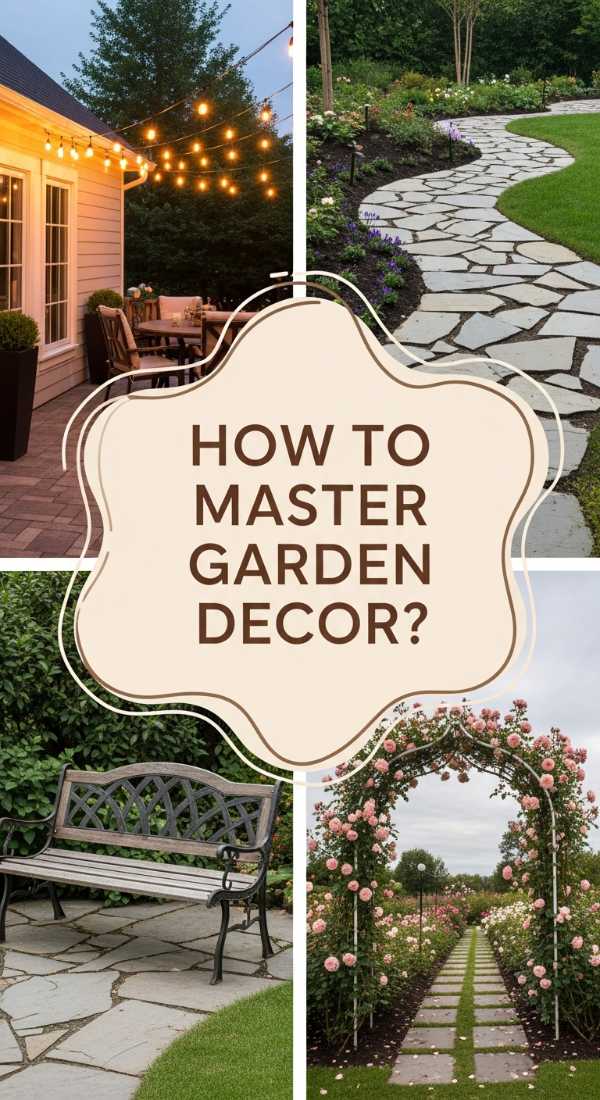
How to Master Garden Decor Ideas for an Enchanting Outdoor Escape
Why we love this
An enchanting escape is all about layering light and shadow to create a sense of mystery and depth. We are obsessed with the way soft, amber glow-worm lights draped through weeping willow branches can transform a simple evening into a cinematic experience. The visual contrast between the dark, velvet shadows of the night and the sparkling highlights of hidden lanterns creates a cozy, cocoon-like feeling that encourages long conversations and quiet reflection. It’s about creating a ‘secret garden’ vibe where every corner holds a small, glowing surprise for the eyes to feast upon.
Essential Elements:
- Solar-powered fairy lights
- Antique-style metal lanterns
- Climbing vines (like Clematis or Honeysuckle)
- Archways or trellises
- Shepherd’s hooks
How to make it
- Install your trellises or archways at the entrance of a path to create a physical threshold that signals you are entering a different world.
- Weave your fairy lights through the climbing vines, ensuring you leave enough slack for the plants to grow without being constricted by the wiring.
- Place shepherd’s hooks at varying heights along your walkway, hanging lanterns filled with LED candles that have a ‘flicker’ setting to mimic real flames.
- Position your lights so they point toward architectural plants or statues, creating dramatic shadows that add height and volume to the garden at night.
- Test the placement during twilight; look for ‘dark spots’ in your perimeter and add a single, low-intensity light source to draw the eye outward and make the space feel larger.
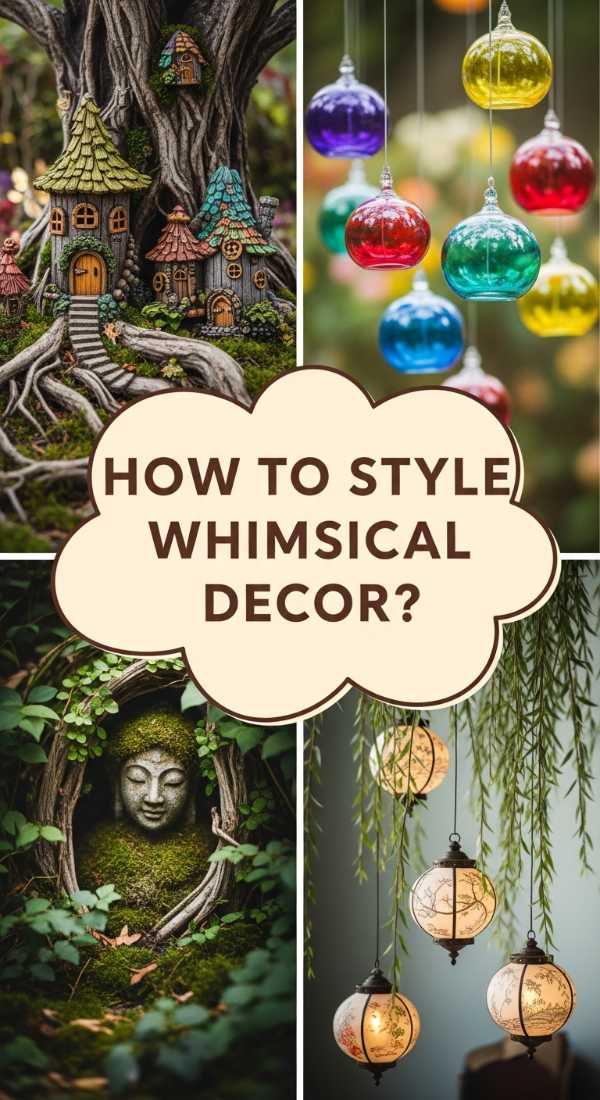
How to Style Whimsical Garden Decor for a Fairytale Aesthetic
Why we love this
The fairytale aesthetic is all about embracing the miniature and the unexpected, inviting a sense of childhood wonder back into your adult life. We love the intricate detail of tiny ‘fairy doors’ tucked into the roots of ancient trees and the way oversized, colorful blooms make you feel like you’ve shrunk down into a wonderland. The scent of sweet peas and the sight of delicate, lace-like foliage create a soft, ethereal texture that feels like it’s pulled straight from the pages of a storybook. It’s a playful, imaginative style that turns gardening into a form of high-art storytelling.
Essential Elements:
- Miniature wooden doors and windows
- Pastel-colored birdhouses
- Delicate, airy plants (like Baby’s Breath)
- Vintage iron birdcages
- Ornate, scrolled benches
How to make it
- Select a ‘hero tree’ with visible roots to serve as the base for your fairytale dwelling, cleaning the bark gently with a soft brush to remove loose debris.
- Affix your miniature door using exterior-grade adhesive or a small finishing nail, ensuring it sits level against the trunk to look integrated rather than tacked on.
- Plant soft-textured ground covers like Irish Moss around the base of the tree to create a plush ‘carpet’ for your miniature scene.
- Hang vintage birdcages from low branches, filling them with cascading ivy or succulents instead of birds for a romantic, reclaimed look.
- Paint your birdhouses in soft lavender or mint hues, sanding the edges lightly to create a ‘shabby chic’ weathered appearance that looks like it has been there for decades.
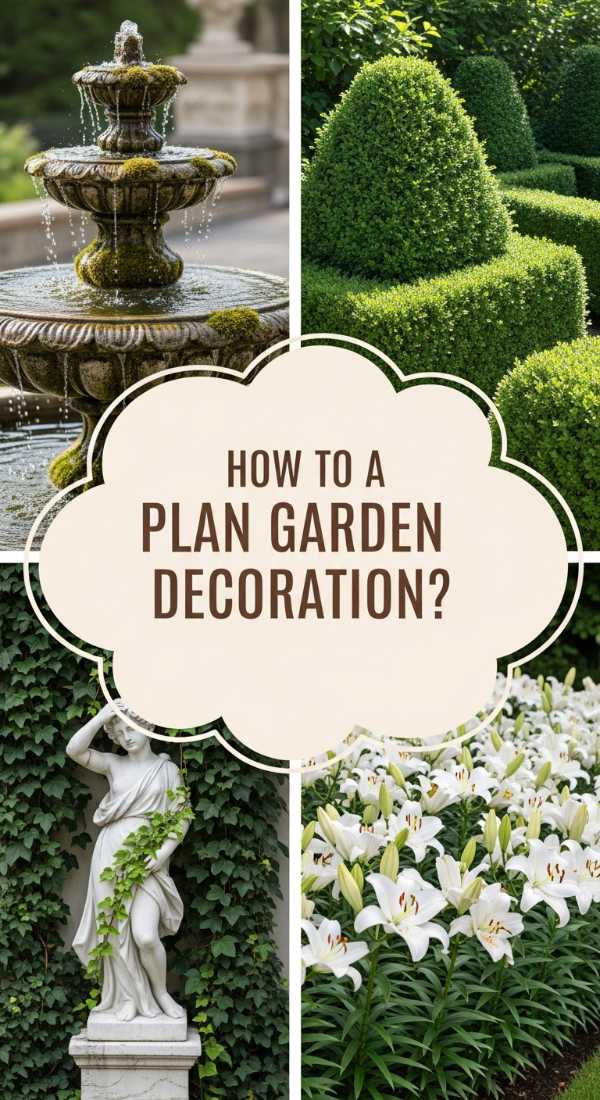
How to Plan Garden Decoration Ideas for an Elegant Summer Soiree

Why we love this
There is nothing more sophisticated than an outdoor space tailored for hosting, where the decor feels as refined as a ballroom but as breezy as a meadow. We love the use of crisp white linens against the deep emerald greens of a manicured lawn, and the way hanging glass globes catch the flickering light of dinner candles. The aroma of crushed herbs from a nearby planter box mingles with the chilled scent of sparkling wine, creating an atmosphere of effortless luxury. It’s about creating a ‘room’ outdoors that feels intentional, comfortable, and breathtakingly beautiful for your guests.
Essential Elements:
- Long wooden trestle table
- White linen table runners
- Hanging glass orbs with tea lights
- Freshly cut floral centerpieces
- Outdoor floor cushions and rugs
How to make it
- Anchor your dining area with an outdoor rug to define the ‘room’ boundaries, ensuring the rug is large enough for all chair legs to remain on it when pulled out.
- Suspend a sturdy wire or fishing line between two trees or posts above the table to act as a floating support for your glass orbs.
- Space the orbs at irregular heights to create a ‘starry’ effect, using battery-operated tea lights to avoid heat damage to the glass or nearby foliage.
- Arrange centerpieces using a mix of heights; use low vessels so guests can see each other across the table, incorporating aromatic herbs like rosemary and mint for a natural fragrance.
- Layer your seating with plush cushions in neutral tones, providing lightweight throws over chair backs for when the evening temperature begins to dip.
How to Achieve Country Garden Decor for a Rustic Farmhouse Vibe
Why we love this
The rustic farmhouse vibe is all about celebrating the beauty of imperfection and the history of repurposed materials. We love the tactile contrast between cold, galvanized metal and the warmth of sun-bleached wood, which gives the garden a sense of timelessness and sturdy reliability. The sight of vibrant red geraniums spilling out of an old whiskey barrel or a weathered wheelbarrow creates a burst of nostalgic color that feels warm and welcoming. It’s a grounded, ‘no-fuss’ aesthetic that honors the earth and the hardworking spirit of country living.
Essential Elements:
- Galvanized steel buckets and tubs
- Reclaimed wooden crates
- Antique farm tools (pitchforks, shovels)
- Burlap accents
- Wildflower seed mixes
How to make it
- Transform galvanized tubs into planters by drilling several half-inch drainage holes in the bottom to prevent root rot.
- Fill the bottom third of deep tubs with empty plastic bottles or crushed cans to reduce the amount of heavy soil needed and improve aeration.
- Arrange reclaimed crates in a tiered ‘staircase’ formation against a fence, providing various heights for displaying potted herbs or succulents.
- Mount antique tools securely to a barn-wood backdrop or fence using heavy-duty hooks, creating a wall-art feature that doubles as a nod to gardening history.
- Tie burlap bows around the rims of your larger pots to soften the industrial look of the metal and add a textured, organic finish.
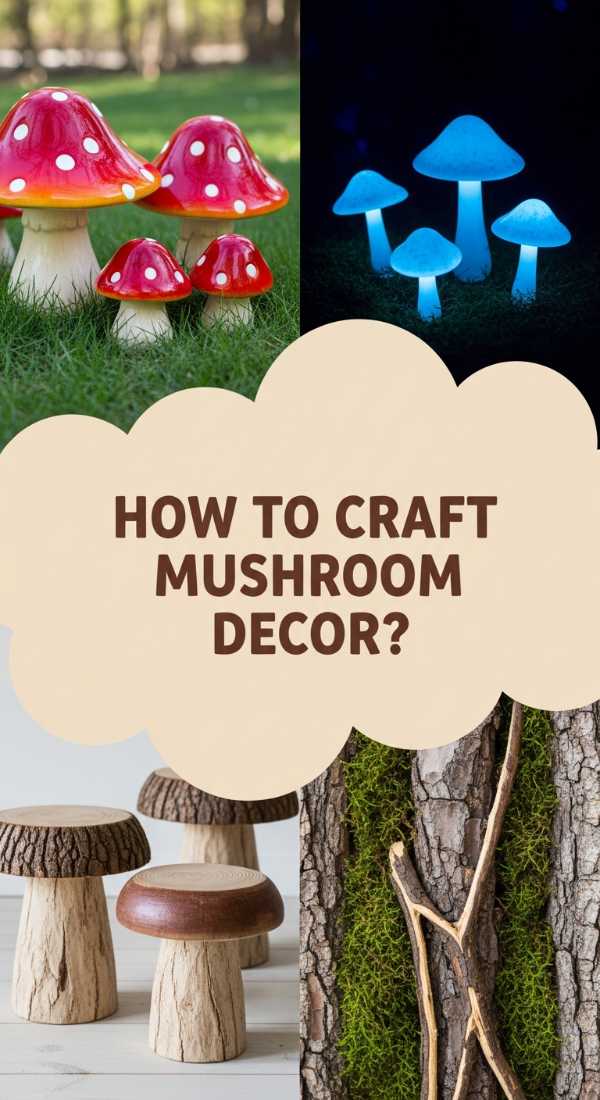
How to Craft DIY Mushroom Garden Decor for a Magical Forest Feel
Why we love this
Mushrooms are the ultimate symbol of magical woodland charm, and crafting your own allows you to play with proportions and colors that nature never intended. We love the glossy, ‘candy-coated’ look of ceramic mushroom caps peeking out from under large hosta leaves, adding a pop of whimsical color to the shady spots of the garden. The smooth, domed shapes provide a lovely visual break from the jagged edges of leaves and branches, creating a sense of hidden life and ‘forest folk’ activity. It is a delightful way to add personality to those difficult-to-plant areas under heavy tree canopies.
Essential Elements:
- Terra cotta pots and saucers
- Outdoor acrylic paint (Red and White)
- Glossy waterproof varnish
- Strong construction adhesive
- Clear silicone sealant
How to make it
- Invert a terra cotta pot to serve as the ‘stem’ and choose a larger saucer to serve as the ‘cap,’ ensuring the saucer sits securely on the pot’s base.
- Paint the exterior of the saucer a bright, classic red, applying three thin coats and allowing each to dry completely to avoid streaks or bubbling.
- Once dry, use a round sponge or a small brush to add varying sizes of white dots to the cap, focusing on an irregular pattern for a more natural, whimsical look.
- Apply a generous bead of construction adhesive to the rim of the inverted pot and press the saucer down firmly, weighting it with a heavy book for 24 hours to bond.
- Finish with two coats of high-gloss varnish to give the mushroom a ‘wet’ forest look and to protect the paint from fading in the sun or chipping in the rain.
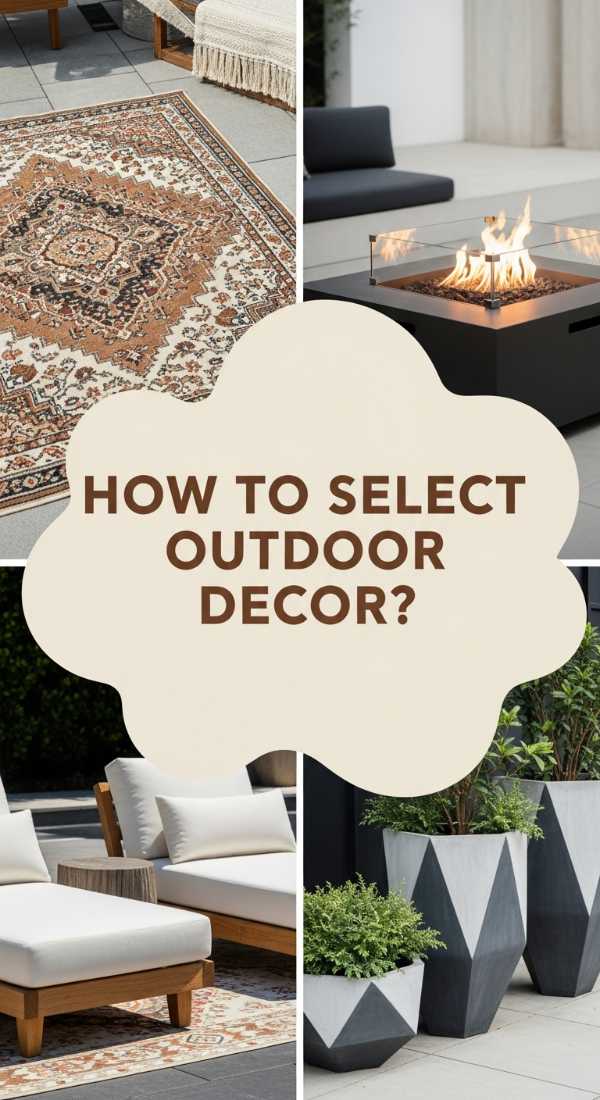
How to Select Outdoor Garden Decor for an Unforgettable Patio Refresh
![]()
Why we love this
A patio refresh is the quickest way to breathe new life into your outdoor living experience, turning a concrete slab into a high-end lounge. We love how a single ‘statement’ piece, like a large architectural planter or a designer fire pit, can anchor the entire space and give it a professional, curated feel. The mix of soft textiles—like outdoor rugs and velvet-touch pillows—against hard surfaces creates a sophisticated tension that feels incredibly inviting. It’s about maximizing comfort and style so that your patio becomes your favorite ‘room’ in the house for morning coffee and evening stargazing.
Essential Elements:
- Weather-resistant sectional or lounge chairs
- Oversized ceramic planters
- Outdoor area rug with bold patterns
- Propane or wood-burning fire table
- String festoon lighting
How to make it
- Start with the rug to establish your color palette; choose a size that allows at least the front legs of your furniture to sit on the fabric, which visually pulls the grouping together.
- Position your largest furniture piece toward the best view (whether that’s your garden or the sunset) to create a natural focal point for the seating arrangement.
- Cluster three planters of varying heights in a corner to create a ‘mini-landscape,’ using a ‘thriller, filler, and spiller’ planting technique for professional-looking pots.
- Install festoon lights in a ‘zigzag’ pattern across the ceiling or between poles, ensuring the bulbs are at least 8 feet above the ground to allow for head clearance.
- Add a fire table as the centerpiece of the seating area, ensuring there is a 3-foot clearance from any flammable materials and checking local ordinances for fire safety.
How to Finish Garden Decor Projects for a Rewarding Weekend Transformation
Why we love this
There is an immense sense of satisfaction that comes from starting a project on a Saturday morning and sitting back with a glass of lemonade to admire it by Sunday evening. We love projects that use upcycled materials, like turning old pallets into vertical herb gardens, because they are eco-friendly and offer instant gratification. The smell of fresh sawdust and the sight of new green shoots in their custom-built homes provide a deep sense of accomplishment. It’s a weekend ‘reset’ that leaves you with a tangible, beautiful reminder of your hard work and creativity.
Essential Elements:
- Heat-treated wood pallets
- Landscape fabric
- Heavy-duty staple gun
- High-quality potting soil
- Assorted herb starts
How to make it
- Inspect your pallet for the ‘HT’ (Heat Treated) stamp to ensure it is safe for growing edible plants; avoid pallets marked ‘MB’ (Methyl Bromide).
- Sand down any rough edges or splinters to prevent injury, and apply a coat of outdoor-safe stain or paint if you want a more finished look.
- Lay the pallet flat and staple landscape fabric securely across the back and bottom of the slats, creating deep ‘pockets’ that will hold your soil.
- Prop the pallet up and fill the pockets with a light, airy potting mix, packing it firmly but not so tight that it restricts water flow or root growth.
- Plant your herbs through the slats, starting from the bottom and working your way up; give them a deep, slow watering immediately to settle the soil around the roots.
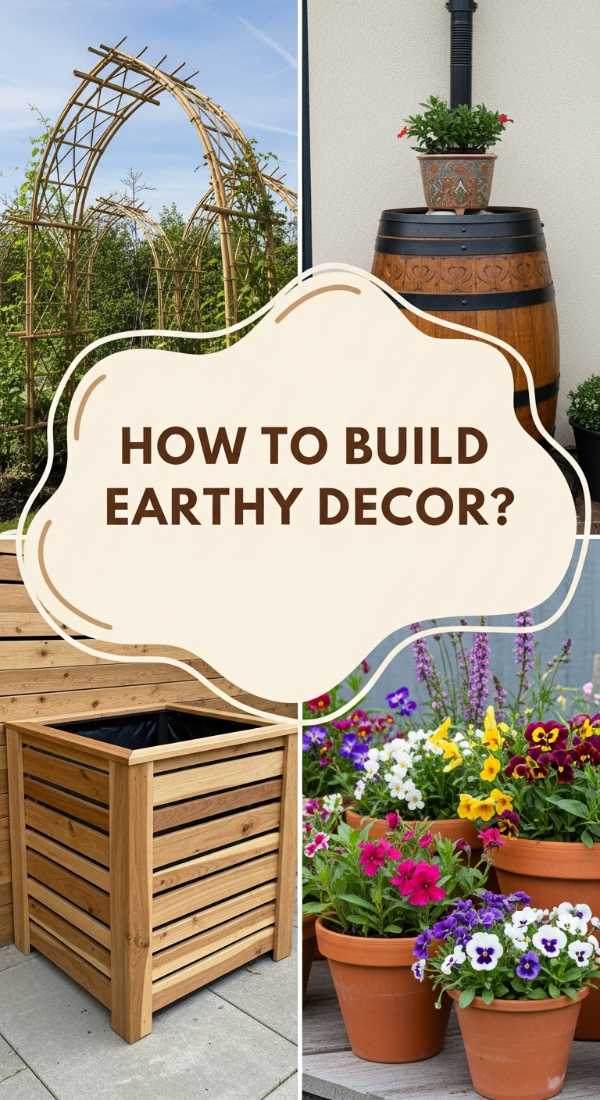
How to Build DIY Garden Decor for a Sustainable Earthy Haven

Why we love this
A sustainable garden decor approach feels good for the soul because it works in harmony with the environment rather than against it. We love the look of ‘living’ decor, like bird baths made from recycled basins or insect hotels built from gathered twigs and hollow reeds. The sight of local wildlife—bees, butterflies, and birds—utilizing your creations adds a layer of dynamic beauty that no static statue could ever provide. It’s about creating a haven that doesn’t just look pretty but actually contributes to the health of your local ecosystem, making your garden a vital part of the natural world.
Essential Elements:
- Recycled stone or ceramic basins
- Bamboo stalks and hollow reeds
- Pinecones and bark scraps
- Small wooden frame or box
- Solar-powered water pump
How to make it
- Construct an ‘Insect Hotel’ by filling a wooden frame with tightly packed bundles of bamboo, pinecones, and bark, ensuring there are plenty of small crevices for bees to nest.
- Place the hotel in a sunny, sheltered spot about three feet off the ground, ensuring it remains dry during heavy rains to protect the inhabitants.
- Create a ‘bubbling’ bird bath by placing a solar pump in your recycled basin; the sound of moving water is a powerful attractant for birds and prevents mosquito breeding.
- Surround the water feature with flat ‘landing stones’ that sit just above the water line, allowing butterflies and smaller insects to drink safely without drowning.
- Avoid using any chemical glues or treated woods in these projects; stick to natural hemp twine or mechanical fasteners to keep the environment safe for wildlife.
How to Curate Whimsical Garden Decor for a Playful Wonderland Effect
[IMAGE_10]
Why we love this
The ‘Wonderland’ effect is for those who believe a garden should be a place of joy, humor, and slightly eccentric charm. We love the use of oversized elements—like a giant tea set planter or a bright blue garden gate—that defy conventional gardening rules. The vibrant, clashing colors and the ‘more-is-more’ philosophy create a space that feels energetic and full of life, sparking laughter and curiosity in everyone who visits. It is the ultimate expression of creative freedom, where the only rule is that it has to make you smile every time you look out the window.
Essential Elements:
- Brightly painted garden furniture
- Oversized garden ornaments (like giant keys or clocks)
- Checkered pathway tiles (black and white)
- Topiary frames in animal shapes
- Bold, multi-colored flower beds
How to make it
- Create a ‘Mad Hatter’ tea corner by painting an old thrift-store table and chairs in contrasting neon shades, using a high-gloss outdoor enamel for maximum pop.
- Lay a small section of pathway using black and white square pavers in a checkerboard pattern to create an immediate visual reference to classic wonderland themes.
- Install wire topiary frames over fast-growing ivy; as the ivy grows, trim it once a month to maintain the shape, using sharp shears for a clean, defined edge.
- Scatter ‘impossible’ objects throughout the garden, like an antique clock hanging from a tree or a vintage teapot used as a succulent planter, to create moments of delightful surprise.
- Plant a ‘rainbow’ border by grouping flowers of the same color together in distinct blocks, moving from red to violet along the length of a fence or path for a high-impact visual punch.
A Final Note on Your Garden Journey
Designing your dreamy outdoor haven is a journey, not a destination. It’s a process of trial, error, and a whole lot of dirt under your fingernails. But when you finally sit back in that chair, surrounded by the whimsy and magic you created with your own two hands, you’ll realize it was worth every second. Your garden is a reflection of your growth—literally and figuratively. So, go ahead, plant that weird flower, paint that old bucket, and let your imagination run wild. Your sanctuary is waiting.