
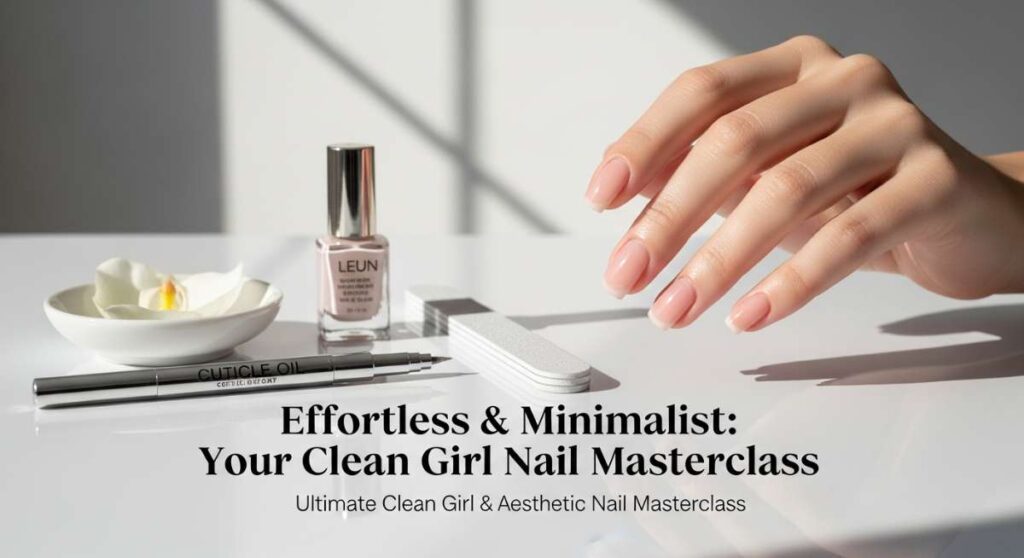
Effortless & Minimalist: Your Clean Girl Nail Masterclass
Hello, my loves. Pull up a chair and let’s take a deep breath together. You know that feeling when you finally slip into a fresh silk robe, the sun is streaming through the sheer curtains, and everything feels just… right? That is the energy we are bringing to our fingertips today. This masterclass is more than just a tutorial; it’s a soft embrace for your soul, a little ritual of self-love that leaves you feeling polished, intentional, and radiantly beautiful.
I’ve always believed that our hands tell our stories—the way we hold our morning coffee, the way we brush a stray hair from a loved one’s face. By choosing the ‘clean girl’ aesthetic, we aren’t just following a trend; we are embracing a lifestyle of clarity and minimalist elegance. So, grab your favorite tea, light that candle you’ve been saving, and let’s dive into the world of understated luxury together. I am so happy you’re here.
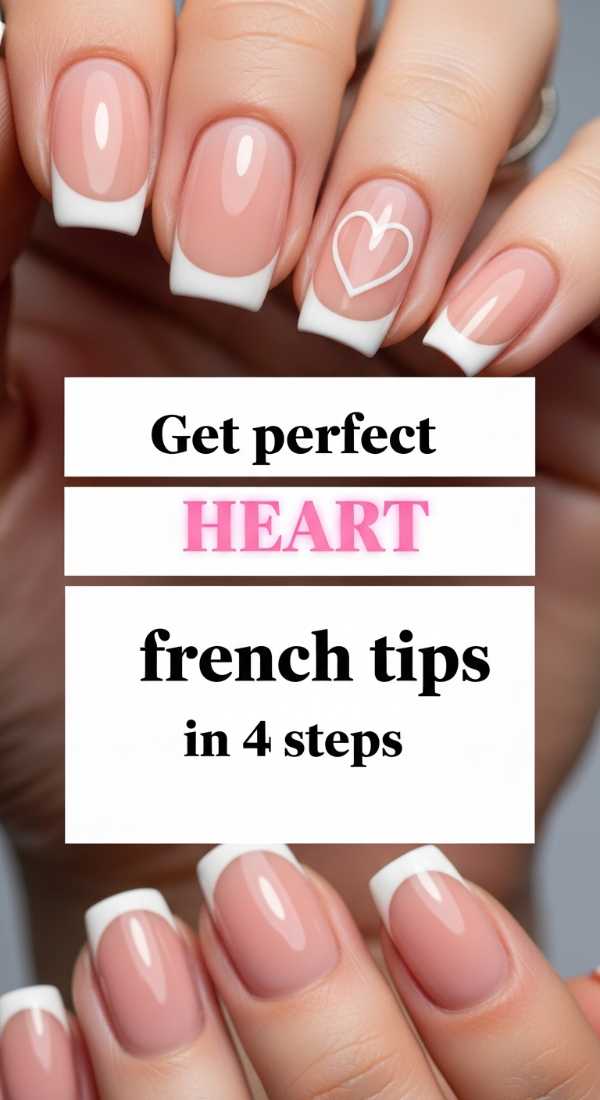
Get perfect heart french tips in 4 steps
Why to love this Design:
This design is like a whispered secret—sweet, romantic, and incredibly subtle. It takes the classic French tip and gives it a soft, soulful twist that makes your heart flutter every time you glance down at your keyboard.
Essential Elements:
- Sheer pink base coat
- Opaque white or soft red polish
- Fine detail brush or toothpick
- Steady hand and a deep breath
How to Prepare:
- Apply two thin coats of your favorite sheer base and let dry completely.
- Using a detail brush, place two small dots at the center of your nail tip.
- Drag each dot downward at an angle to meet at a point, forming a heart shape.
- Fill in the heart and seal with a high-shine top coat.
Budget Range
- Essie Ballet Slippers ($10)
- Detailing Brush Set ($6)
- Seche Vite Top Coat ($9)
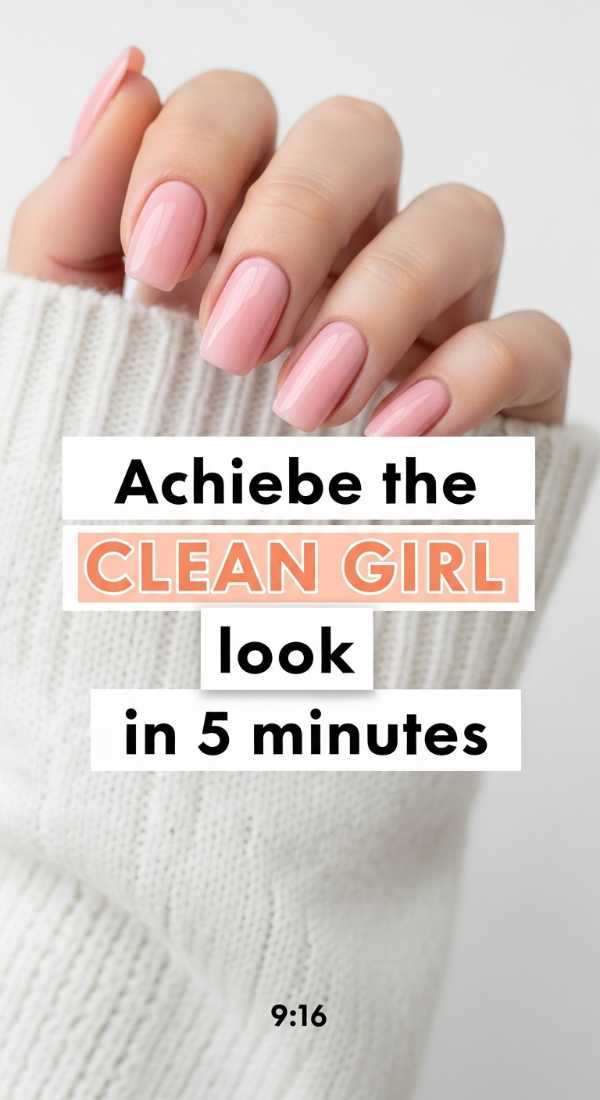
Achieve the clean girl look in 5 minutes
Why to love this Design:
This is the ‘no-makeup makeup’ of nails. It’s for my loves who want to look effortlessly put-together even on their busiest mornings. It’s clean, bright, and perfectly polished in less time than it takes to brew a latte.
Essential Elements:
- Nail buffer
- Nude or ‘milk’ colored polish
- Cuticle oil
How to Prepare:
- Gently buff the surface of your nails to a natural shine.
- Apply one single, even coat of a milky nude polish.
- Clean any edges with a wooden stick.
- Finish with a drop of cuticle oil for that healthy glow.
Budget Range
- Zoya Naked Manicure ($12)
- Revlon Nail Buffer ($4)
- Organic Jojoba Oil ($8)
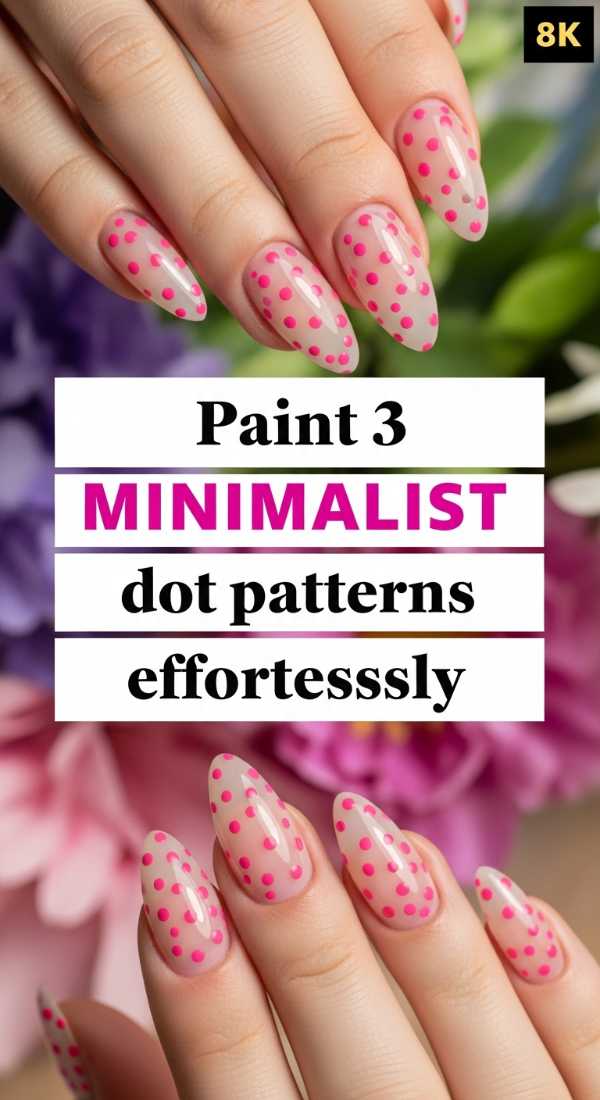
Paint 3 minimalist dot patterns effortlessly
Why to love this Design:
Minimalism doesn’t have to be boring. Adding a single, well-placed dot creates a focal point that feels artistic and modern without being overwhelming. It’s the ultimate ‘cool girl’ manicure.
Essential Elements:
- Dotting tool (or the end of a bobby pin)
- Contrasting polish (black, gold, or deep navy)
- Matte or glossy top coat
How to Prepare:
- Pattern 1: Place a single dot at the base of the nail bed on each finger.
- Pattern 2: Align three tiny dots vertically down the center of the ring finger.
- Pattern 3: Place one dot off-center near the tip for an asymmetrical look.
Budget Range
- Sally Hansen Black Out ($5)
- Bobby Pins ($2)
- OPI Matte Top Coat ($11)
Master classy glossy nails in 6 simple layers
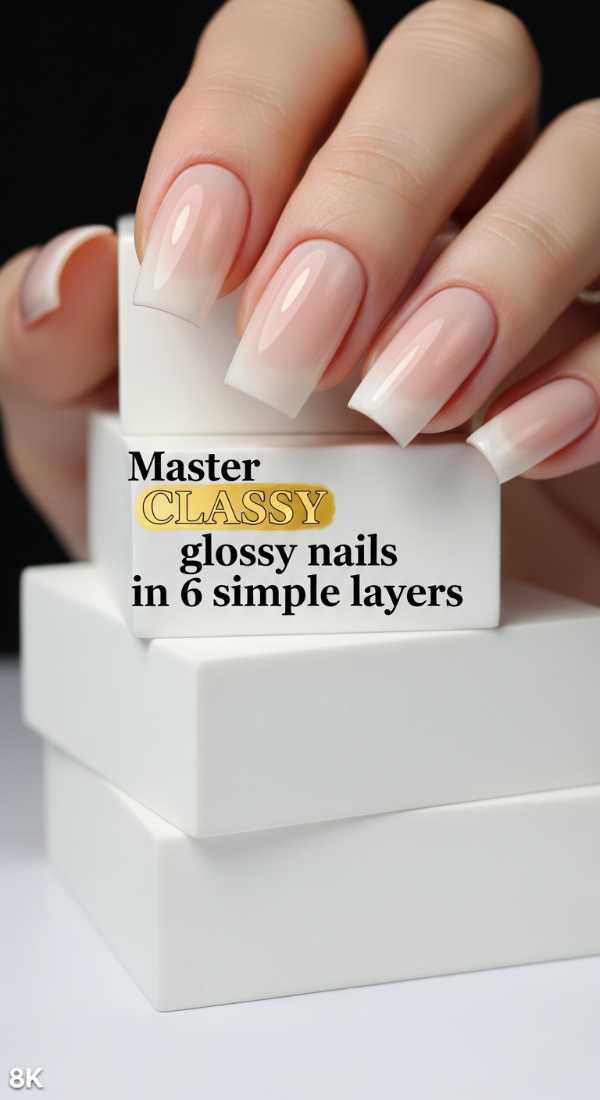
Why to love this Design:
There is something so therapeutic about the depth of a multi-layered gloss. It looks like liquid glass on your fingertips, reflecting the light and making your hands look elongated and refined.
Essential Elements:
- Ridge-filling base coat
- Sheer tint polish
- Gel-effect top coat
How to Prepare:
- Apply one layer of ridge filler to create a smooth canvas.
- Apply two ultra-thin layers of sheer tint.
- Apply one layer of clear strengthening treatment.
- Apply two layers of gel-effect top coat for maximum depth.
Budget Range
- Holler and Glow Ridge Filler ($7)
- Dior Abricot Base ($30)
- Essie Gel Couture Top Coat ($13)
Create 7 elegant nail designs at home
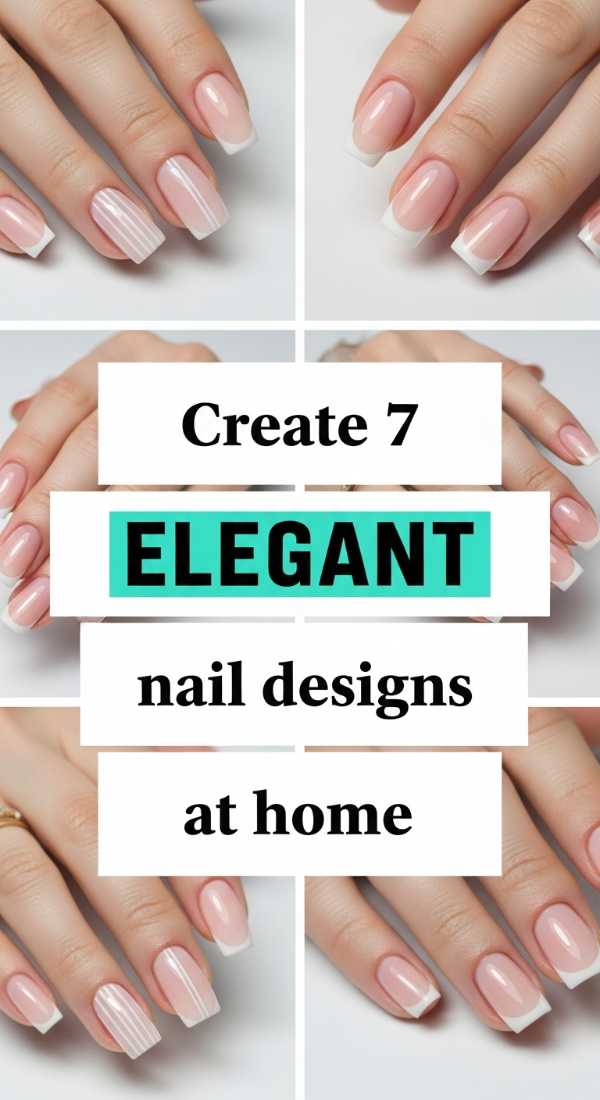
Why to love this Design:
Variety is the spice of life, even in a minimalist world. These designs allow you to play with negative space and thin lines, giving you a salon-quality look without ever leaving your cozy sanctuary.
Essential Elements:
- Striping tape
- Neutral polish palette
- Patience and a clear workspace
How to Prepare:
- Use striping tape to create geometric negative space triangles.
- Try a vertical ‘racing stripe’ down the side of one nail.
- Experiment with half-moon shapes at the cuticle.
- Layer sheer colors for an ombre effect.
- Use a dry brush for a linen-texture look.
- Add a single metallic foil flake to the ring finger.
- Try a micro-french with a neon pop.
Budget Range
- Striping Tape Pack ($5)
- Olive & June Neutral Set ($40)
- Gold Leaf Flakes ($4)
Apply soft glam polish in 3 quick coats
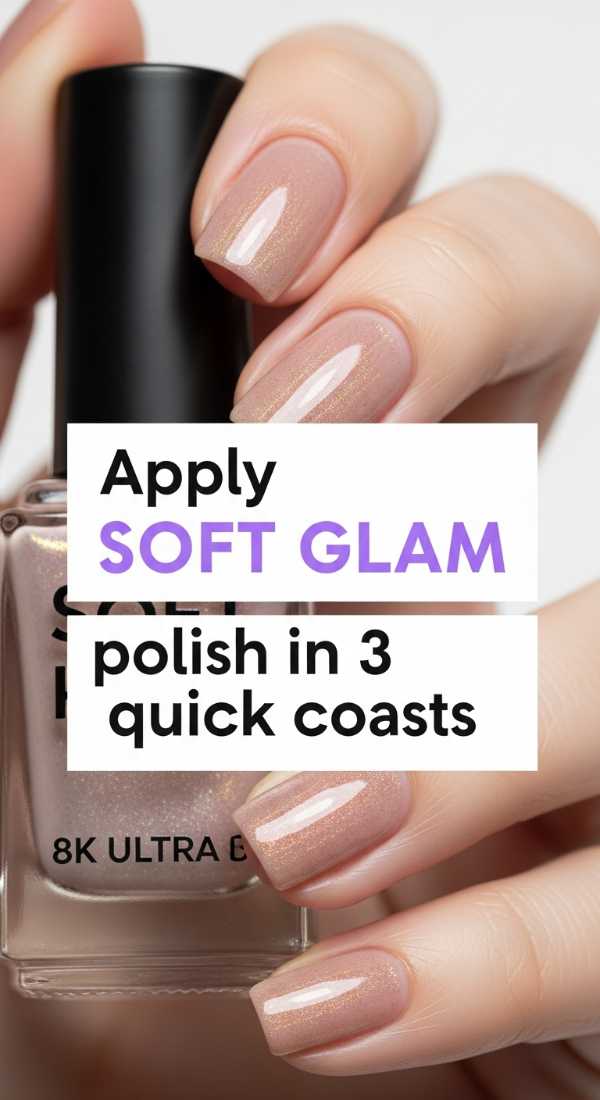
Why to love this Design:
Soft glam is for those days when you want a little sparkle but still want to feel grounded. It’s like wearing a pair of diamond studs with a white t-shirt—timeless and elevated.
Essential Elements:
- Micro-shimmer polish
- Smoothing base
- Quick-dry drops
How to Prepare:
- Apply a smooth base coat to ensure the shimmer doesn’t streak.
- Apply two coats of micro-shimmer polish, keeping the brush strokes long and steady.
- Finish with quick-dry drops to set the sparkle instantly.
Budget Range
- ILNP Soft Focus ($10)
- Orly Bonder Base ($12)
- Nicole Diary Dry Drops ($6)
Style 5 luxury nail looks for beginners
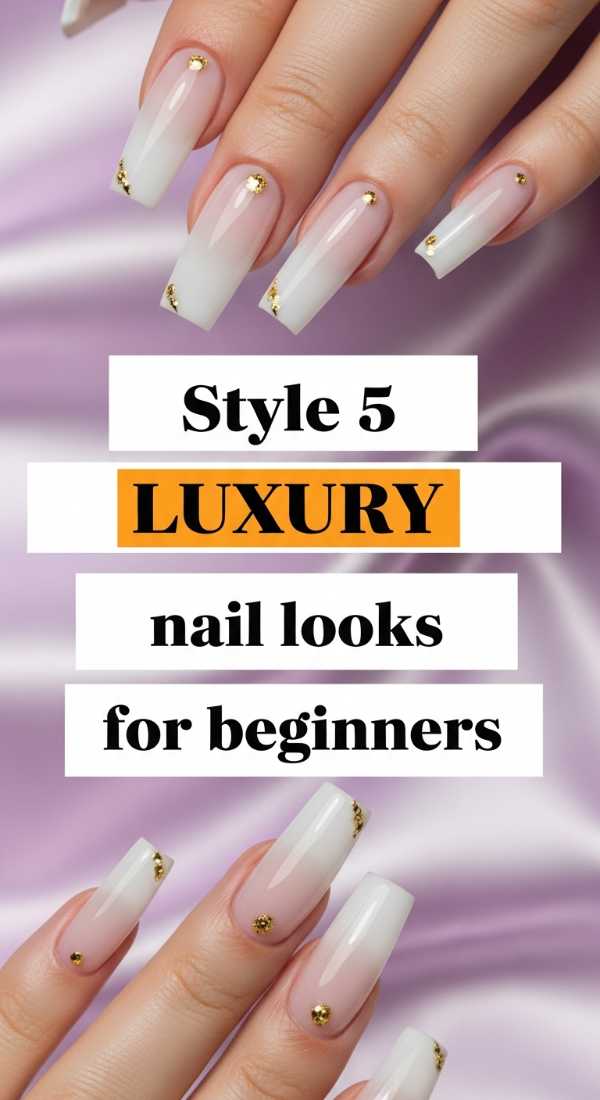
Why to love this Design:
Luxury is a mindset. These looks focus on the ‘Quiet Luxury’ trend—expensive-looking finishes that are surprisingly simple to execute, perfect for my loves just starting their nail journey.
Essential Elements:
- Pearl powder or chrome finish
- Deep mocha or ‘rich girl’ tan polish
- High-quality file
How to Prepare:
- The Pearl Look: Rub pearl pigment over a white base.
- The Espresso Look: A solid, high-shine deep brown.
- The Velvet Look: Use a magnetic polish for a soft texture.
- The French Micro: A line so thin it’s barely there.
- The Clean Chrome: A soft silver buffed into a nude base.
Budget Range
- Chrome Powder Kit ($8)
- Chanel Le Vernis ($32)
- Magnetic Wand ($5)
Maintain natural nails aesthetic with 4 daily habits
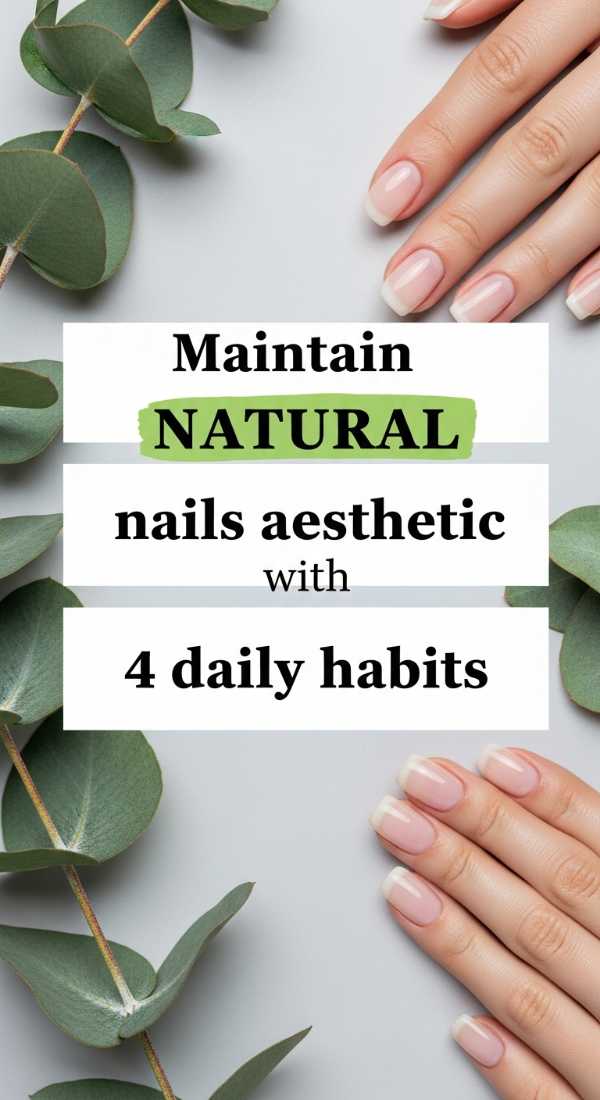
Why to love this Design:
The foundation of every beautiful manicure is the health of the nail itself. These habits are a form of daily meditation—a moment to pause and care for the parts of you that do so much work.
Essential Elements:
- Glass nail file
- Cuticle cream
- Hand mask or rich lotion
How to Prepare:
- File in one direction only with a glass file to prevent splitting.
- Massage cuticle oil into the skin every single night before bed.
- Apply a thick hand cream after every wash to lock in moisture.
- Take a weekly ‘naked day’ to let your nails breathe between polishes.
Budget Range
- Germanikure Glass File ($12)
- Burt’s Bees Lemon Butter ($6)
- Weleda Skin Food ($19)
Design simple chic nails in 2 easy minutes
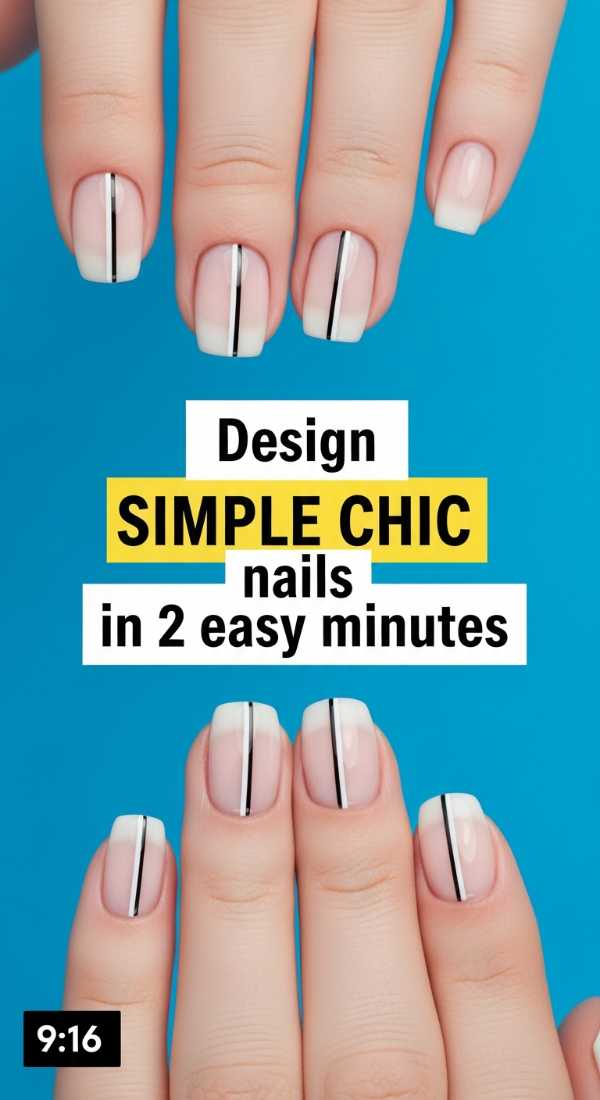
Why to love this Design:
For those moments when you’re running out the door to a gallery opening or a coffee date. It’s about making an impact with the absolute minimum effort, celebrating the beauty of simplicity.
Essential Elements:
- Tinted nail strengthener
- Buffing block
How to Prepare:
- Quickly buff away any ridges to reveal a natural glow.
- Swipe on two coats of a tinted strengthener that adds a hint of pink.
Budget Range
- Butter London Jelly Preserve ($18)
- Flowery Buffing Block ($2)
Finish your aesthetic nails with 3 gloss secrets
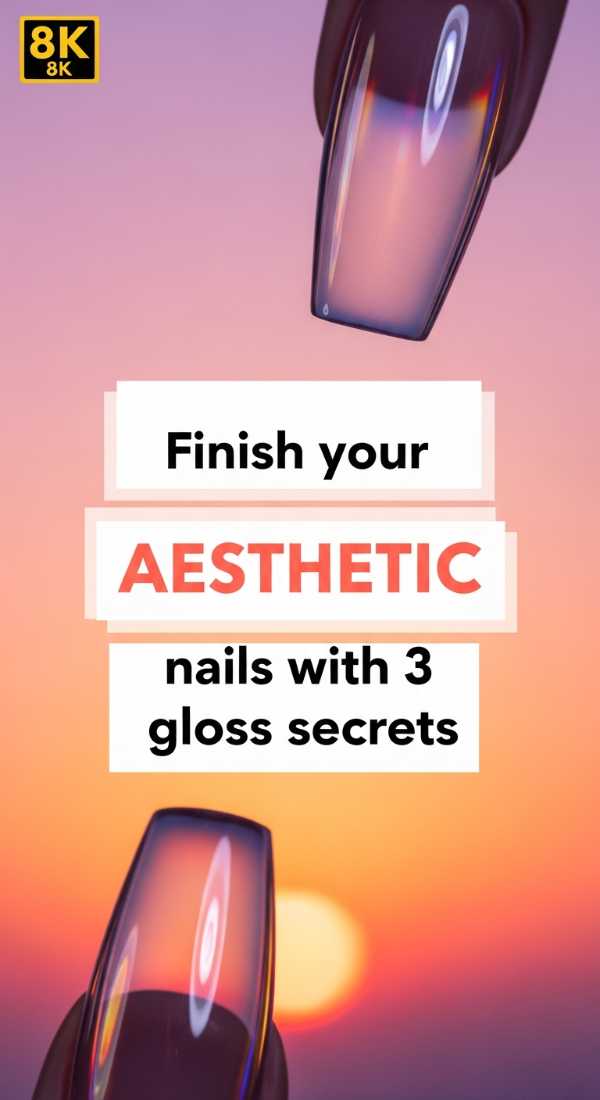
Why to love this Design:
The finish is what separates a DIY manicure from a professional aesthetic. These secrets ensure your nails look ‘expensive’ and stay chip-free through all your adventures.
Essential Elements:
- UV Top coat (optional)
- Ice water
- Top coat ‘capping’ technique
How to Prepare:
- Secret 1: Always ‘cap’ the free edge of your nail with top coat to prevent lifting.
- Secret 2: Wait 60 seconds between layers to prevent bubbling.
- Secret 3: Dip your finished nails in ice-cold water for 2 minutes to set the polish deep.
Budget Range
- Seche Vive Gel Effect ($10)
- Large bowl of ice (Free!)
Wrapping Your Hands in Love
As we finish this journey together, remember that your beauty isn’t defined by the complexity of your nail art, but by the intention you put into your self-care. Whether you chose a simple milky polish or a delicate heart detail, I hope every time you look at your hands, you feel a sense of peace and pride. You deserve this softness, my loves. Keep shining, keep breathing, and keep making the world a more beautiful place, one small detail at a time.
Your Aesthetic Nail FAQ
Q: How do I make my clean girl manicure last longer?
A: The secret is in the prep! Ensure your nail beds are completely free of oils by swiping them with a little alcohol before applying your base coat.
Q: Can I achieve this look on short nails?
A: Absolutely! In fact, the clean girl aesthetic often looks best on short, neatly filed square or oval nails. It’s all about looking natural and healthy.
Q: What is the best ‘milky’ polish color?
A: It depends on your skin tone, but soft whites with a hint of pink or peach are universal favorites. Look for ‘sheer’ or ‘jelly’ on the label!