
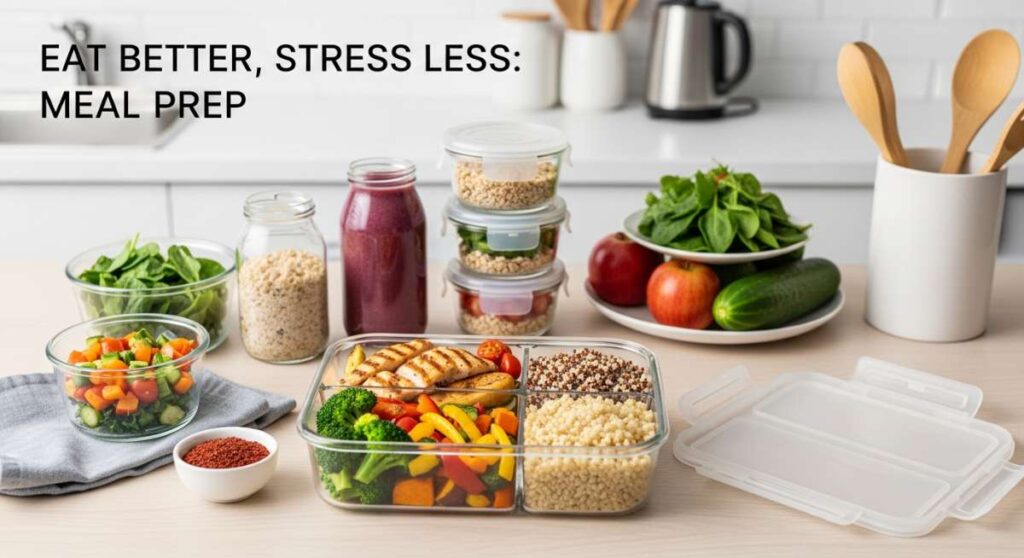
Eat Better, Stress Less: The Beginner’s Guide to Mastering Meal Prep
Hello, my loves! I know how heavy the week can feel when the sun starts to set and the ‘what’s for dinner’ panic begins to creep in. We’ve all been there, staring into a fridge that feels more like a puzzle than a pantry, but I want to share a little secret that changed my life and softened my soul: meal prep isn’t a chore, it’s a love letter to your future self. Imagine waking up knowing your body is going to be nourished with vibrant, whole foods without the frantic rush or the messy cleanup every single night.
Bringing intention back into the kitchen has a way of quieting the noise of a busy life. It is about reclaiming your time and choosing to nourish yourself with kindness rather than convenience. When we prep, we aren’t just making food; we are creating space for rest, for family, and for those quiet moments of reflection that we all deserve. Let’s dive into this journey together, one delicious container at a time, and turn your kitchen into a sanctuary of ease and health.
Secrets to Fresh Salad Jars

Why we love this
There is something so deeply satisfying about seeing a rainbow of colors stacked perfectly in a glass jar, waiting to brighten your lunch hour. These salad jars are the ultimate solution for anyone who hates soggy greens, keeping every layer crisp and flavorful until the moment you pour it out. It’s like a little gift you tuck away on Sunday that stays fresh and crunchy all the way through Thursday, making healthy eating feel like a breeze. By layering strategically, you ensure that the dressing never touches the delicate leaves until you’re ready to enjoy.
Ingredients
- Extra virgin olive oil and balsamic glaze
- Chickpeas or black beans
- Diced cucumbers and cherry tomatoes
- Cooked quinoa or farro
- Feta cheese or goat cheese
- Massaged kale or baby spinach
- Toasted sunflower seeds
How to make it
- Start with the dressing: Pour 2-3 tablespoons of your favorite vinaigrette into the very bottom of a wide-mouth quart-sized mason jar.
- Add your moisture-resistant layer: Drop in hearty vegetables like chickpeas, beans, or diced carrots that can sit in the dressing without losing their texture.
- Layer in the crunch: Add your cucumbers, tomatoes, and any other water-heavy veggies that will act as a buffer between the liquid and the grains.
- Incorporate the grains: Spoon in a layer of cooked quinoa or farro, which will soak up any rogue flavors while staying separate from the greens.
- Finish with the delicate items: Place your cheese and nuts on top of the grains, then pack the rest of the jar tightly with your greens of choice.
- Seal and store: Tighten the lid and keep the jars upright in the fridge for up to 5 days, then simply shake and pour into a bowl when ready.
Genius Chicken Meal Prep Hack
Why we love this
Chicken is the ultimate canvas for our weekly meals, but standing over a cutting board for an hour can feel like such a drain on your energy. This shredding hack is a total game-changer for my loves who want high protein without the high effort of manual labor. Using a hand mixer allows you to transform bulk-cooked chicken into perfectly shredded pieces in mere seconds, leaving you with a versatile base for everything. It feels like magic every time I do it, and it saves my wrists from the repetitive strain of using two forks.
Ingredients
- 3-4 lbs boneless, skinless chicken breasts
- Chicken broth or salted water
- Garlic powder and onion powder
- Sea salt and cracked black pepper
- Optional: Fresh herbs like thyme or rosemary
How to make it
- Poach the chicken: Place your chicken breasts in a large pot and cover them completely with broth or water, adding your seasonings and herbs for flavor.
- Simmer gently: Bring the liquid to a boil, then reduce the heat and simmer for 15-20 minutes until the internal temperature reaches 165 degrees Fahrenheit.
- Drain the liquid: Carefully remove the chicken from the pot and place the warm breasts into a high-sided large glass or metal mixing bowl.
- The mixer magic: Take a standard hand mixer (or a stand mixer with the paddle attachment) and set it to a low-medium speed directly onto the warm chicken.
- Shred away: Move the mixer around the bowl for about 30 to 60 seconds; you will see the chicken instantly pull apart into fine, uniform shreds.
- Portion and cool: Once shredded, let the chicken cool completely before placing it into airtight containers to use for tacos, salads, or wraps throughout the week.
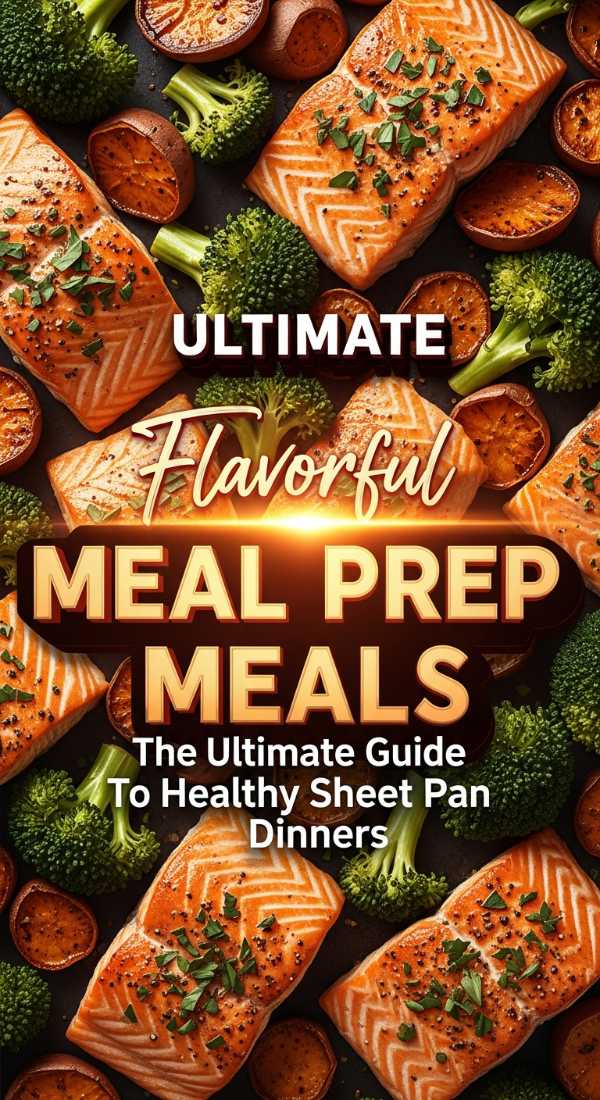
Ultimate Sheet Pan Dinner Guide

Why we love this
The sheet pan dinner is the unsung hero of the kitchen, offering a warm and comforting meal with almost zero cleanup to worry about. I love how the high heat of the oven caramelizes the vegetables and locks in the juices of the protein, creating a symphony of flavors on one tray. It’s the perfect way to feed your family a wholesome, hot meal even on those nights when you feel like you have nothing left to give. There is a rustic beauty in the way everything roasts together, mingling their aromas and making your home smell like a dream.
Ingredients
- 1 lb Salmon fillets or chicken sausage
- Large head of broccoli, cut into florets
- 1 lb baby potatoes, halved
- Bell peppers, sliced into strips
- Avocado oil or melted ghee
- Lemon slices and fresh parsley
- Smoked paprika and garlic salt
How to make it
- Preheat and prep: Set your oven to 400 degrees Fahrenheit and line a large, heavy-duty rimmed baking sheet with parchment paper for easy cleanup.
- Toss the veggies: Place the potatoes and broccoli on the pan, drizzle with oil, sprinkle with salt and paprika, and toss until every piece is coated.
- Initial roast: Since potatoes take longer, roast them alone for about 15 minutes to ensure they get that perfect golden-brown exterior.
- Add the protein: Remove the pan, move the veggies to the sides, and place your salmon or sausage in the center, seasoning them generously.
- Final bake: Return the pan to the oven for another 12-15 minutes until the salmon flakes easily and the vegetables are tender and charred at the edges.
- Garnish and serve: Squeeze fresh lemon juice over everything and sprinkle with chopped parsley before serving directly from the pan.
The Secret to Perfect Reheated Rice

Why we love this
We’ve all had that moment of disappointment when reheating leftover rice only to find it has turned into a dry, crunchy mess that is hard to swallow. This simple ice cube trick is the gentle hug your leftovers need, restoring that fluffy, fresh-out-of-the-cooker texture in the microwave. It’s a sustainable way to make sure no food goes to waste while keeping your grain-based bowls tasting just as delicious on day three. Once you try this method, you will never look at leftover rice the same way again, and your lunches will be forever changed.
Ingredients
- Leftover cooked white or brown rice
- One single ice cube
- A microwave-safe bowl
- A microwave-safe lid or plate
How to make it
- Bowl prep: Place your desired portion of cold, leftover rice into a microwave-safe ceramic or glass bowl, breaking up any large clumps with a fork.
- The ice cube placement: Place one single ice cube right on top of the center of the rice pile; surprisingly, the ice won’t melt completely in the process.
- Cover it up: Place a lid or a microwave-safe plate over the bowl to trap the steam that will be created during the heating process.
- Microwave: Heat on high for about 1 minute to 90 seconds depending on the power of your microwave and the amount of rice you are reheating.
- Steam finish: Let the bowl sit covered for 30 seconds after the timer goes off, then remove the lid and take out the remaining bit of ice cube.
- Fluff and enjoy: Use a fork to fluff the rice, which will now be perfectly moist and soft thanks to the steam bath provided by the ice.
Brilliant High Protein Breakfasts

Why we love this
Mornings can be so chaotic, my loves, but starting your day with a boost of protein is the kindest thing you can do for your energy levels. These make-ahead breakfast boxes feel like a fancy hotel brunch that you get to enjoy in the comfort of your own pajamas. They keep you full and focused until lunch, preventing that mid-morning sugar crash that often comes from quick cereal or toast. By prepping these on Sunday, you guarantee that your first decision of the day is a healthy, nourishing one that sets a positive tone.
Ingredients
- Hard-boiled eggs, peeled
- Greek yogurt with a drizzle of honey
- Fresh berries (blueberries or raspberries)
- Smoked turkey slices or Canadian bacon
- Handful of almonds or walnuts
- A small portion of cottage cheese
How to make it
- Boil the eggs: Cook a half-dozen eggs until they are hard-set, then peel them immediately after an ice bath to keep them pretty and smooth.
- Portion the yogurt: Use small 4-ounce glass jars to portion out your Greek yogurt, topping them with a tiny swirl of honey or maple syrup.
- Prep the protein: Roll up your turkey slices or cut your Canadian bacon into bite-sized pieces for an easy, savory snack-style component.
- Assemble the boxes: Use a multi-compartment meal prep container to keep the wet ingredients (yogurt/cottage cheese) separate from the dry nuts and eggs.
- Add the fruit: Fill the remaining gaps with fresh berries, which provide a burst of antioxidants and a little natural sweetness to round out the meal.
- Grab and go: Stack these in the fridge and simply grab one as you head out the door or sit down at your desk for a stress-free start.
Budget Friendly Steak Prep

Why we love this
Eating steak doesn’t have to be a luxury reserved for expensive nights out; it can be a beautifully affordable way to meal prep with a bit of savvy. Choosing tougher, budget-friendly cuts like flank or hanger steak and treating them with a long marinade transforms them into butter-soft bites of heaven. It feels so indulgent to open your fridge and see high-quality protein ready to go, making your weekday lunches feel like a celebration. This method proves that you can eat like royalty without breaking the bank or spending hours at the stove.
Ingredients
- 1.5 lbs Flank steak or Skirt steak
- 1/4 cup soy sauce or coconut aminos
- 2 tablespoons balsamic vinegar
- 2 cloves minced garlic
- 1 tablespoon honey or brown sugar
- Fresh cracked black pepper
How to make it
- The marinade: Combine the soy sauce, vinegar, garlic, honey, and pepper in a large gallon-sized freezer bag or a shallow glass dish.
- Prep the meat: Use a fork to poke small holes all over the steak, which allows the marinade to penetrate deep into the muscle fibers.
- Marinate long: Place the steak in the mixture and let it rest in the fridge for at least 4 hours, though overnight is truly the best for tenderness.
- High heat sear: Get a cast iron skillet screaming hot and sear the steak for about 4-5 minutes per side until a beautiful crust forms.
- The crucial rest: Remove the steak from the heat and let it sit on a cutting board for at least 10 minutes to allow the juices to redistribute.
- Slice against the grain: Look for the lines in the meat and slice thinly in the opposite direction; this is the secret to making budget steak feel tender.
Master the Art of Batch Sauces
Why we love this
A good sauce is like the jewelry of a meal—it ties everything together and makes the whole ensemble sparkle with flavor and personality. When you have a jar of homemade sauce waiting in the fridge, you are never more than five minutes away from a gourmet-tasting experience. These batch sauces are much healthier than store-bought versions because they are free from hidden preservatives and excess sugar, just pure, vibrant ingredients. They turn a simple bowl of grains or roasted veggies into a culinary masterpiece that feels thoughtful and complete.
Ingredients
- Fresh basil, garlic, and pine nuts (for Pesto)
- Roasted red peppers and walnuts (for Romesco)
- Greek yogurt, lemon, and dill (for Tzatziki)
- Tahini, lemon juice, and maple syrup (for Tahini Dressing)
- High-quality olive oil
How to make it
- Choose your base: Pick one or two flavor profiles you love; a herb-based pesto and a creamy tahini dressing are great starters for the week.
- Blend until smooth: Use a food processor or a high-speed blender to combine your nuts, herbs, and oils until the texture is velvety and consistent.
- Taste and adjust: Don’t be afraid to add an extra squeeze of lemon or a pinch of salt to make the flavors really pop according to your preference.
- Store in glass: Transfer your sauces to small glass jars with tight-fitting lids to preserve the freshness and prevent the oils from absorbing plastic scents.
- Layer with oil: For herb-based sauces like pesto, pour a thin layer of olive oil over the top before sealing to prevent the green leaves from oxidizing.
- Use throughout the week: Drizzle over eggs in the morning, use as a dip for raw veggies, or toss with hot pasta for an instant dinner.
Stress Free Weeknight Dinners

Why we love this
Coming home after a long day to a kitchen that feels manageable is a form of peace that I wish for all of you. These stress-free dinner components are all about doing the heavy lifting when you have the energy, so your tired self can just enjoy the reward. By prepping specific “kits” for your favorite meals, you remove the decision fatigue that leads to ordering takeout when you’re exhausted. It’s about creating a flow in your life where dinner feels like a gentle transition into evening rest rather than another task.
Ingredients
- Pre-chopped onions, celery, and carrots
- Cooked ground turkey or plant-based crumbles
- Washed and dried mixed greens
- Pre-measured spice blends in small tins
- A jar of your favorite batch sauce
- Quick-cooking grains like couscous
How to make it
- The chop session: Spend 20 minutes on Sunday dicing all your aromatics like onions and garlic so they are ready to hit the pan instantly.
- Pre-cook the base: Brown your protein (like ground turkey or beef) with basic salt and pepper, then store it in a container to be seasoned later.
- Create meal kits: Group your ingredients in the fridge by meal; for example, put the taco meat, chopped peppers, and salsa all in one bin.
- Boil water fast: Use a kettle to boil water for grains like couscous or thin noodles, which cook in under 5 minutes while you heat the protein.
- The 10-minute assembly: Combine your pre-cooked protein with your pre-chopped veggies and a splash of batch sauce in a hot pan.
- Plate with love: Even on a weeknight, take a moment to plate your food beautifully, reminding yourself that you are worth the extra effort.
Bold Roasted Veggie Flavors

Why we love this
Roasted vegetables are the backbone of any successful meal prep, but they don’t have to be boring or limp if you treat them with care. I love the way high heat transforms humble carrots and cauliflower into sweet, caramelized treats that you’ll actually look forward to eating. They add such a wonderful texture and depth to your bowls, and they stay delicious even when eaten cold or at room temperature. It is a beautiful way to ensure you are getting your daily dose of nutrients while actually enjoying every single bite of your meal.
Ingredients
- Brussels sprouts, halved
- Sweet potatoes, cubed
- Red onion, cut into wedges
- Cauliflower florets
- Balsamic glaze and red pepper flakes
- Avocado oil and sea salt
How to make it
- Uniform cutting: Make sure all your vegetable pieces are roughly the same size so they cook evenly and you don’t end up with burnt bits.
- Don’t crowd the pan: Use two baking sheets if necessary; if the veggies are too close together, they will steam instead of roasting and getting crispy.
- The oil coating: Use your hands to massage the oil and salt into every crevice of the vegetables to ensure a perfect, golden finish.
- High heat roasting: Roast at 425 degrees Fahrenheit for 25-30 minutes, tossing the vegetables halfway through to get color on all sides.
- The flavor finish: While they are still piping hot from the oven, drizzle with a little balsamic glaze or a sprinkle of nutritional yeast for extra bold flavor.
- Cool and store: Let them reach room temperature on the pan before moving them to a container to keep them from getting mushy in the fridge.
Irresistible High Protein Pasta
[IMAGE_10]
Why we love this
Pasta is the ultimate comfort food, and I believe we should never have to give up the foods that make us feel cozy and safe. By using modern protein-packed pasta varieties and a nutrient-dense sauce, you can turn a classic treat into a powerhouse meal that supports your goals. It’s perfect for those evenings when you need a warm hug in a bowl but still want to wake up feeling light and energized. This recipe is a favorite in my house because it feels like a cheat meal but nourishes like a superfood salad.
Ingredients
- Chickpea or lentil-based penne pasta
- Low-sodium marinara sauce
- Cottage cheese (for the creamy protein sauce)
- Fresh baby spinach
- Cooked chicken breast or lean ground beef
- Grated Parmesan cheese
How to make it
- Al dente pasta: Boil your protein pasta for one minute less than the package instructions, as it tends to soften more when reheated during the week.
- The secret sauce: Blend one cup of cottage cheese with your marinara sauce in a blender until smooth to create a high-protein, creamy pink sauce.
- Wilt the greens: While the pasta is still hot, toss in a few handfuls of fresh spinach; the residual heat will wilt it perfectly without overcooking.
- Combine components: Stir your protein (chicken or beef) and your creamy sauce into the pasta until every noodle is generously coated and happy.
- Portion and top: Divide the pasta into glass containers and sprinkle with a little Parmesan cheese while it is still warm so it melts slightly.
- Easy reheat: When you’re ready to eat, add a splash of water or broth before microwaving to keep the sauce creamy and the noodles tender.
Conclusion
Mastering meal prep is truly about reclaiming your power and infusing your daily life with a sense of calm and intentionality. By taking just a few hours to prepare these nourishing components, you are giving yourself the gift of time, health, and a lighter mental load for the rest of the week. Remember, my loves, it doesn’t have to be perfect—it just has to work for you. Start small, be gentle with yourself, and enjoy the beautiful peace that comes with knowing you are well-fed and deeply cared for. You’ve got this!