
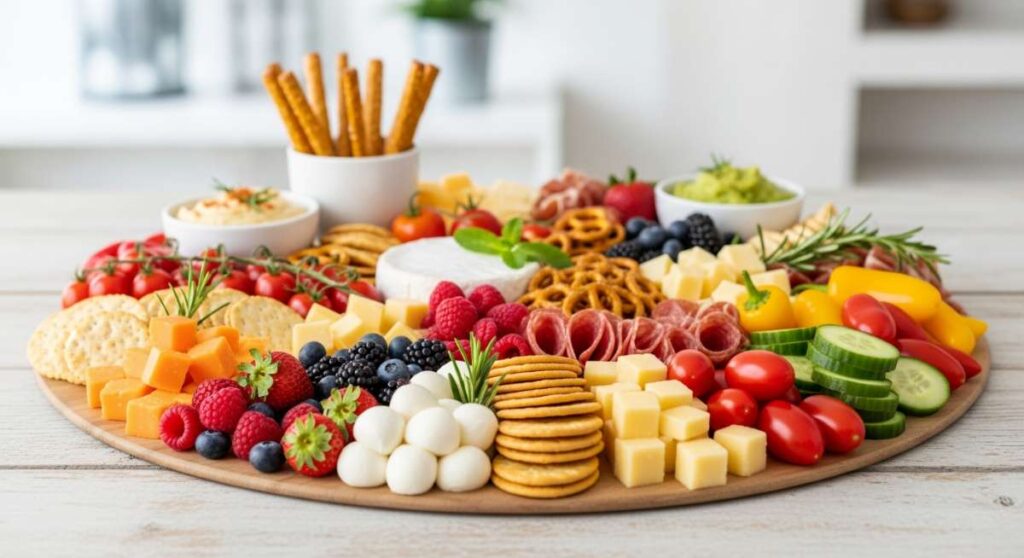
Easy Viral Food Board Hacks for Your Next Party
There is something undeniably magical about the moment you set a sprawling, colorful food board in the center of a table. It’s more than just a meal; it’s an invitation to gather, to linger, and to share stories over bites of perfectly seasoned goodness. I remember the first time I ditched the traditional plated dinner for a vibrant harvest board—the air was thick with the scent of roasted rosemary and caramelized carrots, and suddenly, the room felt warmer, the laughter louder, and the connection deeper.
Creating a viral-worthy food board isn’t about expensive ingredients or professional plating skills; it’s about mastering the simple techniques that make humble vegetables sing. Whether you’re hosting a cozy autumn gathering or just want to elevate your weeknight family dinner, these hacks will turn your kitchen into the heart of the home. Let’s dive into the sensory-rich world of roasting, glazing, and simmering to create a board that is as beautiful as it is delicious.
How to roast perfect vegetables?
Why we love this
Perfectly roasted vegetables are the backbone of any impressive food board, offering a symphony of textures that range from a delicate, crispy exterior to a buttery-soft interior. As they roast, the natural sugars intensify, filling your kitchen with a sweet, earthy aroma that signals comfort and care. There is something incredibly satisfying about biting into a vegetable that has been transformed by the heat of the oven into a concentrated explosion of flavor, making even the simplest side dish feel like a gourmet indulgence.
Ingredients
- 2 lbs Assorted vegetables (Brussels sprouts, cauliflower, bell peppers)
- 3 tbsp Extra virgin olive oil
- 1 tsp Flaky sea salt
- 1/2 tsp Cracked black pepper
- 2 sprigs Fresh rosemary or thyme
How to make it
- Preheat your oven to 425°F (218°C). This high temperature is crucial for achieving that golden-brown caramelization without overcooking the inside until it’s mushy.
- Prepare your vegetables by washing and drying them thoroughly. Moisture is the enemy of a good roast; if they are wet, they will steam instead of crisping up.
- Cut the vegetables into uniform, bite-sized pieces. This ensures that everything cooks at the same rate, preventing small pieces from burning while larger ones remain raw.
- In a large mixing bowl, toss the vegetables with olive oil, salt, and pepper until every surface is lightly glistening. Do not overcrowd the bowl; ensure an even coating.
- Spread the vegetables in a single layer on a large rimmed baking sheet. If they are touching too much, use two pans. You want air to circulate around each piece.
- Roast for 20-30 minutes, tossing them halfway through with a spatula. Look for deep browning on the edges and a tender texture when pierced with a fork.
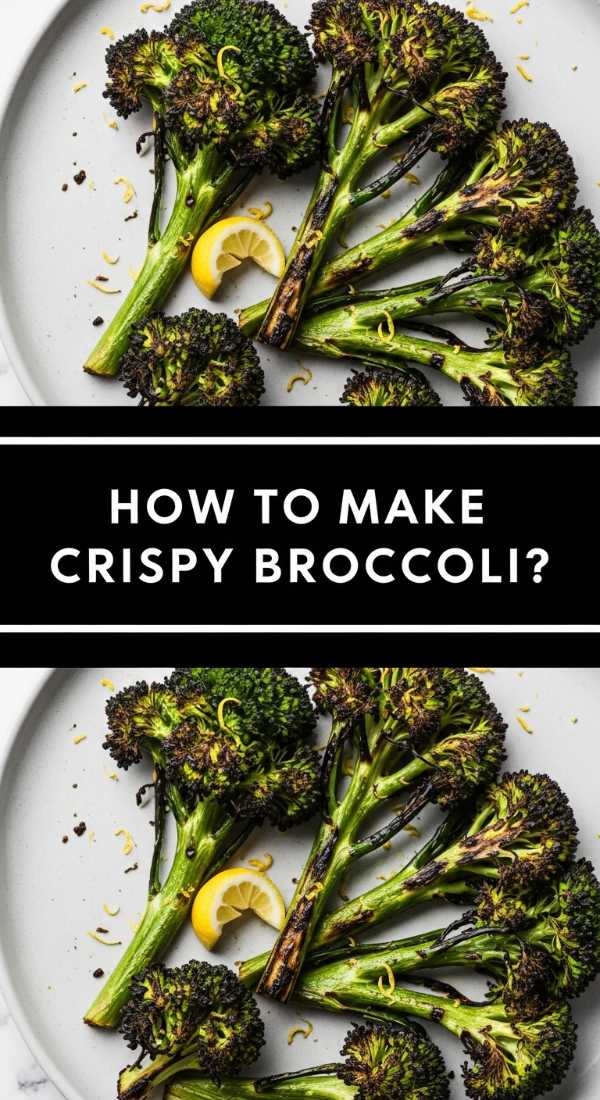
How to make crispy broccoli?
Why we love this
Crispy broccoli is a total game-changer for those who think they don’t like greens; it turns a standard vegetable into something reminiscent of a savory snack. The florets become light and airy, almost like tempura, while the stalks retain a satisfying crunch that makes every bite addictive. When seasoned correctly, the charred bits provide a smoky depth that pairs beautifully with a creamy dip or a sprinkle of sharp parmesan cheese, creating a sensory experience that is both light and deeply flavorful.
Ingredients
- 2 Large heads of broccoli
- 2 tbsp Avocado oil (high smoke point)
- 1/2 tsp Garlic powder
- 1/4 tsp Red pepper flakes
- Zest of one lemon
How to make it
- Set your oven rack to the lower-middle position and preheat to 450°F (232°C). The intense heat from the bottom will help crisp the florets quickly.
- Cut the broccoli into long, thin spears, including the stems. The more surface area touching the pan, the crispier the result will be.
- Pat the broccoli completely dry with a clean kitchen towel. Even a little bit of water will create steam and prevent that desired crunch.
- Whisk the oil, garlic powder, and red pepper flakes in a bowl, then massage the mixture into the broccoli florets, ensuring the oil penetrates the bushy tops.
- Arrange on a preheated baking sheet (carefully!) to jumpstart the searing process. Listen for that satisfying sizzle.
- Roast for 15-18 minutes until the tips of the florets are dark brown and crispy. Immediately finish with fresh lemon zest for a bright pop of acidity.
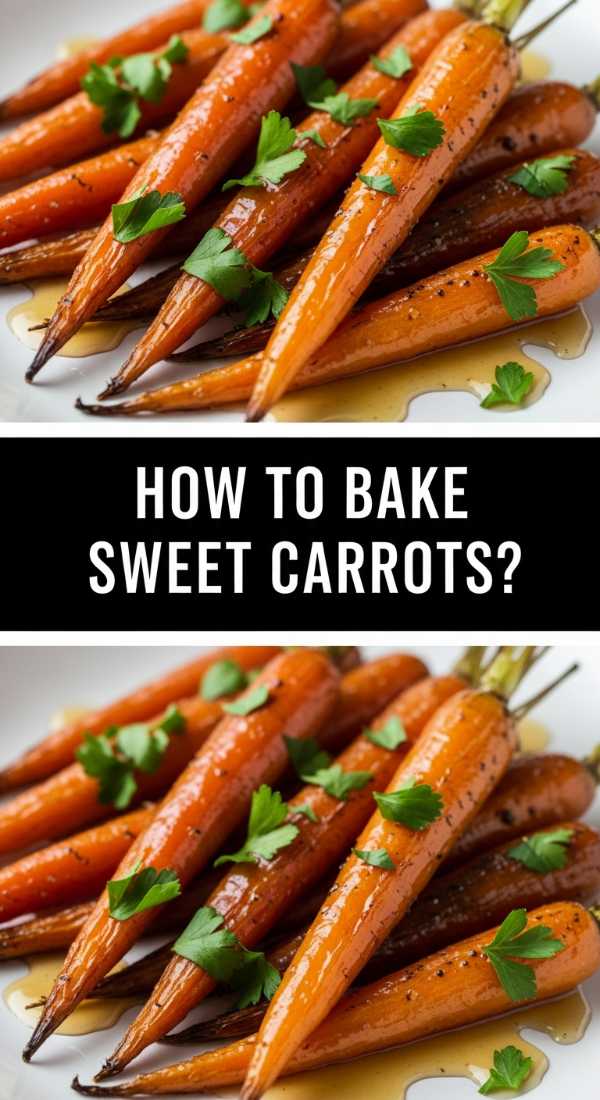
How to bake sweet carrots?

Why we love this
Baking carrots brings out a hidden candy-like sweetness that is absolutely irresistible, especially when they are roasted whole to preserve their elegant shape. The texture becomes tender and succulent, almost melting in your mouth, while the natural sugars create a sticky, glossy coating that looks stunning on a food board. The earthy aroma of the carrots combined with a touch of oil and salt creates a rustic yet sophisticated profile that balances the heavier elements of your spread perfectly.
Ingredients
- 1 lb Small bunches of carrots with tops
- 1.5 tbsp Olive oil
- 1/2 tsp Sea salt
- 1/4 tsp Cumin
How to make it
- Preheat your oven to 400°F (204°C). This moderate-high heat allows the carrots to cook through while the outside develops a subtle crust.
- Scrub the carrots clean but leave the skin on for a more rustic look and extra nutrients. Trim the green tops to about an inch for a beautiful presentation.
- If the carrots are very thick, slice them in half lengthwise so they cook evenly with the thinner ones.
- Toss with oil, salt, and cumin. The cumin adds a warm, earthy undertone that complements the sweetness of the root.
- Lay them out on a parchment-lined tray, making sure they aren’t piled on top of each other.
- Bake for 25-30 minutes. You’ll know they are done when you see slight shriveling and the edges are beginning to turn a dark, caramelized orange.
How to cook creamy soup?
Why we love this
A small bowl of creamy soup in the center of a board serves as both a dipping sauce and a soul-warming centerpiece. The texture should be velvety and smooth, coating the back of a spoon with a rich, luxurious consistency that feels like a warm hug on a cold day. Whether it’s a butternut squash or a roasted tomato base, the aroma of simmering aromatics like onions and garlic creates an inviting atmosphere that draws everyone to the table for a communal dipping experience.
Ingredients
- 1 lb Roasted vegetables (like squash or cauliflower)
- 2 cups Vegetable broth
- 1/2 cup Heavy cream or full-fat coconut milk
- 2 cloves Sauteed garlic
- Salt and white pepper to taste
How to make it
- Start by sautéing your aromatics (onion and garlic) in a pot until soft and translucent but not browned.
- Add your pre-roasted vegetables to the pot along with the vegetable broth. Bring the mixture to a gentle simmer for about 10 minutes to allow the flavors to meld.
- Using a high-speed immersion blender, blend the mixture directly in the pot until it is completely smooth and free of lumps.
- Slowly stir in the cream or coconut milk while the heat is on low. Do not let it boil after adding the cream, as this can cause it to separate.
- Taste and season with salt and white pepper. White pepper is used to keep the appearance of the soup pristine and fleck-free.
- If the soup is too thick, add more broth a tablespoon at a time until it reaches a pourable, dipping consistency.
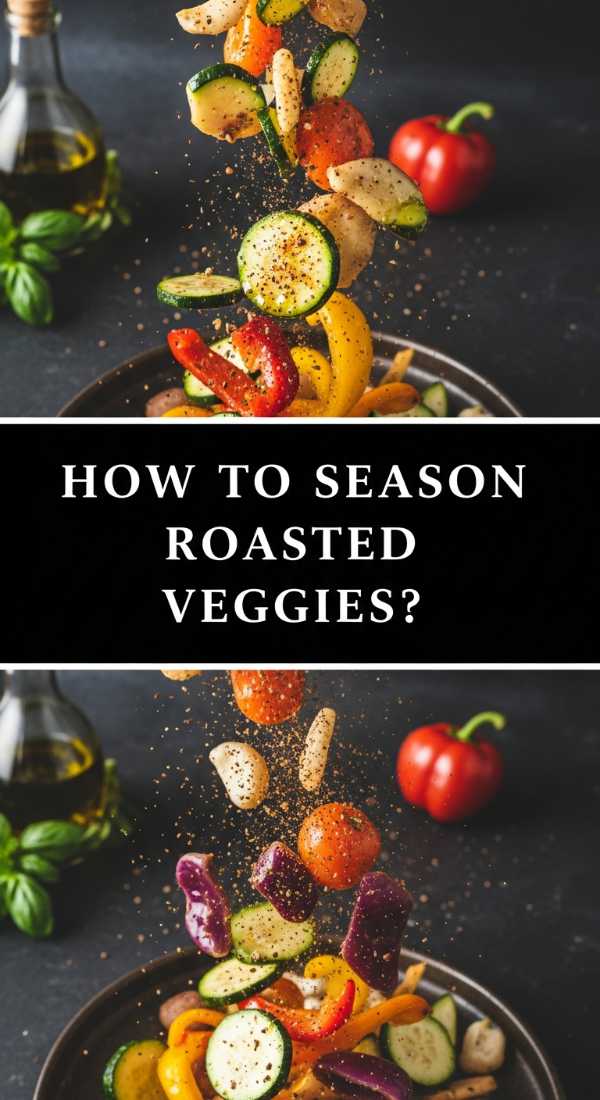
How to season roasted veggies?
Why we love this
Proper seasoning is the secret language of cooking; it’s what turns a plain vegetable into a memorable dish that people can’t stop talking about. The right balance of salt, spice, and herbs creates layers of flavor that reveal themselves slowly—first the hit of salt, then the warmth of the spices, and finally the fresh hit of herbs. It’s a sensory journey that transforms the visual appeal of the food board into a culinary masterpiece, ensuring every bite is a balanced, savory delight.
Ingredients
- Dry spice blend (Smoked paprika, onion powder, dried oregano)
- Fresh herbs (Parsley, chives, or dill)
- High-quality finishing salt
- Acid (Lemon juice or balsamic vinegar)
How to make it
- Season in stages. Always toss your raw vegetables in oil and dry spices before they hit the oven so the flavors can penetrate the food as it cooks.
- Use a “heavy hand” with salt before roasting, as some of it will fall off during the tossing process and much of it is needed to balance the natural bitterness of some greens.
- Add delicate dried herbs like oregano or thyme during the last 5 minutes of roasting to prevent them from burning and becoming bitter.
- Once the vegetables come out of the oven, immediately sprinkle with fresh herbs. The residual heat will release their essential oils without wilting them into oblivion.
- Finish with a squeeze of acid (lemon or vinegar) right before serving. This “wakes up” the flavors and cuts through the richness of the oil.
- Apply a final pinch of flaky sea salt for a crunch and a concentrated burst of salinity.
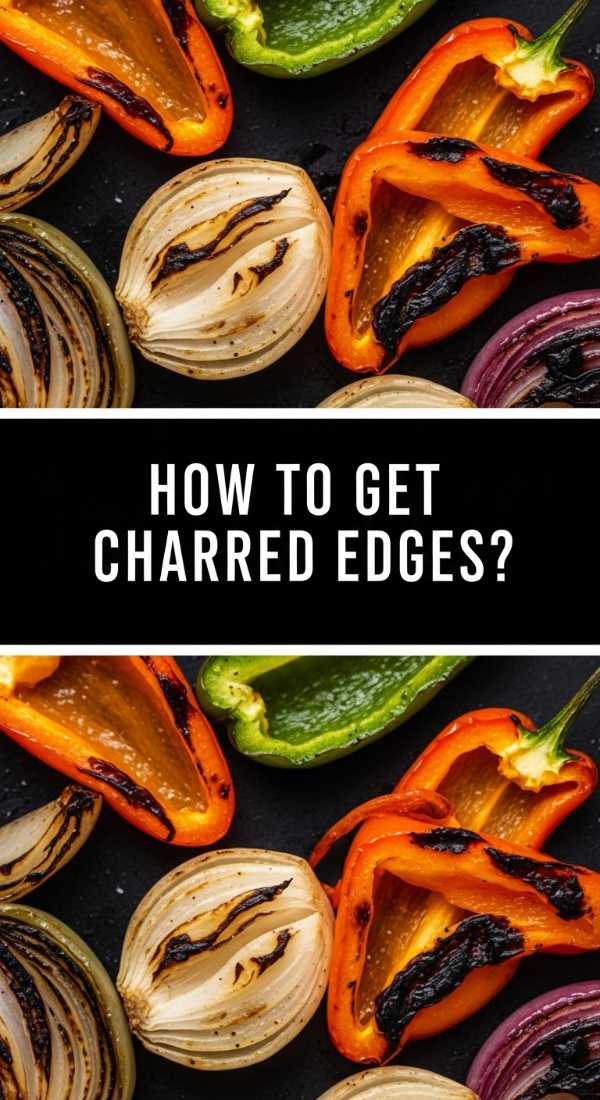
How to get charred edges?
Why we love this
Charred edges are the hallmark of expert roasting, providing a smoky, bitter contrast to the sweet, tender centers of roasted produce. Those dark, lacy bits are where the Maillard reaction has worked its magic, creating complex flavor compounds that are incredibly savory and satisfying. Visually, the contrast of deep brown or black against vibrant oranges and greens makes the food board look rustic and professionally prepared, enticing guests to reach for the “well-done” pieces first.
Ingredients
- Vegetables with high surface area (Brussels sprouts or sliced onions)
- High-smoke point oil (Grapeseed or Avocado oil)
- A heavy-duty dark metal baking sheet
How to make it
- Preheat your oven to a high setting, at least 425°F-450°F (218°C-232°C). High heat is mandatory for charring.
- Place your baking sheet inside the oven while it preheats. This ensures the vegetables start searing the moment they touch the metal.
- Use a dark-colored baking sheet if possible, as dark metal absorbs and radiates more heat than shiny aluminum, leading to faster browning.
- Arrange vegetables cut-side down. For Brussels sprouts or broccoli, the flat surface in direct contact with the hot pan will char beautifully.
- Avoid overcrowding at all costs. If the vegetables are too close, the moisture they release will turn into steam, preventing the dry heat needed for charring.
- Do not move them for the first 15 minutes. Let the contact with the pan build up that deep brown crust before you even think about flipping them.
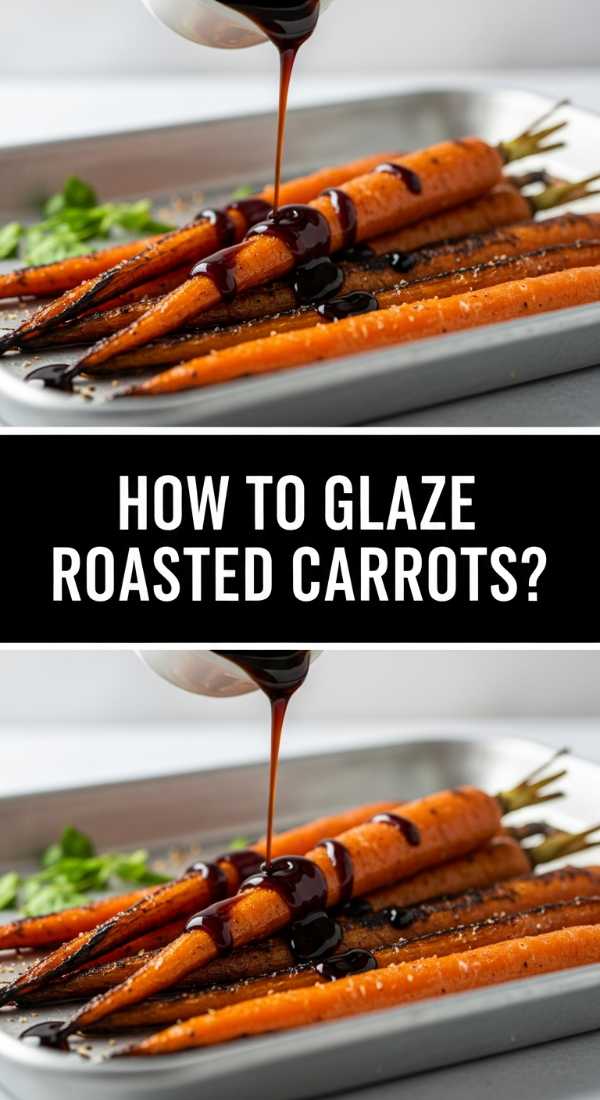
How to glaze roasted carrots?
Why we love this
A glaze adds a layer of sophisticated shine and a sticky-sweet finish that makes carrots the star of any food board. The way the light catches the honey or maple coating creates an irresistible visual appeal, while the flavor profile shifts from simple roasting to a complex, caramelized treat. It feels festive and intentional, providing a perfect counterpoint to salty cheeses or savory dips on your board, and the aroma of bubbling sugar and spices is pure holiday magic.
Ingredients
- 1 lb Roasted carrots
- 2 tbsp Honey or Maple syrup
- 1 tbsp Melted butter
- 1/2 tsp Cinnamon or Ginger
How to make it
- Roast your carrots as normal until they are about 90% cooked (roughly 20 minutes at 400°F).
- In a small bowl, whisk together the honey (or syrup), melted butter, and your choice of warm spice.
- Remove the tray from the oven and drizzle the mixture over the carrots. Use tongs to roll them around so they are completely submerged in the glaze.
- Return the tray to the oven for the final 5-8 minutes of cooking. Keep a close eye on them; the high sugar content means they can go from glazed to burnt very quickly.
- Look for the glaze to start bubbling and thickening into a syrup that clings to the carrots.
- Remove and let cool for 2 minutes on the tray; the glaze will thicken further as it cools, creating that perfect glossy finish.
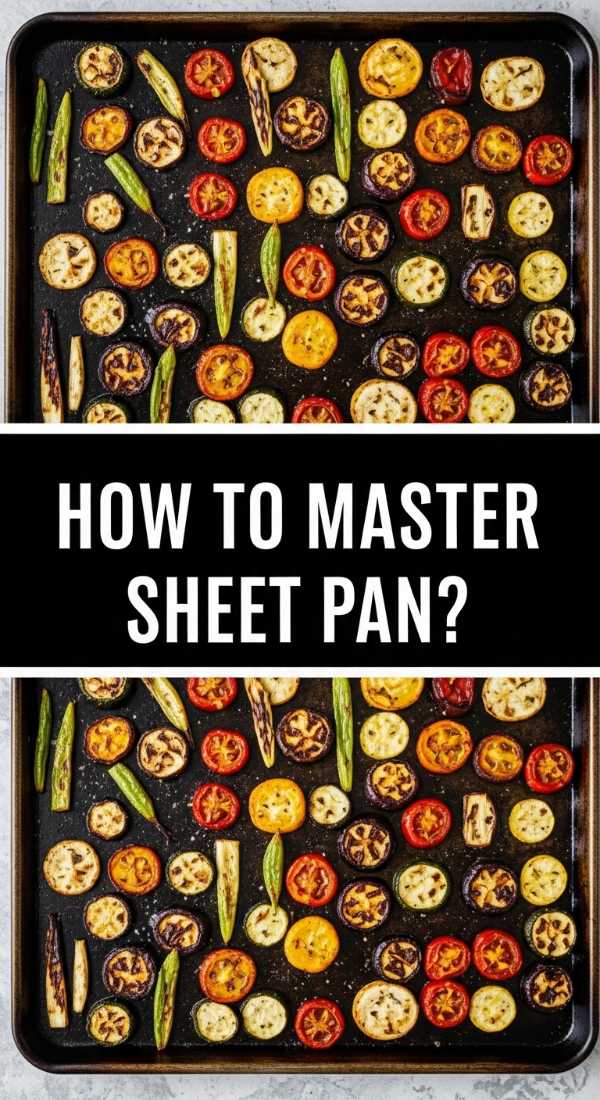
How to master sheet pan?
Why we love this
Mastering the sheet pan technique is the ultimate hack for effortless entertaining; it allows you to cook a massive variety of ingredients simultaneously while keeping cleanup to a minimum. The beauty of a well-organized sheet pan is the harmony of flavors as the juices from different vegetables mingle, creating a unified dish that still celebrates individual textures. It’s the most efficient way to fill a food board with hot, fresh components that all reach the table at the exact same moment.
Ingredients
- Variety of vegetables (Divided by density: roots vs. soft)
- Oil and seasoning
- Parchment paper (for easy cleanup)
How to make it
- Understand “cook times.” Harder root vegetables (potatoes, carrots) take longer than soft vegetables (peppers, asparagus).
- Start your root vegetables first on one side of the pan. Give them a 15-minute head start in a 400°F oven.
- While the roots are roasting, prep your softer vegetables. Season them in a separate bowl so they are ready to go.
- Slide the oven rack out and add the softer vegetables to the empty side of the pan. This “staggered start” ensures everything finishes together.
- Ensure you are using a large enough pan (18×13 inch half-sheet is standard). If ingredients are overlapping, the heat can’t reach the surfaces to crisp them.
- For the last 5 minutes, turn on the convection setting (if available) or move the pan to the top rack to ensure an even, golden finish across all varieties.
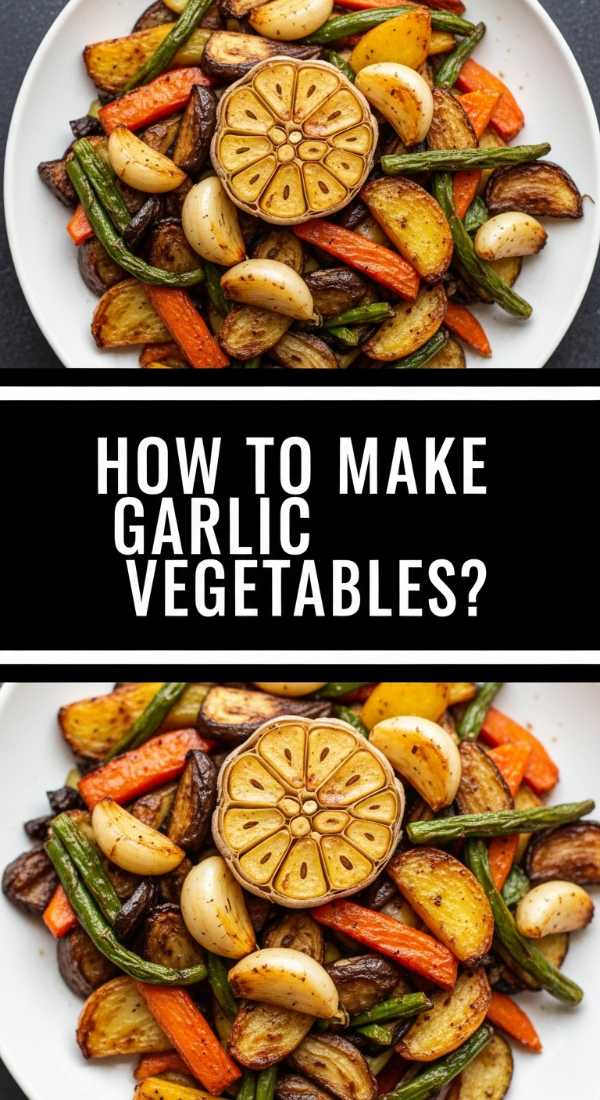
How to make garlic vegetables?
Why we love this
Garlic is the aromatic heart of savory cooking, and when infused into roasted vegetables, it creates a pungent, mouth-watering depth that is impossible to resist. The smell of roasting garlic alone is enough to bring guests wandering into the kitchen, creating an atmosphere of anticipation. When done right, the garlic mellows and becomes sweet, losing its sharp bite and instead providing a rich, savory bass note that elevates every other ingredient on the board.
Ingredients
- 4-6 cloves Fresh garlic
- Assorted vegetables
- 3 tbsp Olive oil
- Pinch of red pepper flakes
How to make it
- Avoid using pre-minced garlic from a jar; it often has a metallic aftertaste that intensifies when roasted. Use fresh cloves for the best flavor.
- Slice the garlic thinly rather than mincing it. Thin slivers are less likely to burn and disappear into the oil, giving you beautiful golden bits to eat.
- If you want a milder flavor, leave the garlic cloves whole and unpeeled. They will steam inside their skins and turn into a spreadable paste.
- Toss the vegetables in oil first, then add the garlic for the last 10-15 minutes of roasting. Garlic burns much faster than vegetables, and burnt garlic is bitter and unpleasant.
- If you want intense garlic flavor, infuse your olive oil by heating it gently with smashed garlic for 5 minutes before straining and tossing it with the veggies.
- Finish the dish with a sprinkle of garlic salt or wild garlic powder for an extra layer of punchy flavor.
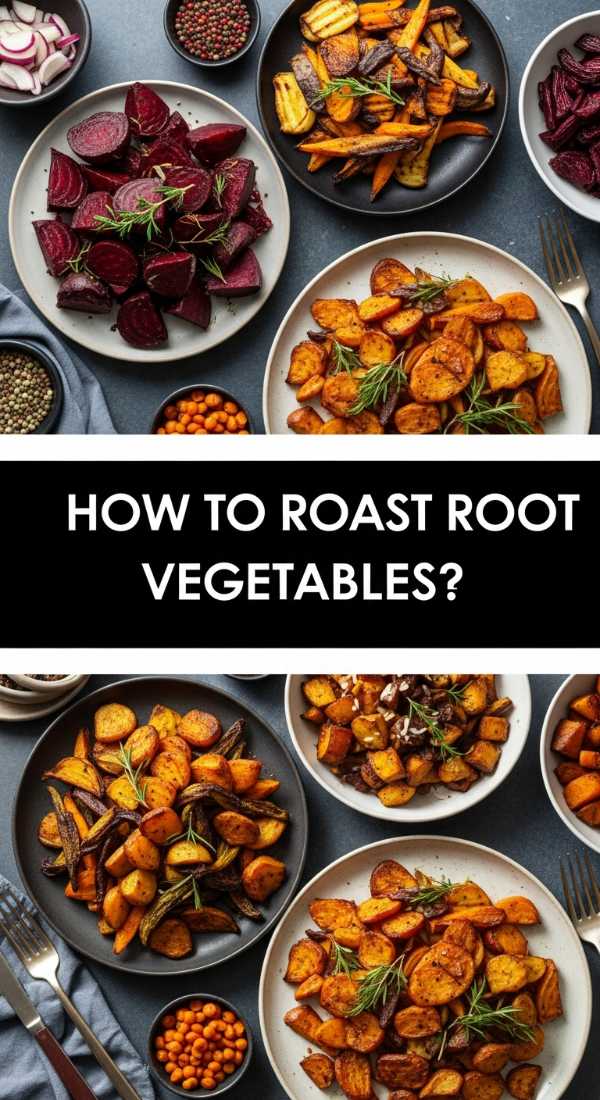
How to roast root vegetables?
[IMAGE_10]
Why we love this
Root vegetables are the unsung heroes of the produce aisle, offering a dense, starchy satisfaction that makes a food board feel like a complete meal. From the earthy sweetness of beets to the creamy texture of parsnips, these vegetables provide a grounded, rustic feel that is deeply comforting. Their ability to hold heat for a long time makes them perfect for parties, as they stay delicious and warm even as guests graze slowly throughout the evening.
Ingredients
- 2 lbs Mixed root vegetables (Parsnips, beets, sweet potatoes, rutabaga)
- 2 tbsp Melted duck fat or olive oil
- 1 tbsp Chopped rosemary
- Kosher salt
How to make it
- Peel the tougher-skinned roots like rutabaga or beets, but you can leave the skins on organic potatoes and parsnips for texture.
- Dice all roots into 1-inch cubes. Because root vegetables are very dense, smaller pieces ensure the middle cooks through without the outside becoming overly tough.
- Toss with duck fat or oil. Duck fat is a pro-tip for root vegetables as it has a higher smoke point and adds an incredible savory richness.
- Roast at 400°F (204°C) for 35-45 minutes. Root vegetables need more time than almost any other vegetable category.
- Test for doneness by inserting a knife into the largest piece; it should slide in with zero resistance.
- Let the vegetables rest on the pan for 5 minutes after removing from the oven. This allows the internal steam to redistribute, resulting in a creamier interior.
Final Thoughts for Your Viral Board
Building a food board is an art form that rewards patience and a love for detail. By mastering these roasting and prep techniques, you aren’t just serving food; you’re creating a centerpiece that fosters community and delight. Remember to play with heights, colors, and textures, and don’t be afraid to let things look a little rustic—that’s where the charm lies. Happy hosting!