
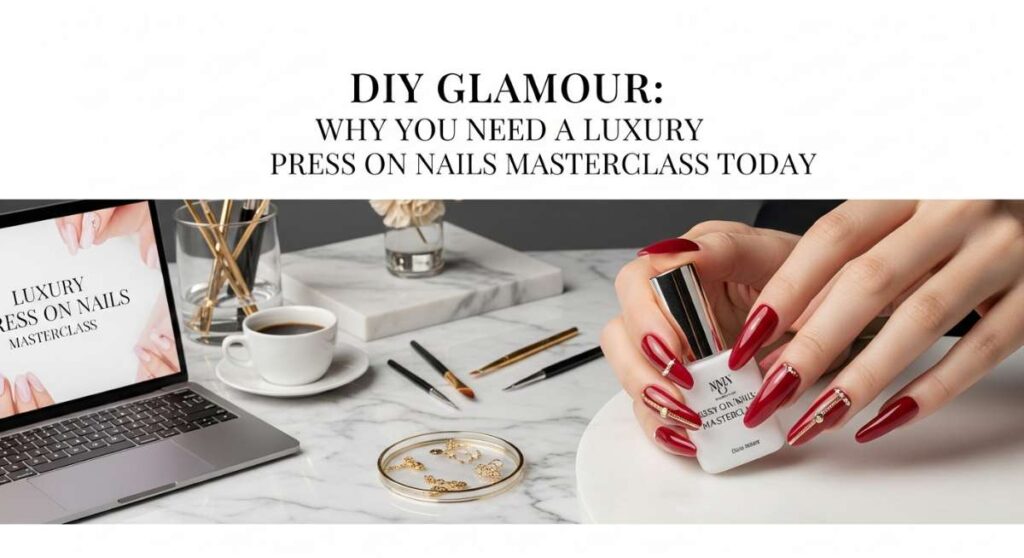
DIY Glamour: Why You Need a Luxury Press On Nails Masterclass Today
Hello, my sweet loves! Oh, pull up a chair and let’s just take a deep breath together. You know that feeling when you look down at your hands and everything just feels… right? There is something so incredibly soul-soothing about a fresh set of nails, isn’t there? It’s like a little love letter to yourself that you get to read every single time you pick up your coffee or type away at your laptop.
For the longest time, I thought that high-end, salon-quality luxury was something I could only find at a marble-countertop boutique with a three-week waitlist. But lately, I’ve discovered something so empowering: the art of the luxury press-on. My loves, it is a game changer. It’s not just about ‘fake nails’; it’s about reclaiming your time, your budget, and your creative spark. That’s why I’m so passionate about diving into a masterclass mindset—because you deserve that ‘just-stepped-out-of-the-salon’ glow from the comfort of your own cozy sanctuary.
In this guide, I want to walk you through the most dreamy styles and professional secrets I’ve gathered. Whether you’re looking to start a little side-hustle or just want your Sunday self-care routine to feel a bit more magical, there is a seat at this table for you. Let’s explore the world of DIY glamour together, one beautiful tip at a time.
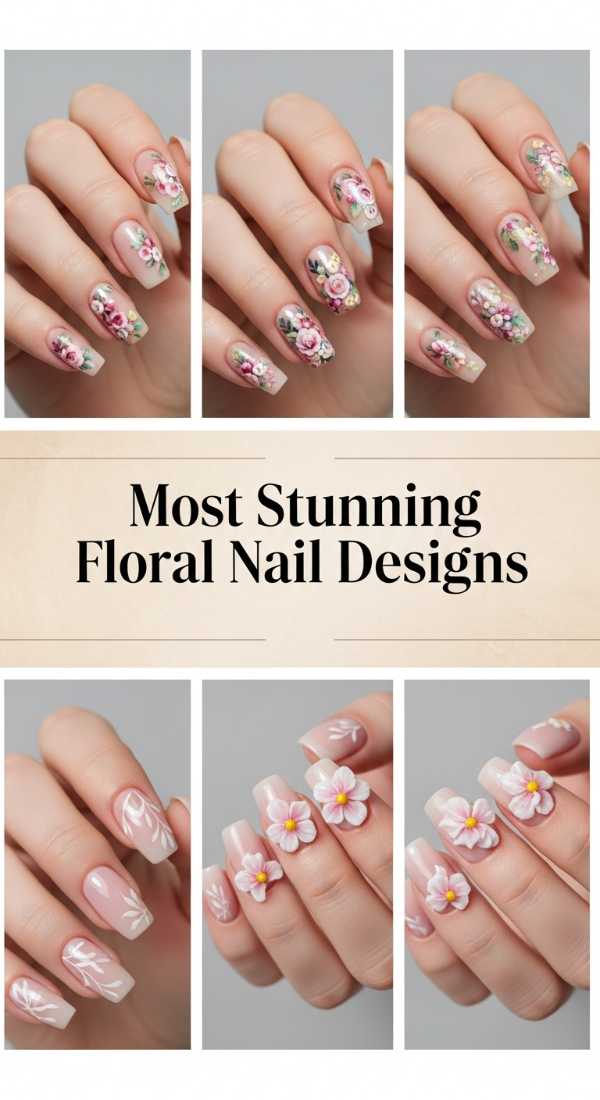
Most Stunning Floral Nail Designs
Who it’s Best For
This style is a dream come true for the romantic at heart, the ones who find magic in a blooming garden or a vintage tea set. If you love a look that feels soft, feminine, and timelessly elegant, floral designs are your soulmate.
Key Features & Techniques
The secret here is the ‘wet-on-wet’ technique or the use of delicate dried flowers encapsulated in builder gel. We focus on soft petal strokes and tiny, intricate details that mimic the effortless beauty of nature, often using a very fine detail brush for those dainty stems.
Maintenance & Styling Routine
Keep these looking fresh by applying a thin layer of top coat every few days to protect the hand-painted art. They pair perfectly with linen dresses and delicate gold rings that won’t distract from the floral masterpieces on your fingertips.
Must-Have Products
- Ultra-fine detail brushes (000 size)
- Dried mini-blossoms for encapsulation
- Pastel petal gel polishes
- High-quality matte and glossy top coats
Chic Pastel Dream Nail Looks

Who it’s Best For
These are for the dreamers who want a pop of color that still feels like a whisper. If your aesthetic is all about soft clouds, macaroons, and a serene, organized life, these pastel hues will make your heart skip a beat.
Key Features & Techniques
We focus on the ‘gradient blend’ and ‘velvet matte’ finishes. The goal is to achieve a creamy, opaque coverage without any streaks. Using a sponge for ombre transitions between lavender and mint creates a truly ethereal ‘dream’ effect.
Maintenance & Styling Routine
Pastels can sometimes show stains more easily, so I recommend a quick wipe with alcohol if you’re working with dyes or colorful foods. Style them with monochrome outfits to let the soft colors really sing.
Must-Have Products
- Creamy lavender and mint gel polishes
- Latex-free makeup sponges for ombre
- Stain-resistant top coat
- Buffer blocks for a smooth base
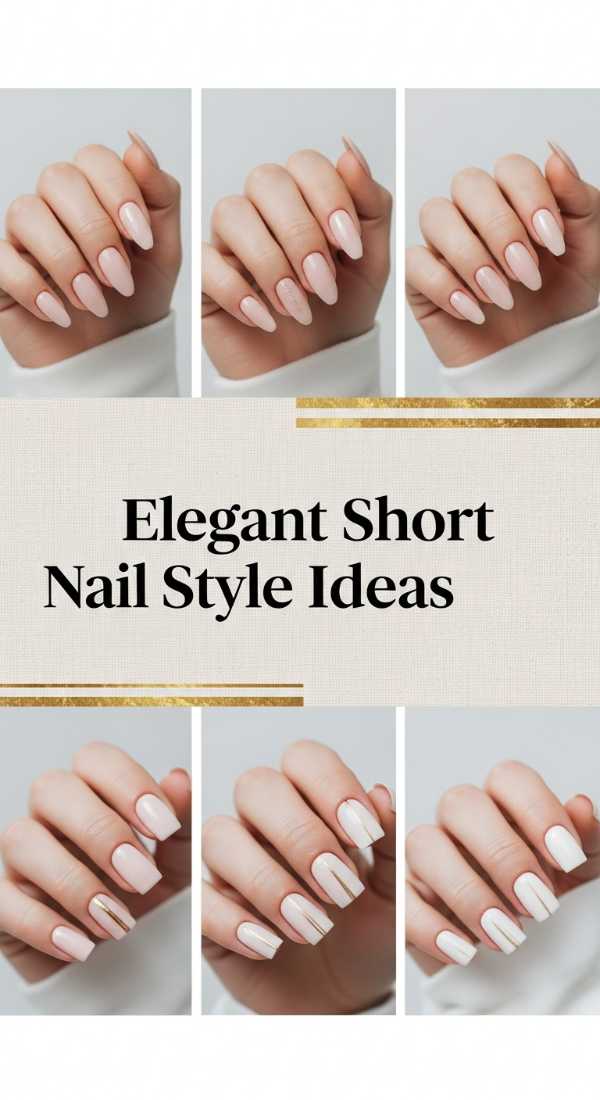
Elegant Short Nail Style Ideas
Who it’s Best For
This is for my busy loves—the writers, the mamas, and the professionals who need functionality without sacrificing an ounce of chic. Short nails are the epitome of ‘quiet luxury’ and practical sophistication.
Key Features & Techniques
The focus here is on the ‘squoval’ or soft round shape which elongates the fingers. We use ‘nude-illusion’ techniques to make the nail bed appear longer and cleaner, emphasizing precision over length.
Maintenance & Styling Routine
Because they are shorter, they are incredibly durable! Just keep your cuticles hydrated with a nourishing oil daily to ensure the frame of the nail looks as polished as the design itself.
Must-Have Products
- Glass nail file for precise shaping
- Cuticle remover gel
- Rich Vitamin E cuticle oil
- Neutral ‘your-nails-but-better’ sheer polishes
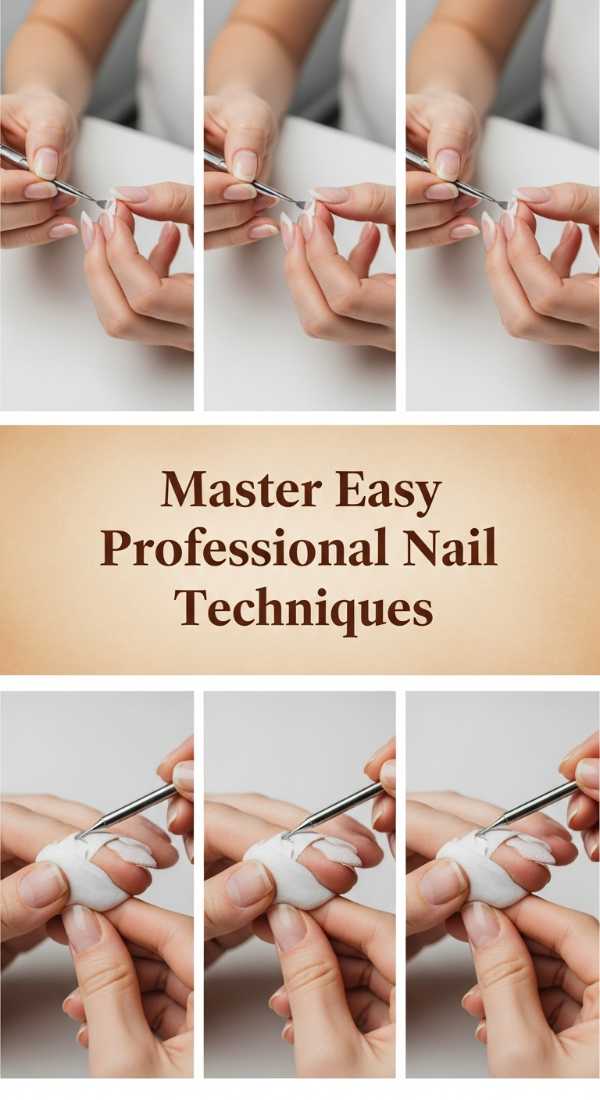
Master Easy Professional Nail Techniques
Who it’s Best For
This is the foundation for every DIY queen. If you’re tired of your press-ons popping off after two days, this masterclass section is your holy grail. It’s for the perfectionist who wants their DIY sets to be indistinguishable from salon acrylics.
Key Features & Techniques
It’s all in the prep! We master the ‘dehydration and etch’ method, ensuring the natural nail is perfectly ready for bonding. Learning the 45-degree angle application technique prevents air bubbles, which is the secret to 3-week longevity.
Maintenance & Styling Routine
Once you master the application, your routine becomes effortless. Just avoid soaking your hands in hot water for long periods for the first 24 hours to let the bond fully ‘cure’ and set.
Must-Have Products
- Professional grade nail dehydrator
- Acid-free primer
- Solid gel glue (UV curable)
- High-grit sanding bands
Modern French Tip Nail Inspo

Who it’s Best For
For the classic beauty who wants a modern twist. If you love the 90s nostalgia but want it to feel fresh for 2024, the modern French—think micro-tips and deep ‘V’ cuts—is calling your name.
Key Features & Techniques
The ‘liner brush flick’ is the star here. Instead of the thick, chunky whites of the past, we use ultra-thin liner brushes to create ‘micro-French’ lines or ‘double-tip’ designs that look incredibly high-fashion.
Maintenance & Styling Routine
Check your tips for any wear and tear. If the white starts to fade, a tiny dot of white polish and a fresh top coat can revive them instantly. They look stunning with oversized blazers and crisp white shirts.
Must-Have Products
- Long-hair liner brushes
- Highly pigmented ‘One-Coat’ white gel
- Sheer pink base coat
- Clean-up brush dipped in acetone
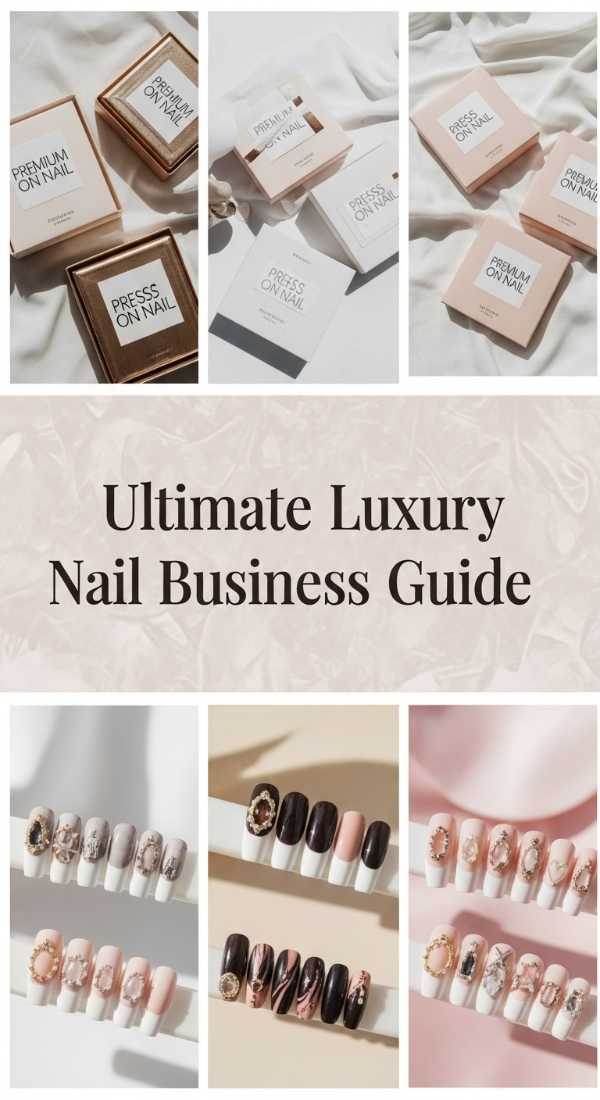
Ultimate Luxury Nail Business Guide
Who it’s Best For
This is for the girl-bosses! If you’ve ever looked at your creations and thought, ‘I could sell these,’ this is for you. It’s for the creative soul looking to turn their passion into a beautiful, profitable brand.
Key Features & Techniques
We dive into ‘The Art of the Presentation.’ This covers professional photography lighting, custom packaging design, and how to create ‘sizing kits’ that ensure your customers get a bespoke fit every time.
Maintenance & Styling Routine
Consistency is your best friend here. Set a weekly schedule for creating new ‘drops’ and stay engaged with your community. Your ‘style’ is your brand, so keep your social media aesthetic cohesive.
Must-Have Products
- Luxury rigid gift boxes for shipping
- Ring light for crisp photography
- Custom logo stickers
- Blank full-cover nail tips in various shapes
Gorgeous Minimalist Press On Nails

Who it’s Best For
For the ‘Less is More’ loves. If you find peace in clean lines, negative space, and a neutral palette, minimalist nails will be your daily dose of Zen. Perfect for someone who wants to look put-together without looking ‘done’.
Key Features & Techniques
Negative space is the key. We leave parts of the natural nail (or a sheer base) visible, accented by a single dot or a lone metallic stripe. Precision is everything when there is nowhere for mistakes to hide!
Maintenance & Styling Routine
These are low maintenance by nature. Since they often use sheer colors, any regrowth is much less noticeable, meaning you can wear them longer. They pair beautifully with a minimalist, high-quality capsule wardrobe.
Must-Have Products
- Dotting tools in various sizes
- Metallic stripping tape
- Sheer beige and ‘milky’ white polishes
- Tweezers for precise placement
Perfect Glossy Nail Application Tips

Who it’s Best For
For the lovers of that ‘wet look’ shine. If you want your nails to look like liquid glass or expensive candy, mastering the perfect glossy finish is your path to luxury.
Key Features & Techniques
The ‘floating’ top coat technique. Instead of pressing the brush onto the nail, you ‘float’ a generous bead of top coat over the surface to prevent streaks and create a perfect, reflective apex.
Maintenance & Styling Routine
Avoid harsh chemicals or cleaning agents without gloves, as they can dull the shine. A quick buff with a microfiber cloth can restore that mirror-like finish in seconds.
Must-Have Products
- No-wipe tempered top coat
- LED/UV lamp with at least 48W power
- Microfiber cleaning cloths
- Alcohol wipes for removing any residual oils
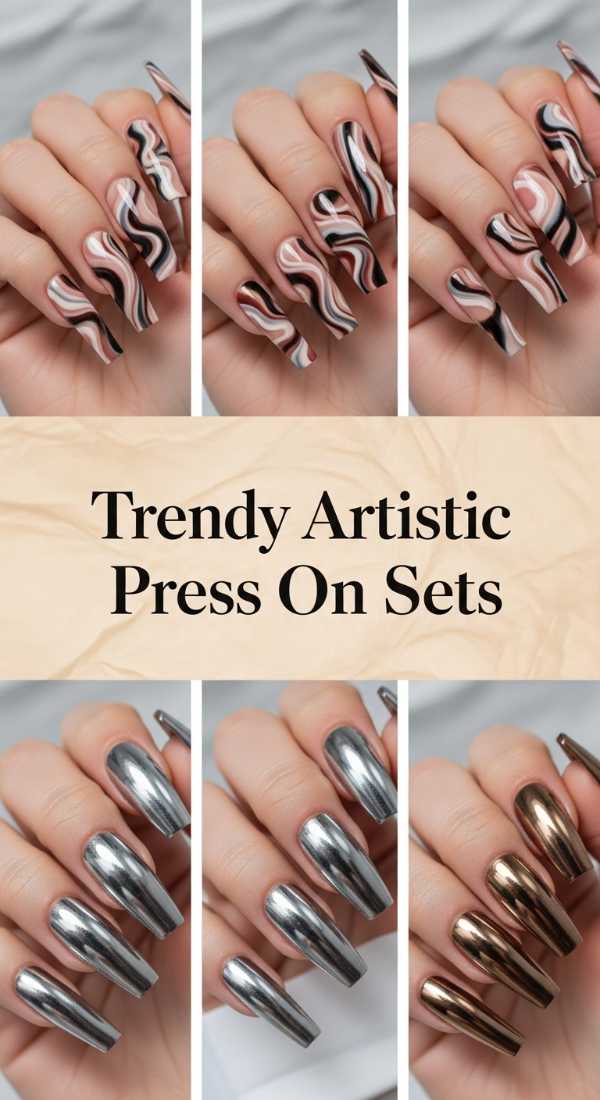
Trendy Artistic Press On Sets
Who it’s Best For
This is for the bold, the trendsetters, and the artists. If you view your nails as a tiny canvas for self-expression and love experimenting with textures and 3D elements, let’s get weird and wonderful!
Key Features & Techniques
We explore ‘Marble Swirls’ and ‘Chrome Rubbing.’ Using blooming gel to let colors bleed into each other creates a unique, artistic smoke effect that is different on every single nail.
Maintenance & Styling Routine
Artistic sets with 3D elements (like charms or gems) require a bit more care. Be mindful of catching them on knitwear! Use a ‘gem glue’ to ensure every little piece of art stays exactly where you put it.
Must-Have Products
- Blooming gel for marble effects
- Chrome powders in silver and gold
- 3D Gem gel or resin
- Assorted nail charms and chains
Sweet Cherry Aesthetic Nail Art

Who it’s Best For
For the coquette queens and the ‘cherry girl’ aesthetic lovers! This is for anyone who wants a playful, sweet, and slightly vintage vibe that feels like a sunny picnic in the park.
Key Features & Techniques
The ‘Double Dot Cherry’ method. We use a large dotting tool for the fruit and a tiny liner brush for the stems. Adding a little white ‘highlight’ dot on the cherry makes it pop and look three-dimensional.
Maintenance & Styling Routine
This look is so vibrant that it deserves to be seen! Keep your hands moisturized so the red of the cherries looks striking against healthy skin. Style with bows in your hair and a little red lipstick.
Must-Have Products
- True red cream gel polish
- Deep forest green liner gel
- Dotting tool set
- High-gloss top coat to mimic cherry skin
Your Journey to DIY Luxury Starts Here
Oh, my loves, I hope you feel inspired to pick up that brush or that sizing kit and just play! Remember, glamour isn’t about how much you spend at a salon—it’s about the intention and the love you pour into yourself. Whether you’re rocking a short, minimalist nude or a bold, artistic cherry set, the confidence you feel when you do it yourself is the most beautiful accessory of all. You are the artist, and your life is the masterpiece. Happy painting!
Frequently Asked Questions
How long do luxury press-on nails actually last?
With proper preparation (dehydrating and etching the nail) and using a high-quality solid gel glue or brush-on resin, your sets can last anywhere from 2 to 3 weeks!
Can I reuse my press-on nails?
Absolutely! If you use adhesive tabs, they are easily reusable. If you use glue, you can gently buff away the dried glue from the back of the press-on with a small e-file or buffer to wear them again and again.
Will press-ons damage my natural nails?
Not if you remove them properly! Damage usually happens from ‘peeling’ them off. Always soak them in warm soapy water with a bit of oil or use a professional-grade remover to let them slide off naturally.
How do I find the perfect fit for my nail beds?
Most luxury kits come with 24-30 nails in various sizes. When fitting, ensure the press-on covers from sidewall to sidewall without pressing down too hard. If you’re between sizes, always go slightly larger and file the sides down for a custom fit.