
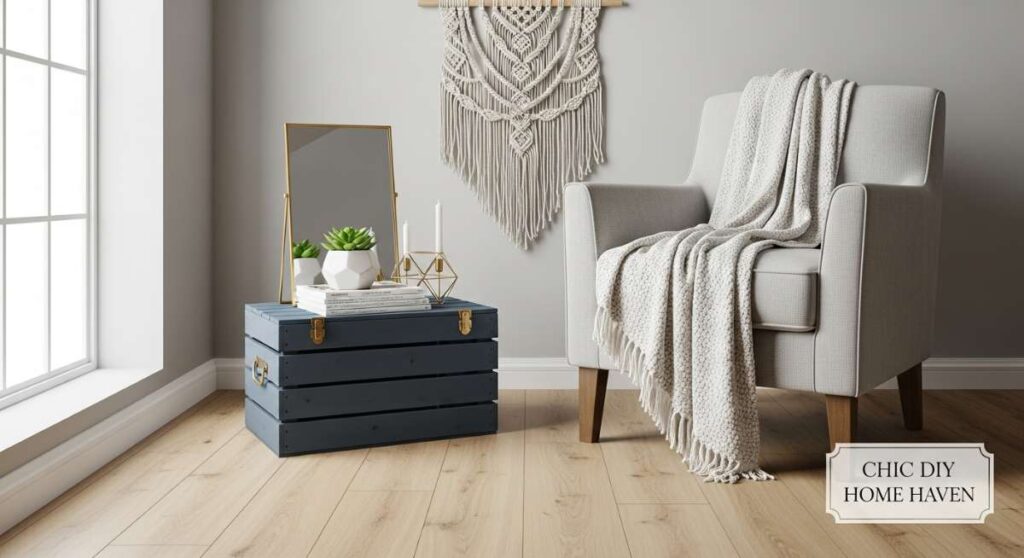
Have you ever walked into a room and felt an immediate sense of peace, as if the walls themselves were whispering a warm welcome? That is the magic of a home curated with intention. For years, I searched for that ‘missing piece’ in my living room, scrolling through endless catalogs of mass-produced furniture that felt devoid of soul. It wasn’t until I picked up a sander and a discarded wooden pallet that I realized the most beautiful things in our homes aren’t bought—they are birthed from our own creativity and a little bit of elbow grease.
Transforming your space into a stylish haven doesn’t require a massive renovation budget or a degree in interior design. It’s about seeing the potential in the overlooked and the beauty in the raw. In this guide, we are diving deep into the world of pallet transformations, turning rugged, industrial wood into high-end statement pieces that tell a story of sustainability and personal flair. Let’s roll up our sleeves and create something truly extraordinary together.
How to Build a Pallet Table Outdoor for a Magical Garden Retreat
Why we love this
There is nothing quite like the scent of blooming jasmine mixing with the earthy aroma of sun-warmed wood as the sun begins to set. This outdoor pallet table creates a focal point for your garden that feels like a secret escape, offering a sturdy yet rustic surface for chilled wine and flickering lanterns. The textured grain of the wood catches the golden hour light beautifully, providing a tactile connection to nature that makes every evening feel like a vacation in your own backyard.
Essential Elements:
- Two heat-treated (HT) wooden pallets
- Heavy-duty locking caster wheels
- Weather-resistant wood stain or sealant
- Stainless steel wood screws
- Power sander with 80 and 120 grit paper
- Outdoor-safe string lights
How to make it
- Begin by thoroughly inspecting your pallets for any protruding nails or splintered edges; use a pry bar to remove damaged slats and replace them with wood from a donor pallet for a uniform look.
- Sand the entire surface of both pallets using 80-grit sandpaper to remove the rough industrial texture, then follow up with 120-grit for a smoother finish that is still rustic enough to hold stain deeply.
- Stack the two pallets directly on top of one another, ensuring the corners are perfectly aligned, and use a drill to drive 3-inch stainless steel screws through the top pallet’s structural blocks into the lower one to secure the frame.
- Flip the assembly over and attach the four heavy-duty caster wheels to each corner using lag bolts, ensuring they are positioned at least two inches from the edge to prevent the wood from splitting under the weight.
- Apply a generous coat of weather-resistant stain using a wide brush, working in the direction of the grain, and allow it to dry for at least 24 hours in a shaded area before adding a second coat for maximum UV protection.
How to Master a Pallet Table DIY for Your Sustainable Home

Why we love this
Embracing sustainability never looked so sophisticated as it does with a masterfully crafted reclaimed wood table. There is a deep, soulful satisfaction in knowing that your furniture helped divert waste from a landfill, and the honey-hued patina of aged pine brings a grounded, organic energy to any room. It feels smooth and cool to the touch, carrying the faint, comforting scent of history and resin that modern laminate furniture simply cannot replicate.
Essential Elements:
- High-quality reclaimed pallets (HT stamped)
- Eco-friendly, low-VOC wood glue
- Countersink drill bit
- Natural beeswax finish
- Clamps of various sizes
How to make it
- Carefully dismantle your pallets using a reciprocating saw to cut through the nails, which preserves the length of the boards and prevents the wood from cracking during the prying process.
- Layout your best boards side-by-side to create a ‘top,’ mixing and matching grains and knots until you find a visually balanced arrangement that minimizes large gaps.
- Apply a thick, even bead of low-VOC wood glue to the edges of the boards and clamp them together tightly, wiping away any ‘squeeze out’ immediately with a damp cloth to ensure the finish takes evenly later.
- Once the glue has cured for 12 hours, sand the surface perfectly flat, starting with a coarse grit and moving to a fine grit until the seams between the boards are nearly invisible to the touch.
- Finish the piece by hand-rubbing a natural beeswax polish into the wood using a lint-free cloth, which provides a soft, breathable sheen that enhances the natural character of the timber without harsh chemicals.
How to Design Wood Pallet Tables for a Sleek Minimalist Living Room
Why we love this
Minimalism is all about the power of the singular object, and a pallet table designed with clean lines and a monochrome palette creates a stunning architectural statement. Imagine a crisp, white-washed surface that feels airy and light, reflecting the morning sun and making your living room feel twice as large. The juxtaposition of the rugged wood structure against a minimalist aesthetic creates a high-design tension that is both modern and incredibly cozy.
Essential Elements:
- Single pallet with closely spaced slats
- Matte white wood paint or light grey wash
- Tempered glass top (custom cut)
- Sanding blocks (fine grit)
- Minimalist metal hairpin legs
How to make it
- Select a pallet with the straightest possible boards and sand it vigorously until the wood is pale and free of any dark stains or industrial markings.
- Thin your white paint with 20% water to create a ‘wash’ that allows the wood grain to peek through, applying it in long, continuous strokes to avoid lap marks and keeping the look light and ethereal.
- Once dry, lightly scuff the surface with a fine sanding block to create a ‘frosted’ look that softens the paint and gives it a professional, high-end furniture boutique feel.
- Flip the pallet and pre-drill holes for the hairpin legs, ensuring they are angled slightly outward for that iconic mid-century modern silhouette that complements minimalist decor perfectly.
- Clean the top surface thoroughly with a tack cloth before placing a custom-cut sheet of tempered glass on top, which provides a perfectly level surface for your coffee table books while showcasing the wood beneath.
How to Explore Pallet Table Ideas for Every Room in Your House

Why we love this
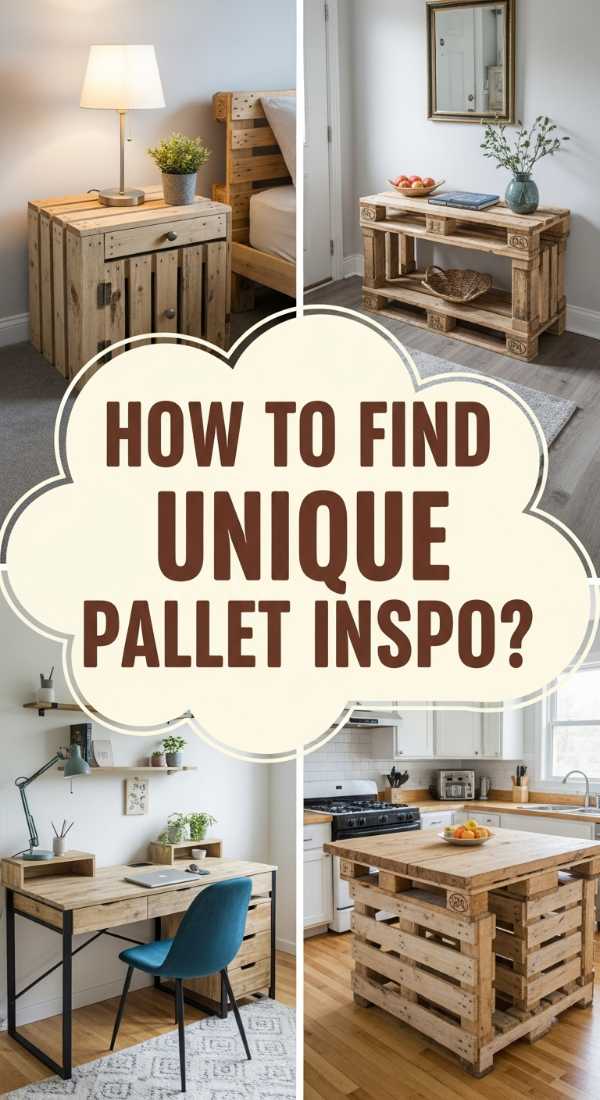
The sheer versatility of pallet wood is a decorator’s dream, allowing for a cohesive look that flows from the entryway to the bedroom. Whether it’s a slim console table in the hallway holding a vase of fresh eucalyptus or a low-profile nightstand in the guest room, these pieces bring a rhythmic, handcrafted charm to the home. The smell of fresh sawdust and the sight of raw timber transforming into functional art provides a creative spark that makes your entire house feel like a living gallery.
Essential Elements:
- Multiple pallets of varying sizes
- L-brackets for wall mounting
- Wood filler in matching tones
- Various stains (Oak, Walnut, Driftwood)
- Measuring tape and level
How to make it
- Measure each specific space in your home to determine the ideal dimensions; for hallways, aim for a narrow ‘half-pallet’ depth, while for bedside tables, a square cut-down is more appropriate.
- Cut your pallets to size using a circular saw, ensuring your cuts are perfectly square to maintain structural integrity and a professional look.
- Use a matching wood filler to plug any unsightly nail holes or deep gouges, allowing it to dry fully before sanding it flush with the surrounding wood grain.
- Apply different stain finishes to match the mood of each room—darker walnut for a cozy den and a light driftwood stain for an airy, coastal-themed bedroom.
- Secure your narrower pieces, like console tables, to the wall using hidden L-brackets to prevent tipping, ensuring the table is perfectly level for a polished, built-in appearance.
How to Curate Pallet Tables for the Ultimate Hygge Atmosphere

Why we love this
Hygge is a feeling of contentment and warmth, and nothing embodies this better than the soft, glowing texture of a hand-finished pallet table surrounded by plush textiles. As the candle flames flicker against the deep, oiled grooves of the wood, the room takes on a golden, intimate quality that invites you to slow down and stay a while. The tactile sensation of the smooth wood against your fingertips as you reach for a mug of tea is the ultimate sensory experience in comfort.
Essential Elements:
- Heat-treated pallets
- Danish oil or Tung oil
- Soft-grit sandpaper (220+)
- Floor cushions and sheepskin rugs
- Warm-toned LED strip lights (optional)
How to make it
- Sand the wood to a ‘furniture grade’ finish by progressing through grits up to 220, ensuring every corner is rounded and soft to the touch with no sharp edges.
- Apply Danish oil using a clean rag, rubbing it into the wood in circular motions to saturate the fibers, which brings out a deep, amber warmth that glows in low light.
- Allow the oil to penetrate for 20 minutes before wiping away the excess, then let it cure for 24 hours in a well-ventilated space to ensure a hard, durable finish.
- If you want an extra glow, attach a warm-toned LED light strip underneath the lip of the table to cast a soft, ambient light onto the rug below, enhancing the hygge vibe.
- Style the area by surrounding the low-profile pallet table with oversized floor cushions and faux-fur throws, creating a sunken lounge area that encourages relaxation.
How to Style Pallet Tables for Memorable Dinner Parties
Why we love this
Hosting a dinner party on a low-slung, oversized pallet table creates an immediate sense of community and relaxed elegance. There is something profoundly bonding about sitting on the floor, passing platters of artisanal bread and cheese across a wide wooden surface that feels both grand and grounded. The natural imperfections of the wood provide a stunning backdrop for linen runners and ceramic plates, making every meal feel like a rustic feast in the heart of the countryside.
Essential Elements:
- Three large, identical pallets
- Heavy-duty bolts and washers
- Linen table runner
- Taper candles and ceramic vases
- Sanding sealer
How to make it
- Line up three pallets side-by-side on a flat surface to create an extra-long banquet-style table that can accommodate at least eight guests comfortably.
- Connect the pallets by drilling through the side rails and securing them with 4-inch bolts and washers, ensuring the joint is tight enough that the table behaves as a single unit.
- Apply a high-quality sanding sealer to the top surface to close the pores of the wood, which protects the table from food stains and wine spills during the party.
- Create a ‘sunken’ leg system by using smaller wood blocks from a spare pallet to lift the table just 12 inches off the ground, which is the perfect height for floor seating.
- Style the table with a central linen runner, clusters of mismatched taper candles, and low floral arrangements that allow for easy eye contact and conversation across the wide wooden expanse.
How to Refurbish Wood Pallet Tables for a Charming Farmhouse Kitchen
Why we love this
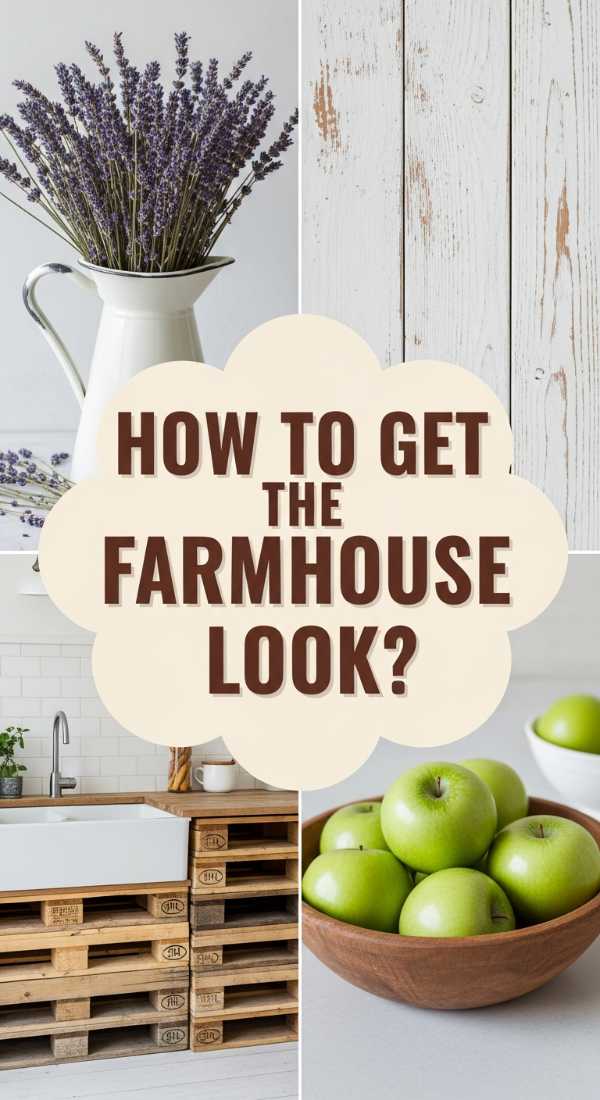
A farmhouse kitchen is the heart of the home, and a refurbished pallet island brings that ‘lived-in’ charm that feels both hardworking and beautiful. The sight of flour dusting the dark wood and the sound of a heavy Dutch oven being placed on its sturdy surface evokes a sense of timeless tradition. It’s a piece that doesn’t mind a few extra scratches—in fact, every mark only adds to the narrative of a kitchen where real life happens and memories are made.
Essential Elements:
- Standard pallets
- Chalk paint in ‘Antique White’ or ‘Sage’
- Dark furniture wax
- Food-grade butcher block oil
- Overhead pot rack hooks
How to make it
- Build a vertical ‘box’ structure using four pallets to create the base of the island, ensuring the internal supports are strong enough to hold a heavy countertop.
- Paint the base with two coats of chalk paint, using a stippling motion with your brush to create a slightly textured, hand-painted look that suits the farmhouse aesthetic.
- Once the paint is dry, apply a dark furniture wax to the corners and ‘high-wear’ areas, then buff it out to create a realistic aged patina that looks like years of gentle use.
- For the top, use the most solid pallet boards available, sanding them to a fine finish and sealing them with multiple coats of food-grade butcher block oil to ensure a safe prep surface.
- Add functional details like metal hooks on the sides for hanging tea towels or wooden spoons, and install heavy-duty locking casters so you can move your island wherever it’s needed most.
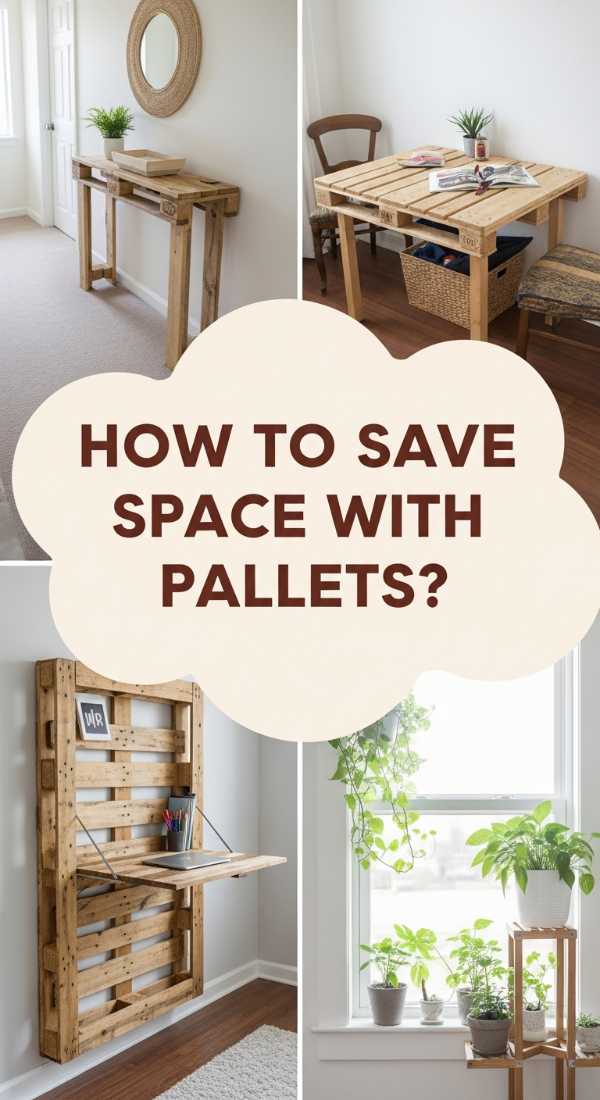
How to Scale Pallet Tables for Small Space Living Success

Why we love this
Living in a small space doesn’t mean sacrificing style; it means being smarter with your choices. A custom-scaled pallet table can tuck into a tight corner or fold against a wall, providing maximum utility without cluttering your visual field. The light, open structure of the pallet slats allows air and light to pass through, preventing the room from feeling cramped while still offering that warm, tactile wood element that makes a small apartment feel like a curated home.
Essential Elements:
- One small ‘quarter’ pallet or scrap wood
- Wall-mounted folding hinges
- Magnetic latches
- Light-colored wood stain
- Compact power drill
How to make it
- Identify a ‘dead’ space in your apartment, such as behind a door or under a window, and cut your pallet to fit these exact dimensions with precision.
- Sand the wood extensively to ensure it is incredibly smooth, as you are more likely to brush against furniture in a small space; focus especially on the corners.
- Attach heavy-duty folding hinges to the bottom of the pallet and mount them securely to the wall studs, ensuring the table can be tucked away when not in use.
- Install a magnetic latch at the top of the wall and on the pallet edge so that it stays firmly in place against the wall when folded up, creating a sleek profile.
- Finish with a light-colored stain or a clear coat of polyurethane to keep the wood looking bright and fresh, which helps to visually expand the small space.
How to Finish Wood Pallet Tables for a Professional Velvet Touch
Why we love this
The difference between a ‘DIY project’ and a ‘bespoke piece’ lies entirely in the finish. A pallet table with a professional velvet touch feels like silk under your hands, with a deep, multi-dimensional luster that rivals expensive showroom furniture. It’s the kind of finish that makes people stop and ask, ‘Where did you buy that?’ only for you to have the immense pride of saying you made it yourself. The way the light dances off a perfectly smooth surface is pure visual poetry.
Essential Elements:
- Orbital sander with a range of grits (80 to 400)
- Tack cloths
- High-quality wipe-on polyurethane
- Steel wool (0000 grade)
- Polishing compound
How to make it
- Perform a ‘progressive sand’ starting at 80 grit to level the wood, then 120, 180, 220, and finally 320, vacuuming and using a tack cloth between every single grit to remove all dust.
- Apply the first coat of wipe-on polyurethane in thin, even layers, following the grain meticulously and avoiding any drips or pools.
- Once the first coat is completely dry (usually 4-6 hours), very lightly sand the surface with 400-grit paper to knock down any ‘nibs’ or dust particles that settled in the finish.
- Repeat the application and light sanding for at least four coats until the finish has a deep, glass-like depth that feels substantial and smooth.
- For the final ‘velvet’ touch, rub the surface with 0000-grade steel wool and a tiny bit of polishing compound to dull the high gloss into a sophisticated, buttery satin sheen.
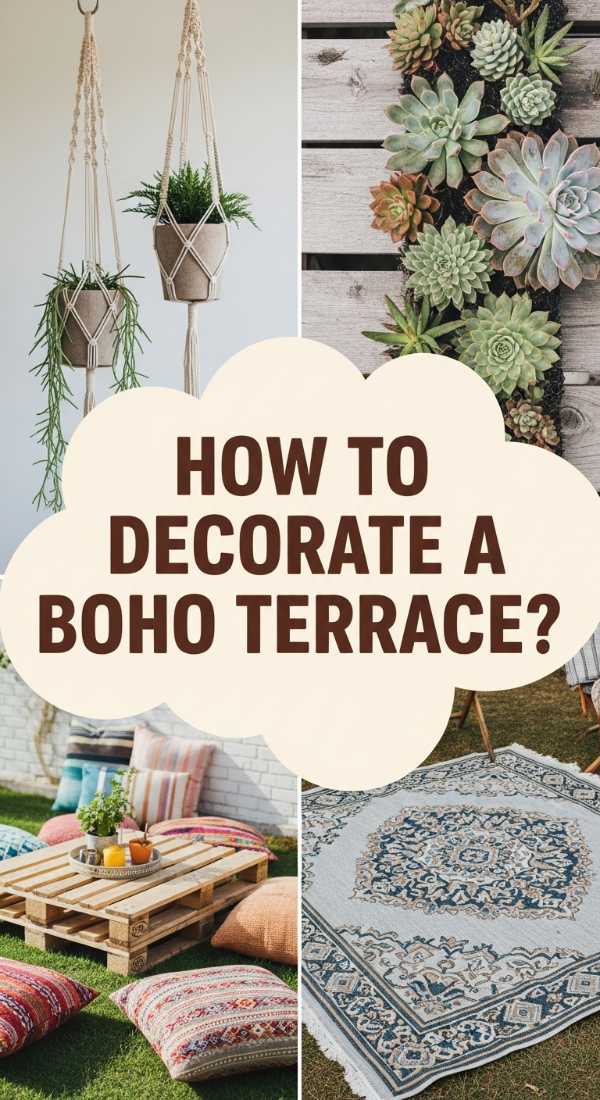
How to Arrange Pallet Tables for a Vibrant Bohemian Terrace
[IMAGE_10]
Why we love this
A bohemian terrace is a celebration of color, pattern, and free-spirited living, and pallet tables are the perfect foundation for this eclectic vibe. Imagine a terrace layered with Moroccan rugs, potted ferns, and vibrant pallet tables painted in turquoise and burnt orange. The atmosphere is electric and joyful, smelling of fresh rain and incense, providing a space where creativity feels limitless and every afternoon tea feels like a festive celebration of life.
Essential Elements:
- Assorted pallets of different heights
- Exterior-grade acrylic paints in jewel tones
- Geometric stencils
- Outdoor-safe clear coat
- Mandala floor cushions
How to make it
- Group pallets of different heights together to create a multi-level ‘landscape’ of surfaces, which adds visual interest and allows for different zones on your terrace.
- Base-coat each pallet in a different vibrant color, such as deep teal, mustard yellow, or terracotta, ensuring you get into all the nooks and crannies of the slats.
- Use geometric or floral stencils to add intricate patterns to the table tops in a contrasting metallic or white paint, giving them a global, artisanal feel.
- Seal the paint with two coats of an outdoor-safe clear gloss, which will protect the colors from fading in the sun and keep the patterns crisp through the seasons.
- Arrange the tables in a circular formation around a central fire pit or a large cluster of plants, surrounding them with mismatched floor cushions to complete the boho-chic look.
Conclusion
Building a home you love isn’t about how much you spend; it’s about the heart you put into every corner. These pallet table projects are more than just furniture; they are symbols of a lifestyle that values resourcefulness, beauty, and the joy of creating something with your own two hands. Whether you are hosting a grand dinner party or curling up with a book in your minimalist nook, your space now carries your unique signature. Keep dreaming, keep building, and keep making your home the sanctuary you deserve.