

Dive Into Order: Chic Ways to Organize Your Pool Deck
There is nothing quite like that first golden-hour dip of the season, when the water is perfectly still and the air smells like a mix of jasmine and sun-warmed concrete. However, that serene magic quickly evaporates when you’re tripping over a giant inflatable flamingo or searching frantically for a dry towel while shivering in the breeze. Your backyard should be a sanctuary, a place where the stresses of the world dissolve into the blue of the water, not a place where clutter creates a new kind of mental fog.
I remember one summer afternoon when I realized our beautiful deck had become a graveyard for soggy noodles and faded goggles. It wasn’t the chic, boutique-hotel vibe I had pinned a thousand times on my mood boards. That’s when I decided that ‘organized’ didn’t have to mean ‘boring.’ By treating our pool storage as part of our home’s decor, we transformed the entire energy of our outdoor space. Now, every sunset feels like a VIP experience because everything has its rightful, beautiful place.
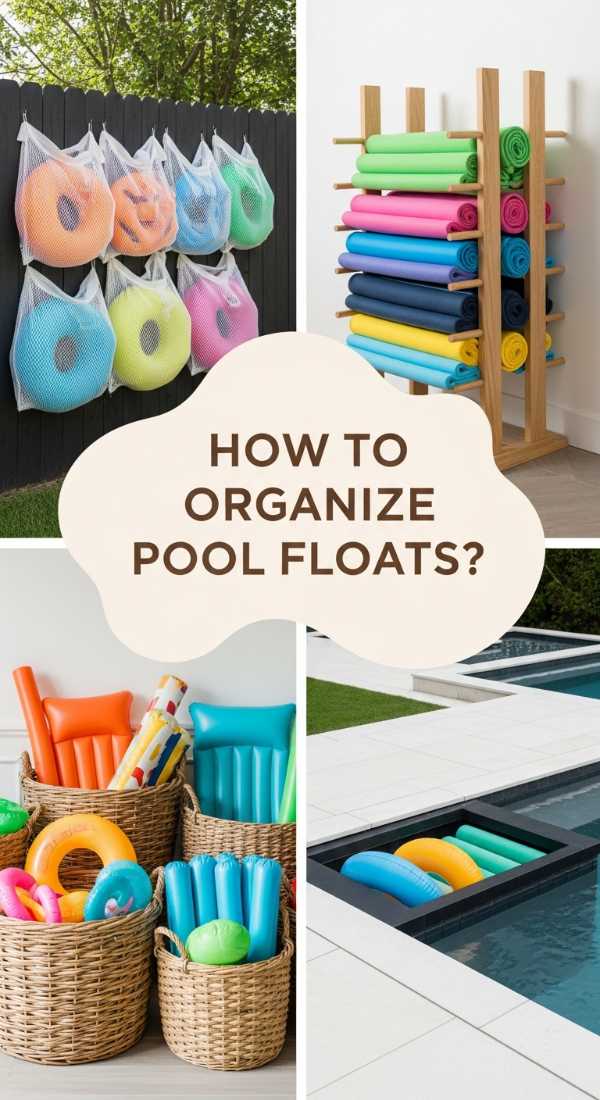
How to Store Pool Floats for a Clutter Free Backyard
Why we love this
There is something incredibly satisfying about a backyard that breathes, where the vibrant neons of oversized pool floats don’t overwhelm the natural beauty of your landscaping. We adore this method because it preserves the life of your expensive inflatables, keeping them away from sharp debris and preventing that sticky, sun-baked residue that happens when they are left on the hot pavement. Imagine walking onto your deck and seeing nothing but clean lines and open space, with your whimsical floats tucked away in a breezy, ventilated sanctuary that smells faintly of salt air and clean vinyl.
Essential Elements:
- Extra-large mesh storage bin with wheels
- UV-resistant bungee cords
- Over-the-fence heavy-duty hooks
- Mild eco-friendly soap and a soft microfiber cloth
- A dedicated corner with good airflow
How to make it
- Begin by thoroughly cleaning every float with a mixture of mild soap and water to remove chlorine, salt, and sunscreen oils which can degrade the material over time.
- Ensure every inch of the float is bone-dry; use a soft microfiber cloth to get into the crevices of seams where mold loves to hide.
- Deflate larger items halfway if space is tight, or keep them fully inflated if using a wall-mounted hook system to maintain their shape and prevent creases.
- Arrange the floats inside a high-quality mesh bin, placing the heaviest items at the bottom and the lighter rings on top to allow for maximum air circulation.
- Position the bin in a shaded area of the patio to prevent UV fading, ensuring the wheels are locked so it stays secure during summer afternoon thunderstorms.
How to Arrange Pool Towel Storage for an Elegant Guest Experience
Why we love this
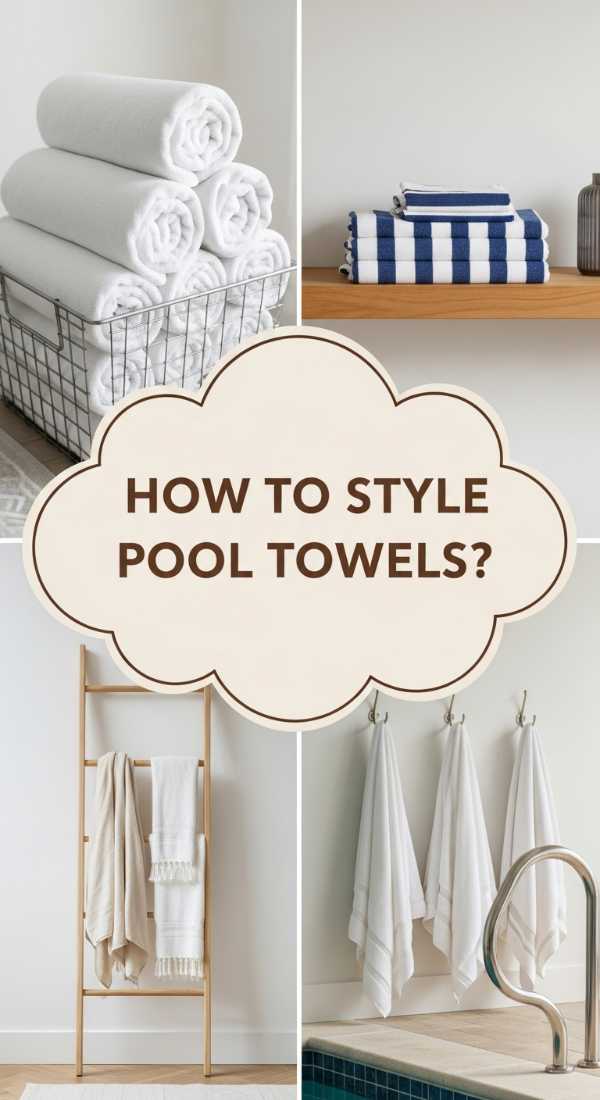
Providing a stack of plush, perfectly folded towels is the ultimate way to tell your guests, ‘I’ve thought of everything for you.’ This approach turns a basic necessity into a sensory delight, where the soft texture of premium Turkish cotton meets the aesthetic of a high-end coastal resort. We love how a well-curated towel station adds a pop of intentional color to the deck, while the subtle scent of lavender-infused laundry sheets wafting from the basket creates an atmosphere of pure, unadulterated relaxation that makes every guest feel like a VIP.
Essential Elements:
- Weather-resistant oversized wicker or resin baskets
- Premium weight cotton or linen towels in a cohesive color palette
- Small decorative wooden signage
- Essential oil fabric spray (Lavender or Eucalyptus)
- A covered side table or bench
How to make it
- Select towels in a uniform color scheme—think crisp whites, navy stripes, or seafoam greens—to create a visual sense of harmony and order.
- Use the ‘hotel roll’ technique: fold the towel in half lengthwise, then roll it tightly from one end to the other to create a neat cylinder that resists unfolding.
- Mist each rolled towel lightly with a water-based essential oil spray to provide a refreshing aromatic experience when the guest unfurls it.
- Stack the towels vertically in your chosen basket, which allows guests to grab one without disturbing the rest of the display.
- Place the basket on a raised surface like a console table or a storage bench to keep the bottom towels away from any potential deck splashes or morning dew.
How to Design a Pool Towel Rack for a Chic Outdoor Spa
Why we love this
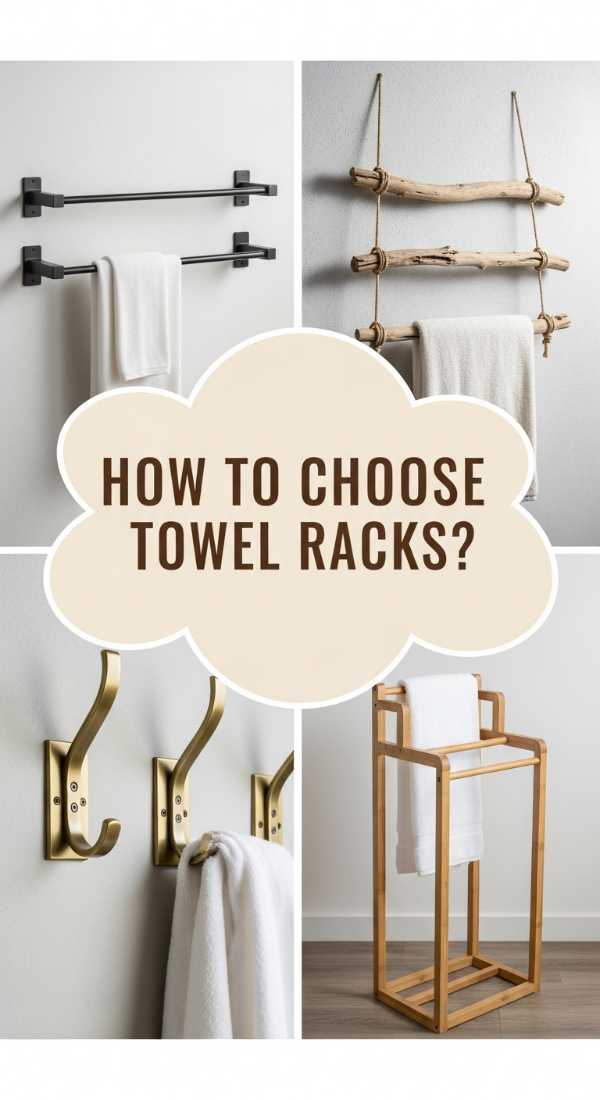
A dedicated towel rack is the bridge between functionality and high-end spa aesthetics, offering a sophisticated way to air-dry towels between dips. We love the architectural element it adds to the poolside, especially when crafted from warm woods like teak or cedar that silver beautifully over time. There is a specific joy in reaching for a towel that has been warmed by the sun but kept off the ground, retaining that fresh, crisp feeling against your skin after a long session in the water.
Essential Elements:
- Freestanding wooden or powder-coated aluminum towel rack
- Outdoor-grade sealant or wood oil
- Heavy-duty mounting hardware (if wall-mounted)
- Level and measuring tape
- Decorative finials or end caps
How to make it
- Determine the height of your rack; it should be tall enough that standard 70-inch beach towels don’t touch the deck surface when draped over the top bar.
- If using wood, apply two coats of a high-quality marine-grade sealant to protect the grain from constant moisture and intense UV exposure.
- Position the rack in a spot that receives direct sunlight for at least four hours a day to facilitate rapid drying and prevent that damp-towel smell.
- Space the horizontal bars at least 6 inches apart to allow for proper airflow between hanging towels, ensuring they dry thoroughly from the inside out.
- Secure the base with weighted anchors or decorative stones if your area is prone to high winds, ensuring the structure remains a permanent and stable fixture of your landscape.
How to Build DIY Pool Float Storage for the Ultimate Organized Patio
Why we love this
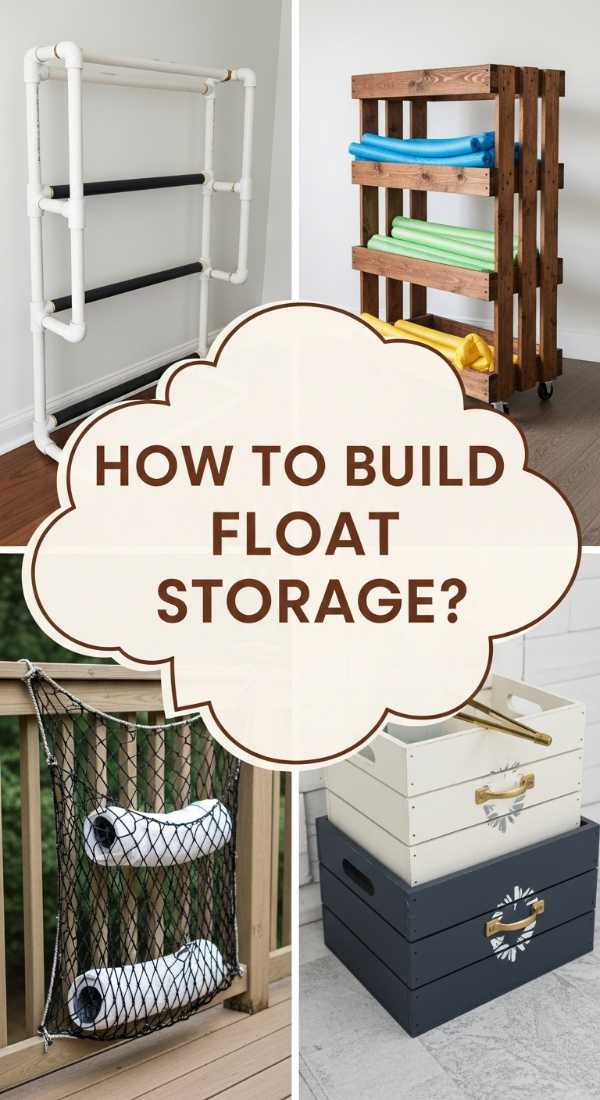
There is a rugged, custom charm to building your own storage solution that perfectly fits the dimensions of your specific ‘fleet’ of floats. This project is a favorite because it allows for total creative control, turning industrial materials like PVC or cedar into a sleek, functional piece of furniture that feels intentional rather than like an afterthought. The feeling of sliding a massive raft into its own dedicated slot, seeing it stand upright and tidy, brings a sense of professional-level organization to a backyard that usually feels chaotic.
Essential Elements:
- 1-inch PVC piping or 2×2 cedar boards
- PVC cement or exterior-grade wood screws
- Heavy-duty caster wheels with locks
- Outdoor spray paint (if using PVC)
- Measuring tape and a miter saw
How to make it
- Measure your largest float to determine the width of the individual stalls; usually, 10 to 12 inches per slot is ideal for most oversized rafts.
- Construct a rectangular base frame first, ensuring all corners are perfectly square to provide a stable foundation for the vertical dividers.
- Attach the vertical uprights at the measured intervals, reinforcing the joints with T-connectors for PVC or pocket holes for wooden structures.
- If using PVC, sand the surface lightly and apply a coat of plastic-bonding spray paint in a matte black or metallic bronze for a high-end, custom look.
- Install locking casters on all four corners so you can easily wheel the entire unit into a garage or shed during the off-season or a storm.
How to Master Pool Organization for Stress Free Sunsets
Why we love this
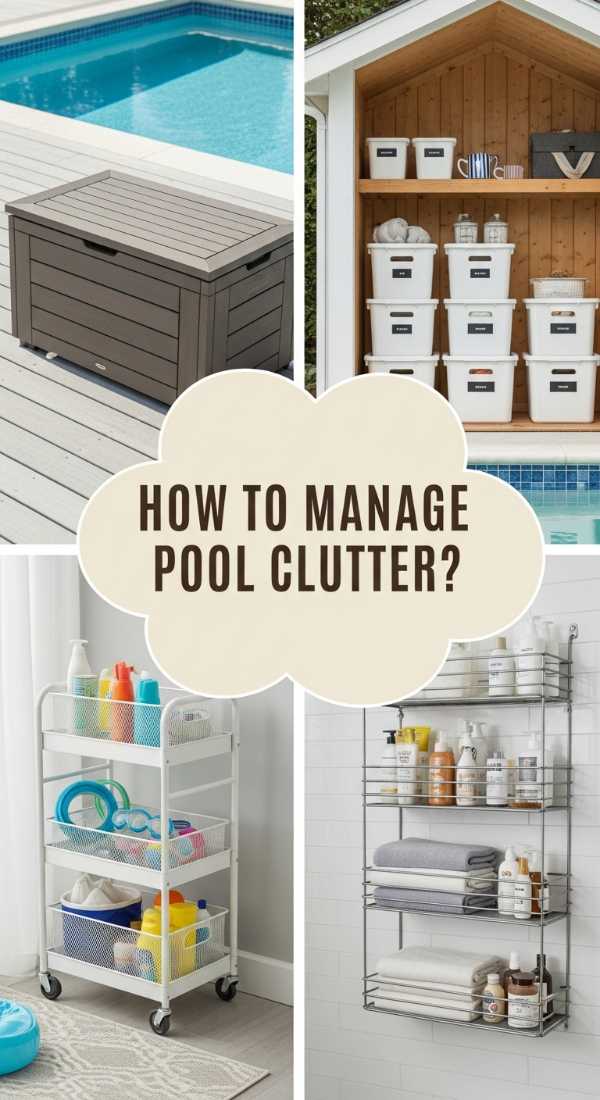
Mastering organization is about more than just bins; it’s about creating a flow that allows your mind to fully switch into ‘vacation mode’ the moment you step outside. We love this holistic approach because it considers the entire lifecycle of a pool day, from the morning prep to the evening wind-down. When the goggles are in their tray, the toys are in their basket, and the deck is clear, the golden rays of the setting sun can truly take center stage without the visual ‘noise’ of a messy yard cluttering your view.
Essential Elements:
- Zoned storage map (Dividing the deck into functional areas)
- All-weather deck boxes with hydraulic hinges
- Small waterproof baskets for ‘bits and bobs’
- Labeling kit (UV-resistant)
- Daily ’10-minute reset’ checklist
How to make it
- Divide your poolside into ‘Zones’: a Drying Zone for towels, a Fun Zone for toys/floats, and a Safety Zone for chemicals and maintenance equipment.
- Invest in a high-capacity deck box that matches your furniture; look for one with a flat top that can double as extra seating during parties.
- Use smaller, stackable bins inside the deck box to categorize items like dive rings, goggles, and sunscreen, preventing a ‘junk drawer’ effect.
- Label each bin clearly using a label maker with UV-resistant tape so that even the kids know exactly where things belong at the end of the day.
- Implement a ‘Sunset Reset’ routine where every family member spends five minutes putting items back in their designated zones before heading inside.
How to Select Pool Storage for a Tidy Poolside Retreat
Why we love this
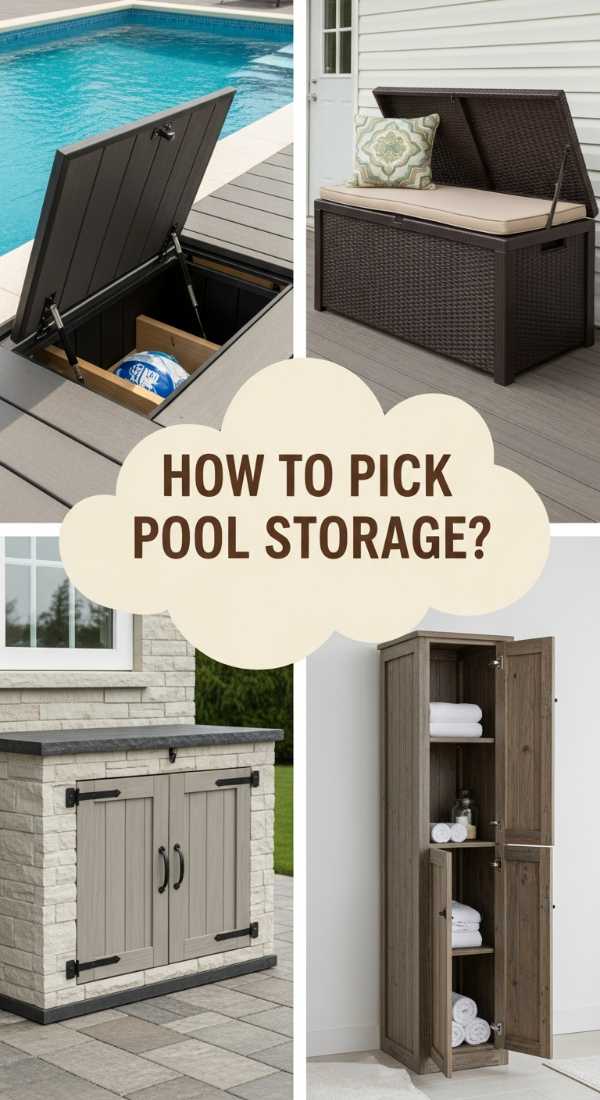
Selecting the right storage is like choosing the perfect piece of jewelry for an outfit—it should be both beautiful and functional. We love the process of hunting for pieces that mimic the textures of nature, like woven resins that look like seagrass or powder-coated metals that feel modern and crisp. The right selection ensures that your storage doesn’t stick out like a sore thumb, but rather melts into the architecture of your home, creating a seamless retreat that feels professionally designed and curated for comfort.
Essential Elements:
- Climate-appropriate materials (Resin for humidity, Teak for luxury, Aluminum for modern)
- Dual-purpose furniture pieces
- Internal volume measurements of your gear
- Integrated drainage systems
- Soft-close lid mechanisms
How to make it
- Audit your current pool gear and measure the largest items to ensure you buy a storage unit with enough internal cubic footage.
- Choose materials that complement your existing patio set; if you have wicker chairs, look for a resin storage box with a similar weave pattern for a cohesive look.
- Prioritize units with built-in drainage holes or slatted bottoms to ensure that any water brought in on wet toys can evaporate, preventing stagnant odors.
- Look for ‘multi-tasking’ pieces, such as storage benches or coffee tables with hidden compartments, to maximize functionality in smaller backyard spaces.
- Test the weight capacity of the lid; a high-quality storage box should be sturdy enough to act as additional guest seating when the lid is closed.
How to Optimize Pool Side Storage for Seamless Summer Entertaining
Why we love this
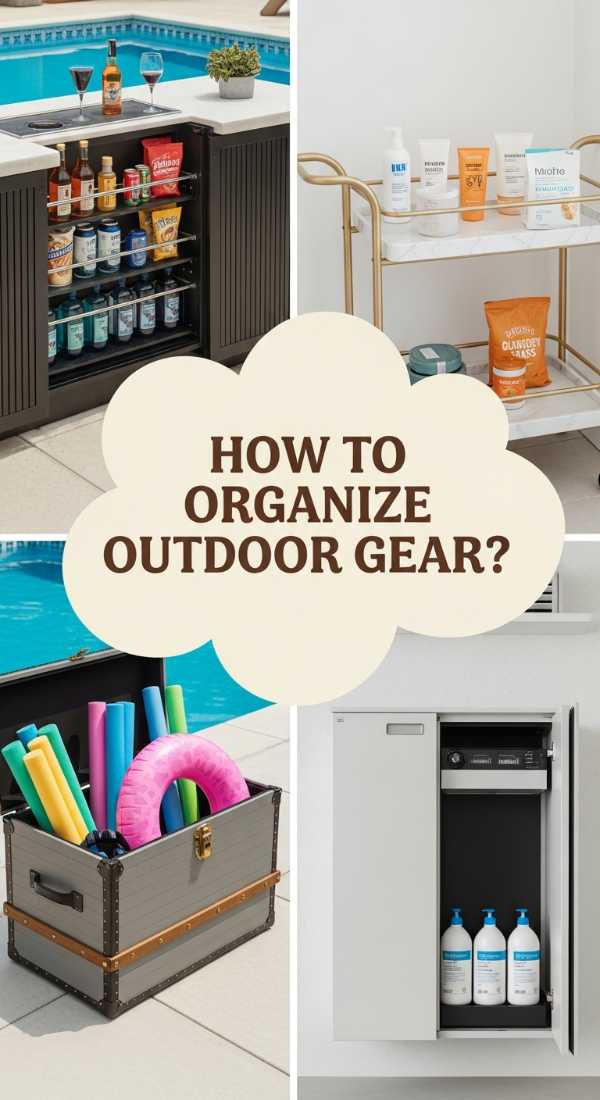
The secret to a great host is never having to leave the conversation to go hunt for a clean towel or a fresh tube of sunscreen. We love optimizing storage for entertaining because it turns your pool deck into a self-sufficient ecosystem of fun and relaxation. When everything is within arm’s reach but tucked away in stylish containers, the party flows effortlessly from the water to the lounge chairs, creating an atmosphere of effortless luxury where the needs of your guests are met before they even have to ask.
Essential Elements:
- Mobile utility cart with weather-proof shelving
- Acrylic beverage dispensers and glassware
- Dedicated ‘Guest Basket’ with sunscreen and bug spray
- Hidden trash and recycling bins
- Outdoor-rated hooks for guest bags
How to make it
- Set up a ‘Refill Station’ using a tiered rolling cart; the top shelf for drinks, the middle for fresh towels, and the bottom for guest ‘must-haves’ like sunblock.
- Hide unsightly but necessary items like trash cans inside decorative wooden or resin enclosures that match your deck’s aesthetic.
- Install a row of sleek, modern hooks on a nearby wall or fence to give guests a specific place to hang their cover-ups and hats, keeping furniture clear.
- Use clear acrylic bins for small pool toys and goggles so kids can see exactly what they want without dumping the entire container onto the deck.
- Position your most-used storage items (like the towel basket) closest to the pool steps to minimize wet footprints across the entire patio surface.
How to Craft DIY Pool Storage Solutions for a Dreamy Modern Backyard
Why we love this
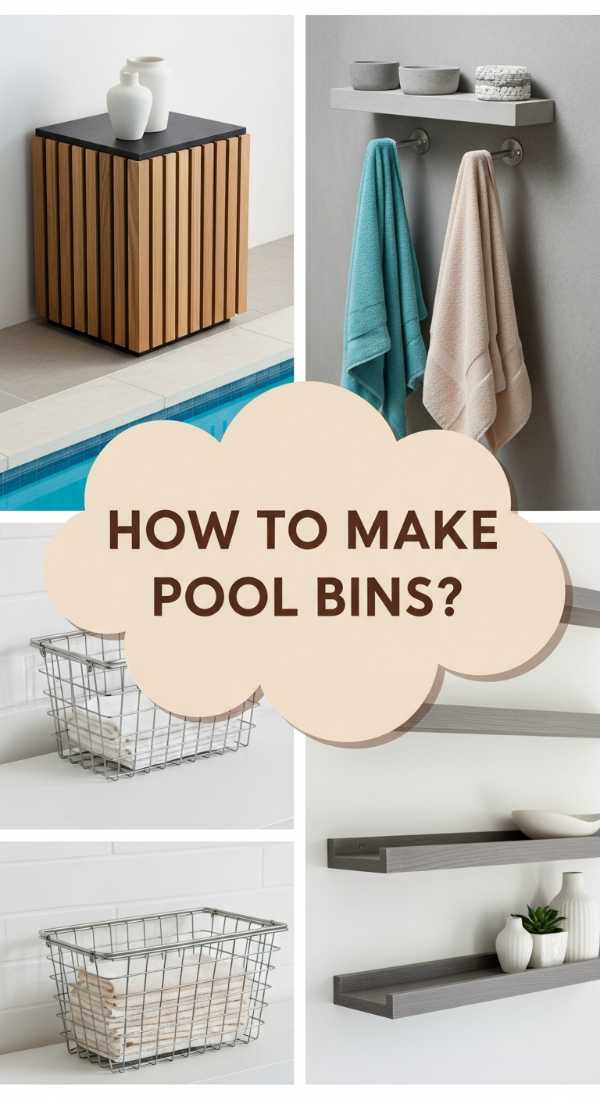
Crafting your own solutions allows you to tap into the ‘Modern Organic’ trend, combining clean lines with the raw beauty of outdoor materials. We love this because it results in one-of-a-kind pieces that you simply can’t find in a big-box store, like a minimalist cedar slat wall for hanging gear or a concrete-topped storage cube. There is a deep tactile pleasure in running your hand over a custom-built surface and knowing that it was designed specifically to enhance the tranquility and modern edge of your personal backyard oasis.
Essential Elements:
- Pressure-treated lumber or cedar slats
- Outdoor-grade wood glue and stainless steel hardware
- Concrete mix and form (for custom tops)
- Modern black hardware (hooks and handles)
- Orbital sander and various grit papers
How to make it
- Design a vertical slat wall using 1×2 cedar strips spaced half an inch apart; this creates a stunning architectural feature that provides endless hanging options.
- Sand all wood surfaces down to a 220-grit finish to ensure there are absolutely no splinters for bare feet or delicate swimwear to catch on.
- Mount heavy-duty matte black hooks to the slats at varying heights to accommodate everything from heavy wet towels to light goggles.
- If building a storage box, incorporate a ‘floating’ base design to allow for airflow underneath the unit, which prevents moisture buildup on the deck.
- Finish the wood with a transparent UV-protector that highlights the natural grain while preventing the ‘graying’ effect caused by sun and chlorine exposure.
How to Refresh Pool Towel Organization for a High End Boutique Feel
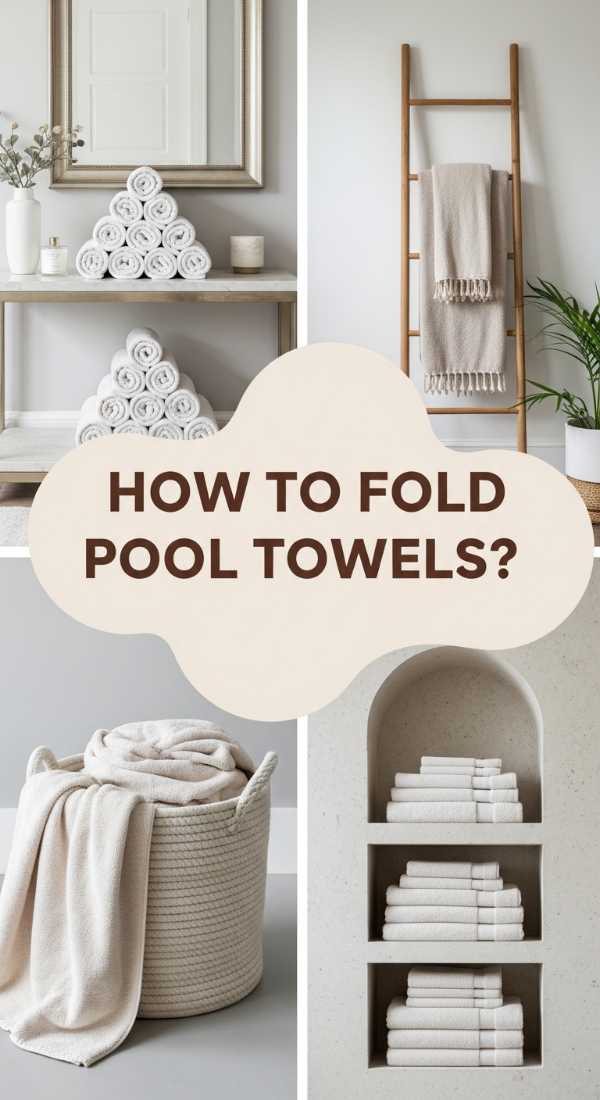
Why we love this
A ‘refresh’ is all about the small, curated details that elevate the everyday into something extraordinary. We love this approach because it’s a low-effort, high-impact way to breathe new life into your pool area without a full renovation. It’s the feeling of a freshly laundered towel, the visual order of a perfectly aligned stack, and the subtle luxury of a marble tray holding sunscreen. It transforms the act of drying off into a ritual of self-care, reminiscent of a five-star Mediterranean villa where every detail is polished to perfection.
Essential Elements:
- Uniform, high-GSM (grams per square meter) towels
- Marble or stone trays for small accessories
- Ceramic jars for sunscreen and hair ties
- Fresh greenery or potted succulents for the station
- High-quality wicker hampers for used towels
How to make it
- Retire any mismatched or bleached-out towels; for a boutique feel, stick to a single color like ‘Bright White’ or ‘Soft Charcoal’ for all linens.
- Arrange a styling tray on your storage bench featuring a ceramic vase with fresh flowers, a stone tray for sunglasses, and a stylish pump for sunblock.
- Place a dedicated ‘Used Towels’ hamper nearby, choosing a design with a removable, washable liner to make laundry day a breeze.
- Add a small ‘Amenity Basket’ containing items guests often forget: extra hair ties, waterproof phone pouches, and a high-quality cooling mist.
- Ensure the storage area is well-lit for evening swims by adding a few battery-operated LED puck lights inside the storage bins or under the towel shelves.
How to Organize Pool Accessories for Total Summer Bliss
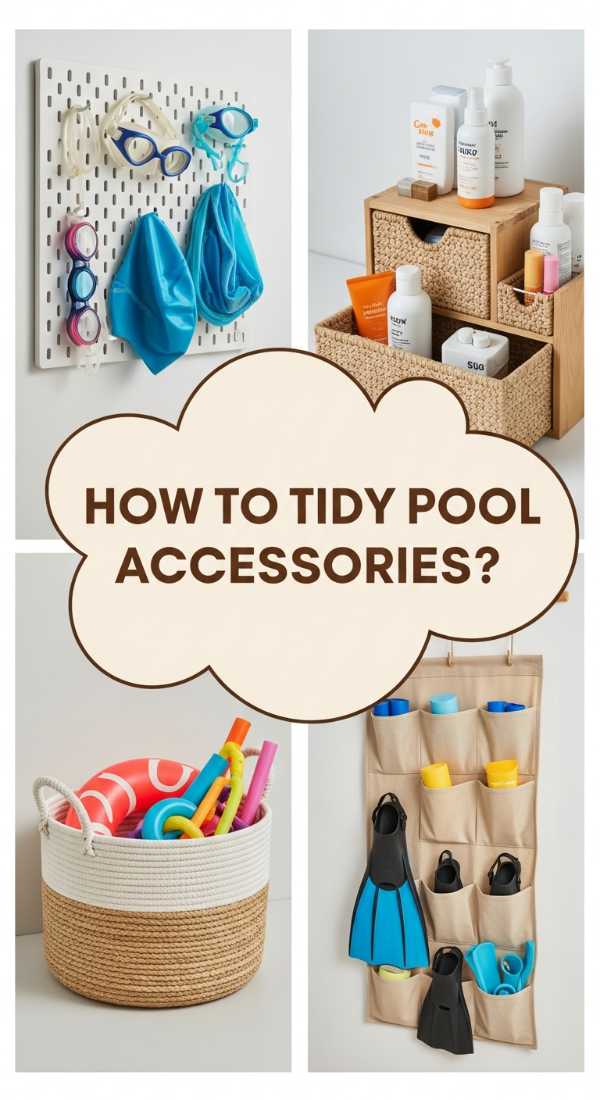
Why we love this
The ‘Bliss’ comes from the absence of frustration—it’s the ease of finding that one specific pair of goggles or the perfect dive toy without digging through a mountain of clutter. We love this micro-organization style because it treats even the smallest pool accessories with care, protecting them from the elements and keeping them ready for action. There is a joyful, colorful energy in seeing your pool toys neatly displayed, like a candy shop of summer fun, promising hours of entertainment in the crystal-clear water.
Essential Elements:
- Clear waterproof stackable drawers
- Mesh produce bags for small toys
- Labeled ‘Tech Box’ for waterproof speakers and chargers
- Wall-mounted mesh bags for balls and noodles
- Over-the-door organizer for the pool shed
How to make it
- Sort all accessories by type: goggles in one bin, dive toys in another, and inflatable patches/pumps in a third.
- Use mesh produce bags to hold sets of toys; this allows them to be dunked directly in the pool for cleaning and then hung up to drip-dry completely.
- Assign a ‘Electronics Hub’—a small, gasket-sealed waterproof box where guests can safely store their phones and chargers away from splashes.
- Mount a large mesh ‘Noodle Caddy’ to the side of the house or fence to keep these awkward shapes upright and organized rather than rolling across the deck.
- Perform a weekly ‘toy audit’ to discard any broken items or those with compromised seals, ensuring that everything in your bins is safe and ready for use.
Conclusion: Your Organized Oasis Awaits
Transforming your pool deck from a cluttered mess to a chic, organized retreat is one of the most rewarding home projects you can undertake. It’s not just about the bins or the racks; it’s about creating a space that respects your time and enhances your relaxation. When every towel is rolled and every float is stored, you free up your mental energy to focus on what truly matters: making memories with friends and family in the sun. So, take a deep breath, grab your label maker, and dive into the satisfying world of poolside order. Your future, stress-free self will thank you as you watch the next sunset from a perfectly tidy deck.