
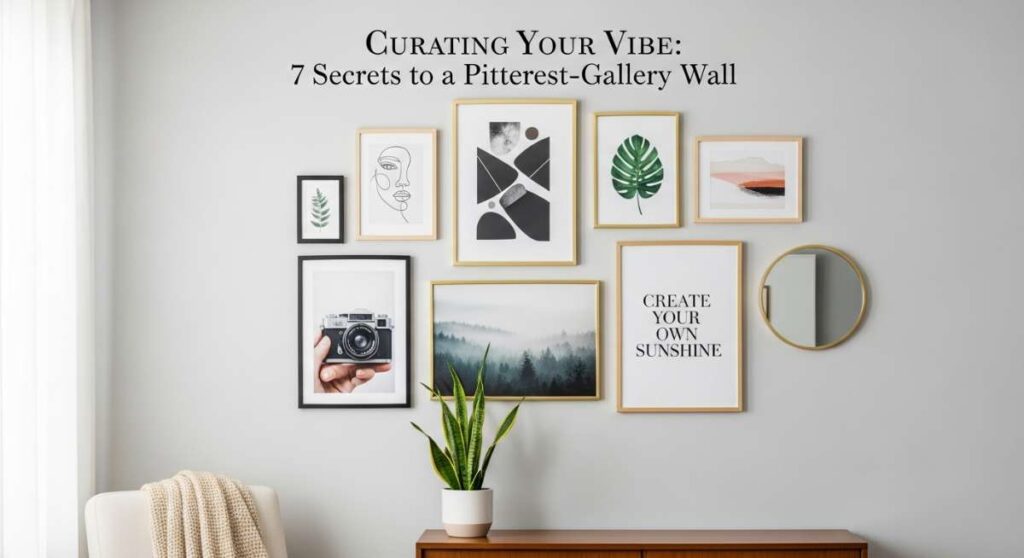
Do you ever walk into a room and feel like the walls are whispering your own story back to you? There is something truly magical about a curated wall; it is more than just decor—it is a tangible heartbeat of your home. We have all stared at that one ‘blank canvas’ of a wall, feeling the overwhelm of where to start, but I promise you, the journey from a bare surface to a Pinterest-worthy gallery is one of the most rewarding creative projects you can undertake.
Creating a gallery wall is about more than just hammering nails into drywall; it is an exercise in mindfulness and personal expression. It’s about finding that perfect balance between chaos and order, texture and smooth finishes, and memories and modern art. Whether you are living in a temporary rental or your forever home, your walls should reflect the vibrancy of your life, inviting guests to linger a little longer and giving you a sense of peace every time you walk through the door.
How to Arrange Family Photos for a Nostalgic Home Gallery
Why we love this
There is an incredible warmth that fills a room when you are surrounded by the faces of those you love and the memories that shaped you. A nostalgic gallery wall acts as a living timeline, blending sepia-toned heritage photos with vibrant, candid shots from last summer’s beach trip. The texture of mismatched wooden frames against a soft neutral wall creates a tactile sense of history, making the space feel grounded and deeply personal. It’s the kind of display that sparks conversation during dinner parties and provides a comforting embrace on quiet, rainy afternoons.
Essential Elements:
- A collection of photos in varying sizes (4×6, 5×7, 8×10).
- Assorted frames in wood, brass, or matte black.
- Acid-free matting to protect older photographs.
- Painter’s tape and kraft paper for layout planning.
- A spirit level to ensure a professional finish.
How to make it
- Curate your collection by selecting photos that share a common emotional thread, even if the eras differ. To unify the look, consider converting all photos to black and white or a soft sepia.
- Measure your wall space and trace each frame onto kraft paper. Cut these out and label them so you know which photo corresponds to which template.
- Tape the paper templates to your wall using painter’s tape. Start with the largest ‘anchor’ piece in the center or slightly off-center at eye level (roughly 57-60 inches from the floor) and build outward.
- Check the ‘visual heat’ of the arrangement—ensure that heavy, dark frames are balanced by lighter elements across the display so the wall doesn’t feel lopsided.
- Once satisfied with the layout, hammer your nails directly through the paper templates. Tear the paper away and hang your frames. Use a spirit level on every single piece to guarantee that the horizontal lines are crisp and professional.
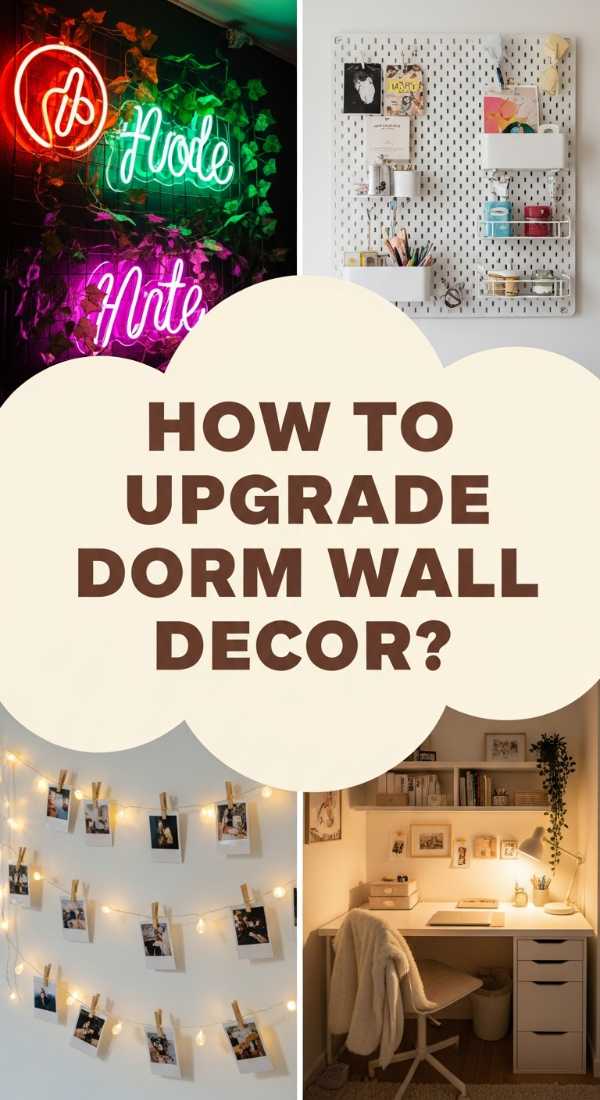
How to Design Dorm Walls for a Personalized Study Sanctuary
Why we love this
A dorm room is often a sterile box, but with the right wall decor, it can transform into a high-vibe sanctuary that fuels both focus and relaxation. We love this approach because it uses soft lighting and layered paper goods to create a cocoon-like environment. The smell of a fresh candle (or a reed diffuser for those strict dorm rules) paired with a wall of inspiring quotes and art prints creates a sensory anchor during stressful finals weeks. It’s about making a temporary space feel like a permanent home for your soul.
Essential Elements:
- Removable adhesive strips (Command strips are a must).
- A set of aesthetic art prints or postcards.
- Fairy lights or LED clip lights.
- Washi tape in metallic or pastel shades.
- Lightweight fabric tapestry or macramé hanging.
How to make it
- Clean your dorm walls thoroughly with rubbing alcohol. This prep phase is critical; if the surface is oily or dusty, your adhesives will fail under the weight of your decor.
- Layout your ‘vibe board’ on your bed first. Place your largest tapestry or focal print in the middle and surround it with smaller postcards and photos in a ‘cloud’ formation.
- Apply the adhesive strips to the back of your prints. For heavier items, use two strips at the top corners to distribute the weight evenly.
- String your fairy lights across the top of the display. Use clear mini-hooks to create a ‘drape’ effect, ensuring the lights are not pulled too taut, which can cause the hooks to pop off the wall.
- Use decorative washi tape to frame smaller photos directly on the wall. This adds a pop of color without the weight or cost of traditional frames.
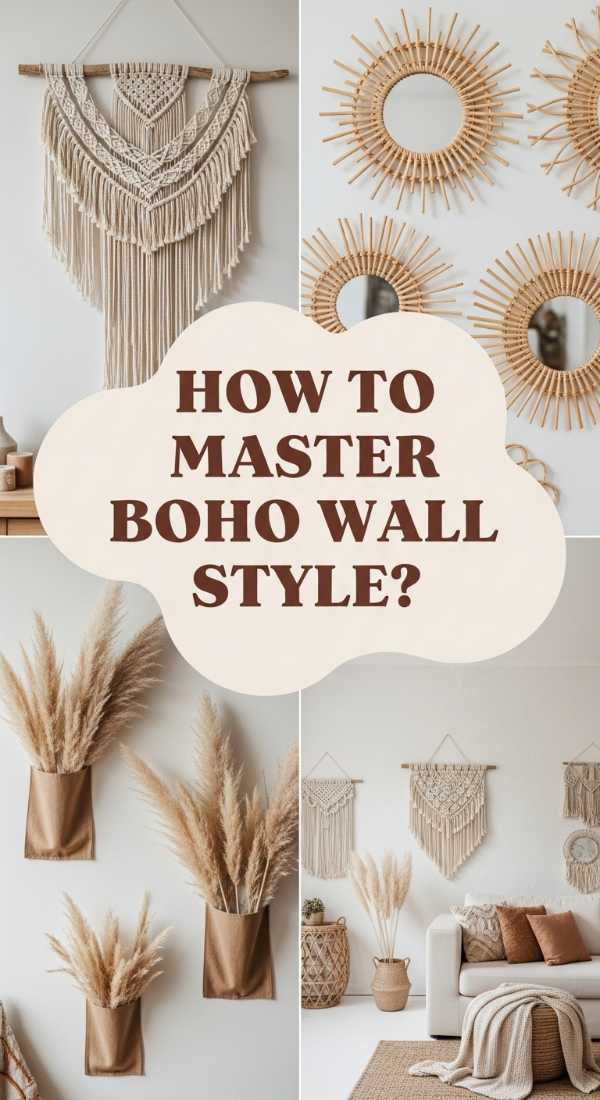
How to Layer Boho Wall Decor for a Relaxed Coastal Vibe
Why we love this
This style is all about the ‘slow living’ movement, bringing the organic textures of the coastline right into your living room. The combination of woven seagrass, sun-bleached driftwood, and soft macramé fringe creates a visual rhythm that is instantly calming. You can almost feel the salty breeze and the warmth of the sun through the natural fibers and sandy color palette. It’s a tactile feast for the eyes that replaces the rigid lines of modern design with the fluid, imperfect beauty of the natural world.
Essential Elements:
- Woven baskets or flat seagrass trays.
- A large macramé wall hanging.
- Driftwood pieces or air plant holders.
- Framed botanical sketches or ocean photography.
- Neutral-toned paint (creams, sands, or soft terracottas).
How to make it
- Select a variety of woven baskets with different depths and diameters to create a 3D effect. The ‘heat’ of this design comes from the shadows created by the varying heights.
- Mount the largest macramé piece first as your anchor. Ensure the fringe is combed out and hanging straight; a messy fringe can make the whole wall look cluttered rather than curated.
- Cluster the baskets in an organic, asymmetrical grouping near the textile piece. Use small finish nails that disappear into the weave of the baskets.
- Integrate ‘breathing room’ into the display. Do not crowd the elements; the coastal vibe relies on the feeling of open space and airiness.
- Add a final touch of nature by mounting a piece of driftwood using hidden ‘Z-clips’ or sturdy wire. This adds a rugged, raw texture that perfectly offsets the softness of the cotton macramé.
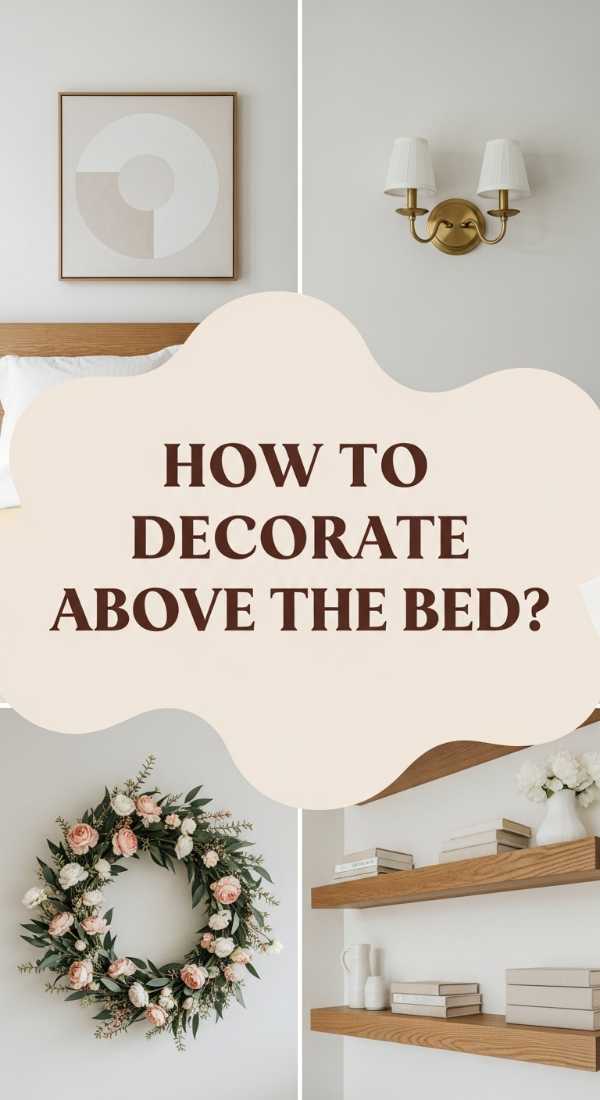
How to Curate Above Bed Decor for a Dreamy Sleep Oasis

Why we love this
The space above your headboard is the ultimate focal point of your bedroom, and when styled correctly, it acts as a visual lullaby. We love this because it focuses on symmetry and softness, using art that evokes stillness and serenity. Imagine waking up to the gentle sight of misty landscapes or abstract watercolors that mimic the movement of clouds. It’s about creating a safe, beautiful horizon that marks the transition between your busy day and a night of restorative, deep sleep.
Essential Elements:
- Large-scale triptych (three-panel) art.
- Matching minimal frames.
- Dimmable wall-mounted sconces.
- Soft-focus photography or abstract prints.
- Heavy-duty wall anchors (safety is key above a bed).
How to make it
- Choose art that features cool tones—think soft blues, sage greens, or lavender—which are scientifically proven to lower the heart rate and promote relaxation.
- Measure the width of your headboard. Your art display should be approximately two-thirds the width of the headboard to maintain proper visual proportions.
- Mark your hanging points so the bottom of the frames sit roughly 6 to 10 inches above the top of the headboard. This prevents the wall from looking ‘top-heavy’ or disconnected from the furniture.
- Install wall anchors if you are hanging heavy glass-fronted frames. In earthquake-prone areas or for extra peace of mind, use museum wax on the bottom corners to keep frames from shifting.
- Flank the art with wall sconces. Position them so the light pools downward onto the art, creating a warm, ambient ‘glow’ that eliminates the need for harsh overhead lighting before bed.
How to Mount Skateboard Wall Art for an Edgy Urban Look
Why we love this
Skateboards are no longer just for the park; they are stunning canvases of street art and graphic design that bring an energetic, urban edge to any room. This setup is fantastic because it bridges the gap between high-end art and subculture, adding a sense of movement and ‘cool’ to a hallway or home office. The sleek, curved silhouettes of the decks offer a unique geometric contrast to traditional rectangular frames, making your wall feel dynamic, modern, and unapologetically bold.
Essential Elements:
- Illustrated or vintage skateboard decks.
- Specialized skateboard wall mounts (invisible or floating).
- A laser level for precise vertical alignment.
- Wall anchors suited for your wall type (drywall vs. brick).
- Soft microfiber cloth for polishing the decks.
How to make it
- Clean the graphics on your decks using a dry microfiber cloth. Avoid wet cleaners that might damage the grip tape or the screen-printed underside.
- Decide on your orientation: vertical ‘totem’ style is great for narrow walls, while a horizontal ‘wave’ pattern works beautifully over a sofa or desk.
- Using your laser level, project a straight line onto the wall. Mark the screw holes for the mounts based on the deck’s truck-hole spacing.
- Drill your holes and insert the wall anchors. Screw the mounts into place, ensuring they are flush against the wall to prevent the decks from rattling or tilting.
- Slide the decks onto the mounts. Adjust the ‘tension’ of the mounting clips so the board is secure but can be easily swapped out if you want to refresh the art or actually go for a skate session.
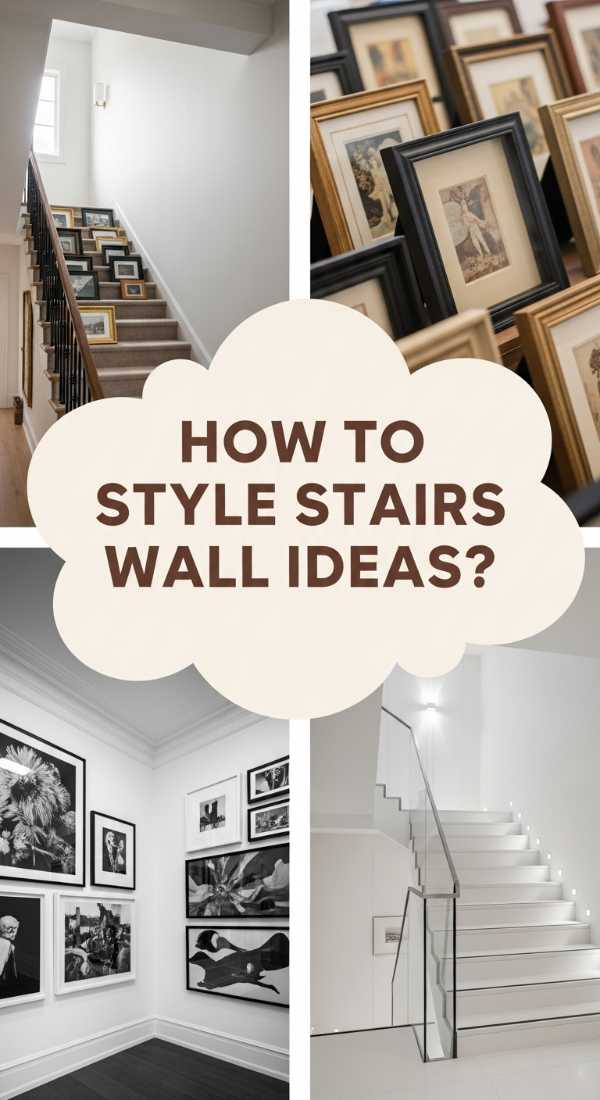
How to Design Staircase Wall Displays for a Sophisticated Flow

Why we love this
Staircases are the transitions of our homes, and decorating them is like creating a curated journey between levels. We love this look because it uses the natural incline to create a ‘stepped’ gallery that feels sophisticated and intentional. As you ascend or descend, each piece of art reveals itself at a new angle, making the walk a delightful sensory experience. It turns a functional, often overlooked area into a high-end gallery space that flows effortlessly with the architecture of your house.
Essential Elements:
- A series of uniform frames for a clean look, or varied for eclectic style.
- A long roll of butcher paper.
- Painter’s tape.
- Measuring tape and pencil.
- Art that looks good from both a distance and up close.
How to make it
- Determine the ‘stair line.’ Measure up 57 inches from every third step and mark it lightly with a pencil. Connect these dots with painter’s tape to create a diagonal guideline that mimics the angle of the stairs.
- Arrange your frames on the floor first, following the same diagonal line you created on the wall. This ‘dry run’ is vital to avoid unnecessary holes in a high-traffic area.
- Start at the middle of the staircase and work your way up and down. Align the center of each frame with your diagonal tape line to ensure a consistent, professional flow.
- Keep the spacing between frames tight—usually 2 to 3 inches. Because you are viewing these while moving, closer spacing prevents the display from looking fragmented.
- Secure the frames using two points of contact (two nails or a nail plus adhesive) to ensure they stay perfectly level even with the vibration of heavy footsteps on the stairs.
How to Incorporate Mexican Wall Accents for a Vibrant Living Space
Why we love this
There is a soul-stirring energy in Mexican craftsmanship—the bold colors, the intricate textures of Talavera pottery, and the gleaming warmth of punched tin. This wall style is an absolute feast for the senses, bringing a ‘fiesta’ of culture and history into your home. The way the light catches the metallic suns and the way the hand-painted ceramics pop against a white or deep blue wall creates a space that feels alive, celebratory, and deeply welcoming. It’s an instant mood-booster every time you enter the room.
Essential Elements:
- Talavera ceramic plates or tiles.
- Punched tin mirrors or ‘milagros’ (folk art charms).
- Woven Oaxacan textiles or small rugs.
- Bright, saturated wall color or high-contrast white.
- Heavy-duty plate hangers.
How to make it
- Select a central ‘hero’ piece, such as a large punched-tin sun or a vibrant mirror, to serve as the sun around which all other elements will orbit.
- Prep your ceramic plates with high-quality wire plate hangers. Avoid adhesive disks for heavy Talavera, as the ‘heat’ and humidity in a room can cause the adhesive to fail over time.
- Mix textures intentionally: place a cold, smooth ceramic plate next to a soft, fringed textile to create a balanced sensory experience.
- Arrange the pieces in a ‘radiating’ pattern. Start with your hero piece and spiral the smaller plates and tin accents outward, maintaining roughly equal distance between items.
- Check the visual balance of the colors. If you have a bright red plate on the left, balance it with a similarly ‘hot’ tone on the right side of the display to keep the eye moving across the entire wall.
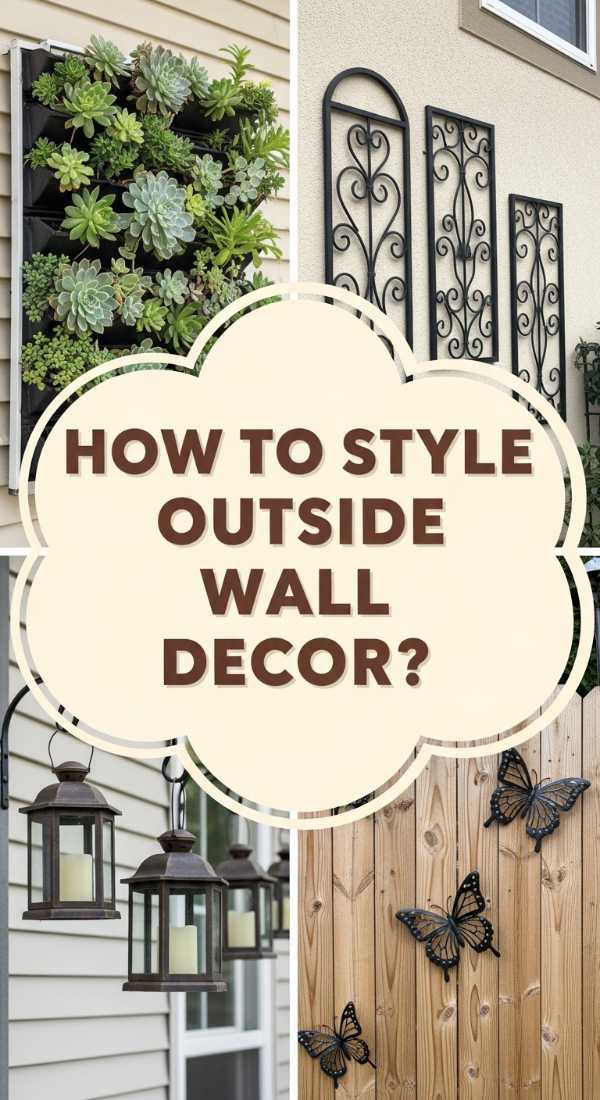
How to Select Outdoor Wall Decor for a Lush Patio Retreat
Why we love this
Your patio is your private escape, and wall decor is the key to making it feel like a true outdoor ‘room’ rather than just a backyard. We love the use of wrought iron, living walls, and weather-resistant art because it blends the comfort of the indoors with the wild beauty of nature. The sound of wind rustling through a wall-mounted planter and the sight of rustic metalwork aging beautifully with a natural patina creates a serene, earthy atmosphere that is perfect for summer cocktails or morning coffee.
Essential Elements:
- Wrought iron scrolls or metal wall medallions.
- Vertical wall planters or ‘living wall’ pockets.
- Outdoor-rated canvas art or resin sculptures.
- Masonry drill bits and lead anchors (for brick/stucco).
- Weatherproof sealant.
How to make it
- Identify your wall type. If you are mounting on brick or stucco, you must use a masonry bit to drill your holes; a standard wood bit will smoke and dull instantly.
- Apply a clear, UV-resistant weatherproof sealant to any metal or wood pieces before hanging. This ‘prepping phase’ ensures your decor survives rain, sun, and snow without fading or rusting onto your wall.
- Mount vertical planters first. Ensure they are at a height where you can easily water them without a ladder, but high enough to create a lush, eye-level canopy.
- Intersperse metal accents between the greenery. The ‘visual heat’ of the rusted iron provides a stunning contrast to the vibrant green of the plants.
- Use lead anchors for anything heavy. The wind can create significant ‘lift’ on outdoor walls, so every piece must be bolted securely to prevent it from becoming a projectile during a storm.
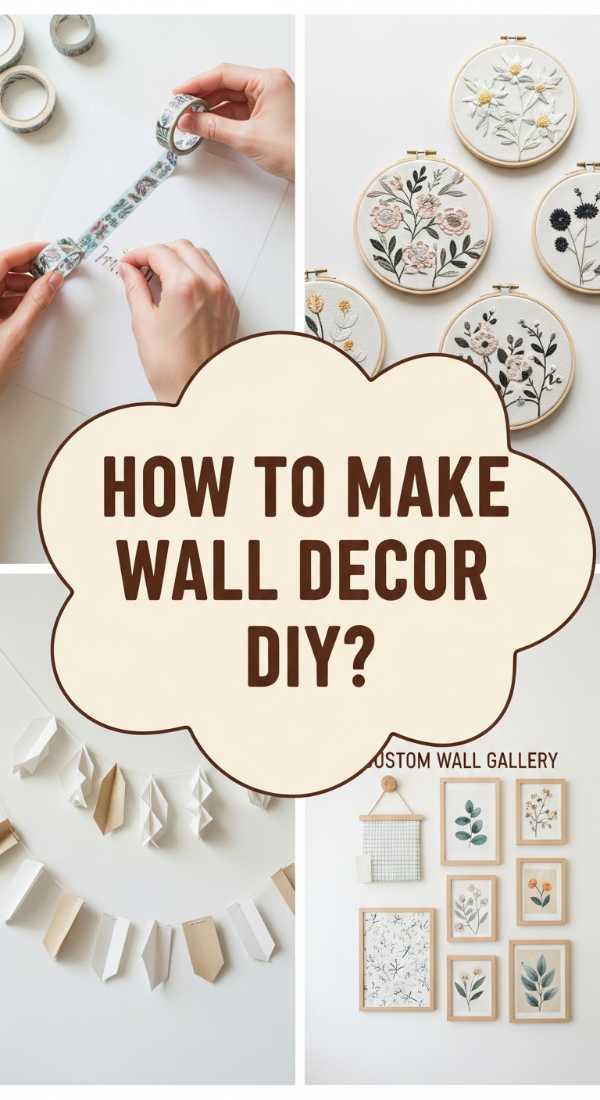
How to Create DIY Wall Decorations for a Custom Rental Glow
Why we love this
Rental living doesn’t mean you have to settle for boring white walls. DIY wall decor is a game-changer because it allows for total customization without risking your security deposit. We love the ingenuity of using lightweight materials like balsa wood, fabric, and removable vinyl to create high-impact designs. It’s a creative playground where you can experiment with trends—like arched wall decals or temporary ‘wallpaper’ panels—giving your space a high-end, bespoke glow that feels entirely yours.
Essential Elements:
- Removable vinyl sheets or ‘peel and stick’ decals.
- Lightweight balsa wood strips for ‘fake’ molding.
- Fabric panels and liquid starch (the ultimate rental hack).
- Double-sided mounting tape (repositionable).
- A squeegee or credit card for smoothing out air bubbles.
How to make it
- Prepare the wall by wiping it down with a damp cloth and letting it dry completely. For vinyl decals, a perfectly smooth, dust-free surface is non-negotiable for a professional finish.
- If creating a ‘focal arch,’ use a pencil tied to a string (a DIY compass) to trace a perfect semi-circle on the wall before applying your vinyl or paint.
- Apply vinyl from the top down. Use a squeegee to firmly press the material onto the wall, working from the center outward to push out any ‘heat’—trapped air pockets that can cause peeling.
- For a fabric wall, dip lightweight cotton into liquid starch and smooth it directly onto the wall. It dries into a stiff, wallpaper-like finish that peels off with zero residue when you move.
- Use balsa wood strips to create a faux-wainscoting effect. These are so light they can be held up with simple mounting tape, giving you the look of expensive carpentry with none of the nails.
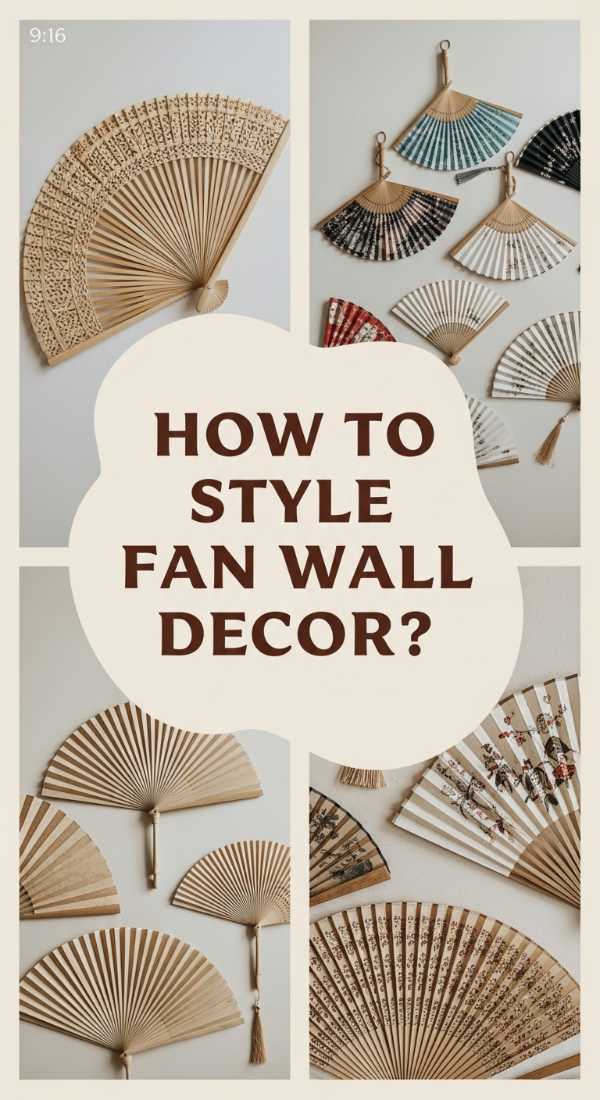
How to Display Fan Wall Art for a Chic Cultural Statement
[IMAGE_10]
Why we love this
Decorative fans are masterpieces of form and function, and when mounted on a wall, they create a breathtaking, architectural focal point. We love the dramatic scale and the delicate texture of silk, bamboo, or paper. A large, oversized fan acts like a headboard or a piece of sculptural installation art, bringing a sense of history and worldliness to your decor. The way the light plays across the folds of the fan adds a layer of depth and shadow that flat frames simply cannot replicate.
Essential Elements:
- Hand-painted silk or paper folding fans.
- Clear monofilament (fishing line).
- Small, transparent command hooks.
- A handheld steamer (to remove folds/wrinkles).
- Shadow box frames (optional, for high-end protection).
How to make it
- Gently steam the fan if it has been stored folded. Be careful not to use too much ‘heat’ or moisture, especially on antique paper fans, as this can warp the bamboo ribs.
- Open the fan to its full extent. If it doesn’t stay open easily, use a tiny piece of clear tape on the back of the outermost ribs to lock it in the ‘display’ position.
- Loop clear fishing line around the sturdy bamboo ‘bones’ at three points: the far left, the far right, and the center pivot.
- Place your clear hooks on the wall. The hooks should be positioned so they are hidden behind the bulk of the fan once it is hung.
- Hang the loops of fishing line over the hooks. Adjust the ‘tension’ of the lines until the fan sits perfectly level. The result is a ‘floating’ effect that highlights the delicate beauty of the fan without visible hardware.
Conclusion
Curating your vibe is a journey, not a destination. Your walls are a living reflection of your growth, your travels, and your loves. Don’t be afraid to swap things out, move frames around, or add a new DIY project as your style evolves. The most beautiful homes aren’t the ones that look like a furniture showroom; they are the ones that feel like a warm hug and tell a story worth sharing. Now, grab that level and let your walls speak!