
Hello my loves! There is something so incredibly soul-soothing about the scent of a fresh bake wafting through the house on a quiet afternoon. Lately, I have been spending so much time in my sun-drenched kitchen, whisking together little moments of joy and trying out all those beautiful trends we see dancing across our feeds. It feels like the world is blooming right now, and I wanted to bring that same soft, floral energy into our homes through these sweet treats.
I have gathered my absolute favorite viral food ideas that have been making my heart flutter this month. These aren’t just recipes; they are little love letters to our senses, designed to make your table look like a dreamy pastel cloud. Whether you are hosting a soft Sunday brunch or just want to treat yourself to something magical, these ideas are here to wrap you in a warm, kitchen-scented embrace. Let’s dive into this beautiful world of sweetness together, shall we?
Viral Lemon Cake Secret
Why we love this
There is nothing quite like the bright, zingy pop of lemon to wake up your spirit and bring a smile to your face. This secret technique involves creating hidden pockets of luscious, homemade lemon curd inside the batter before it even hits the oven. It ensures that every single forkful is infused with a moist, tart surprise that balances the sweetness of the sponge perfectly. This cake doesn’t just sit on the plate; it sings with the vibrancy of a thousand spring mornings spent in a citrus grove. It is the ultimate comfort food for those who crave a little sunshine in every bite.
Ingredients
- 2 cups all-purpose flour
- 1.5 cups granulated sugar
- 1/2 cup unsalted butter, softened
- 3 large eggs
- 1 cup buttermilk
- 2 tablespoons fresh lemon zest
- 1/2 cup high-quality lemon curd
How to make it
- Preheat your oven to 350°F and grease a standard loaf pan with butter and a dusting of flour.
- In a large bowl, cream together the softened butter and sugar until the mixture is light, fluffy, and pale yellow.
- Add the eggs one at a time, beating well after each addition, then stir in the fresh lemon zest for that aromatic punch.
- Alternately add the flour and buttermilk to the mixture, starting and ending with the flour, and mix until just combined.
- Pour half of the batter into the pan, then drop small dollops of lemon curd along the center of the batter.
- Cover with the remaining batter and use a knife to gently swirl the curd, creating those secret pockets of flavor.
- Bake for 50-60 minutes or until a skewer comes out clean, then let it cool completely before slicing into your masterpiece.
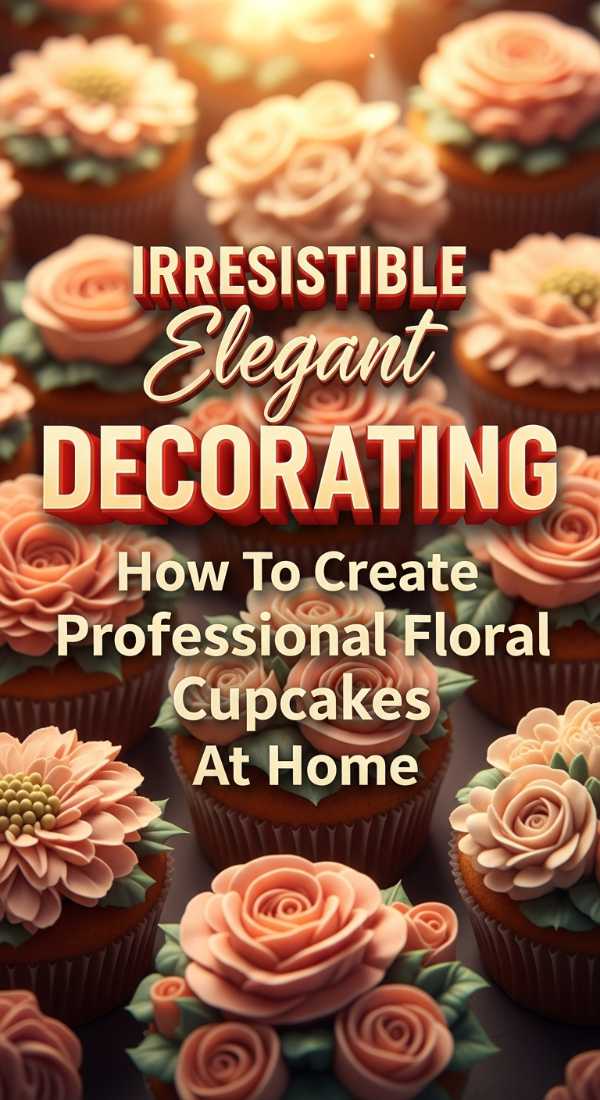
Floral Cupcake Decorating Hack
Why we love this
We all want those professional-looking floral cupcakes, but sometimes the intricate piping can feel a bit overwhelming for a relaxing afternoon. This clever hack uses simple marshmallows and colored sanding sugar to create the most delicate, realistic petals you have ever seen. It’s a gentle, meditative process that turns a simple cupcake into a tiny edible garden without the stress of perfect technique. My loves, your guests will be absolutely breathless when they see these blooming on your dessert tower. It’s the perfect way to add a touch of whimsical elegance to your next tea party or gathering.
Ingredients
- Batch of pre-baked cupcakes
- Vanilla buttercream frosting
- Large white marshmallows
- Pink or purple sanding sugar
- Clean kitchen scissors
How to make it
- Start by frosting your cupcakes with a smooth, flat layer of vanilla buttercream to act as the base for your flowers.
- Take a large marshmallow and, using your kitchen scissors, cut it crosswise into five thin, circular discs.
- Immediately press the sticky, cut side of each marshmallow disc into the colored sanding sugar until it is fully coated.
- The sugar will only stick to the cut side, creating a beautiful colored center with a soft white edge like a real petal.
- Arrange five of these petals in a circle on top of the frosted cupcake, overlapping them slightly to create depth.
- Place a small gold pearl or a drop of yellow frosting in the very center of the petals to finish the floral look.
- Repeat the process for all cupcakes, experimenting with different sugar colors to create a diverse and vibrant spring bouquet.
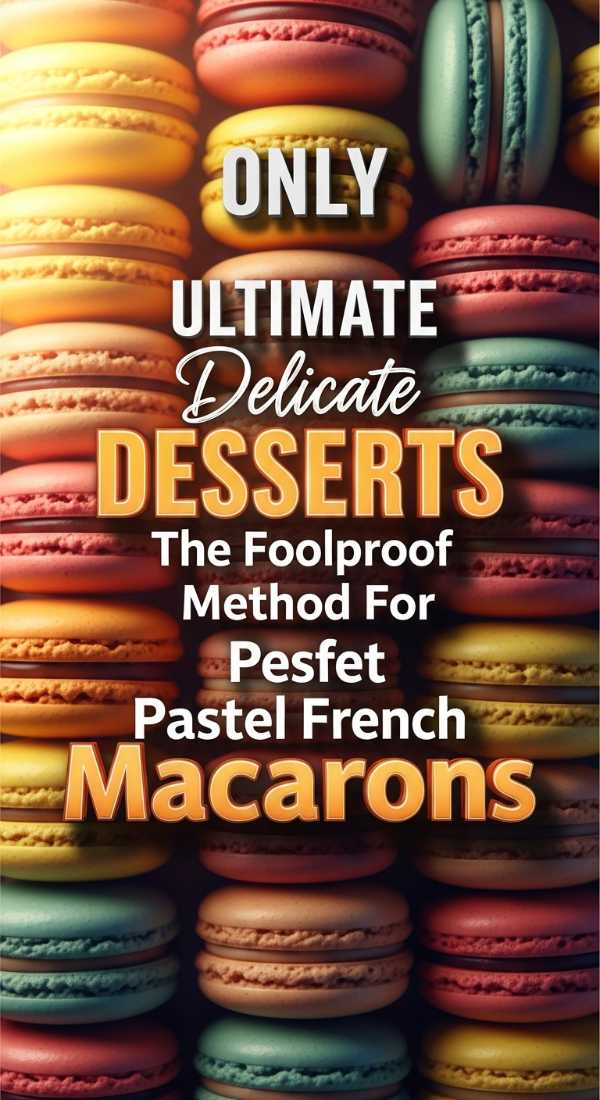
Foolproof Pastel Macarons

Why we love this
Macarons have a reputation for being finicky, but this foolproof method is like a soft hand guiding you through the process. By focusing on the “macaronage” stage and using a gentle touch, you can achieve those iconic ruffles and smooth tops every single time. There is something so satisfying about pulling a tray of perfectly pastel shells out of the oven, knowing you’ve mastered this delicate art. They are like tiny, sweet clouds of almond and sugar that melt away on the tongue, leaving behind a trail of pure happiness. You truly deserve to feel the pride that comes with baking these little treasures for yourself.
Ingredients
- 1.25 cups almond flour, finely ground
- 1.75 cups powdered sugar
- 3 large egg whites, room temperature
- 1/4 cup granulated sugar
- Gel food coloring (pastel pink or mint)
How to make it
- Sift the almond flour and powdered sugar together twice to ensure there are no lumps, which is the key to smooth tops.
- In a clean glass bowl, whisk the egg whites until foamy, then slowly add the granulated sugar while continuing to whisk.
- Beat the whites until stiff, glossy peaks form, then add a tiny drop of gel food coloring and fold gently.
- Carefully fold the dry ingredients into the egg whites using a spatula, employing the “j-fold” technique until the batter flows like lava.
- Pipe small circles onto a parchment-lined baking sheet and tap the tray firmly on the counter to release any trapped air bubbles.
- Let the shells sit at room temperature for 30-60 minutes until a dry skin forms on the surface and they aren’t sticky.
- Bake at 300°F for 15-18 minutes, let them cool completely, then sandwich them together with your favorite creamy ganache or buttercream.
Flavorful Strawberry Rhubarb Tart
Why we love this
This tart is the embodiment of a cozy afternoon spent in a country garden, where the air is thick with the scent of ripening berries. The sharp tang of the rhubarb perfectly complements the honeyed sweetness of the strawberries, creating a flavor profile that is both complex and comforting. Its rustic lattice top and vibrant red filling make it a stunning centerpiece that feels grounded and real, never overly manufactured. I love how this recipe celebrates the changing seasons, bringing the very best of nature’s bounty straight to your heart. It’s a slice of pure, unadulterated summer joy that everyone should experience at least once.
Ingredients
- 1 pie crust (homemade or store-bought)
- 2 cups fresh strawberries, sliced
- 2 cups fresh rhubarb, chopped
- 3/4 cup granulated sugar
- 2 tablespoons cornstarch
- 1 tablespoon lemon juice
How to make it
- Roll out your pie crust and gently press it into a tart tin, trimming any excess from the edges for a clean finish.
- In a large mixing bowl, toss the sliced strawberries and chopped rhubarb with the sugar, cornstarch, and fresh lemon juice.
- Let the fruit mixture sit for about 10 minutes to allow the juices to release and the cornstarch to begin its magic.
- Pour the fruit filling into the prepared tart shell, spreading it out evenly so every bite has a bit of everything.
- If you have extra pastry, cut it into strips and create a simple lattice pattern over the top of the fruit filling.
- Bake in a preheated oven at 375°F for 35-40 minutes until the crust is golden brown and the filling is bubbling softly.
- Allow the tart to cool significantly before slicing, as this helps the fruit juices set into a jammy, delicious consistency.
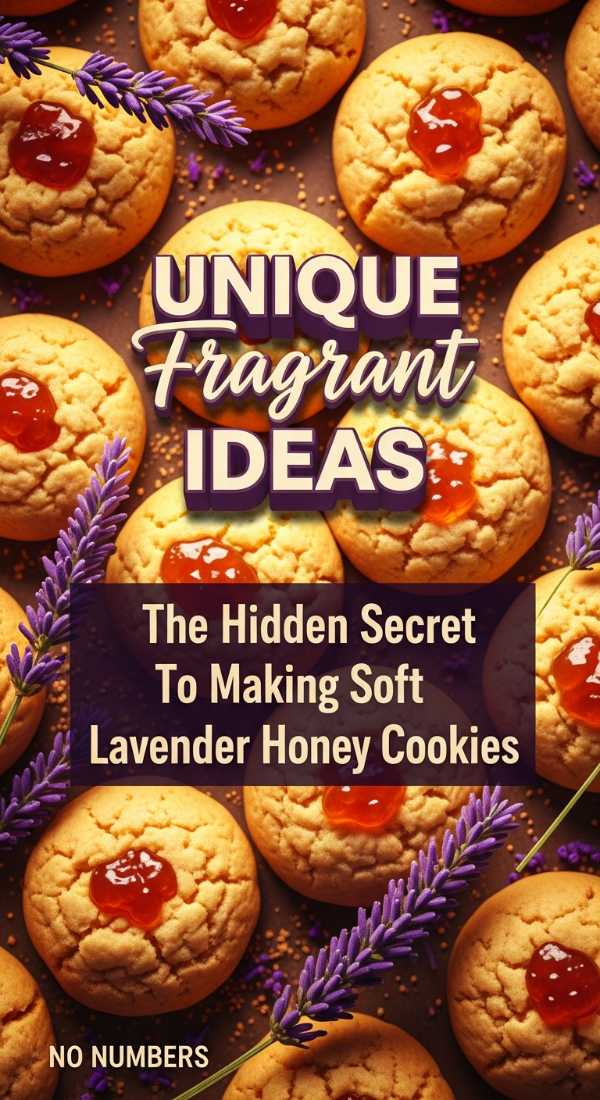
Soft Lavender Honey Cookies
Why we love this
Imagine walking through a lavender field at dusk, the golden light hitting the purple blooms as a gentle breeze carries the scent. These cookies capture that exact moment in a soft, buttery bite that feels like a whispered secret between friends. The honey provides a deep, floral sweetness that grounds the aromatic lavender, preventing it from feeling too overwhelming or flowery. They are the perfect companion for a steaming cup of Earl Grey tea and a good book on a rainy afternoon. These cookies are a reminder to slow down, breathe deeply, and appreciate the subtle beauty in the smallest of things.
Ingredients
- 1/2 cup unsalted butter, softened
- 1/2 cup granulated sugar
- 1/4 cup honey
- 1 egg
- 2 cups all-purpose flour
- 1 teaspoon dried culinary lavender, crushed
- 1/2 teaspoon baking soda
How to make it
- Cream the softened butter and sugar together until light, then beat in the honey and egg until the mixture is smooth.
- In a separate bowl, whisk together the flour, crushed lavender, and baking soda to distribute the floral notes evenly.
- Gradually mix the dry ingredients into the wet batter until a soft, fragrant dough forms that holds its shape.
- Chill the dough in the refrigerator for at least 30 minutes to make it easier to handle and to deepen the flavors.
- Roll the dough into small, one-inch balls and place them on a baking sheet lined with silicone or parchment paper.
- Flatten each ball slightly with the palm of your hand and bake at 350°F for 8-10 minutes until the edges are just set.
- Let the cookies cool on the tray for a few minutes before moving them to a wire rack, then drizzle with extra honey if desired.
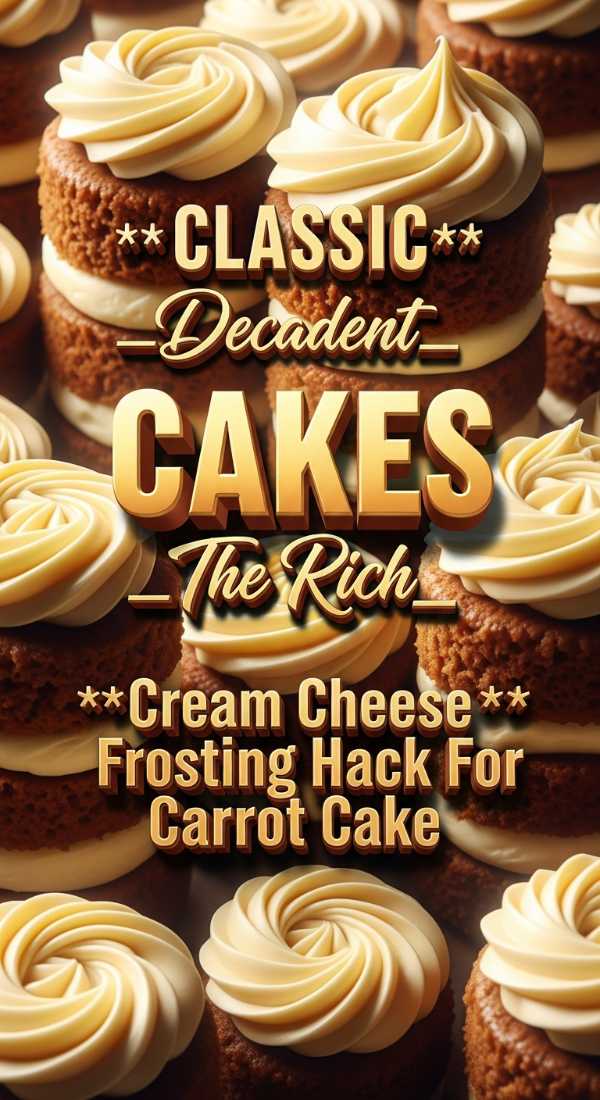
Carrot Cake Frosting Hack
Why we love this
We all know that the best part of a carrot cake is the rich, tangy cream cheese frosting that wraps it like a velvet blanket. This viral hack involves whipping the cream cheese and butter separately to different temperatures before combining them for an ultra-stable finish. It creates a texture so light and airy it feels like you are eating a sweetened cloud, yet it’s strong enough for piping. This little trick solves the age-old problem of runny frosting, giving you a professional result with very little extra effort. It’s the kind of kitchen wisdom that makes baking feel like a beautiful, effortless dance rather than a chore.
Ingredients
- 8 oz full-fat cream cheese, cold
- 1/2 cup unsalted butter, room temperature
- 4 cups powdered sugar
- 1 teaspoon vanilla bean paste
- Pinch of fine sea salt
How to make it
- Begin by beating the room-temperature butter on high speed for at least 5 minutes until it is almost white and very fluffy.
- In a separate bowl, briefly whip the cold cream cheese just until smooth, being careful not to overwork it and make it runny.
- Slowly add the cold cream cheese to the whipped butter one tablespoon at a time, mixing on low speed until combined.
- Sift in the powdered sugar one cup at a time, mixing gently at first then increasing the speed to incorporate air.
- Add the vanilla bean paste and a pinch of salt to help cut through the sweetness and enhance the cream cheese tang.
- Continue to whip the frosting for another 2 minutes until it reaches a stiff, pipeable consistency that holds its shape beautifully.
- Use immediately to frost your favorite carrot cake or store in the fridge to firm up even more for intricate decorating.
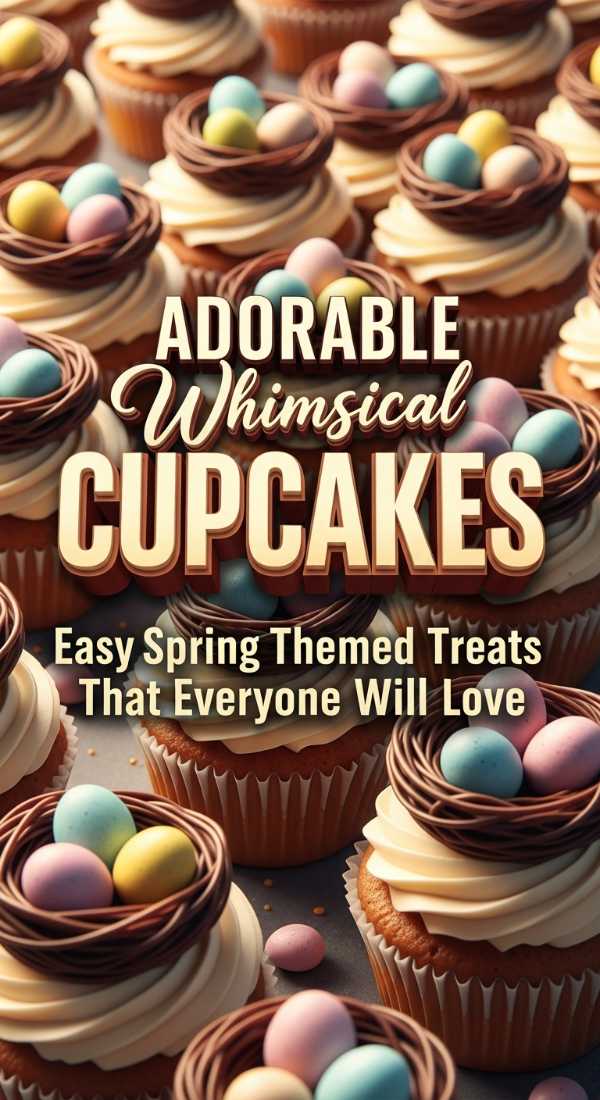
Whimsical Spring Nest Cupcakes
Why we love this
There is something so undeniably hopeful about a bird’s nest in the spring, and these cupcakes capture that whimsy perfectly. Using toasted coconut to create a textured, crunchy nest on top of a chocolate cupcake is a stroke of absolute genius for the eyes. It’s a tactile and visual delight that brings a sense of playfulness to your baking, making it a wonderful project for the whole family. Seeing those little pastel chocolate eggs tucked safely inside the coconut fibers makes my heart swell with the joy of the new season. These treats are more than just food; they are a celebration of life and the beauty of nature’s designs.
Ingredients
- 12 chocolate cupcakes
- Chocolate buttercream frosting
- 1 cup shredded sweetened coconut
- Blue and green food coloring (optional)
- Miniature candy chocolate eggs
How to make it
- Start by toasting your shredded coconut in a dry pan over medium heat until it turns a beautiful, golden nest-like brown.
- If you prefer a more vibrant look, you can toss the coconut with a drop of green food coloring instead of toasting it.
- Pipe a generous mound of chocolate buttercream onto each cupcake, leaving a small indentation in the very center.
- Press the toasted coconut into the sides and top of the frosting, making sure it sticks well to create a nest shape.
- Place three miniature chocolate eggs into the center indentation of each nest, pressing them slightly into the frosting to secure them.
- You can add a tiny sprig of fresh mint or a small edible flower to the side of the nest for an extra touch of realism.
- Arrange the cupcakes on a rustic wooden platter to complete the forest-inspired aesthetic for your guests to enjoy.
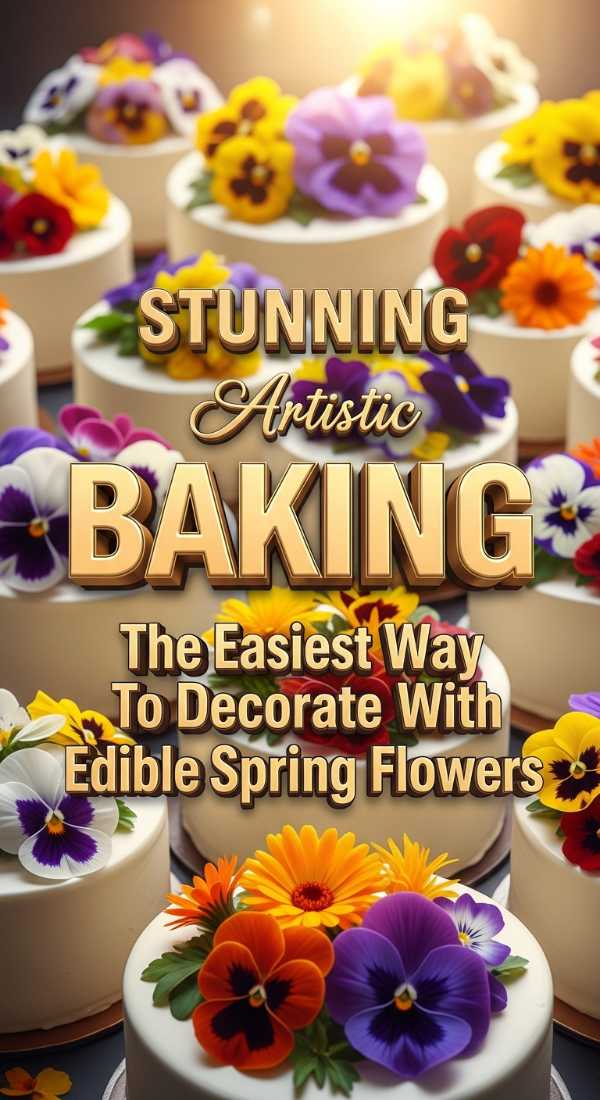
Edible Flower Decoration Guide
Why we love this
Using real flowers to decorate your bakes is the ultimate way to bring the romance of the outdoors onto your dining table. This guide teaches you how to safely select and press these delicate blooms so they retain their vibrant colors and ethereal shapes. It transforms a simple, plain cake into a piece of fine art that looks like it belongs in a high-end botanical illustration book. There is a profound sense of connection to the earth when we use its natural beauty to garnish the food we share with others. My loves, this technique will make you feel like a true garden witch, weaving nature’s magic into every single dessert.
Ingredients
- Fresh edible flowers (pansies, violas, or borage)
- Egg white powder or pasteurized egg whites
- Superfine granulated sugar
- Small, soft-bristled paintbrushes
- Parchment paper
How to make it
- Ensure your flowers are organic and specifically labeled as edible to avoid any nasty pesticides or toxic varieties.
- Gently wash the blooms in cool water and pat them completely dry with a paper towel, being careful not to bruise the petals.
- Lightly whisk your egg whites, then use a small paintbrush to coat both sides of each petal with a very thin layer.
- Sprinkle the superfine sugar over the wet petals until they are evenly coated in a delicate, shimmering frost of sweetness.
- Place the coated flowers on a piece of parchment paper and let them air dry for at least 12 to 24 hours until they are crisp.
- Once dry, these “crystallized” flowers can be stored in an airtight container for weeks and used whenever you need a floral touch.
- Gently press them into the sides of a frosted cake or place a single bloom on top of a macaron for an instant elegance boost.
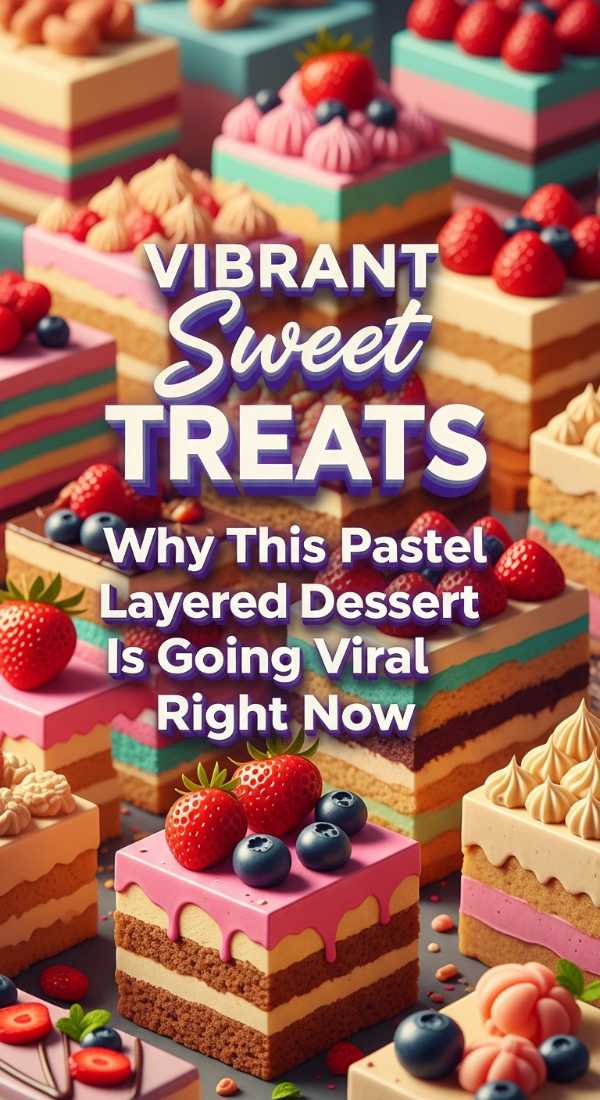
Viral Pastel Dessert Bars

Why we love this
These dessert bars are a literal dream for anyone who loves the aesthetic of soft, muted colors and creamy, indulgent textures. They feature a buttery shortbread base topped with layers of pastel-colored white chocolate ganache that look like a beautiful sunset. Cutting into them reveals a stunning gradient of colors that is almost too pretty to eat, making them a viral sensation for a reason. They offer a satisfying crunch followed by a silky smooth finish that lingers on the palate in the most delightful way. I find that making these is a wonderful way to express your creativity through color and flavor combinations that reflect your mood.
Ingredients
- 1 cup butter, melted
- 2 cups graham cracker crumbs
- 1/4 cup sugar
- 2 cups white chocolate chips
- 1/2 cup heavy cream
- Assorted pastel gel food colorings
How to make it
- Mix the melted butter, graham cracker crumbs, and sugar together until the mixture resembles wet sand, then press it into a square pan.
- Bake the crust for 10 minutes at 350°F to set it, then let it cool completely before you begin the colorful topping.
- Heat the heavy cream until it just begins to simmer, then pour it over the white chocolate chips and let it sit for five minutes.
- Whisk the chocolate and cream together until a smooth ganache forms, then divide the mixture into three or four small bowls.
- Add a tiny drop of different pastel food coloring to each bowl, stirring gently to create a soft pink, mint, and lavender.
- Drop dollops of the different colored ganaches onto the crust and use a toothpick to swirl them together into a marble pattern.
- Refrigerate the bars for at least four hours to allow the ganache to set firmly before slicing them into perfect, colorful squares.
Professional Rosewater Cake Tips
[IMAGE_10]
Why we love this
Rosewater is such a sophisticated ingredient, but it requires a gentle touch to ensure it remains a subtle whisper rather than an overpowering perfume. These professional tips focus on balancing the floral notes with creamy fats and acidic brightness to create a truly harmonious dessert experience. When done correctly, a rosewater cake feels incredibly luxurious and transportive, like a sunset dinner in a hidden Mediterranean courtyard. It’s about creating an atmosphere of elegance and grace through the power of scent and taste working in perfect unison. My loves, mastering this flavor is like learning a new language of love that you can share with everyone at your table.
Ingredients
- 3 cups cake flour
- 1.5 cups whole milk, room temperature
- 1 tablespoon high-quality rosewater
- 1 cup unsalted butter
- 2 cups sugar
- 1 tablespoon baking powder
- 1 teaspoon vanilla extract
How to make it
- Sift your cake flour and baking powder together multiple times to ensure a fine, professional crumb that feels light as air.
- Cream the butter and sugar for a full 8 minutes; this aeration is crucial for a cake that carries delicate floral notes without being heavy.
- When adding the rosewater, mix it into the room-temperature milk first to ensure it distributes evenly throughout the entire batter.
- Alternate adding the dry ingredients and the scented milk to the butter mixture, folding gently by hand for the final few strokes.
- Bake in two 8-inch round pans at 325°F, which is a slightly lower temperature that prevents the delicate rose oils from scorching.
- Once cooled, brush the layers with a very light rosewater simple syrup to lock in moisture and reinforce the beautiful floral aroma.
- Frost with a light mascarpone or white chocolate buttercream that complements the rose without competing with its unique, soft profile.
Conclusion
I hope these ideas fill your kitchen with the same warmth and light they have brought to mine. There is such a special magic in taking a few simple ingredients and turning them into something that makes people feel seen and loved. Remember, my darlings, that baking is not about perfection; it is about the heart you put into every stir of the spoon and every sprinkle of sugar. Take your time, enjoy the process, and let these viral trends become your own personal traditions. I can’t wait to see what you create in your own beautiful spaces. Sending you so much love and a dusting of powdered sugar!