

Cheers to Love: Your Definitive Wedding Party Checklist
Hi loves! My heart is just overflowing today as I sit here with my morning matcha, thinking about all of you embarking on your most beautiful journeys. There is something so profoundly magical about the season of ‘I do’—the soft whispers of silk, the scent of fresh peonies, and that golden light that seems to follow every bride. I wanted to create a little space of calm for you, a cloud-soft embrace of a guide to help you navigate the joy of hosting your favorite people.
Planning a wedding party shouldn’t feel like a chore; it should feel like writing a love letter to your community. Whether you’re hosting a backyard garden soirée or a chic rooftop gathering, these little touches are what turn a moment into a memory. So, take a deep breath, grab your favorite planner, and let’s dive into these dreamy details together. We’re making magic happen today!
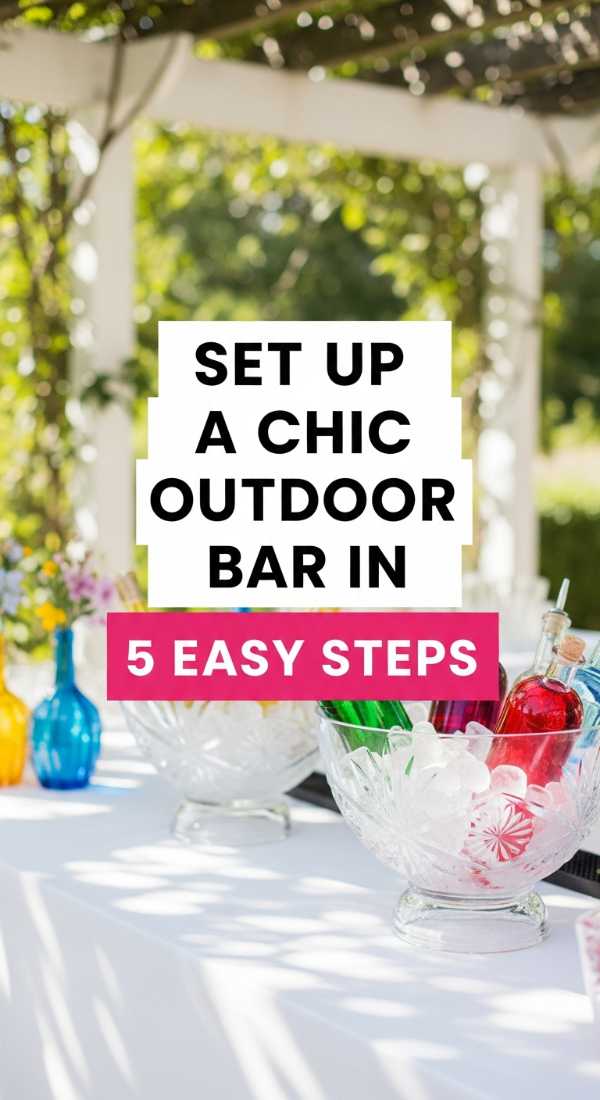
Set up a chic outdoor bar in 5 easy steps
Why to love this recipe:
An outdoor bar is the heartbeat of any garden celebration. It creates a natural gathering spot where guests can mingle under the open sky, feeling the breeze while sipping something sparkling. It’s about effortless elegance and making sure no one ever has to wait for a refill of joy.
Essential Ingredients:
- A vintage or rattan bar cart
- Gold or brass cocktail shaker set
- Selection of high-quality spirits and mixers
- Fresh herbs (rosemary and mint) for garnish
- Linen napkins in a soft neutral tone
How to Prepare:
- Position your cart in a shaded, level area to keep drinks cool.
- Layer your glassware from tallest to shortest for a visual hierarchy.
- Arrange your spirits and mixers on the bottom shelf to keep the top clear for prep.
- Add a small vase of flowers or a bowl of citrus to bring in organic textures.
- Set out a small wooden sign with your ‘Menu’ so guests know their options.
Budget Range
- Target Threshold Rattan Bar Cart ($150)
- West Elm Gold Cocktail Shaker ($35)
- Pottery Barn Belgian Linen Napkins ($28 for 4)
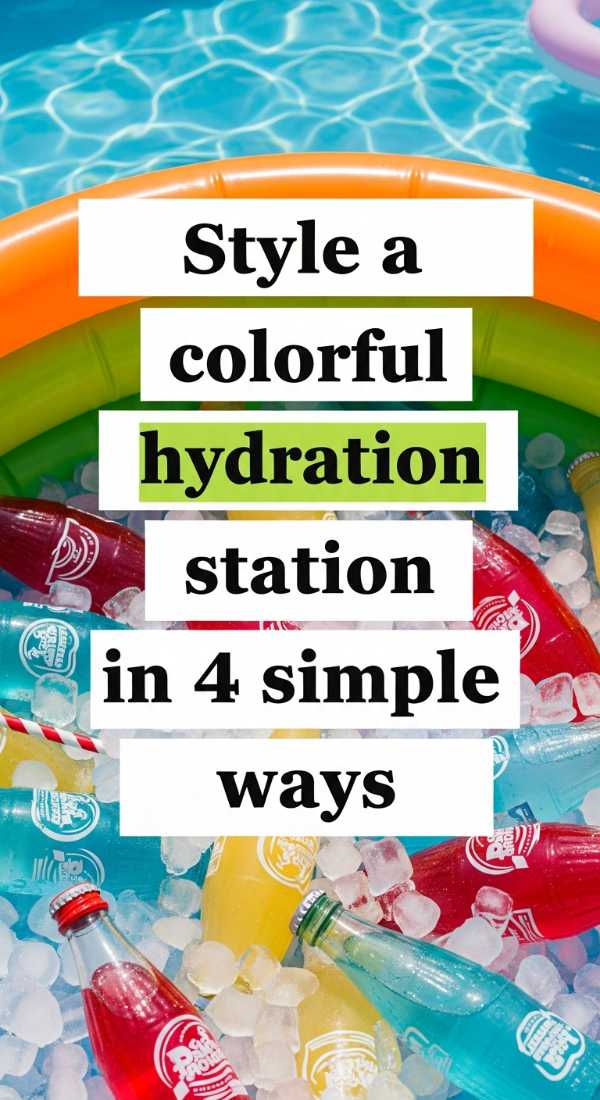
Style a colorful hydration station in 4 simple ways
Why to love this recipe:
Staying hydrated has never looked so beautiful! A hydration station is a thoughtful, soft touch that shows your guests you truly care about their comfort. By using vibrant fruits and clear glass, you turn a simple necessity into a stunning piece of living decor.
Essential Ingredients:
- Large glass beverage dispensers
- Slices of cucumber, strawberry, and lemon
- Fresh sprigs of basil or lavender
- Filtered water and plenty of ice
How to Prepare:
- Infuse your water with different themes: one citrus, one berry-mint, and one cucumber-lime.
- Use frozen fruit as ice cubes to prevent watering down the flavor while adding a pop of color.
- Stack your dispensers on wooden crates or marble slabs for varying heights.
- Place a basket of eco-friendly paper straws next to the station for a whimsical finish.
Budget Range
- Crate & Barrel Glass Beverage Dispenser ($50)
- Anthropologie Agate Coasters ($16)
- Amazon Bulk Biodegradable Paper Straws ($12)
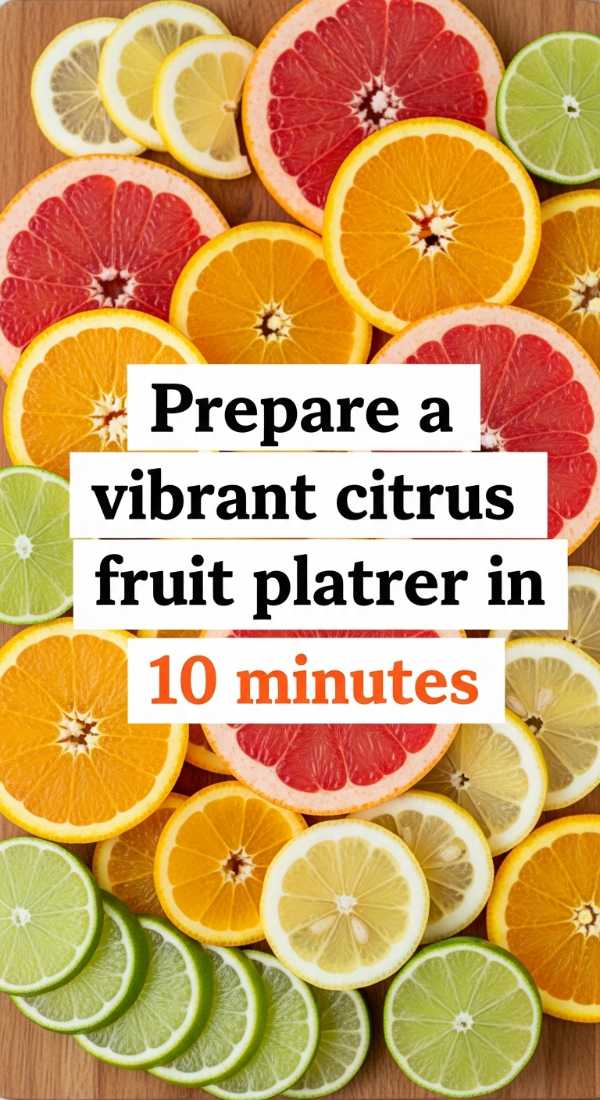
Prepare a vibrant citrus fruit platter in 10 minutes
Why to love this recipe:
This platter is like a burst of sunshine on a plate! It’s the perfect refreshing snack for a bridal brunch or a pre-ceremony gathering. The bright oranges, pinks, and yellows look absolutely editorial against a white tablecloth, and it takes almost no time to assemble.
Essential Ingredients:
- Blood oranges, cara cara oranges, and grapefruits
- A handful of pomegranate seeds
- Fresh mint leaves for garnish
- A drizzle of local honey
How to Prepare:
- Slice all citrus fruits into rounds of varying thicknesses.
- Arrange the rounds in an overlapping circular pattern on a large ceramic platter.
- Scatter the pomegranate seeds over the top for a jewel-toned contrast.
- Finish with a light drizzle of honey and a few tucked-in mint leaves.
Budget Range
- Williams Sonoma Ceramic Serving Platter ($45)
- Global G-2 Classic Chef’s Knife ($99)
- Nature’s Nate Raw Honey ($8)
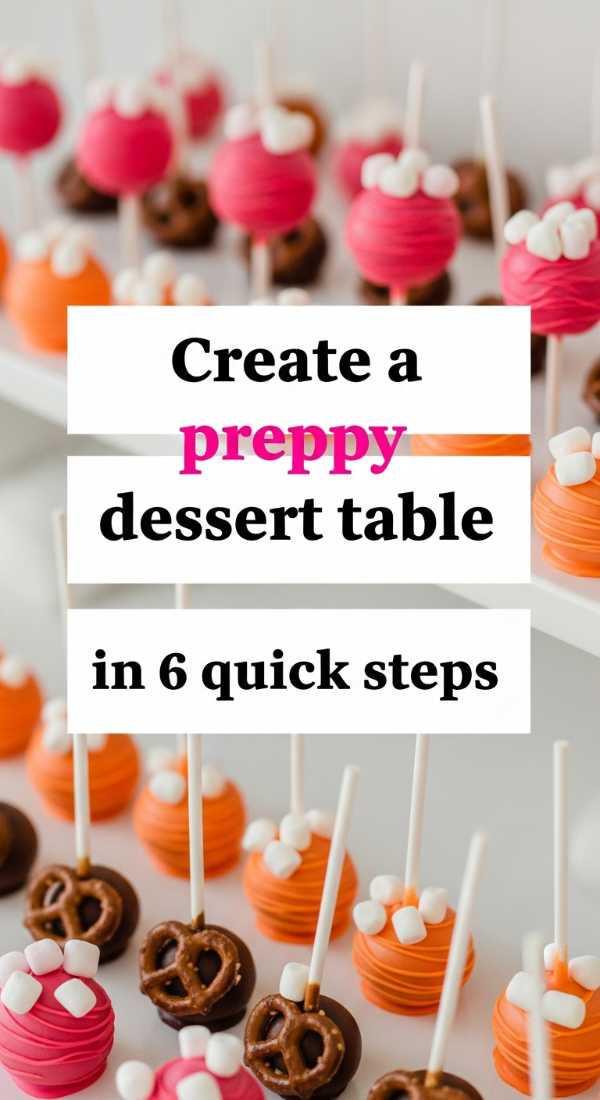
Create a preppy dessert table in 6 quick steps
Why to love this recipe:
There is something so timeless about a preppy, polished dessert table. It’s all about clean lines, classic patterns, and a touch of whimsy. This setup feels like a classic East Coast garden party—sophisticated yet entirely approachable and sweet.
Essential Ingredients:
- Gingham or striped table runner
- White ceramic cake stands of different heights
- Assorted mini pastries and macarons
- Blue and white ginger jars for floral accents
How to Prepare:
- Lay down your patterned runner to anchor the space.
- Place your tallest cake stand in the center to create a focal point.
- Surround the center stand with smaller platters in a symmetrical fashion.
- Incorporate ginger jars filled with white hydrangeas for that classic preppy look.
- Arrange the desserts by color to create a cohesive visual flow.
- Add small, handwritten place cards to identify each treat.
Budget Range
- Heather Taylor Home Gingham Runner ($82)
- Amazon Porcelain Ginger Jars ($40)
- Target Magnolia Cake Stand ($25)
Arrange your bridesmaid photo ops in 3 minutes

Why to love this recipe:
These are the memories you’ll tuck into your heart forever, loves. Setting up a specific ‘moment’ for photos ensures you get those dreamy, candid-style shots without any of the stress. It’s about creating a soft, beautiful backdrop where laughter can happen naturally.
Essential Ingredients:
- A plush velvet sofa or a set of aesthetic chairs
- Matching satin or silk bridesmaid robes
- A tray of champagne coupes
- Natural light or a soft ring light
How to Prepare:
- Position your seating near the largest window for that glowy, natural light.
- Have everyone gather closely, with the bride in the center for a cohesive look.
- Hand out the champagne coupes to give everyone something to do with their hands.
- Tell a quick joke to catch those genuine, crinkly-eyed smiles!
Budget Range
- Etsy Personalized Satin Robes ($20 each)
- JoyJolt Crystal Champagne Coupes ($35 for set of 4)
- Ubeesize 10″ Ring Light ($25)
Craft a personalized wedding welcome sign in 4 steps

Why to love this recipe:
Your welcome sign is the first ‘hello’ your guests receive. Making it yourself adds such a soulful, personal touch to the day. It’s a beautiful way to set the tone and let everyone know they’ve arrived at a place filled with love.
Essential Ingredients:
- Large acrylic or wooden board
- Gold or white oil-based paint pens
- A printed template of your text
- Clamps and a wooden easel
How to Prepare:
- Tape your printed template to the back of the acrylic board.
- Trace the letters carefully with your paint pen, taking your time with the flourishes.
- Let it dry completely (about 20 minutes) before removing the template.
- Display it on an easel adorned with a small eucalyptus swag.
Budget Range
- Home Depot Acrylic Sheet ($30)
- Sharpie Oil-Based Paint Markers ($15)
- Amazon Folding Wood Easel ($25)
Mix 3 signature pink cocktails in 5 minutes
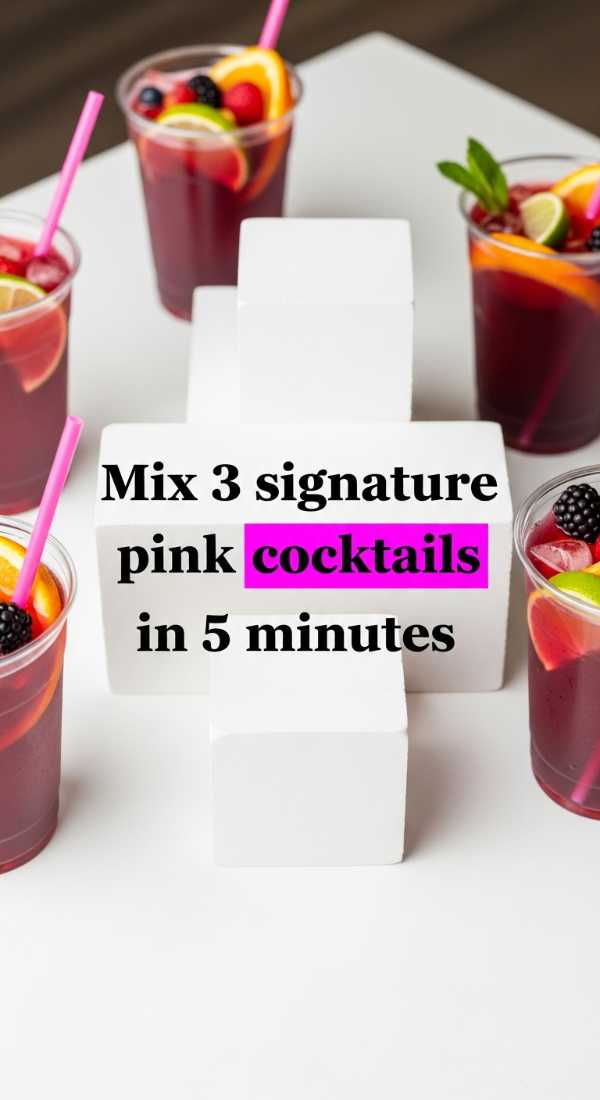
Why to love this recipe:
Pink cocktails are the ultimate celebration in a glass! They are playful, romantic, and look incredible in photos. Whether it’s a sparkling rosé spritz or a grapefruit gin fizz, these drinks are designed to be as delicious as they are pretty.
Essential Ingredients:
- Pink gin or vodka
- Sparkling rosé or prosecco
- Grapefruit juice and simple syrup
- Fresh raspberries for garnish
How to Prepare:
- For the Spritz: Mix 2 parts rosé, 1 part soda, and a splash of grapefruit.
- For the Gin Fizz: Shake pink gin, lemon juice, and syrup with ice; strain into a glass.
- For the Martini: Shake vodka and cranberry juice; serve with a raspberry float.
Budget Range
- Malfy Gin Rosa ($30)
- La Marca Prosecco ($15)
- Viski Crystal Mixing Glass ($35)
Decorate a festive garden party tent in 7 steps
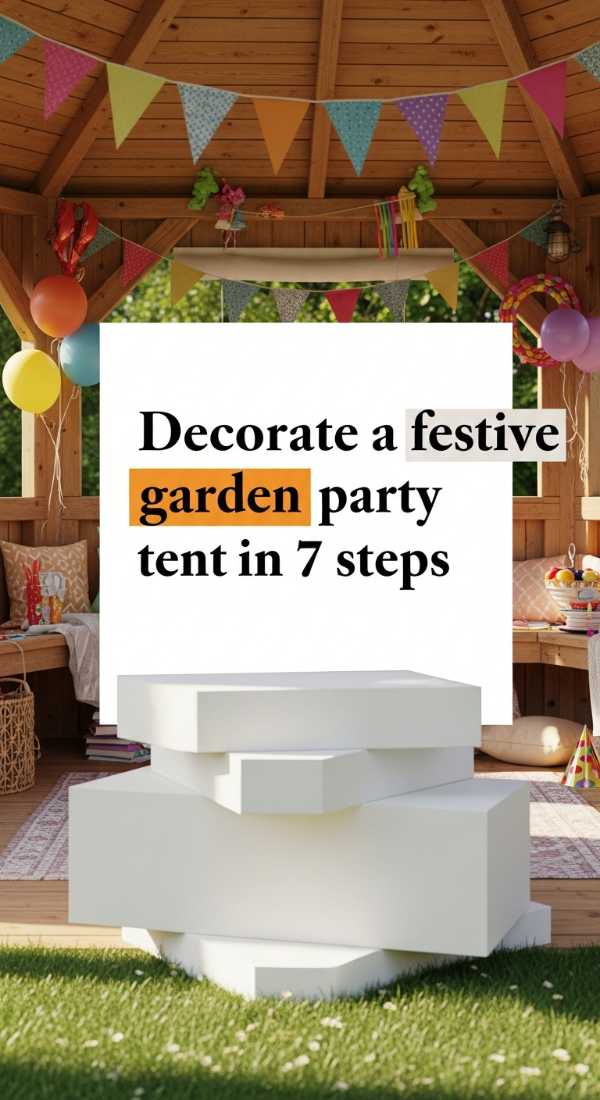
Why to love this recipe:
A garden tent provides a cozy, intimate ‘room’ outdoors. It’s like building a high-fashion fort for your favorite people! Decorating it with soft textures and twinkling lights creates a sanctuary where the party can continue long after the sun goes down.
Essential Ingredients:
- A white pop-up or frame tent
- Battery-operated fairy lights
- Paper lanterns in various sizes
- Sheer fabric drapes or tulle
How to Prepare:
- Secure the tent frame on flat ground.
- Wrap the vertical poles in sheer fabric to soften the industrial look.
- String fairy lights along the ceiling perimeter.
- Hang paper lanterns at different heights from the center peaks.
- Add a few potted plants at the entrance for a seamless transition from the garden.
- Ensure the fabric is draped loosely for a romantic, airy feel.
- Check all connections to make sure everything is sturdy and safe.
Budget Range
- Quictent 10×10 Party Tent ($120)
- Amazon Battery Fairy Lights ($20 for pack)
- Luna Bazaar Paper Lanterns ($15 for 5)
Organize your bachelorette pool party in 5 easy steps
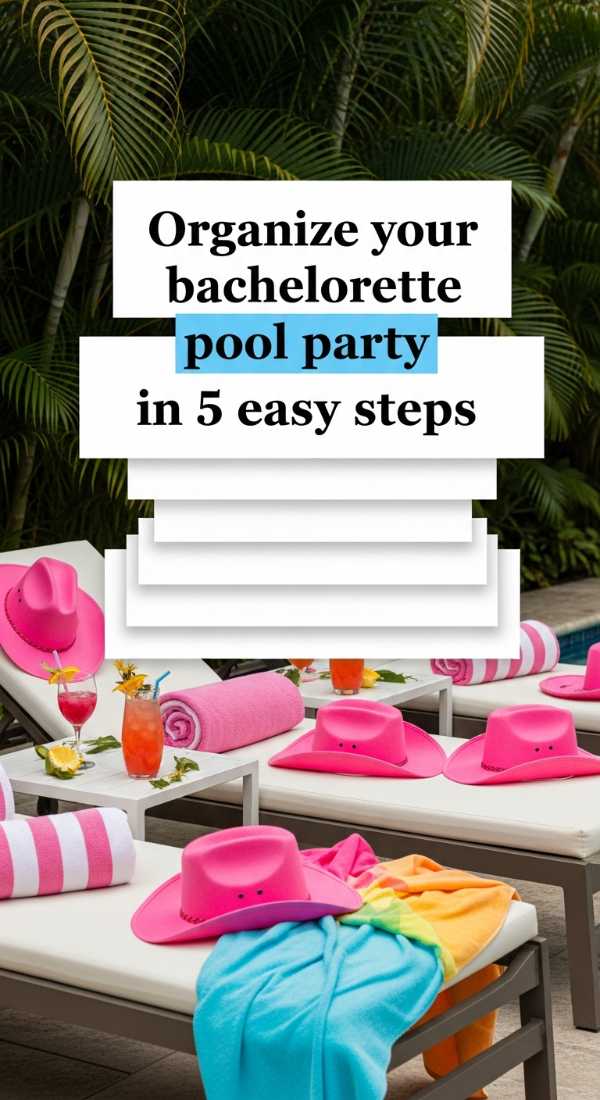
Why to love this recipe:
The bachelorette pool party is the ultimate ‘sun-kissed’ celebration. It’s all about high energy, cute accessories, and pure relaxation with your besties. Organizing it with a clear theme makes it feel like a luxury resort experience right in your backyard.
Essential Ingredients:
- Fun inflatable pool floats (swans, hearts)
- Coordinated Turkish towels
- A waterproof Bluetooth speaker
- Sunscreen station with cute bottles
How to Prepare:
- Inflate all floats and toss them into the pool for immediate ‘wow’ factor.
- Line up the towels on lounge chairs to create a uniform, chic look.
- Set up a ‘sun station’ with baskets of sunglasses and SPF.
- Curate a playlist of upbeat, nostalgic favorites.
- Keep a cooler nearby stocked with chilled canned mocktails or spritzes.
Budget Range
- Funboy Giant Inflatable Swan ($79)
- Sand Cloud Turkish Towels ($48 each)
- JBL Flip 6 Waterproof Speaker ($120)
Bake 15 neon pink cake pops in 30 minutes
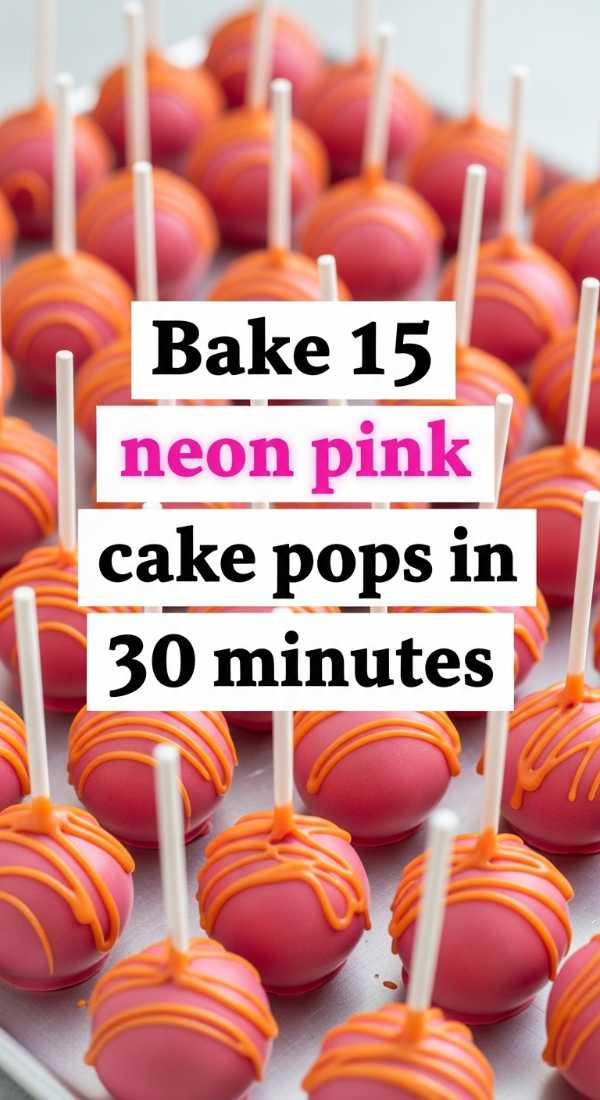
Why to love this recipe:
These are for the bold, fun-loving bride! Neon pink cake pops bring such a modern, punchy energy to the dessert spread. They are bite-sized bits of joy that are surprisingly easy to make and guaranteed to be a conversation starter.
Essential Ingredients:
- Pre-baked vanilla cake or box mix
- Vanilla frosting
- Neon pink candy melts
- Cake pop sticks and sprinkles
How to Prepare:
- Crumble the cake into a bowl and mix with 1/4 cup of frosting until it forms a dough.
- Roll into 15 small balls and chill in the freezer for 10 minutes.
- Melt the neon pink candy in the microwave in 30-second intervals.
- Dip the tip of a stick into the candy, insert into a cake ball, then dip the whole ball into the pink coating.
- Finish with a sprinkle of glitter while wet and let set in a foam block.
Budget Range
- Wilton Candy Melts in Bright Pink ($6)
- KitchenAid Hand Mixer ($55)
- Amazon Cake Pop Stand ($12)
Embrace Every Moment, Loves
As you prepare for these beautiful celebrations, remember that the most important ingredient is always the love you share. These checklists and guides are just here to help the logistics fade into the background so your heart can take center stage. I am so incredibly proud of the beautiful world you are building. Go forth and celebrate, my darlings—you deserve every bit of this magic! Sending you all my love and a sprinkle of stardust for your big day.