
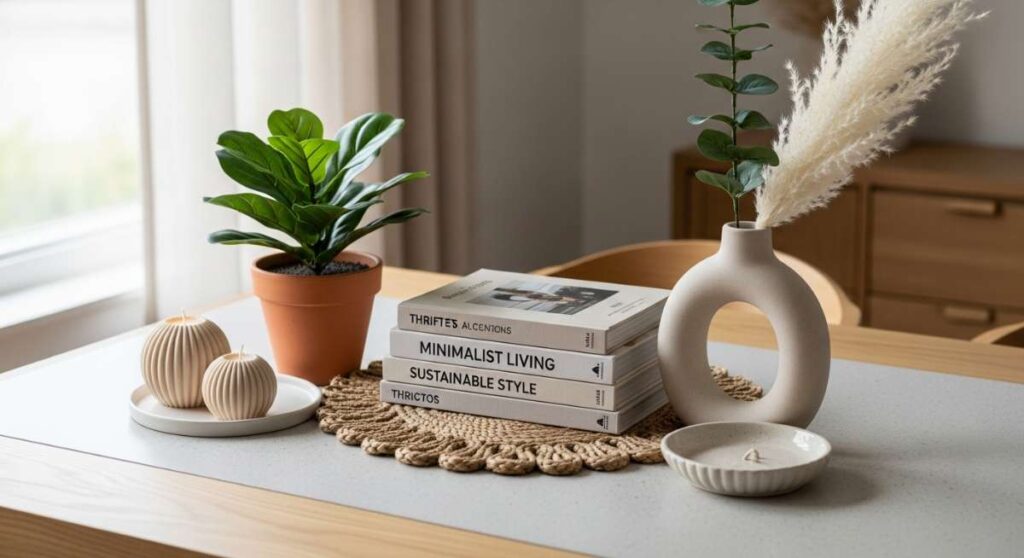
Budget-Friendly Ways to Recreate This Season’s Hottest Decor
There is something truly magical about walking into a home that feels like a warm hug, but let’s be honest—scrolling through high-end design feeds can sometimes feel like a direct attack on our bank accounts. We see those lush, overstuffed sofas and perfectly curated beds and think, “Maybe in another life.” But what if I told you that the secret to that viral, high-end aesthetic isn’t a four-figure designer bill, but rather the artful mastery of the humble throw pillow?
Home should be a sanctuary that reflects your soul without emptying your pockets. By focusing on small, tactile changes, we can transform a sterile room into a cozy haven that smells of cedar and vanilla, and feels like a soft linen embrace. This season, we are leaning into the ‘lived-in luxury’ look, where every corner tells a story through texture, color, and a bit of DIY magic.
How to Master Throw Pillow Combinations for an Effortless Designer Look

Why we love this
Mastering the art of the ‘mix’ is like creating a visual symphony for your living room. We love this approach because it plays with sensory contrasts—the cool, crisp touch of structured linen against the decadent, buttery softness of a velvet lumbar. When you get the combination right, you aren’t just looking at a sofa; you’re feeling the warmth of the afternoon sun hitting a chunky knit weave and smelling the faint, comforting scent of home. It creates a multidimensional experience that draws guests in and invites them to sink into the comfort.
Essential Elements:
- A solid base pillow in a neutral tone (22×22).
- A medium-sized patterned pillow for visual interest (20×20).
- A smaller lumbar pillow with a unique texture (12×24).
- Feather or down-alternative inserts for that ‘plump’ look.
How to make it
- Prepare your ‘ingredients’ by ensuring all pillow covers are freshly steamed or ironed. Heat your iron to the cotton setting and use light steam to remove any fold lines that might break the visual flow.
- Start with your largest ‘base’ pillows. Place these at the far ends of the sofa. Use the ‘karate chop’ technique: find the center top of the pillow and strike it firmly with the side of your hand to create a crisp V-shape. This mimics the look of high-end goose-down stuffing.
- Layer your medium patterned pillows directly in front of the base. Ensure the patterns ‘talk’ to each other; if the base is a solid weave, use a subtle stripe or organic floral here. Angle them slightly inward toward the center of the seating.
- Add the ‘garnish’—the lumbar pillow. Center this in front of the pair or place it solo in the middle of the couch. This provides the final textural ‘pop’ that bridges the two ends of the sofa together.
How to Style Decorative Pillows on Bed for a Five Star Hotel Vibe
Why we love this
There is nothing quite like the feeling of pulling back heavy, cool sheets and sinking into a mountain of pillows that feel like a fluffy cloud. This styling technique focuses on the tactile sensation of crisp cotton percales and the visual weight of layers, creating an atmosphere of absolute indulgence. It’s about the sound of a soft sigh as you collapse after a long day and the scent of lavender misted onto the linens, turning your bedroom into a private, high-end retreat that rivals the finest suites in Paris.
Essential Elements:
- Two king-sized shams (matching the duvet).
- Two standard-sized pillows.
- Three square European shams (26×26).
- One long, oversized bolster or decorative lumbar.
How to make it
- Begin by prepping your sleeping pillows. Fluff them vigorously to incorporate air into the fill. Place them flat against the headboard to create a sturdy foundation for the layers to follow.
- Lean your three Euro shams against the sleeping pillows. These act as the ‘backdrop’ for your design. Ensure they are perfectly aligned horizontally; use a measuring tape if you want that professional, symmetrical hotel precision.
- Place your standard decorative shams in front of the Euros. For a crisp finish, ensure the ‘flanges’ or fabric borders of the shams are pulled taut and not folded over.
- Finish with the ‘statement’ piece. Place your oversized bolster or a single intricate lumbar centered in front of the stack. This creates a focal point that anchors the bed and provides that intentional, curated ‘five-star’ aesthetic.
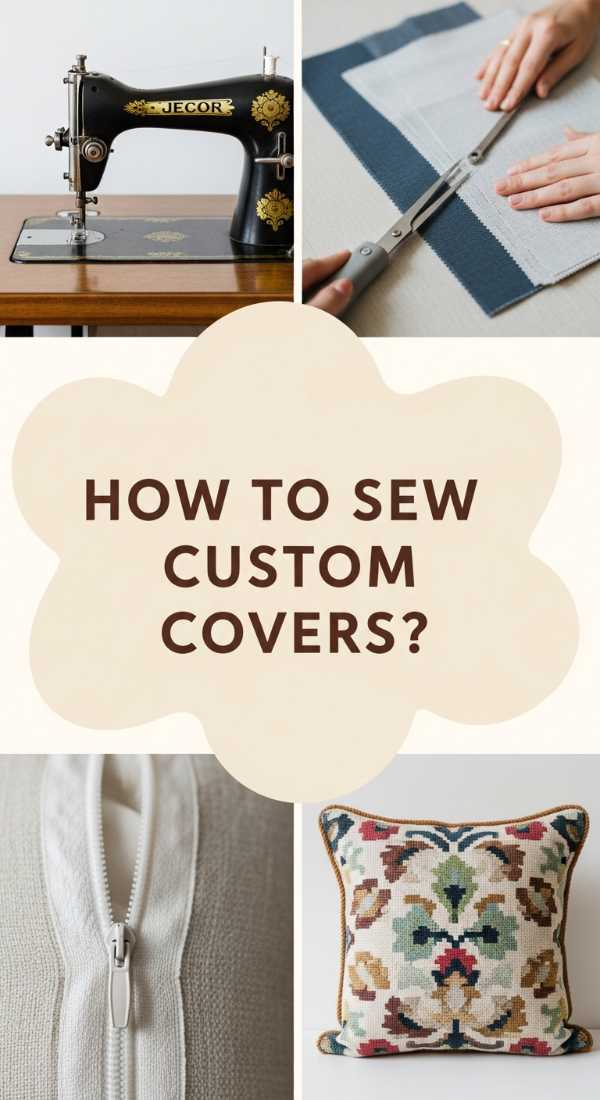
How to Create DIY Pillow Covers for a Custom Budget Friendly Refresh
Why we love this
DIY covers are the ultimate secret weapon for the budget-conscious decorator who craves a bespoke look. We love this because it allows you to touch and select the exact fabrics—perhaps a heavy-weight oatmeal linen or a recycled vintage tapestry—that speak to your personal style. There is a profound sense of satisfaction in the tactile process of cutting and pinning, and the finished product carries the ‘aroma’ of creativity and pride. It transforms a generic house into a curated home filled with one-of-a-kind treasures.
Essential Elements:
- 1 yard of heavy-weight upholstery fabric.
- A sewing machine or high-strength fabric glue for no-sew.
- Fabric shears and tailor’s chalk.
- A 20×20 pillow insert.
How to make it
- Prep your fabric by pre-washing and ironing. This is critical; if the fabric shrinks later, it will distort the pillow shape. Set your iron to the specific heat level required for your fiber type (linen needs high heat, while synthetics need low).
- Measure and cut three pieces: one 21×21 square (for the front) and two 21×14 rectangles (for the back envelope). The extra inch allows for a 1/2 inch seam allowance on all sides.
- For the back pieces, create a clean hem. Fold over one long edge by 1/2 inch, press with the iron, fold again, and stitch. This creates the professional ‘finished’ look of an envelope closure.
- Pin the pieces right sides together, overlapping the two back rectangles. Stitch around the entire perimeter. Turn the cover right side out, pushing the corners out with a chopstick for a sharp, professional point, then stuff with your insert.
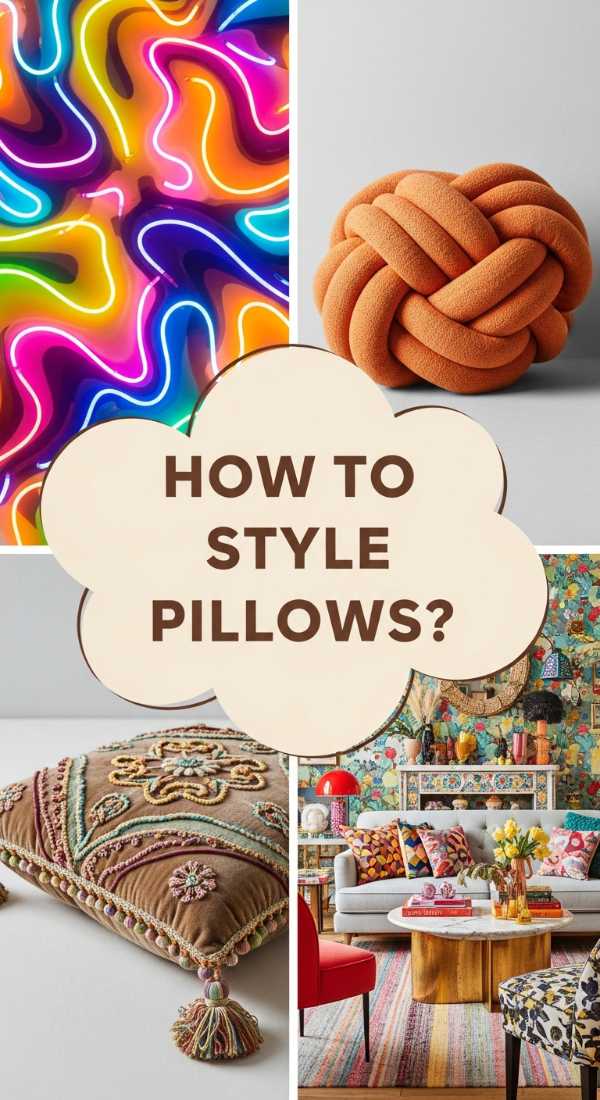
How to Find Funky Throw Pillows for an Eclectic Living Space
Why we love this
Eclectic design is all about the thrill of the hunt and the joy of the unexpected. We love this vibe because it breaks all the rules, mixing the rough texture of a hand-woven kilim with the smooth, electric glow of a neon-shaped plush. It smells like old books and fresh coffee, and it feels like a collection of stories gathered over time. These ‘funky’ elements act as conversation starters, injecting a sense of playfulness and rebellious spirit into an otherwise standard living room.
Essential Elements:
- Non-traditional shapes (rounds, knots, or stars).
- Vivid, clashing patterns (animal prints with florals).
- Found objects or thrifted textiles.
- Tassels and pom-poms for extra movement.
How to make it
- Start by prepping your space with a neutral base so the funky pillows don’t get lost in the noise. Clear off existing pillows to start with a ‘blank canvas.’
- Sourcing is the first step of ‘prep.’ Visit local thrift stores or artisan marketplaces. Look for pieces with ‘good bones’—ignore the dirty inserts and focus on the cover’s craftsmanship and unique pattern.
- Mix textures aggressively. Pair a chunky, neon-pink knotted rope pillow next to a vintage leopard print square. The ‘technique’ here is intentional clashing; if it feels slightly ‘wrong,’ it’s probably right for an eclectic look.
- Arrange them in a non-symmetrical ‘cluster.’ Instead of the traditional corners, pile them in the center of the sofa or on a floor rug to create a relaxed, artistic vibe that looks gathered, not staged.
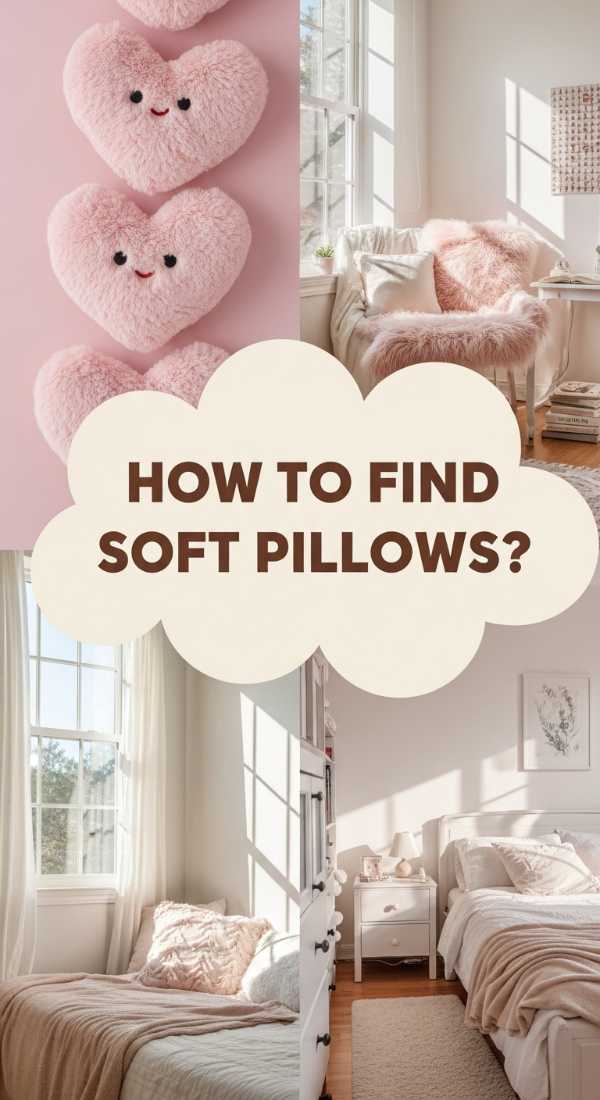
How to Choose Cute Throw Pillows for a Dreamy Aesthetic Bedroom
Why we love this
A dreamy bedroom should feel like floating in a soft, pastel sunset. We love this aesthetic because it prioritizes ‘soft-touch’ materials like faux fur, sherpa, and brushed microfiber that feel incredibly gentle against the skin. It’s a sensory experience of muted colors, the sweet scent of a vanilla candle, and the visual peace of ruffles and bows. It creates a sanctuary where the outside world melts away, replaced by the cozy, whimsical feeling of a storybook hideaway.
Essential Elements:
- Pastel color palette (blush, sage, cream).
- Ruffled edges or ribbon details.
- Heart or cloud-shaped accent pillows.
- High-loft down-alternative fill for a ‘squishy’ feel.
How to make it
- Prep the bed with a soft, monochromatic duvet. The goal is to keep the base simple so the ‘cute’ details of the pillows can shine.
- Choose a ‘hero’ pillow—usually a heart shape or one with large silk bows. Place this in the very center of the bed.
- Layer in ‘softness’ using textures. Place two cream-colored faux fur pillows behind the hero piece. The visual cue for ‘done’ is when the stack looks like it has no sharp edges; everything should look rounded and inviting.
- Add a scent layer by tucking a small sachet of dried roses or lavender inside the pillow covers. This adds an invisible ‘dreamy’ layer to the aesthetic every time you lay your head down.
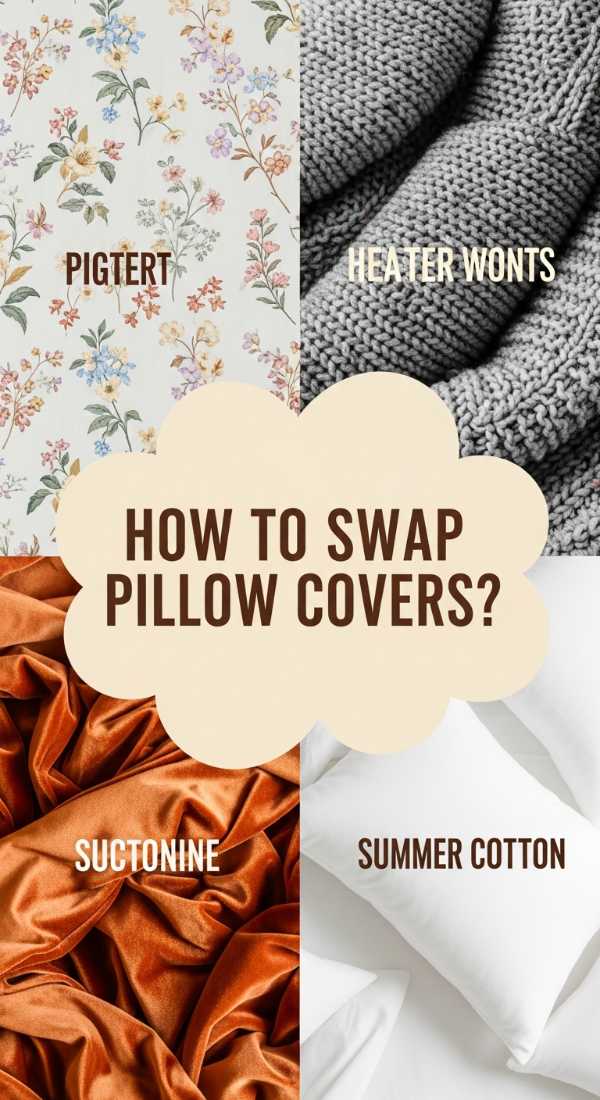
How to Refresh Throw Pillow Covers for a Seasonal Home Update

Why we love this
Updating for the seasons is the ultimate ‘home reset’ that keeps your space feeling fresh and aligned with nature’s rhythm. We love the shift from the light, airy breathability of summer linens to the heavy, grounding warmth of autumn wools and winter velvets. It’s like changing your home’s wardrobe; the air suddenly smells like cinnamon or fresh pine, and the textures under your fingertips tell you it’s time to slow down and get cozy. It’s an easy, low-cost way to celebrate the passage of time.
Essential Elements:
- Seasonal color swatches (burnt orange for fall, icy blue for winter).
- Fabric weights (linen for heat, wool for cold).
- Storage bins for out-of-season covers.
- Steamer for refreshing stored fabrics.
How to make it
- Prep your seasonal rotation by laundering last season’s covers before storage. Use a gentle detergent and ensure they are 100% dry to prevent mustiness.
- Steam your ‘new’ seasonal covers to remove storage creases. Use the high-steam setting on your garment steamer for heavy wools, and a light mist for silks or linens.
- Swap out the inserts. Technique tip: Fold the insert in half (like a taco) before sliding it into the cover. This prevents straining the zipper and ensures the corners are fully stuffed.
- Adjust the ‘visual temperature’ of the room. In winter, add more pillows for a ‘heavy’ look; in summer, reduce the count to create a ‘breezy’ and open feel.
How to Source Fun Throw Pillows for a Creative Playful Studio
Why we love this
A creative studio should be a playground for the imagination, and ‘fun’ pillows are the perfect tools to spark a breakthrough. We love the high-energy vibe of bold geometric shapes and primary colors that feel like a pop-art gallery. It’s a space that smells like fresh ink and citrus, where the textures are smooth and resilient—perfect for a mid-project floor brainstorm. These pillows aren’t just decor; they are tools for comfort that boost morale and keep the creative juices flowing.
Essential Elements:
- Graphic prints and typography.
- Primary colors (yellow, red, blue).
- Durable canvas or outdoor-rated fabrics.
- Oversized floor cushions.
How to make it
- Prep the studio by identifying ‘zones.’ You need a zone for the desk and a zone for the ‘creative floor lounge.’
- Source pillows with high-contrast graphics. Look for designs that feature bold lines or inspiring quotes. The technique here is to use the pillows as ‘art pieces’ rather than just soft goods.
- Arrange the floor cushions in a stack in the corner. This ‘prep’ makes the studio feel ready for a collaborative session at a moment’s notice.
- Incorporate ‘interactivity.’ Choose a pillow with reversible sequins or a textured ‘fidget’ surface. This provides a tactile outlet for nervous energy during deep work sessions.
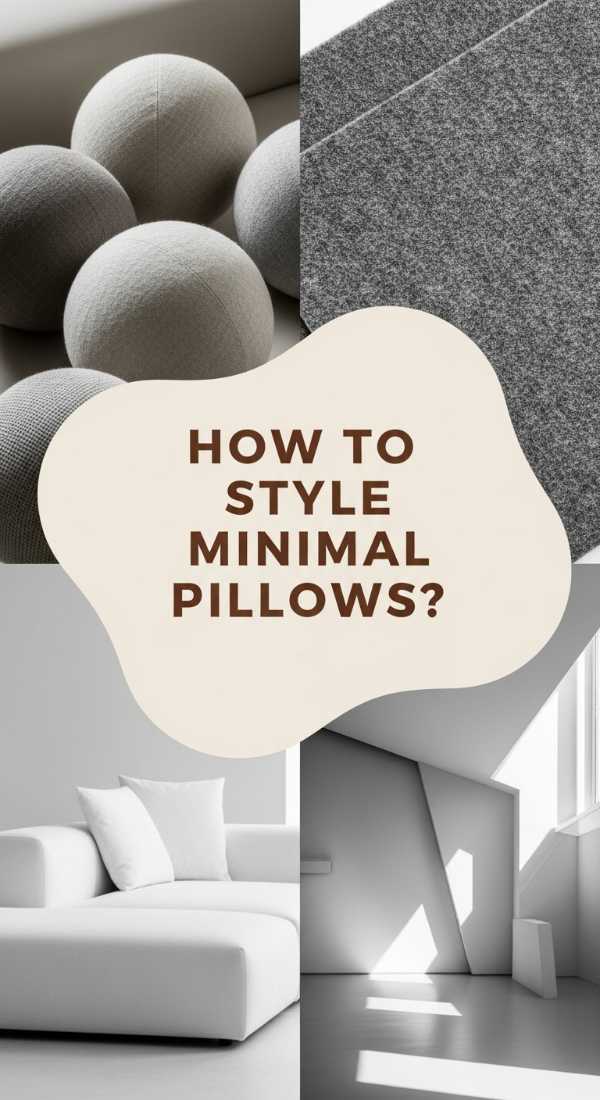
How to Implement Unique Pillow Ideas for a Modern Minimalist Home
Why we love this
Minimalism isn’t about having nothing; it’s about having the *right* things. We love this approach because it focuses on the extreme quality of the materials—the cold, smooth touch of leather or the organic, raw feel of hand-spun silk. It smells like white tea and rain, and it looks like a curated museum exhibit. In a minimalist home, a single, perfectly placed pillow with a unique architectural shape can have more impact than a room full of clutter, creating a sense of profound calm and order.
Essential Elements:
- Monochromatic color palette (shades of grey, black, and white).
- High-end materials (leather, silk, heavy linen).
- Hidden zippers and seamless edges.
- Asymmetrical placement.
How to make it
- Prep the space by removing all ‘distractions.’ Clear the sofa of any existing blankets or clutter. The minimalist look requires a ‘clean slate.’
- Choose only 1-3 pillows total. The technique here is ‘quality over quantity.’ Select one leather lumbar and two structured linen squares in the same color family.
- Focus on the ‘form.’ Instead of fluffing them, ensure the pillows have a sharp, rectangular or square silhouette. Avoid the karate chop; the minimalist aesthetic favors a smooth, un-interrupted top line.
- Place them asymmetrically. Set two on one end of the sofa and leave the rest of the sofa completely bare. This creates ‘negative space’ which is a professional hallmark of modern design.
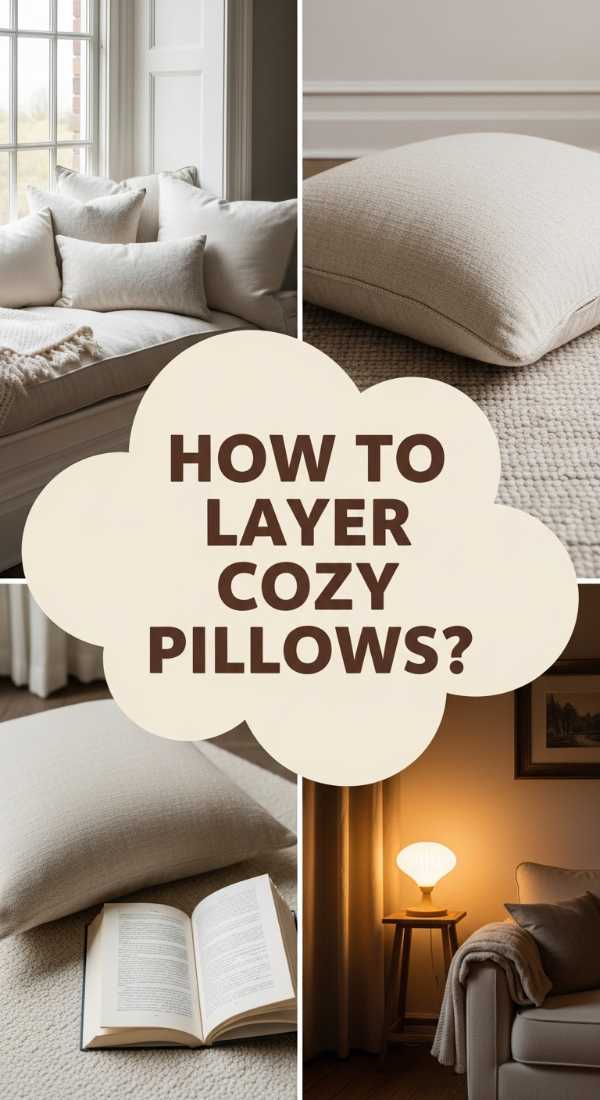
How to Layer Decorative Pillows for the Ultimate Cozy Reading Nook
Why we love this
The reading nook is the ultimate destination for escapism, and the layering of pillows is what makes it ‘nest-like.’ We love the feeling of being completely surrounded by soft barriers, the scent of an old paperback, and the warmth of a nearby lamp. It’s a tactile feast of chunky knits, soft flannels, and supportive shapes that allow you to lose track of time. It’s the architectural equivalent of a hug, designed specifically for comfort and solitude.
Essential Elements:
- One extra-large ‘backrest’ or husband pillow.
- 2-3 medium knit pillows.
- A soft throw blanket to drape over the stack.
- Small bolster for neck support.
How to make it
- Prep the ‘foundation’ by wedging your largest, sturdiest pillow into the corner where two walls meet. This provides the structural support for sitting upright.
- Layer your ‘soft’ layers. Place the chunky knit pillows in front of the base. The ‘technique’ is to create a ‘bowl’ shape with the pillows that conforms to your body when you sit.
- Drape a throw blanket over the top third of the pillows. This adds an extra layer of texture and makes the nook look ‘ready’ for use.
- Test for ‘ergonomic doneness.’ Sit in the nook and adjust the small bolster until it hits the small of your back or the base of your neck. A professional nook styling must be as functional as it is beautiful.
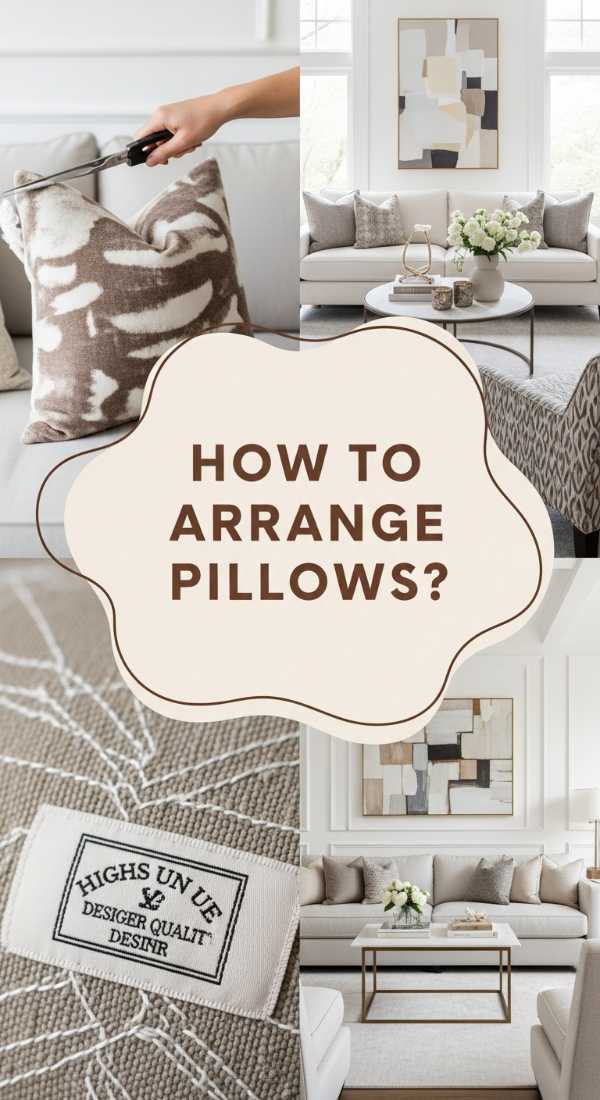
How to Arrange Pillows for a Polished Professional Interior Design
[IMAGE_10]
Why we love this
This is the ‘magazine-ready’ look that makes a home feel expensive and well-thought-out. We love it because it relies on mathematical balance and classic design principles. It feels stable, looks symmetrical, and gives the eye a clear path to follow. It’s the scent of fresh lilies and the feeling of a perfectly pressed suit; it brings a sense of discipline and elegance to the home that makes every day feel a little more special and organized.
Essential Elements:
- Matching pairs of pillows in varying sizes (24″, 22″, 20″).
- Consistent color story throughout the room.
- High-quality down inserts (2 inches larger than the cover).
- Strict symmetry.
How to make it
- Prep by measuring your sofa. A professional look requires pillows that are scaled correctly—24-inch pillows for large sectionals, 20-inch for standard sofas.
- Use the ‘2-2-1’ rule. Place two large 24-inch matching pillows in the corners. Place two 20-inch matching pillows (in a different texture) just inside those. Finish with one unique lumbar in the dead center.
- Ensure ‘fill density.’ Professional tip: Always use an insert that is 2 inches larger than the cover (e.g., a 22-inch insert for a 20-inch cover). This ensures the corners are tight and the pillow looks expensive and ‘overstuffed.’
- Execute the ‘Final Polish.’ Check that all zippers are at the bottom and hidden. Perform a uniform karate chop across all top edges to ensure a cohesive, designer-finished appearance.
The Final Touch: Your Home, Your Story
At the end of the day, home decor isn’t about following every trend to the letter—it’s about creating a space that feels like *you*. Whether you’re layering a reading nook or DIYing your own covers, these budget-friendly tips are just tools to help you express your unique style. Remember, the most beautiful home is one where people feel comfortable enough to put their feet up. Happy decorating!