
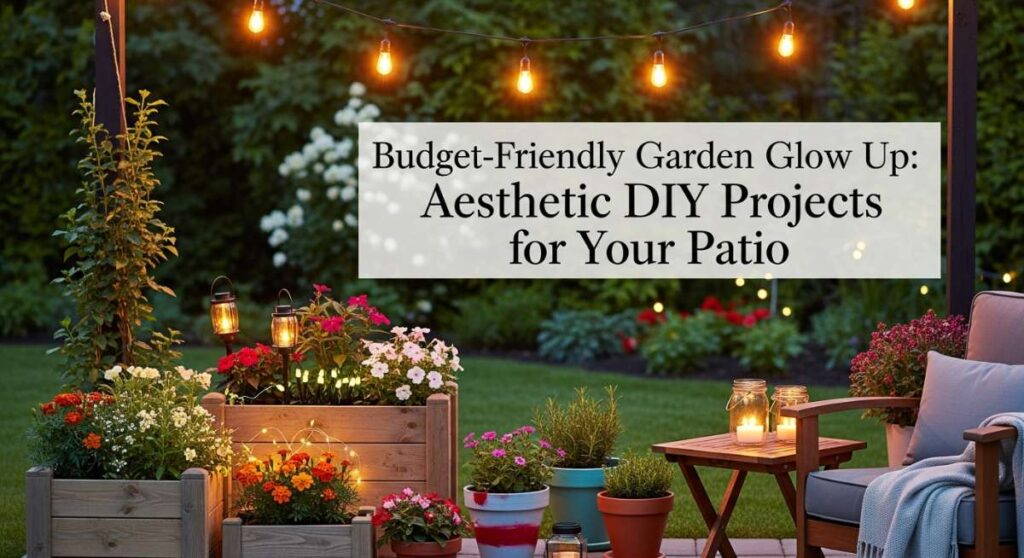
Budget-Friendly Garden Glow Up: Aesthetic DIY Projects for Your Patio
There is something truly magical about that golden hour glow when the sun begins to dip behind the fence line and the garden takes on a life of its own. For many of us, the patio is more than just a concrete slab; it is an extension of our homes, a sanctuary where morning coffees are sipped in silence and evening laughs are shared over a glass of wine. However, we often hold back from creating our dream outdoor space because we think it requires a professional landscaper and a massive budget. I am here to tell you that you can achieve that high-end, aesthetic vibe with just a little sweat equity and a lot of creativity.
This season, I decided to stop dreaming and start doing. I wanted a garden that felt lived-in, soulful, and intentionally curated without breaking the bank. By focusing on DIY projects that utilize natural materials, upcycled finds, and smart planting strategies, I transformed my outdoor area into a paradise that feels like a boutique hotel. Whether you have a sprawling backyard or a tiny terrace, these budget-friendly glow-up projects will help you cultivate an outdoor oasis that reflects your personal style and invites you to stay just a little bit longer.
How to Craft a Budget Bird Sanctuary for Peaceful Garden Views
Why we love this
There is no sound more peaceful than the gentle symphony of chirping birds visiting your garden on a quiet afternoon. Crafting a bird sanctuary isn’t just about aesthetics; it’s about inviting nature into your personal space and feeling the rhythmic pulse of the outdoors. We love the way a birdhouse or a simple stone bath adds a sense of movement and life to the patio, turning a static view into a dynamic, feathered performance. The sight of a bright blue jay or a tiny sparrow splashing in water brings a visceral sense of calm, while the earthy textures of wood and stone ground your garden’s design in natural authenticity.
Essential Elements:
- Cedar or pine birdhouses (natural or painted in muted tones).
- A shallow stone basin or heavy terracotta saucer.
- Sturdy shepherd’s hooks for elevated feeders.
- High-quality bird seed or suet tailored to local species.
- Native shrubs or tall grasses for nearby cover.
How to make it
- Identify the specific bird species native to your region to determine the size of the nesting holes and the type of feed required. Choosing the right feed (like black oil sunflower seeds) ensures you attract the visitors you want.
- Select a quiet, shaded corner of your garden that is visible from your main seating area but far enough away to give the birds a sense of safety.
- Install your birdhouses at a height of 5 to 10 feet using rust-proof screws, ensuring the entrance faces away from prevailing winds to protect inhabitants from the elements.
- Place a stone basin on a stable pedestal or level ground. Add a few flat stones to the center so the water is no deeper than 1-2 inches, providing a safe landing spot for bathing.
- Surround the area with “cover” plants like hydrangeas or ornamental grasses. This gives birds a quick escape route from predators and makes them feel secure enough to linger.
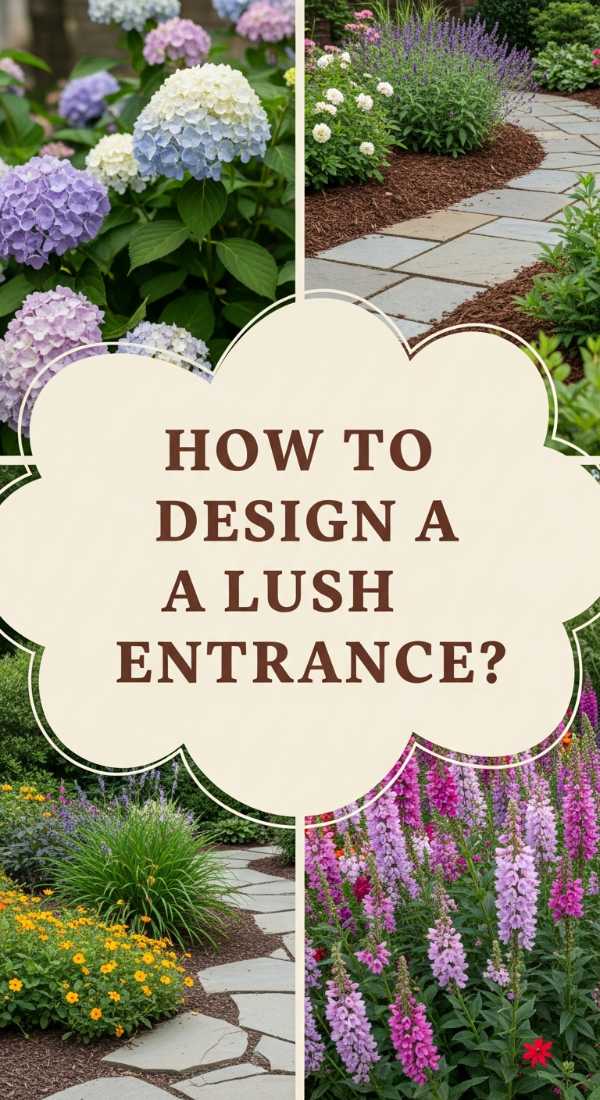
How to Design a Lush Entrance for Instant Curb Appeal
Why we love this
Your home’s entryway is its first handshake with the world, and a lush, green entrance sets a tone of warmth and hospitality before guests even reach the door. We are obsessed with how a few strategically placed planters and climbing vines can soften the hard lines of a porch, creating an inviting tunnel of fragrance and color. Imagine walking through a cloud of jasmine or lavender every time you return home; the scent immediately signals your brain that it’s time to relax. This project is all about visual layers—mixing heights and textures to create a rich, expensive look that feels curated rather than cluttered.
Essential Elements:
- Two large, matching statement planters for symmetry.
- Climbing plants like Clematis or Star Jasmine.
- Wall-mounted wooden or wire trellises.
- A variety of “filler” plants like hostas or ferns.
- Low-voltage warm white path lighting.
How to make it
- Start by cleaning your entry area thoroughly, removing any cobwebs or debris from the walls and ground to create a fresh canvas.
- Install trellises on either side of the doorframe using masonry anchors for brick or wood screws for siding, ensuring they are perfectly level.
- Place your large statement planters at the base of the trellises. Use the “thriller, filler, spiller” method: plant the climber in the back (thriller), a lush fern in the center (filler), and trailing ivy or creeping Jenny at the edges (spiller).
- Add a layer of dark cedar mulch to the top of the pots. This not only looks professional and tidy but also helps retain moisture during hot summer days.
- Position small, solar-powered spotlights at the base of your plants, angled upward. This “uplighting” technique creates dramatic shadows and a high-end look after the sun goes down.
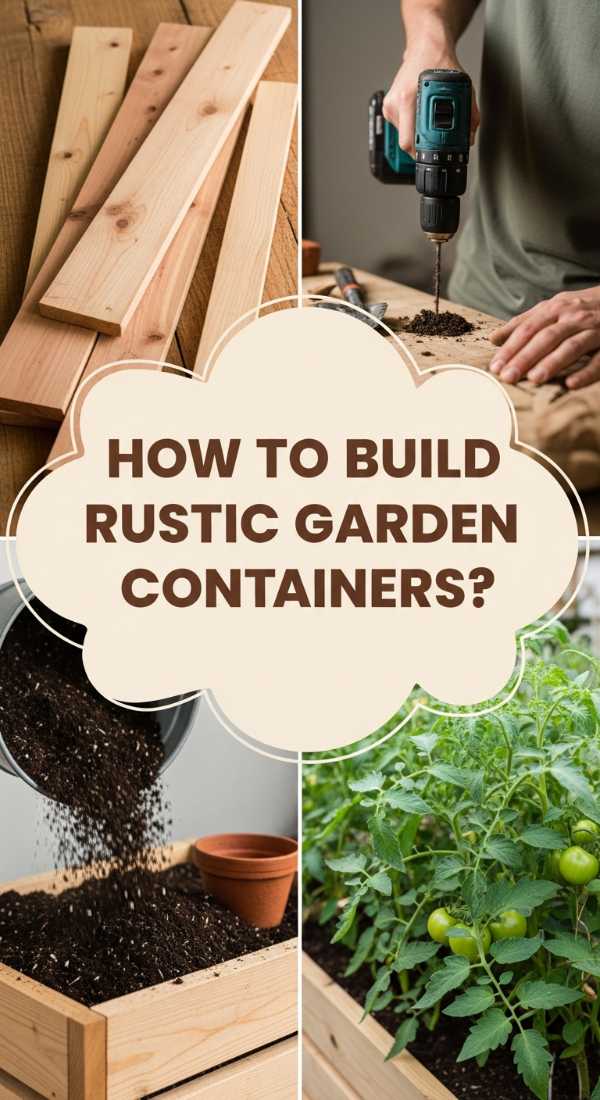
How to Build Rustic Garden Containers for Homegrown Organic Veggies
Why we love this
There is a deep, soul-level satisfaction in harvesting a sun-warmed tomato from a box you built with your own two hands. We love rustic garden containers because they bridge the gap between utility and beauty, turning a functional vegetable patch into a stylish garden feature. The rough-hewn texture of natural wood against the vibrant, leafy green of organic kale or basil creates a stunning visual contrast. These containers allow you to control the soil quality perfectly, ensuring your homegrown produce is as nutrient-dense as possible while adding a farmhouse-chic aesthetic to your patio perimeter.
Essential Elements:
- Untreated cedar or redwood boards (resistant to rot).
- Galvanized wood screws.
- Landscaping fabric or heavy-duty liners.
- Organic potting mix and compost.
- Hand-painted wooden plant markers.
How to make it
- Cut your cedar boards into four equal lengths for a square box (e.g., 2 feet each) or two long and two short for a rectangle. Aim for a depth of at least 10-12 inches to accommodate deep root systems.
- Pre-drill holes at the ends of the boards to prevent splitting, then secure them together using 2.5-inch galvanized screws to form a sturdy frame.
- If placing the box on a hard patio surface, attach a wooden bottom with 1/2-inch drainage holes drilled every 6 inches; if placing on soil, leave the bottom open for better drainage and microbe exchange.
- Line the interior sides with landscaping fabric, stapling it in place to protect the wood from direct moisture while allowing the soil to breathe.
- Fill with a 70/30 mix of organic potting soil and well-rotted compost. Firm the soil down gently to remove large air pockets before planting your seedlings.
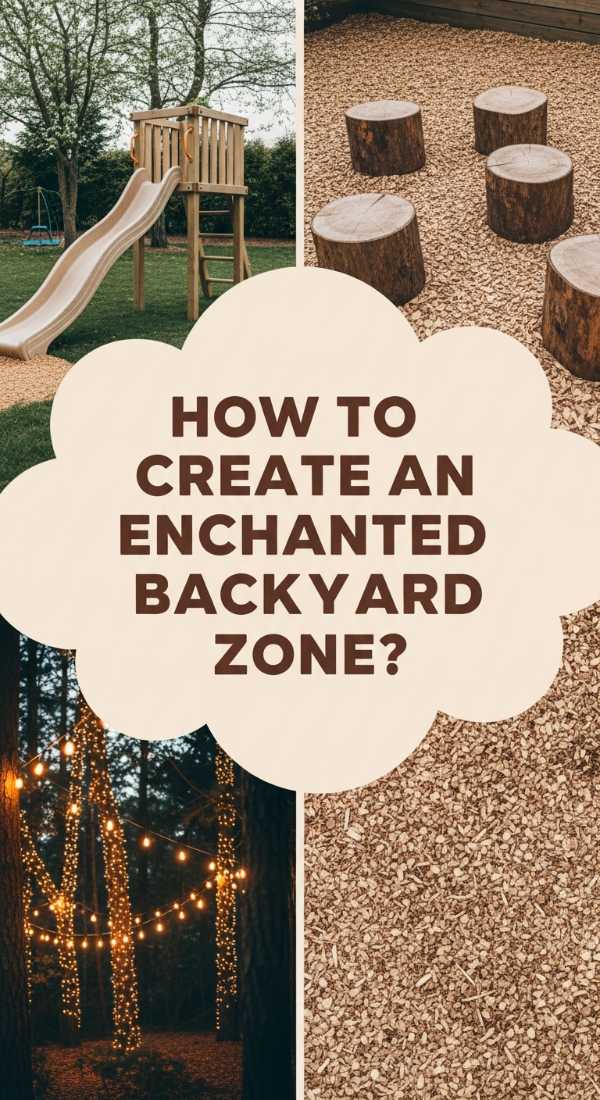
How to Create an Enchanted Backyard Zone for Endless Summer Fun
Why we love this
When the sun sets, the backyard should transform into a realm of magic where the mundane disappears and imagination takes over. We love an enchanted zone because it encourages us to disconnect from our screens and reconnect with our loved ones under a canopy of stars. The soft, flickering glow of string lights reflecting off the leaves creates an ethereal atmosphere that feels like a hidden forest glen. Whether you’re roasting marshmallows over a small fire pit or telling stories in a cozy lounge chair, this space is designed for the sensory joy of warmth, laughter, and the cool night air.
Essential Elements:
- Commercial-grade Edison string lights.
- A portable or stone-surround fire pit.
- Weather-resistant outdoor rugs with geometric or natural patterns.
- Plush floor cushions and oversized throw blankets.
- Hurricane lanterns with LED pillar candles.
How to make it
- Map out your “zone” by laying down an outdoor rug to define the space and provide a soft surface for bare feet.
- String lights in a “zigzag” pattern overhead using sturdy poles or existing trees. Ensure the lights are high enough to clear heads but low enough to cast a warm, intimate glow.
- Place the fire pit in the center of your rug area (use a fire-safe mat if the rug isn’t heat-resistant). Ensure there is at least 3 feet of clearance around the pit for safety.
- Arrange seating in a circular fashion to encourage conversation. Mix chairs with floor cushions to create a relaxed, bohemian vibe.
- Scatter lanterns of varying heights around the perimeter to eliminate dark corners and create a layered lighting effect that feels truly “enchanted.”
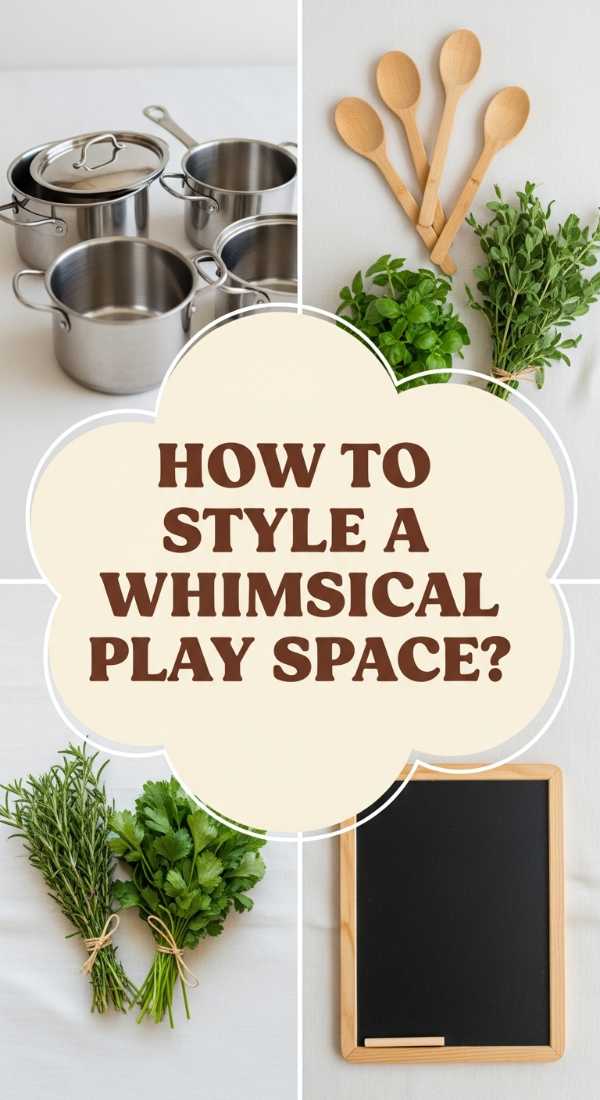
How to Style a Whimsical Play Space for Creative Sensory Learning

Why we love this
Children see the garden as a world of endless possibility, and a whimsical play space honors that sense of wonder through texture and color. We love this project because it prioritizes “slow play”—encouraging kids to touch the dirt, smell the herbs, and engage their senses away from plastic toys. It’s about creating a tactile environment where smooth river stones, soft moss, and crunchy gravel become the tools of the trade. This isn’t just a playground; it’s a living laboratory where creativity flourishes amidst the scent of damp earth and the bright pops of kid-friendly flowers like sunflowers and marigolds.
Essential Elements:
- A wooden “mud kitchen” station or a low table.
- Assorted stainless steel bowls, spoons, and funnels.
- Large, smooth river rocks and play sand.
- Safe, non-toxic plants like Lamb’s Ear (fuzzy) and Mint (scented).
- Colorful bunting or wind chimes for sound and motion.
How to make it
- Define the play area with a border of smooth logs or large stones to keep materials like sand or mulch contained.
- Set up the mud kitchen station by repurposing an old potting bench. Ensure it is sanded smooth to prevent splinters and finished with a food-safe sealer.
- Create a “sensory garden” section within reach. Plant Lamb’s Ear for its velvety texture and Snapdragons for their interactive flower heads that “talk” when pinched.
- Provide a dedicated “digging pit” filled with a mix of clean play sand and fine gravel, hiding a few “treasures” like large crystals or painted stones for the kids to find.
- Hang wind chimes at the child’s eye level to introduce the concept of sound and wind, and add a small chalkboard for outdoor art sessions.
How to Curate a Secluded Spa Retreat for Maximum Evening Zen

Why we love this
In our fast-paced lives, we all need a corner where time seems to slow down and the stresses of the day melt away into the evening mist. We love the spa retreat concept because it focuses on the “zen” of the garden—using privacy and aroma to create a cocoon of relaxation. Think of the scent of eucalyptus hanging in the humid air, the sound of water trickling over stone, and the feeling of soft, cool grass underfoot. This space is designed for meditation, deep breathing, and the absolute luxury of silence, providing a high-end wellness experience right in your own backyard.
Essential Elements:
- Tall privacy screens made of bamboo or cedar slats.
- A small, recirculating stone water fountain.
- Aromatic plants like Rosemary, Eucalyptus, or Lavender.
- A comfortable reclining lounger or a hammock.
- Essential oil diffuser (weather-protected) or incense.
How to make it
- Position your privacy screens to block views from neighbors or the street, creating a three-sided “room” that feels secluded and safe.
- Place a plug-and-play water fountain in a corner. The sound of running water is essential for masking neighborhood noise and lowering heart rates.
- Surround the seating area with large pots of aromatic herbs. When you brush against them, they release natural oils that act as aromatherapy.
- Choose a high-quality lounger with ergonomic support. Add a small side table just big enough for a cup of herbal tea or a book.
- Use soft, dimmable amber lighting. Avoid blue-toned lights, as warm tones help signal to your body that it is time to wind down for sleep.
How to Upcycle Simple Wood Pallets for Sustainable Childrens Play
Why we love this
There’s a rugged, rustic charm in giving old wood a second life, especially when it becomes the foundation for a child’s fortress of adventure. We love upcycling pallets because it’s environmentally conscious and incredibly cost-effective, allowing you to build substantial structures without a massive investment. The weathered texture of the wood has a story to tell, and when painted in bright, cheerful colors, it transforms into a whimsical stage for imaginative play. It’s about teaching our children the value of repurposing while providing them with a sturdy, tactile environment that withstands the rigors of outdoor fun.
Essential Elements:
- Heat-treated (HT) wood pallets (safe for kids).
- Orbital sander and heavy-duty sandpaper (60 and 120 grit).
- Exterior grade paint or wood stain in fun colors.
- Power drill and long deck screws.
- Outdoor cushions or bean bags for the interior.
How to make it
- Source pallets that are marked with the “HT” stamp, meaning they were heat-treated rather than chemically treated. Inspect for any protruding nails and remove them immediately.
- Sand every square inch of the pallets using an orbital sander. Start with 60-grit to remove splinters and finish with 120-grit for a smooth-to-the-touch surface.
- Apply two coats of exterior-grade paint or a vibrant stain. Using a “wash” technique (diluting the paint with water) can help the wood grain show through for a boho look.
- Assemble the pallets into a “teepee” or a simple floor-and-backrest lounge. Secure all joints with 3-inch deck screws, ensuring they are countersunk so no sharp heads are exposed.
- Line the base with a thick outdoor rug and add plenty of pillows to create a cozy reading nook or a secret base for backyard games.
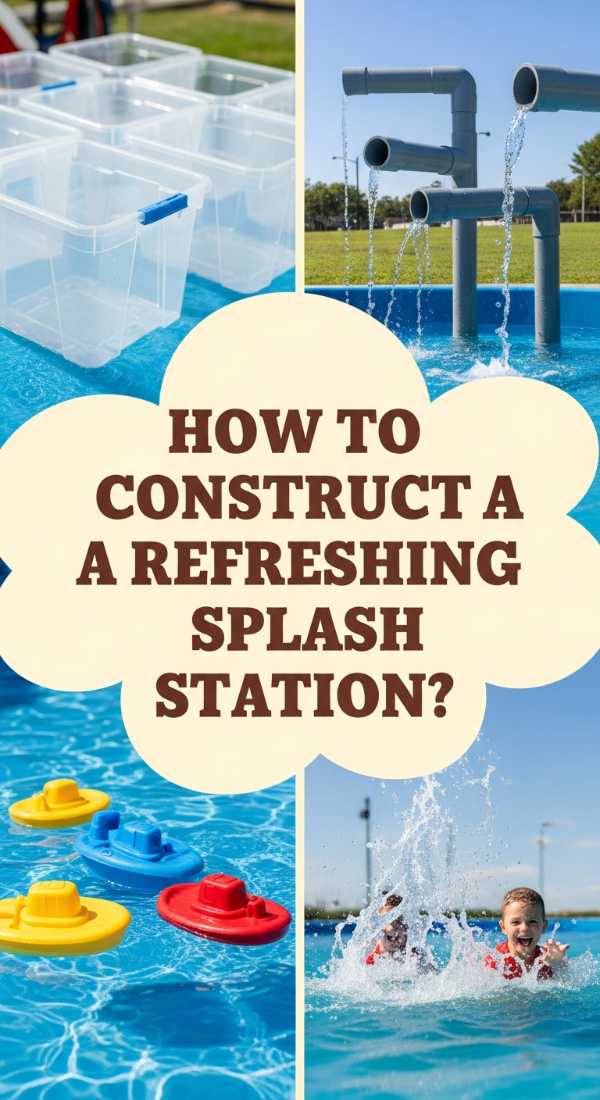
How to Construct a Refreshing Splash Station for Cool Outdoor Play

Why we love this
On those sweltering July afternoons when the air feels heavy and still, a splash station is the ultimate garden savior. We love this project because it brings the joy of a water park to a stylish, controlled setting on your patio. The fine mist of cool water on the skin is an instant mood lifter, and the visual of shimmering water droplets on green leaves is incredibly refreshing. It’s a sensory delight that appeals to the inner child in everyone, turning a hot day into a playful, cooling experience that keeps everyone energized and comfortable.
Essential Elements:
- PVC or copper piping for the frame.
- Mist nozzles or a perforated hose.
- Standard garden hose adapter.
- Non-slip outdoor mats or a wooden slatted platform.
- Large plastic bins or a decorative trough for water collection.
How to make it
- Build a simple U-shaped frame using 1-inch PVC pipes. This frame should be tall enough for an adult to stand under comfortably.
- Drill small holes every 4 inches along the top bar of the frame, or attach specialized misting nozzles for a more refined, spa-like spray.
- Connect the frame to your garden hose using a female-to-female adapter, ensuring all joints are glued with PVC cement to prevent leaks under pressure.
- Place a wooden slatted platform (like a large bath mat) at the base. This allows water to drain through, preventing puddles and keeping feet clean.
- Adjust the water pressure at the spigot to control the intensity of the spray—from a light, cooling fog to a playful summer rain.
How to Plant a Vibrant Flower Border for a Welcoming Home Vibe
Why we love this
A vibrant flower border acts as a living frame for your home’s architecture, softening edges and injecting a burst of seasonal energy into the landscape. We love the layered look of a well-planned border—it’s like a slow-motion firework display that evolves from spring through autumn. The contrast of deep purples, sunny yellows, and romantic pinks creates a visual richness that feels expensive and high-effort, yet it’s all about selecting the right perennials that return year after year. Watching bees and butterflies dance between the blossoms adds a magical, ecological layer to your garden’s aesthetic.
Essential Elements:
- A mix of perennials (Coneflowers, Black-Eyed Susans) and annuals (Zinnias, Petunias).
- Organic bone meal or slow-release fertilizer.
- Edging material like classic brick or flexible steel.
- Hardwood mulch (dark brown or black for contrast).
- Garden spade and hand trowel.
How to make it
- Mark out the shape of your border using a garden hose or spray paint. Curved lines feel more natural and aesthetic than sharp, straight edges.
- Remove the grass within the marked area and dig down 6 inches, turning the soil and mixing in compost and bone meal to create a nutrient-rich foundation.
- Install your edging material to keep the grass from encroaching. Brick set at a 45-degree angle provides a timeless, “cottage core” look.
- Arrange your plants while they are still in their pots. Place the tallest plants in the back, mid-sized in the center, and low, spreading plants at the very front.
- Plant each one at the same depth it was in the pot, firm the soil, and water deeply. Finish with a 2-inch layer of mulch to suppress weeds and highlight the flower colors.
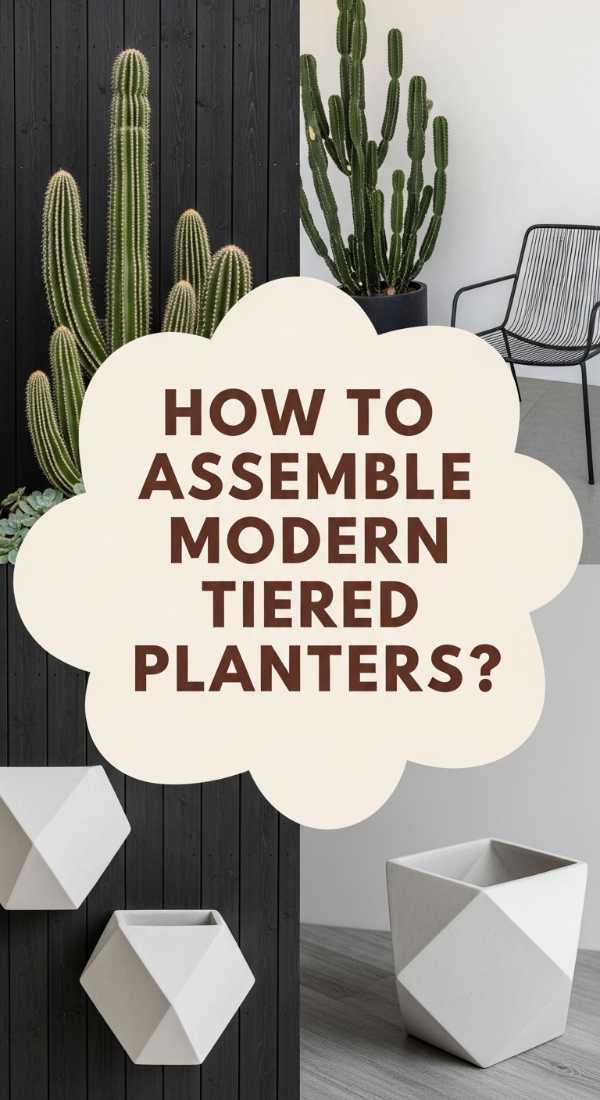
How to Assemble Modern Tiered Planters for a Chic Terrace Garden
[IMAGE_10]
Why we love this
For those with limited square footage or a desire for a clean, architectural look, tiered planters are a complete game-changer. We love the verticality they bring to a patio, allowing you to grow a lush garden without sacrificing precious floor space. The tiered design creates a stunning “waterfall” effect of greenery, where trailing succulents or cascading herbs drape beautifully over the edges. It’s a sophisticated way to organize your plant collection, making each specimen feel like a piece of living art while providing the perfect drainage and light exposure for every level.
Essential Elements:
- Cedar 1×4 and 2×4 boards.
- Pocket hole jig and screws.
- Electric drill and driver.
- Landscaping fabric.
- A selection of trailing plants (Creeping Thyme, String of Pearls).
How to make it
- Construct three rectangular boxes of increasing lengths (e.g., 2ft, 3ft, and 4ft) using cedar 1x4s. Use a pocket hole jig for clean, hidden joins that look professional.
- Build two A-frame supports using 2x4s. The angle should allow each box to sit offset from the one below it, ensuring they all receive direct sunlight.
- Attach the boxes to the A-frames using heavy-duty lag bolts, ensuring each level is perfectly level before tightening.
- Drill 1/2-inch drainage holes in the bottom of each box and line them with landscaping fabric to prevent soil from washing out of the holes.
- Fill with a high-quality potting mix and plant your “spillers” at the edges. This setup is perfect for an herb garden near the kitchen or a succulent display on a sunny terrace.
The Final Glow Up: Your Garden Awaits
Transforming your outdoor space doesn’t require a lottery win; it simply requires a shift in perspective. By taking on these DIY projects, you aren’t just improving your home’s value; you’re investing in your own well-being. Each bird that visits, each tomato you harvest, and each evening spent under the glow of your Edison lights is a reminder of the beauty you can create with your own hands. I hope these projects inspire you to step outside, get a little dirt under your fingernails, and build the sanctuary you deserve. Your aesthetic garden glow-up starts today!
Outdoor DIY & Garden FAQ
Q: What is the best wood for outdoor garden projects?
A: Cedar and redwood are the gold standards because they contain natural oils that resist rot, decay, and insects without needing chemical treatments.
Q: How can I make my DIY projects look more ‘expensive’?
A: Focus on lighting and finish. Using matte black hardware, warm-toned uplighting, and a consistent color palette for your stains or paints will give your work a professional, curated feel.
Q: Do I need a lot of tools to start these projects?
A: Not at all! Most of these can be accomplished with a basic power drill, a hand saw (or a circular saw), and a sander. Many hardware stores will even cut your wood to size for you.