
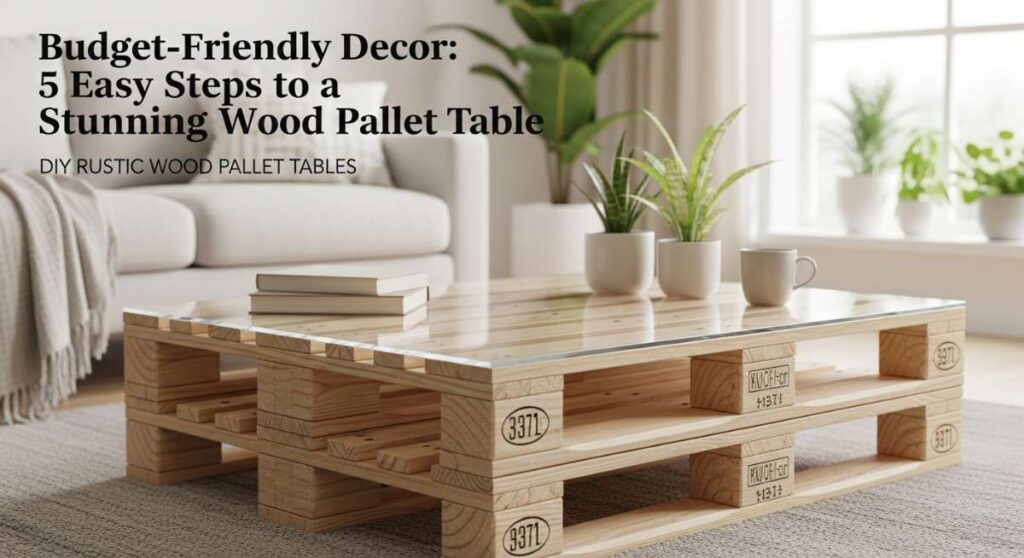
Budget-Friendly Decor: 5 Easy Steps to a Stunning Wood Pallet Table
Hello, my darling loves! There is something so incredibly soul-soothing about taking something forgotten and breathing new life into it. Lately, I’ve been feeling a pull toward the raw, the rustic, and the recycled. My home is my sanctuary, and yours should be too—a place that feels like a warm, cloud-soft embrace after a long day of chasing dreams.
Creating magic doesn’t have to cost a fortune. In fact, some of my favorite pieces are the ones with stories to tell—like a weathered wood pallet found behind a local shop, just waiting to become the center of your morning coffee rituals. Today, let’s wrap ourselves in the joy of creating something beautiful with our own two hands.
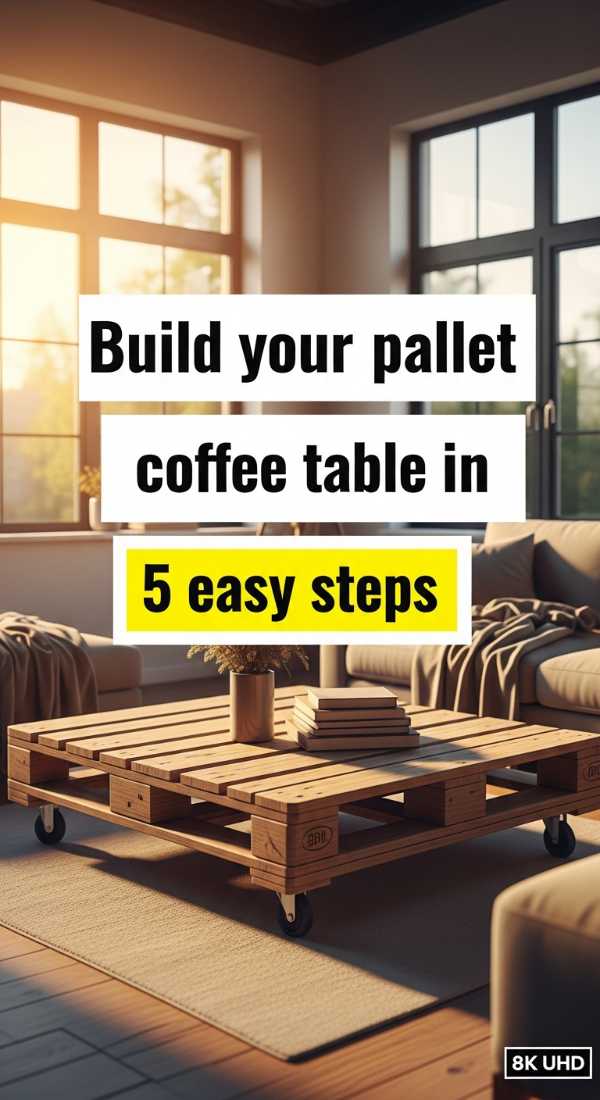
Build your pallet coffee table in 5 easy steps
Why to love this Decor:
This coffee table is the heartbeat of a cozy living room. It whispers tales of slow Sunday mornings and serves as the perfect landing spot for your favorite oversized ceramic mugs and leather-bound journals.
Items needed:
- Standard heat-treated wood pallet
- Electric orbital sander
- Box of 2-inch wood screws
- Natural oak wood stain
- Four heavy-duty caster wheels
How to Prepare:
1. Sand the pallet thoroughly to remove splinters. 2. Cut a second pallet to create a storage shelf. 3. Secure the shelf inside the main pallet with screws. 4. Apply a layer of warm oak stain. 5. Screw the caster wheels into the four corners of the base.
Budget Range
- Minwax Wood Finish: $9.48
- 3M Sanding Discs (5-pack): $7.97
- Everbilt 3-inch Swivel Casters: $18.50
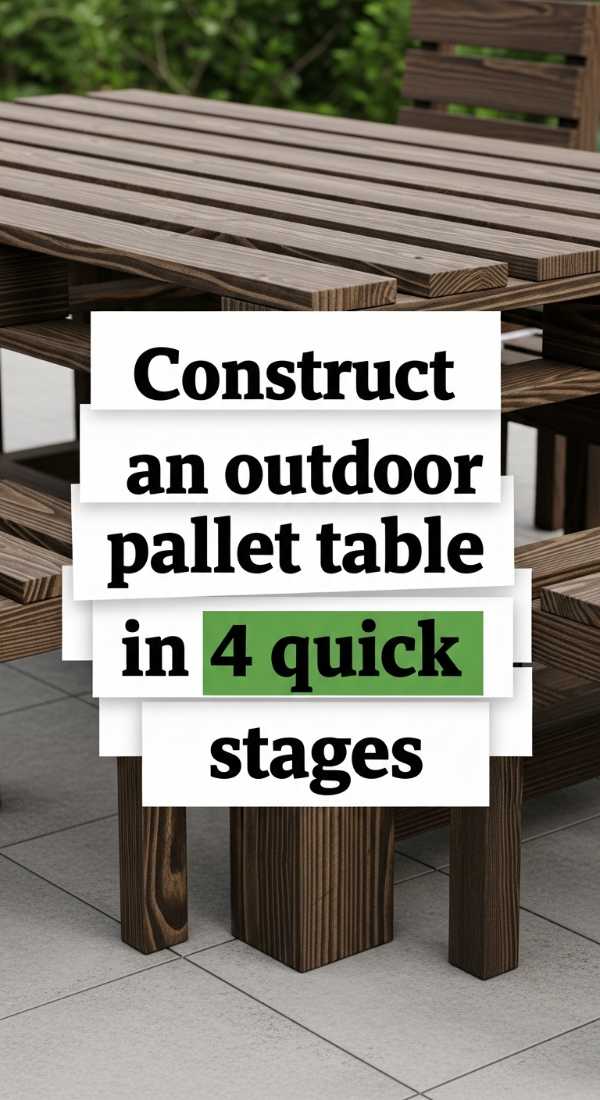
Construct an outdoor pallet table in 4 quick stages
Why to love this Decor:
Imagine the golden hour glow hitting this rustic surface as you share a bottle of chilled rosé with your favorite people. It’s weather-hardy and brings an effortless charm to any patio or balcony.
Items needed:
- Two matching pallets
- Weatherproof wood sealant
- Galvanized bolts and nuts
- Power drill
How to Prepare:
1. Stack two pallets to reach your desired height. 2. Drill holes through the corner blocks of both. 3. Secure them together using galvanized bolts. 4. Apply two thick coats of weatherproof sealant to protect against the elements.
Budget Range
- Thompson’s WaterSeal: $14.99
- Hillman Galvanized Hex Bolts: $6.20
- Ryobi Drill Bit Set: $12.00
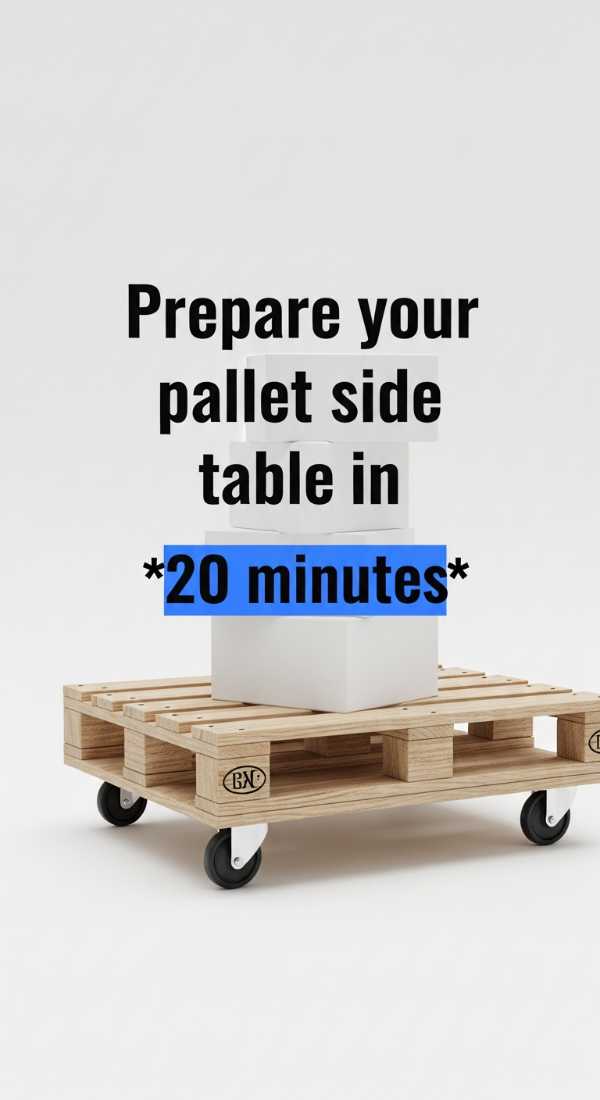
Prepare your pallet side table in 20 minutes
Why to love this Decor:
This little gem is like a quiet hug for your bedroom or reading nook. It fits perfectly in small spaces and adds that soft, organic texture that every minimalist heart craves.
Items needed:
- One small wood pallet or crate
- Fine-grit sandpaper
- Furniture wax
- Felt floor protectors
How to Prepare:
1. Sand only the top surface to a smooth finish, leaving the sides raw for character. 2. Rub in furniture wax with a soft cloth. 3. Flip it vertically and apply felt pads to the bottom to protect your floors.
Budget Range
- Homax Furniture Wax: $11.50
- Scotch Felt Pads: $4.25
- Gator Finishing Sandpaper: $5.99
Create a rolling pallet garden table in 6 steps
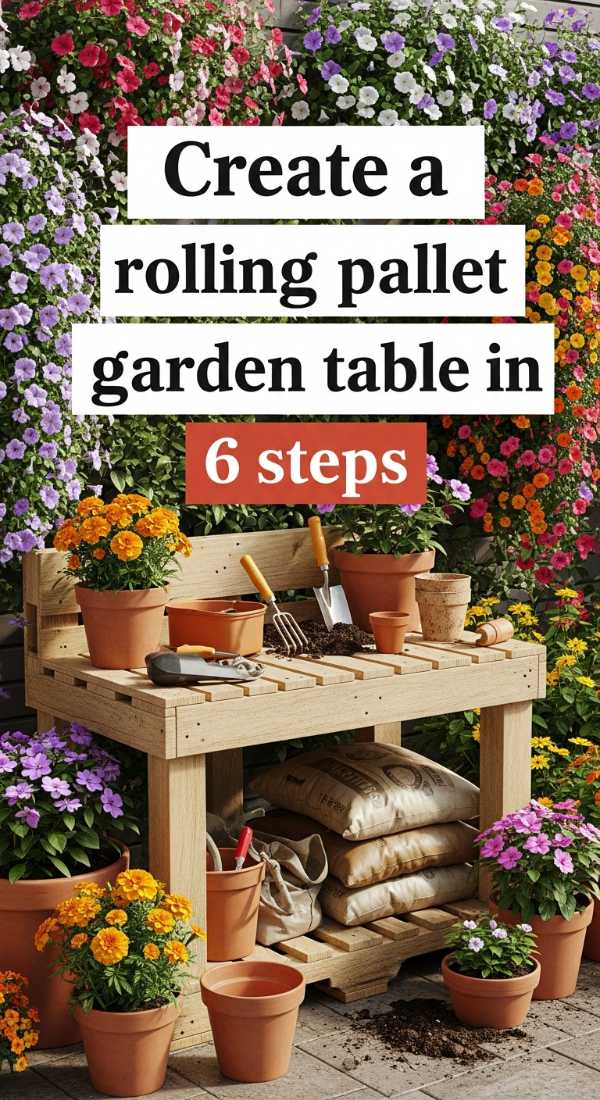
Why to love this Decor:
For my plant parents, this table is a total dream! It moves with the sun, allowing your leafy babies to soak up every bit of light while adding a touch of farmhouse whimsy to your garden space.
Items needed:
- Lightweight pallet
- Sage green chalk paint
- Large rubber wheels
- U-shaped hooks
- Small hand trowel for decor
How to Prepare:
1. Clean the pallet of any dirt. 2. Paint the slats with sage green chalk paint. 3. Distress the edges for a vintage look. 4. Attach large wheels for mobility over grass. 5. Screw hooks into the side for garden tools. 6. Seal with a matte spray.
Budget Range
- Rust-Oleum Chalked Paint: $21.00
- Everbilt Rubber Casters: $12.30
- Command Outdoor Hooks: $8.99
Finish your pallet bar table in 3 simple phases

Why to love this Decor:
This bar table is all about celebration and laughter. It’s tall, elegant in its own rough way, and serves as the perfect gathering spot for Friday night cocktails and appetizers.
Items needed:
- Two long pallets
- L-brackets
- A long 2×4 piece of timber
- Dark walnut stain
How to Prepare:
1. Stand two pallets upright parallel to each other. 2. Secure them at the top using a 2×4 timber as a ‘countertop’ bridge. 3. Use L-brackets to anchor the structure for stability and apply a deep walnut stain.
Budget Range
- Varathane Dark Walnut Stain: $10.50
- Stanley L-Brackets (4-pack): $5.40
- Select Pine 2×4 board: $8.50
Design a low-profile pallet table in 2 hours
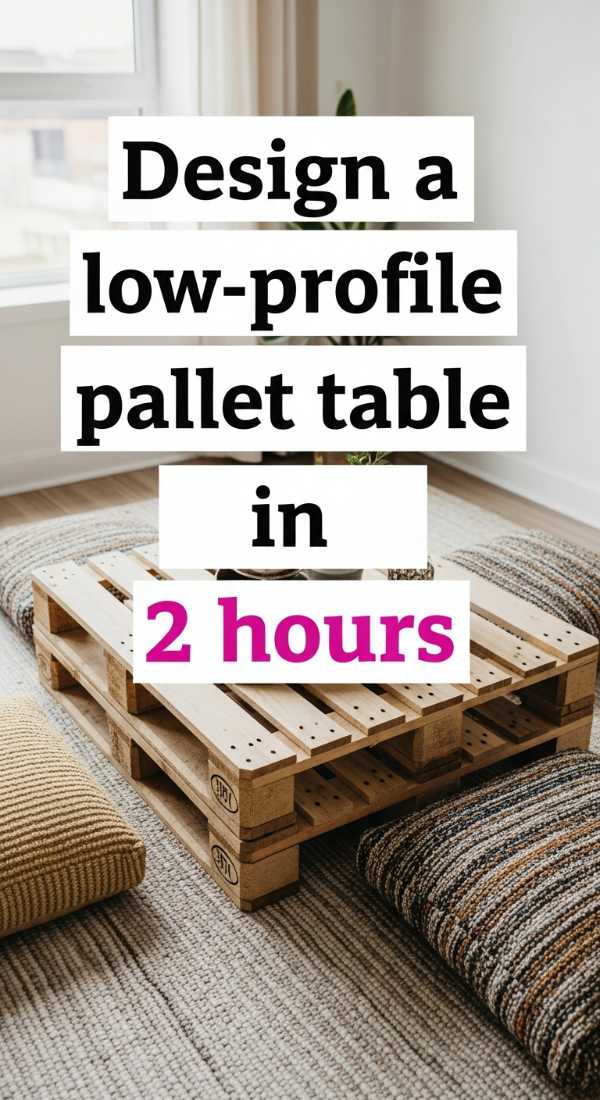
Why to love this Decor:
This table is inspired by Japanese-style floor seating—it’s grounding, peaceful, and encourages everyone to get down on the floor for board games and deep conversations.
Items needed:
- One clean pallet
- Short 4-inch furniture legs
- Wood glue
- White wash paint
How to Prepare:
1. Remove the bottom slats of the pallet. 2. Sand the top until it feels like silk. 3. Apply a white wash to brighten the wood grain. 4. Attach the short 4-inch legs to the four corners using wood glue and screws.
Budget Range
- Waddell Furniture Legs: $14.00
- Titebond Wood Glue: $6.50
- FolkArt White Wash: $9.99
Assemble a glass-top pallet table in 7 minutes
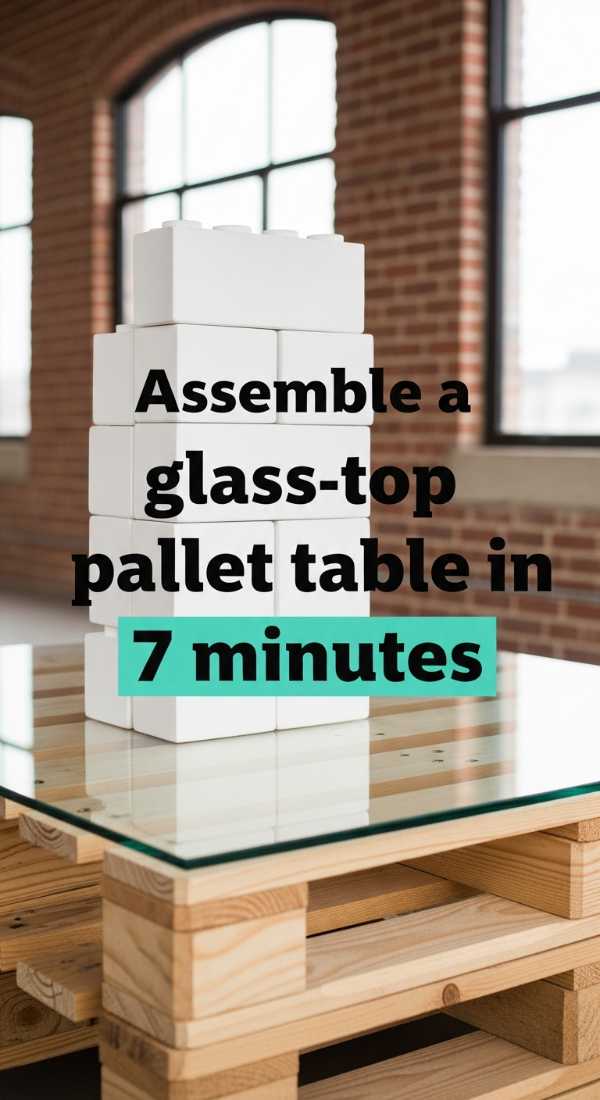
Why to love this Decor:
This is the ultimate ‘glam meets rustic’ piece. The glass top adds a touch of modern sophistication, making the pallet look like a high-end designer find while showing off its natural history underneath.
Items needed:
- Sandpapered pallet
- Tempered glass sheet (sized to pallet)
- Clear silicone bumpers
How to Prepare:
1. Clean your pre-sanded pallet. 2. Place clear silicone bumpers on the four corners and center slats. 3. Carefully lay the tempered glass sheet on top of the bumpers.
Budget Range
- Fab Glass Tempered Sheet: $45.00
- SoftTouch Silicone Bumpers: $3.50
- Windex Glass Cleaner: $4.00
Build a mini pallet bistro table in 5 actions
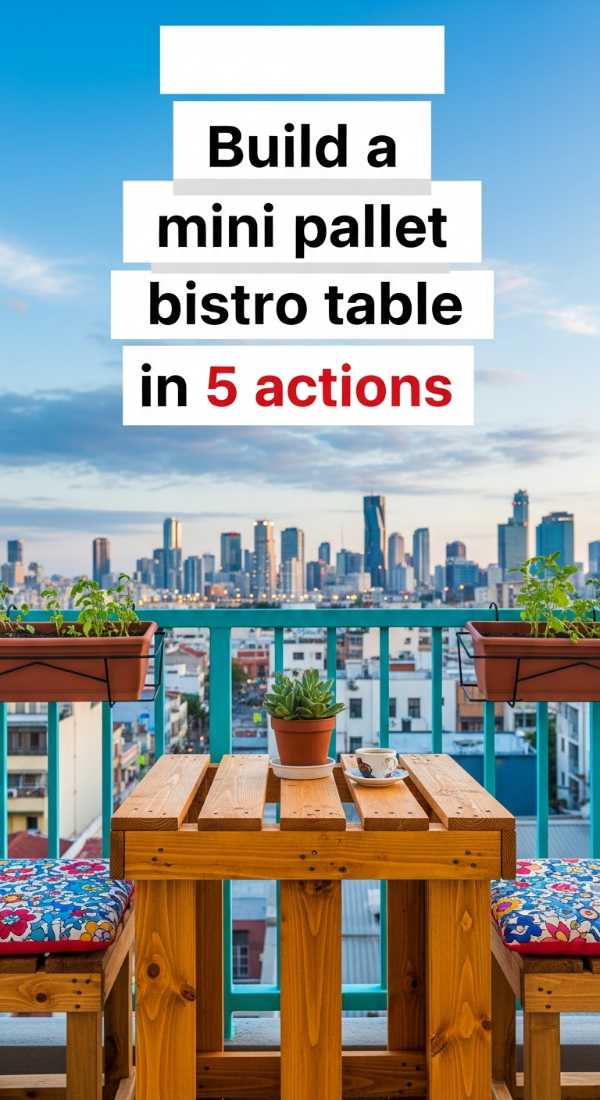
Why to love this Decor:
Perfect for that tiny corner in your kitchen where you sip your morning espresso. It’s petite, charming, and brings a little bit of a Parisian cafe vibe into your own sanctuary.
Items needed:
- Small square pallet
- Folding metal legs
- Industrial adhesive
- Black matte paint
How to Prepare:
1. Paint the entire pallet in a sleek black matte. 2. Let it dry for 2 hours. 3. Position the folding metal legs on the underside. 4. Apply industrial adhesive to the leg plates. 5. Screw legs into place once the adhesive sets.
Budget Range
- Krylon Matte Black Spray: $7.50
- Hairpin Legs Set: $22.00
- Loctite PL Premium: $8.99
Craft a farmhouse pallet dining table in 8 steps
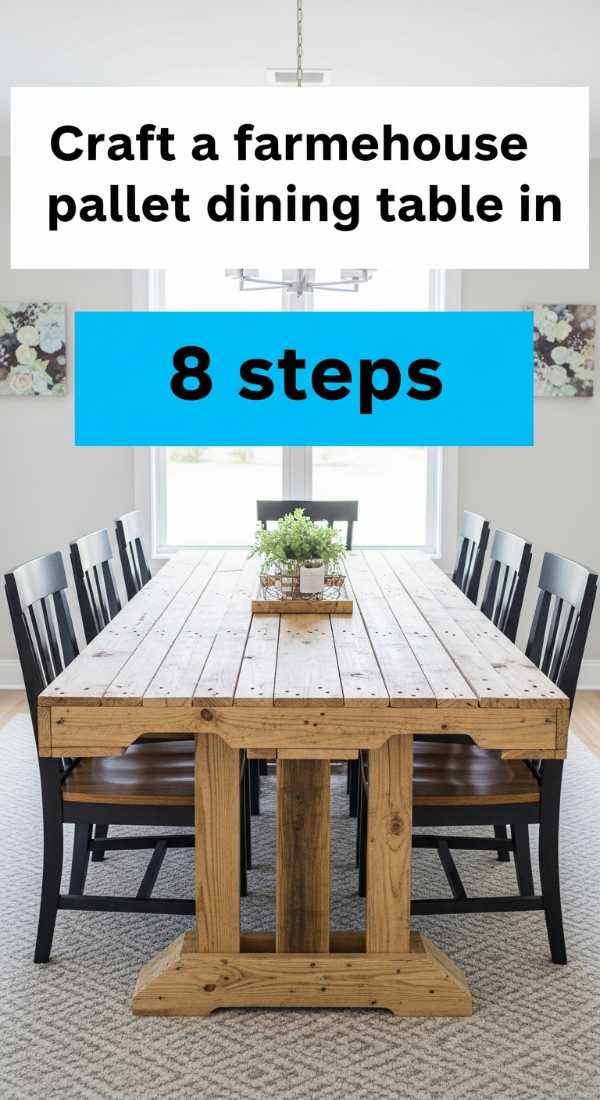
Why to love this Decor:
This is the big one, loves! It’s where the family gathers, where stories are shared over steaming plates of pasta. It’s substantial, meaningful, and looks like a thousand-dollar heirloom.
Items needed:
- Four pallets (dismantled)
- Heavy duty 4×4 posts for legs
- Wood filler
- Polyurethane finish
How to Prepare:
1. Dismantle pallets into individual planks. 2. Sand every plank. 3. Lay them out to create a tabletop pattern. 4. Glue and screw planks to a plywood base. 5. Attach the 4×4 legs. 6. Fill gaps with wood filler. 7. Sand again. 8. Apply three coats of polyurethane.
Budget Range
- Minwax Polyurethane: $15.50
- Elmer’s Wood Filler: $5.25
- Common 4×4 Post: $12.00
Prepare a pallet fire pit table in 4 easy stages
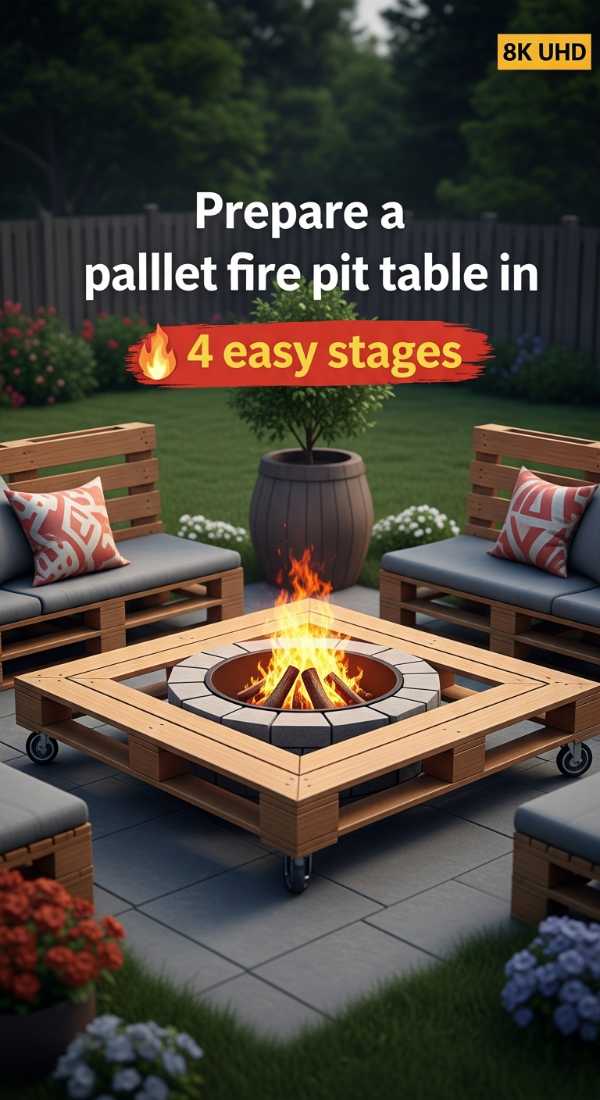
Why to love this Decor:
There is nothing quite like the flicker of a flame. This table surrounds a small gas fire pit insert, creating a safe and beautiful perimeter for roasting marshmallows under the stars.
Items needed:
- Large pallet
- Small drop-in gas fire pit kit
- Heat-resistant paint
- Jigsaw
How to Prepare:
1. Use a jigsaw to cut a hole in the center of the pallet to fit your fire pit insert. 2. Paint the wood with heat-resistant black paint. 3. Insert the gas kit. 4. Connect to your fuel source according to the kit’s safety instructions.
Budget Range
- Rust-Oleum High Heat Paint: $12.99
- Gas Fire Pit Insert: $85.00
- Black & Decker Jigsaw Blade: $6.00
Conclusion
Oh, my sweet friends, I hope your heart feels as full as mine does right now. Creating a home isn’t about how much we spend, but how much of ourselves we pour into the spaces we inhabit. Whether you choose the tiny bistro table or the grand dining masterpiece, remember that the imperfections in the wood are what make it perfect. They are the beautiful reminders of growth and resilience—just like us. Go forth and create something wonderful today!