
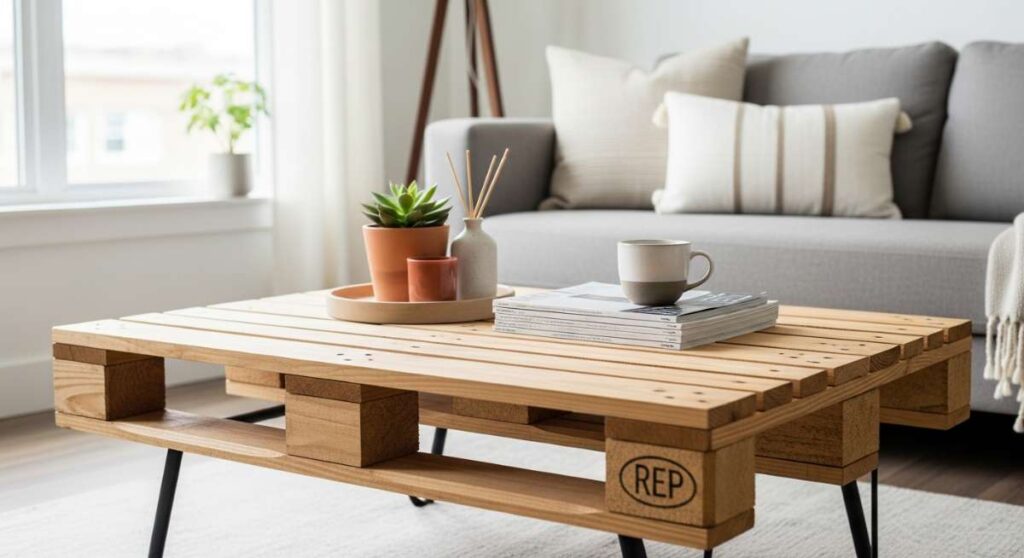
Budget-Friendly Beauty: How to Build Your Own Pallet Coffee Table
Hello, my loves! Grab a warm mug of tea and curl up with me for a moment. You know that feeling when you look around your home and crave a little more soul, a little more ‘you,’ but your bank account is whispering ‘not today’? I’ve been there so many times, sweet friends. But I’ve learned that beauty doesn’t have to come with a high-end price tag; sometimes, it’s waiting for us in the most humble places, like a reclaimed wooden pallet.
There is something so deeply therapeutic about taking something discarded and breathing new life into it. It’s a cloud-soft embrace for your creative spirit. Today, I’m sharing my favorite ways to bring that rustic, farmhouse charm into your sanctuary without breaking the bank. Let’s turn those wooden treasures into the centerpieces of your memories.
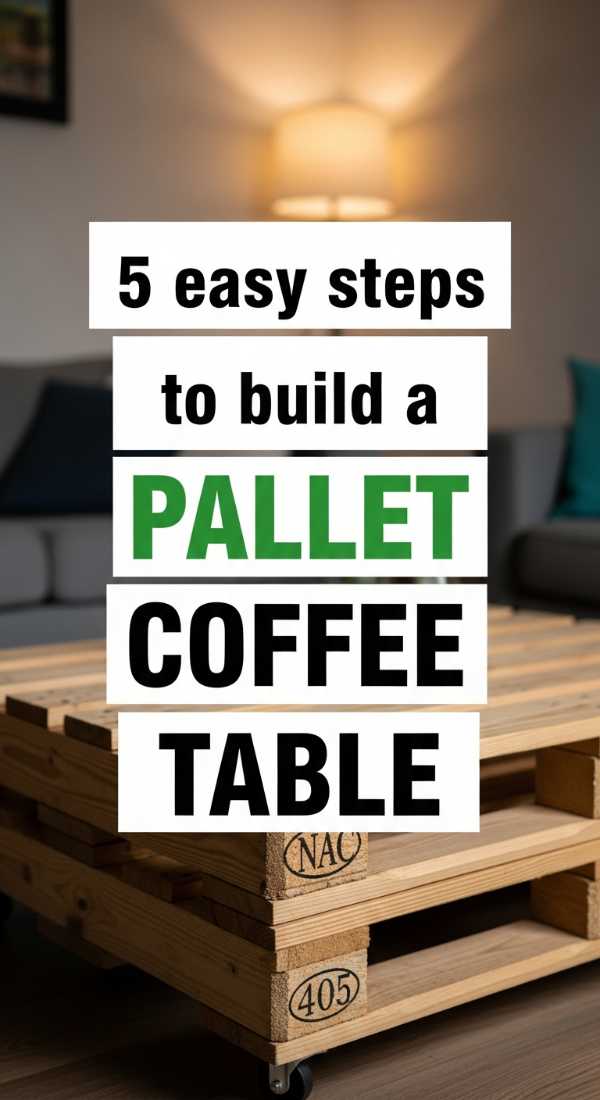
5 Easy Steps to Build a Pallet Coffee Table
Why to love this Decor:
This classic coffee table is the heart of a cozy living room. It brings a grounded, earthy vibe that makes everyone feel instantly at home. It’s sturdy, full of character, and perfect for resting your favorite books or a bouquet of wild peonies.
Items needed:
- One heat-treated pallet
- Electric sander and 80-grit sandpaper
- Wood screws
- Four wooden hairpin legs
- Clear matte polyurethane
How to Prepare:
- Thoroughly sand the entire pallet to remove any splinters.
- Clean away all dust with a damp cloth.
- Flip the pallet over and mark the four corners for leg placement.
- Drill pilot holes and screw the hairpin legs into the base.
- Apply two coats of polyurethane for a soft, protected finish.
Budget Range
- Sandpaper pack: $5.00
- Hairpin legs: $25.00
- Polyurethane: $12.00
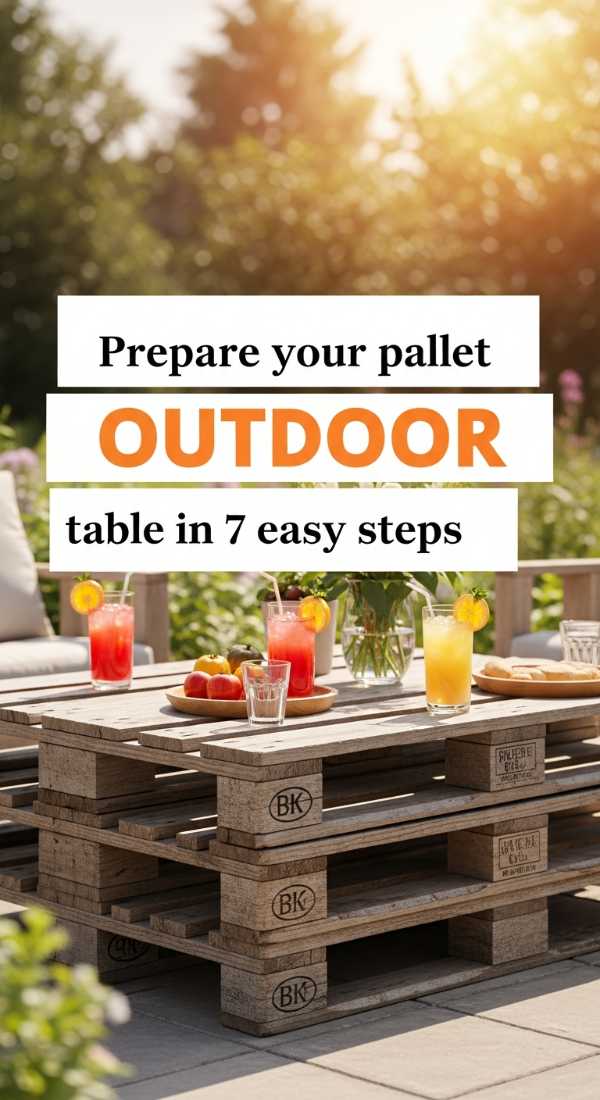
Prepare Your Pallet Outdoor Table in 7 Easy Steps
Why to love this Decor:
Al fresco dining is such a gift to the soul. This outdoor table is rugged enough to withstand the elements while providing a beautiful stage for your summer sangrias and evening candles.
Items needed:
- Two pallets
- Exterior wood glue
- Long carriage bolts
- Weatherproof wood stain
- Screwdriver
- Paintbrush
- Measuring tape
How to Prepare:
- Stack two pallets to your desired height.
- Apply wood glue between the contact points.
- Secure the pallets together using carriage bolts at each corner.
- Sand the top surface until smooth to the touch.
- Apply a generous coat of weatherproof stain.
- Let it dry for 24 hours in a shaded area.
- Add a final protective topcoat for sun resistance.
Budget Range
- Carriage bolts: $8.00
- Weatherproof stain: $18.00
- Wood glue: $6.00
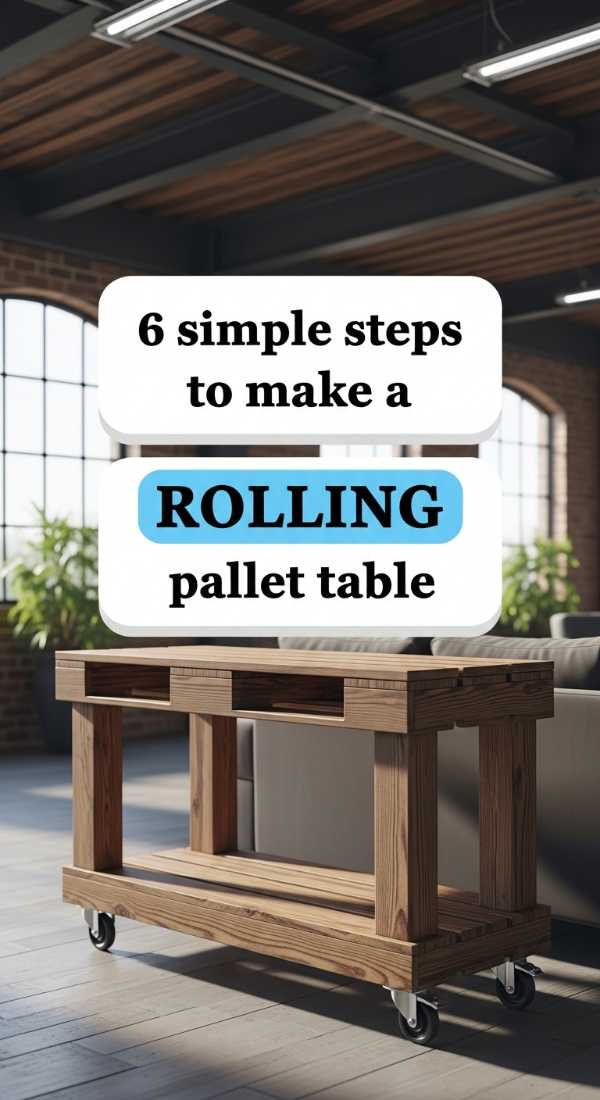
6 Simple Steps to Make a Rolling Pallet Table
Why to love this Decor:
Flexibility is everything in a modern home, loves! A rolling table means you can easily move your workspace or clear the floor for a spontaneous dance party in the kitchen.
Items needed:
- One pallet
- Four heavy-duty swivel casters
- Power drill
- Short wood screws
- White chalk paint
- Distressing sponge
How to Prepare:
- Sand the pallet to your liking.
- Apply a coat of white chalk paint for that shabby-chic look.
- Lightly distress the edges with a sponge once dry.
- Flip the pallet and position a caster at each corner.
- Screw the casters securely into the wood frame.
- Lock the wheels and style with your favorite tray.
Budget Range
- Swivel casters: $15.00
- Chalk paint: $10.00
- Distressing sponge: $3.00
Prepare Garden Decor in 4 Steps with Pallet Tables
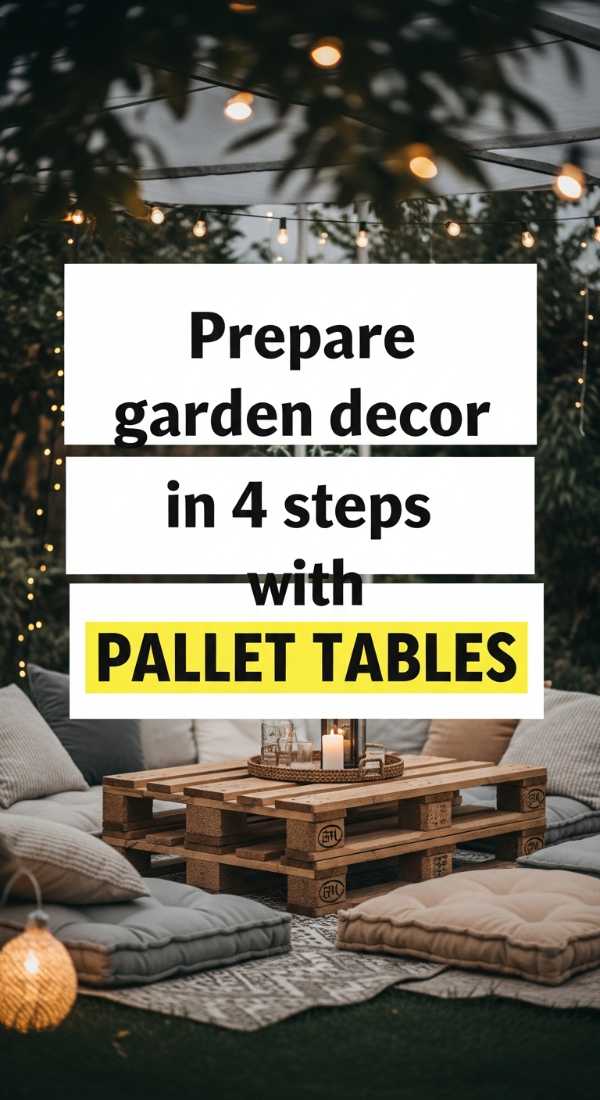
Why to love this Decor:
This is the ultimate minimalist garden hack. It creates a tiered level for your succulents and herbs, making your garden look like a professional botanical retreat with very little effort.
Items needed:
- Small pallet or pallet crate
- Garden-safe wood sealer
- Hammer
- Nails
How to Prepare:
- Reinforce any loose slats with extra nails.
- Sand down only the top surfaces to keep the rustic look.
- Apply a garden-safe sealer to prevent rot from moisture.
- Place directly on your patio or grass to hold potted plants.
Budget Range
- Garden sealer: $14.00
- Box of nails: $4.00
Build Your Wood Pallet Tables in 10 Easy Steps
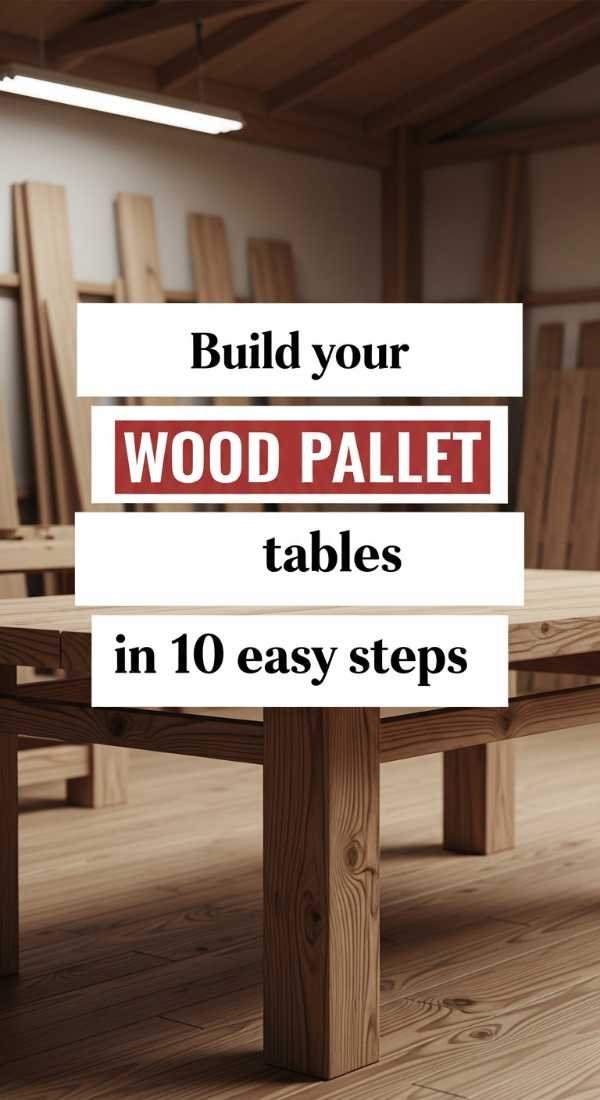
Why to love this Decor:
This is for my loves who want a truly polished, ‘store-bought’ look. By dismantling and reassembling, you get a solid tabletop that looks like high-end reclaimed oak.
Items needed:
- Two pallets
- Pry bar
- Circular saw
- Wood glue
- Clamps
- Wood filler
- Orbital sander
- Dark walnut stain
- Tack cloth
- Protective gloves
How to Prepare:
- Use the pry bar to carefully take the pallets apart.
- Remove all old nails from the boards.
- Cut boards to equal lengths using the saw.
- Lay boards flat and glue edges together for a solid top.
- Clamp the boards tightly and let dry overnight.
- Fill any gaps with wood filler.
- Sand the surface until perfectly level.
- Wipe clean with a tack cloth.
- Apply dark walnut stain evenly.
- Finish with a silk-touch varnish.
Budget Range
- Wood filler: $7.00
- Walnut stain: $11.00
- Pry bar: $12.00
8 Steps to Craft a Rustic Pallet Side Table
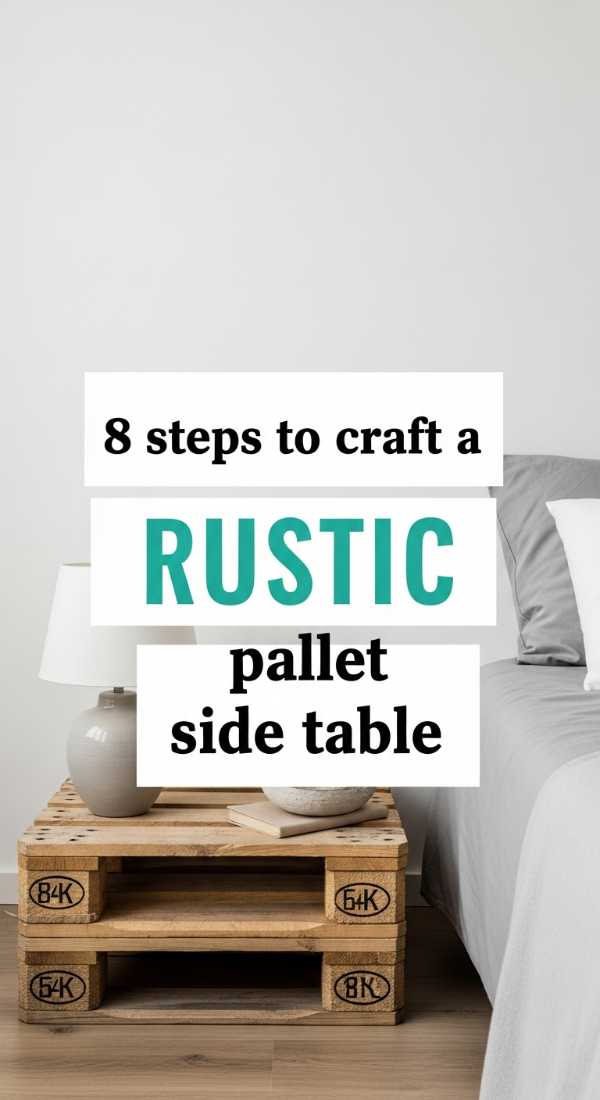
Why to love this Decor:
Perfect for that awkward corner next to your reading chair. It’s small, charming, and just the right size for a lamp and your current read. It feels like a hug for your nook.
Items needed:
- Pallet scraps
- Wood glue
- Nail gun
- Square ruler
- Sanding block
- Beeswax finish
- Lint-free cloth
- Small wooden feet
How to Prepare:
- Cut pallet slats into eight 18-inch pieces.
- Create two square frames for the top and bottom.
- Attach vertical slats to connect the frames.
- Ensure everything is square using your ruler.
- Sand every inch of the small table.
- Attach the small wooden feet to the bottom.
- Rub the beeswax into the wood with a cloth.
- Buff to a soft, natural glow.
Budget Range
- Beeswax polish: $9.00
- Wooden feet: $12.00
- Nail gun staples: $5.00
Prepare Your Patio in 15 Minutes with a Pallet Table
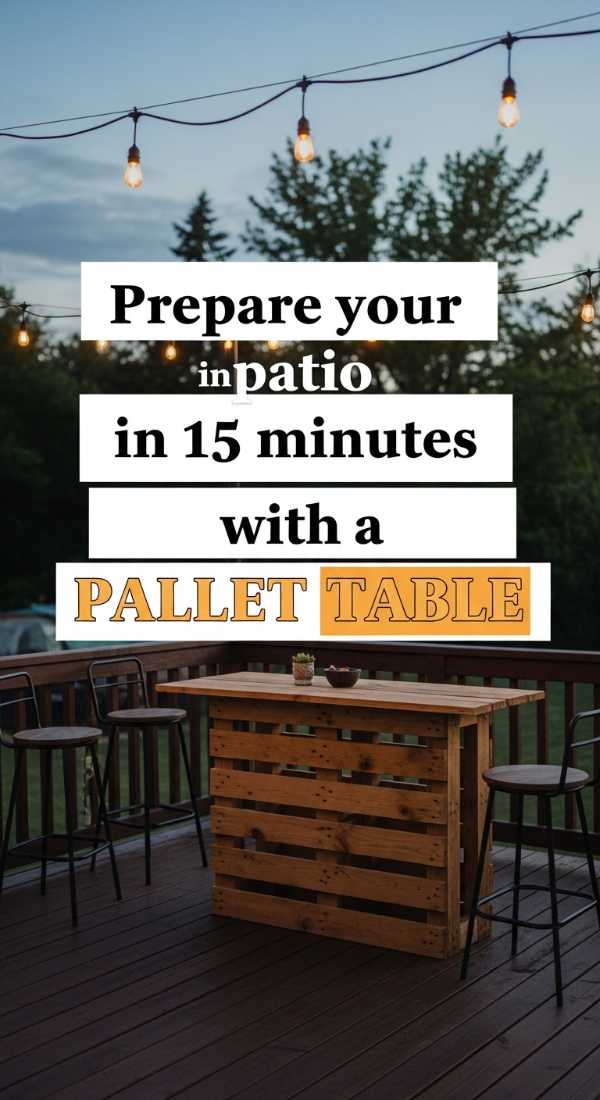
Why to love this Decor:
The ‘instant’ gratification project! This is perfect for when friends are coming over in an hour and you need an extra surface for snacks and smiles.
Items needed:
- Two clean pallets
- Outdoor cushions (optional)
- Table runner
- Zip ties
How to Prepare:
- Stack the two pallets neatly on your patio.
- Use heavy-duty zip ties in hidden corners to keep them from sliding.
- Drape a beautiful linen runner over the top.
- Surround with floor cushions for a bohemian lounge feel.
Budget Range
- Zip ties: $3.00
- Linen runner: $12.00
3 Easy Steps to Finish Your Pallet Table DIY
Why to love this Decor:
Sometimes, simplicity is the ultimate sophistication. This focuses on the finishing touches that take a project from ‘DIY’ to ‘Designer.’
Items needed:
- Assembled pallet table
- High-grit sandpaper (220)
- Tung oil
How to Prepare:
- Give your table a final, ultra-smooth sand with 220 grit.
- Apply a thin layer of Tung oil to bring out the wood grain.
- Wipe away excess and let it cure for a professional sheen.
Budget Range
- Tung oil: $16.00
- High-grit sandpaper: $4.00
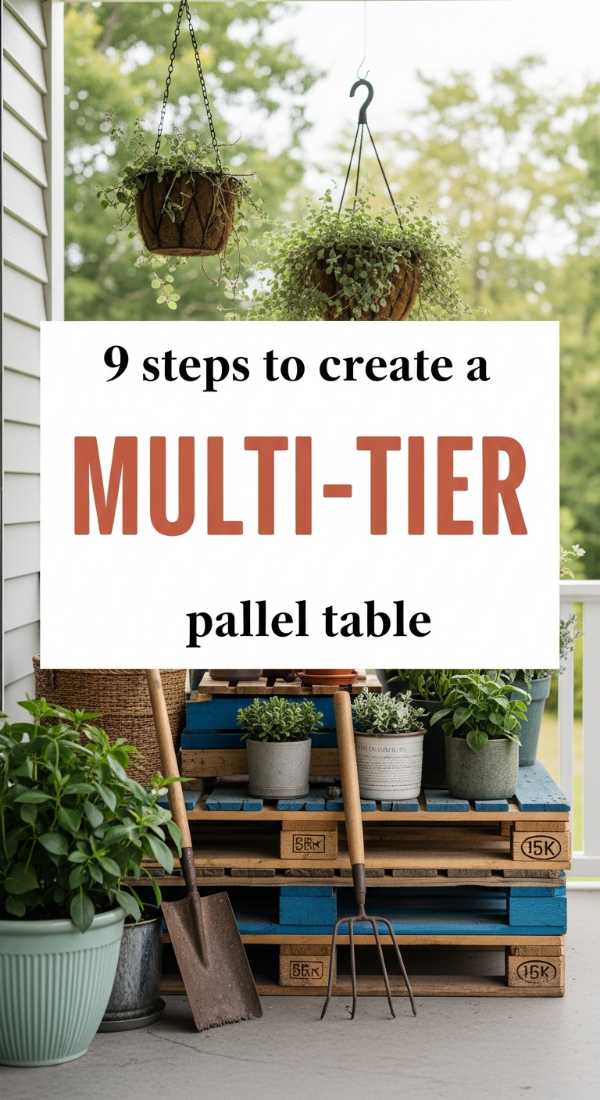
9 Steps to Create a Multi-Tier Pallet Table
Why to love this Decor:
Storage is a love language, don’t you think? This table gives you a middle shelf for blankets or magazines, keeping the top clear for your morning coffee.
Items needed:
- Three pallets
- Saw
- Drill
- Long screws
- Level
- Sandpaper
- Wood glue
- Paint or stain
- Corner braces
How to Prepare:
- Cut one pallet in half to create the middle supports.
- Sand all components thoroughly.
- Attach the first pallet (base) to the support blocks.
- Place the second pallet on top of the supports to create the shelf.
- Add another set of supports if needed for height.
- Secure the final pallet on top.
- Use corner braces for extra stability.
- Check with a level to ensure it’s flat.
- Paint or stain in your favorite shade.
Budget Range
- Corner braces: $10.00
- Box of long screws: $8.00
- Level tool: $12.00
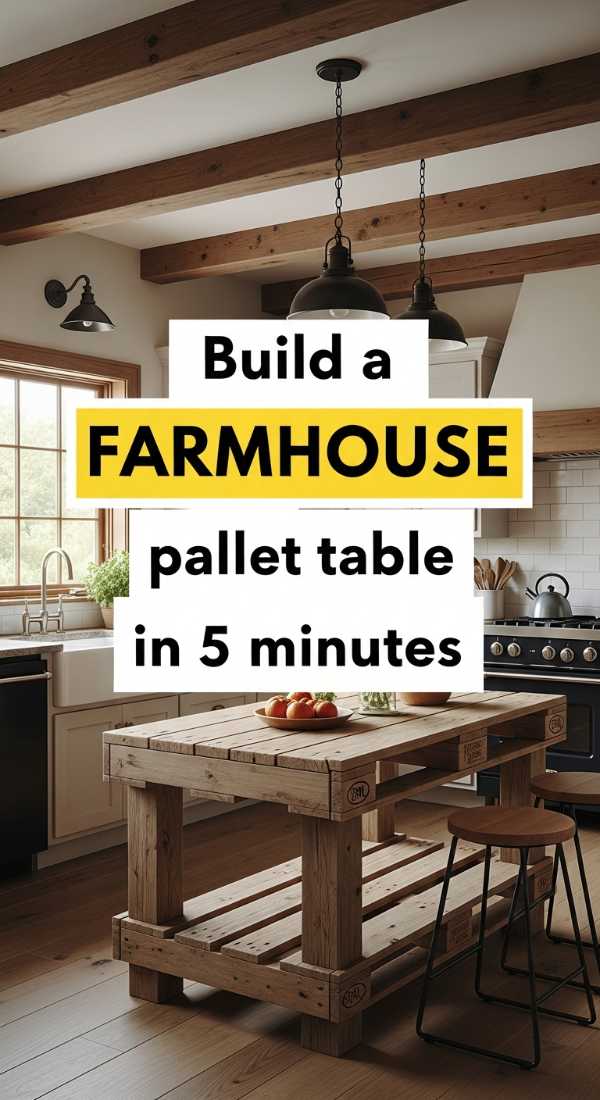
Build a Farmhouse Pallet Table in 5 Minutes
Why to love this Decor:
This is the ultimate budget-friendly beauty hack. It uses the raw texture of the wood to create an effortless farmhouse aesthetic that looks stunning in photos.
Items needed:
- One sturdy pallet
- Four pre-made wooden crates
- Industrial adhesive
How to Prepare:
- Lay the pallet flat on the ground.
- Place a wooden crate under each corner of the pallet.
- Apply industrial adhesive to the top of the crates.
- Press the pallet down firmly.
- Let it set—you’re done!
Budget Range
- Wooden crates (4): $40.00
- Industrial adhesive: $7.00
The Beauty of Creating Your Own Sanctuary
My loves, I hope these ideas spark a little fire in your heart. Remember, your home is a reflection of your journey. It doesn’t need to be perfect; it just needs to be yours. Building something with your own two hands adds a layer of warmth to a room that no store-bought furniture ever could. Go find a pallet, embrace the splinters and the sawdust, and create something beautiful today. You deserve a home that feels like a cloud-soft embrace.