
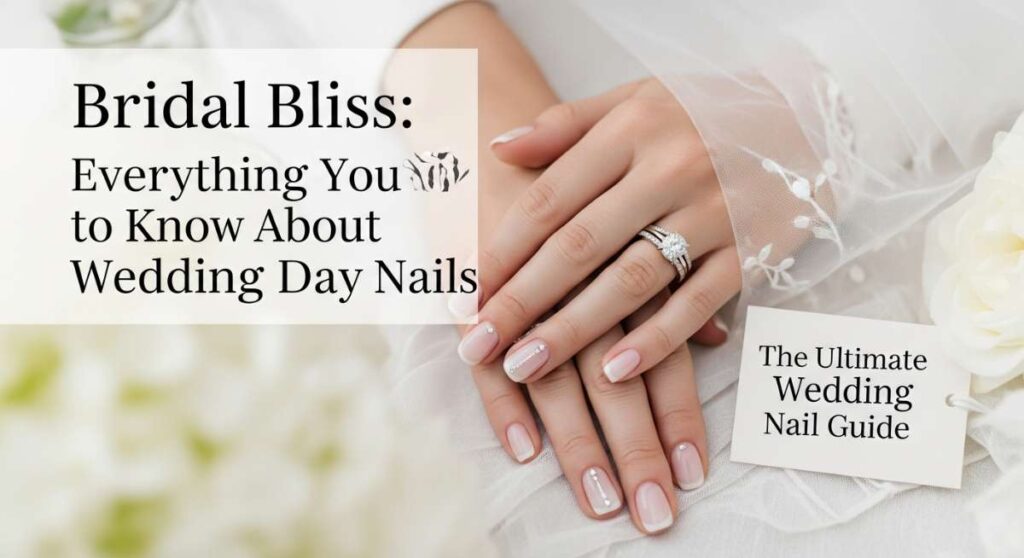
Bridal Bliss: Everything You Need to Know About Wedding Day Nails
Oh, my darlings, there is something so incredibly magical about the moment your partner slides that ring onto your finger. It’s a second frozen in time, a soft whisper of forever, and all eyes—and cameras—are right there on your hands. I remember the flutter in my chest when I picked my own wedding polish; it felt like choosing the final note in a love song. You deserve to feel that same cloud-soft confidence when you look down at your bouquet.
In this space, we talk a lot about the big moments, but today is all about the tiny details that make you feel like the most radiant version of yourself. Your nails aren’t just an accessory; they are the delicate frame for your new promise. Whether you’re a classic romantic or a bold, modern muse, I’ve gathered every bit of inspiration to help you find your perfect bridal glow. Let’s dive into this dreamy guide together, shall we?
5 simple steps to get perfect blue wedding nails

Why to love these Nails:
Incorporating ‘Something Blue’ into your manicure is such a poetic way to honor tradition while keeping things fresh and unexpected. It’s a soft, ethereal nod to the sky on a clear morning, bringing a sense of calm and serenity to your bridal look. These nails feel like a secret shared between you and the traditions of the past.
Essential Items:
- Pale cornflower blue polish
- Sheer iridescent topper
- Fine detail brush
- Long-wear top coat
- Cuticle oil
How to Prepare:
- Gently push back cuticles and shape nails into a soft oval.
- Apply a ridge-filling base coat to create a smooth canvas.
- Layer two thin coats of your chosen blue for opaque softness.
- Add a tiny silver dot or a swipe of shimmer at the base of the ring finger.
- Seal with a high-gloss top coat for that glass-like finish.
Budget Range
- Essie ‘Salty Sweet Penny’ – $10.00
- OPI ‘It’s a Boy!’ – $11.50
- Sally Hansen Miracle Gel Top Coat – $10.00
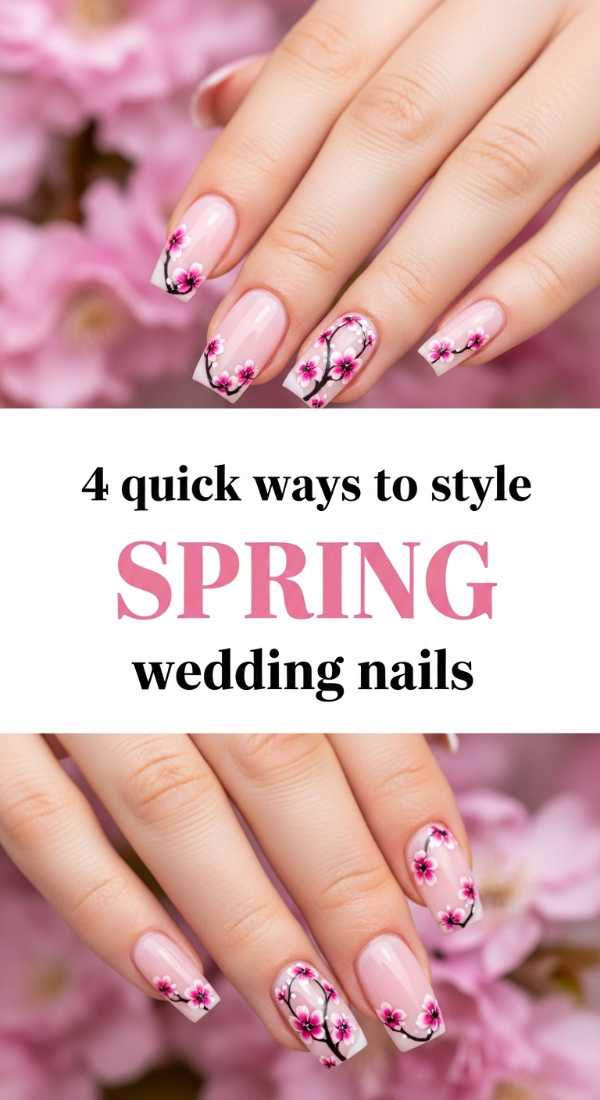
4 quick ways to style spring wedding nails
Why to love these Nails:
Spring is all about rebirth and the first blush of color after a long winter. Styling your nails for a spring wedding feels like carrying a tiny garden at your fingertips. It’s light, airy, and perfectly matches the blooming florals of the season, making you feel effortlessly connected to nature’s awakening.
Essential Items:
- Pastel lavender or mint polish
- Floral nail decals
- Matte top coat
- Buffer block
How to Prepare:
- Opt for a ‘Milk Bath’ style by mixing white polish with a clear base and embedding tiny dried flowers.
- Go for a soft pastel gradient using a makeup sponge for a sunset-dream effect.
- Use a matte finish over a soft peach to mimic the texture of a tulip petal.
- Accent a single nail with a dainty gold leaf vine for a touch of luxury.
Budget Range
- Zoya Professional Lacquer in ‘Abby’ – $12.00
- Nail Art Dried Flowers Kit – $8.00
- Olive & June Matte Top Coat – $9.00
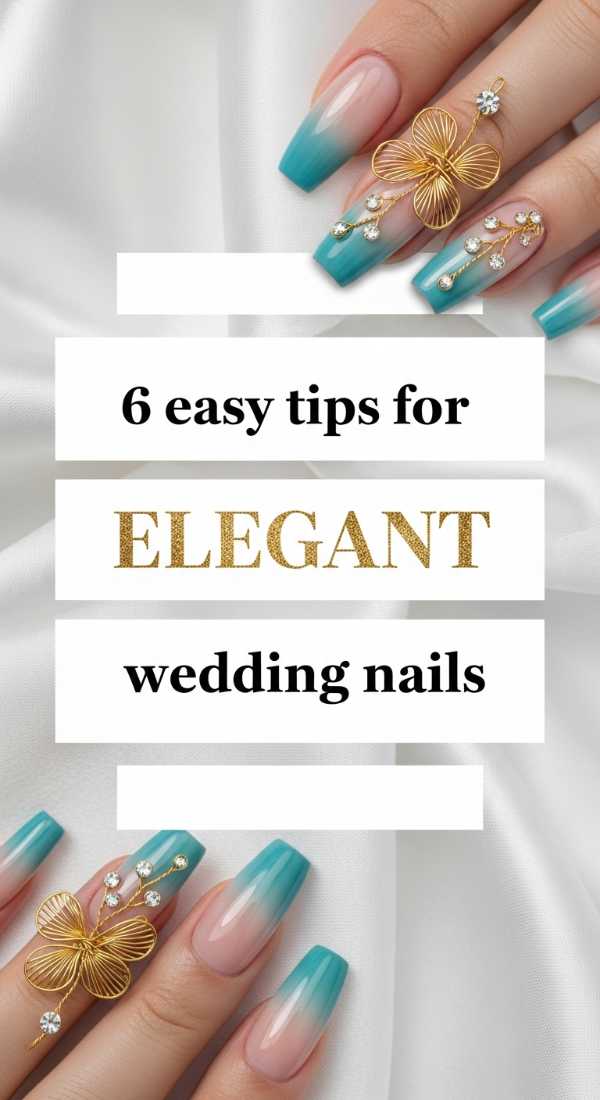
6 easy tips for elegant wedding nails
Why to love these Nails:
Elegance never shouts; it whispers. These nails are for the bride who wants a timeless look that will look just as stunning in twenty years as it does today. It’s the ‘quiet luxury’ of the bridal world—sophisticated, clean, and breathtakingly polished. You’ll feel like royalty with every movement of your hands.
Essential Items:
- Nude-to-pink sheer polish
- Glass nail file
- Moisturizing hand mask
- White liner gel
How to Prepare:
- Keep length moderate; a short squoval or medium almond is the height of elegance.
- Focus heavily on hydration weeks before to ensure skin is glowing.
- Choose a shade that perfectly complements your skin’s undertone (cool vs. warm).
- Avoid heavy glitters; instead, choose a polish with ‘lit-from-within’ micro-shimmer.
- Ensure the polish is applied slightly away from the cuticle for a clean, professional edge.
- Apply a fresh layer of top coat the morning of the wedding for maximum shine.
Budget Range
- Dior Vernis in ‘Muguet’ – $30.00
- Revlon ColorStay Gel Envy – $9.00
- Glass File by GERmanikure – $15.00
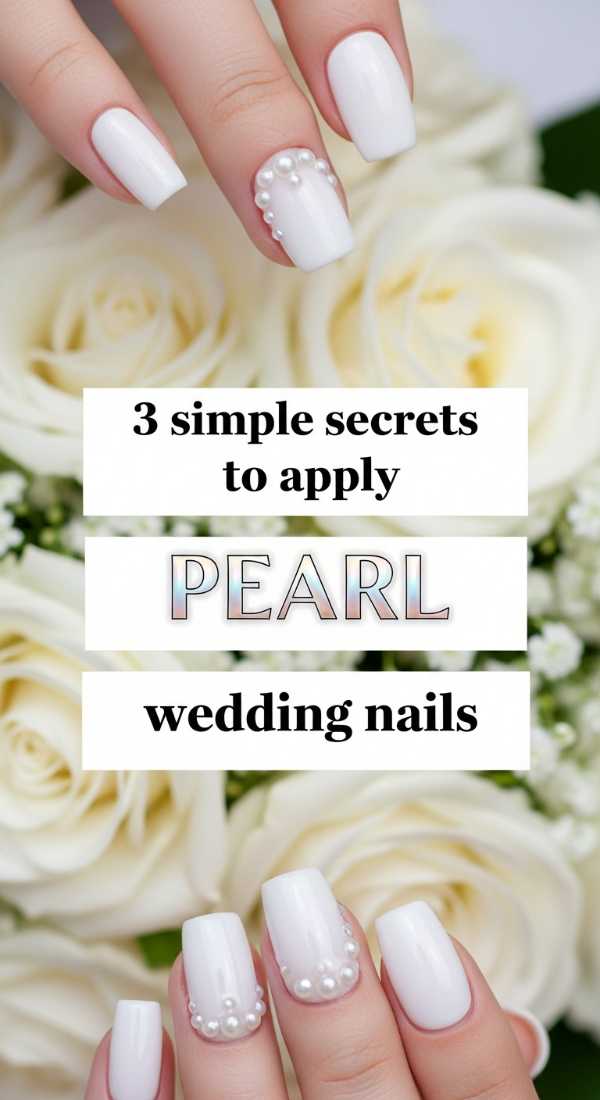
3 simple secrets to apply pearl wedding nails
Why to love these Nails:
There is nothing quite as romantic as the soft, iridescent glow of a pearl. Pearl wedding nails are for the bride who wants to bridge the gap between vintage charm and modern trend. They catch the light beautifully during the ceremony, mimicking the luster of your jewelry and the glow of your skin.
Essential Items:
- Half-pearl nail charms
- Nail art glue (strong hold)
- Pearl pigment powder
How to Prepare:
- Apply a base color and rub in pearl pigment powder while the tacky layer is still fresh.
- Strategically place three small pearls at the base of your accent nail using a precision tool.
- Double-seal around the edges of the pearls with a thick gel top coat to prevent snagging on your dress.
Budget Range
- Born Pretty Pearl Powder – $7.00
- Makartt Nail Glue – $8.00
- Pearl Nail Rhinestone Set – $6.00
5 fast steps for french tip wedding nails
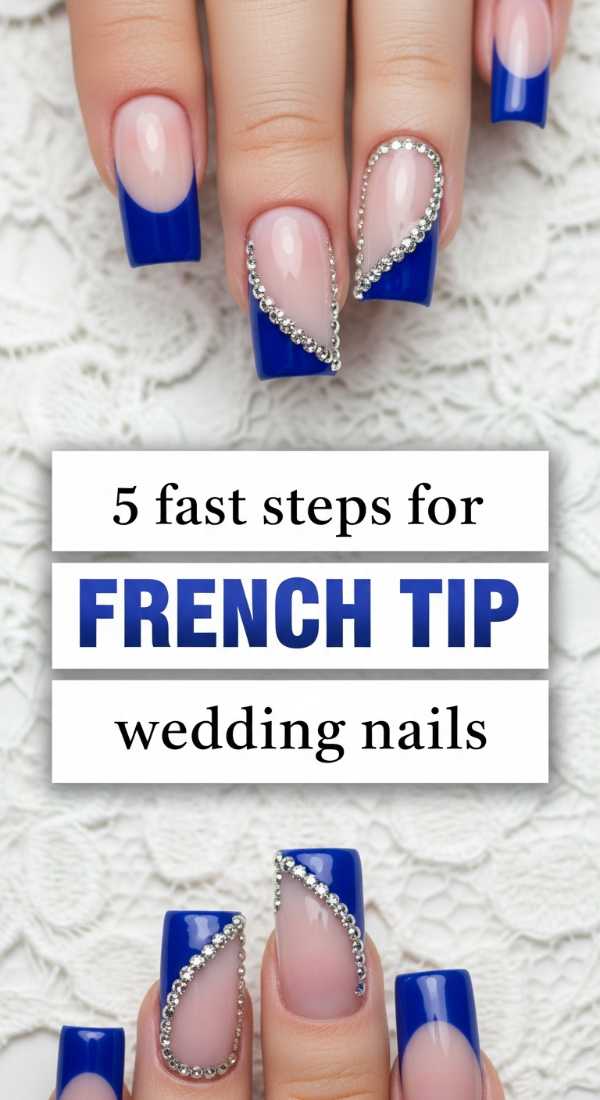
Why to love these Nails:
The French manicure is the ultimate bridal icon. It’s clean, it’s crisp, and it makes the fingers look endlessly long and slender. Modern French tips are more delicate than the chunky versions of the past, offering a ‘your nails but better’ vibe that is incredibly chic and versatile.
Essential Items:
- French tip guides or stickers
- Opaque white polish
- Sheer pink base
- Clean-up brush
How to Prepare:
- Paint your entire nail with two coats of sheer, milky pink.
- Once dry, place the guides just below the tip of the nail.
- Swipe the white polish across the tip in one smooth motion.
- Remove the guide immediately while the polish is wet for a crisp line.
- Use a clean-up brush dipped in acetone to perfect the ‘smile’ line.
Budget Range
- Orly French Manicure Kit – $15.00
- Deborah Lippmann ‘Gel Lab Pro’ – $20.00
- Manicure Guide Stickers – $5.00
4 bold ways to wear black wedding nails
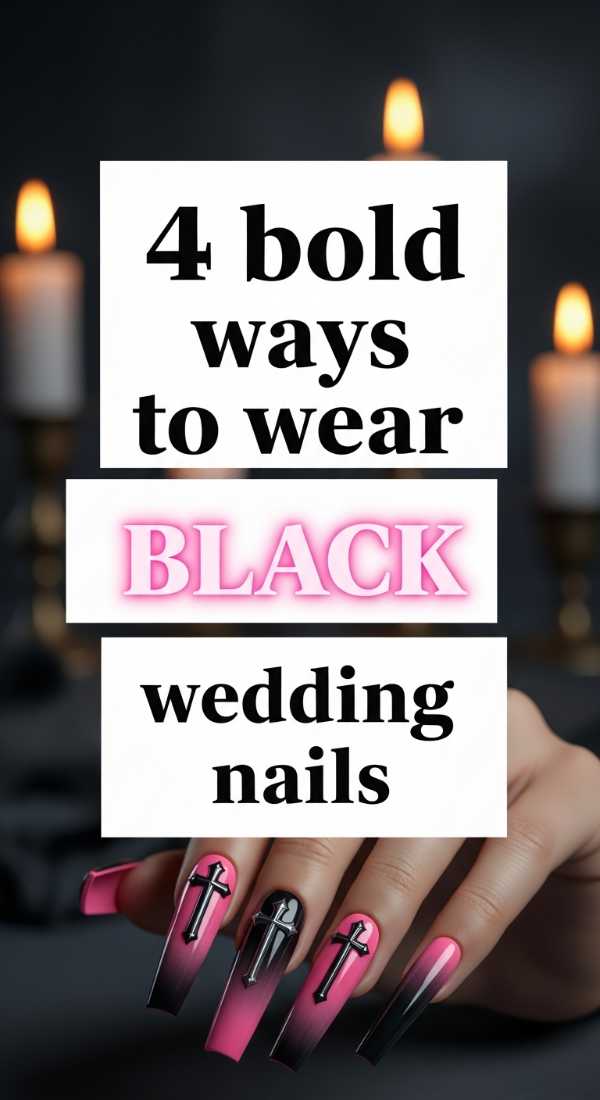
Why to love these Nails:
For my non-traditional loves, black nails are a powerful statement of strength and sophistication. They offer a stunning contrast against a white or ivory gown, creating a look that is edgy, high-fashion, and deeply personal. It’s for the bride who dances to the beat of her own drum.
Essential Items:
- Jet black cream polish
- Gold striping tape
- High-shine gel top coat
How to Prepare:
- Try a ‘Black French’ where the base is matte black and the tip is glossy black.
- Incorporate negative space by leaving a small crescent at the cuticle bare.
- Add a single ‘galaxy’ accent nail with holographic glitter over the black.
- Use gold foil flakes near the tips to give a ‘kintsugi’ inspired luxury feel.
Budget Range
- Chanel Le Vernis in ‘Rouge Noir’ (very dark) – $32.00
- OPI ‘Black Onyx’ – $11.50
- Gold Foil Flakes for Nails – $7.00
5 easy methods for pink wedding nails
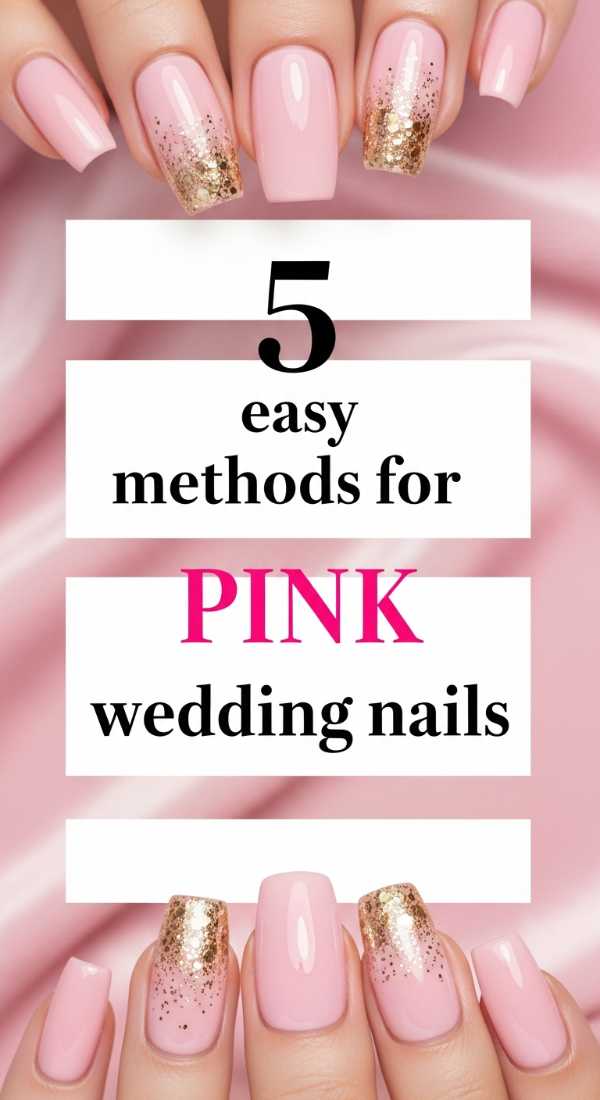
Why to love these Nails:
Pink is the color of a blushing heart. From soft ballet slipper tones to dusty roses, pink nails are the epitome of romance. They are soft, forgiving, and bring a healthy, youthful glow to your hands. It’s the visual equivalent of a warm hug on your wedding day.
Essential Items:
- Soft pink cream polish
- Sponge for ombre
- Rose gold glitter
How to Prepare:
- Create a soft ombre by sponging pink onto a white base.
- Apply a ‘jelly’ pink for a trendy, translucent look.
- Mix a drop of pink with your top coat for a custom sheer tint.
- Dot a tiny rose gold heart on your thumb for a hidden detail.
- Layer a shimmer pink over a cream pink for depth and dimension.
Budget Range
- Essie ‘Ballet Slippers’ – $10.00
- Butter London ‘Piece of Cake’ – $18.00
- Smith & Cult ‘Pillow Pie’ – $18.00
3 steps to design beach wedding nails
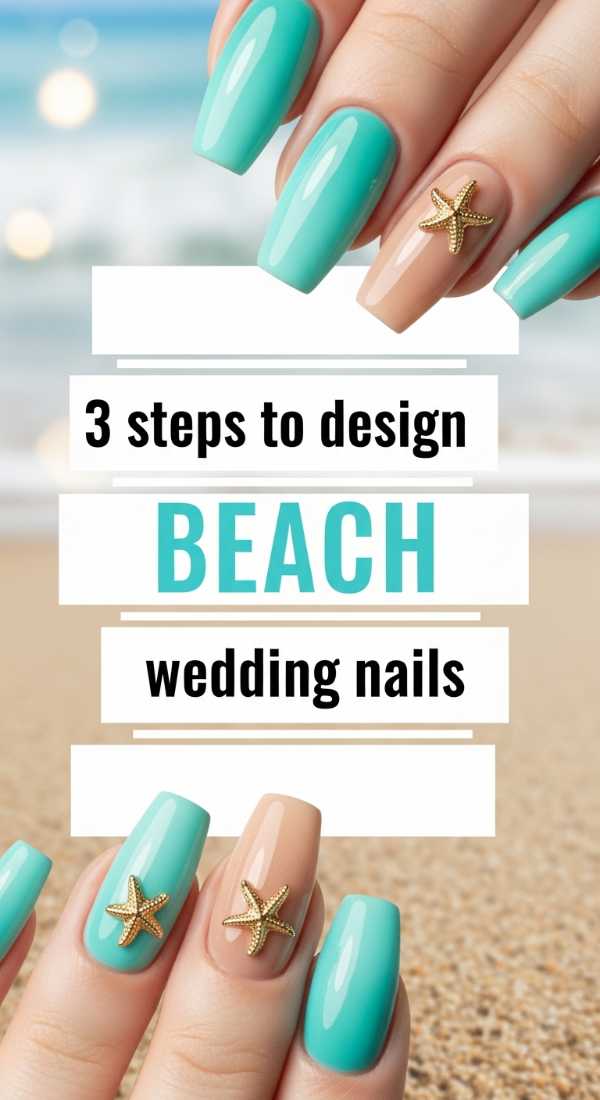
Why to love these Nails:
If you’re saying ‘I do’ with your toes in the sand, your nails should reflect that salty air and golden sun. Beach wedding nails are about light-reflecting textures and colors that mimic the sea. They feel relaxed, breezy, and effortlessly beautiful under the bright coastal sun.
Essential Items:
- Seafoam or champagne shimmer polish
- Fine sand texture powder
- Small starfish or shell charms
How to Prepare:
- Apply a base of shimmering champagne to mimic sun-drenched sand.
- Fade a soft turquoise from the tip downwards for a wave effect.
- Seal with a UV-protective top coat to prevent yellowing from the sun.
Budget Range
- ILNP ‘Sandy Baby’ – $10.00
- Cirque Colors ‘Lagoon’ – $12.50
- SunUV Nail Lamp (for gel) – $25.00
7 simple ways to prep simple wedding nails for bride
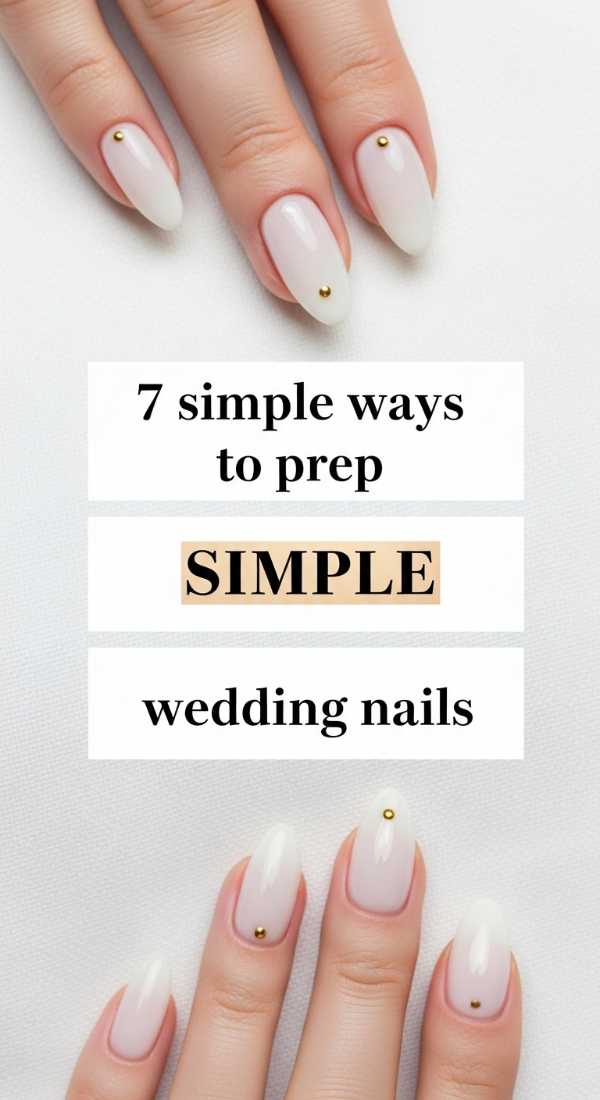
Why to love these Nails:
Sometimes, the most beautiful thing you can be is yourself. Simple nails are for the bride who wants to look groomed and cared for without the fuss of complex designs. This look focuses on health, hydration, and a clean aesthetic that allows your ring to be the sole star of the show.
Essential Items:
- Cuticle remover gel
- Buffing cream
- Nail strengthener
- Hand cream with SPF
How to Prepare:
- Start a nail strengthening treatment 4 weeks before the big day.
- Exfoliate hands weekly to remove dull skin.
- Use cuticle oil every single night before bed—no exceptions!
- Keep nails at a natural, ‘active’ length to prevent breakage.
- Buff nails to a natural shine even if you aren’t wearing color.
- Apply a clear, strengthening base coat to protect the nail plate.
- Finish with a rich, non-greasy hand cream just before the ceremony.
Budget Range
- CND SolarOil – $9.00
- L’Occitane Shea Butter Hand Cream – $13.00
- Burt’s Bees Lemon Butter Cuticle Cream – $6.00
4 easy steps to create white wedding nails
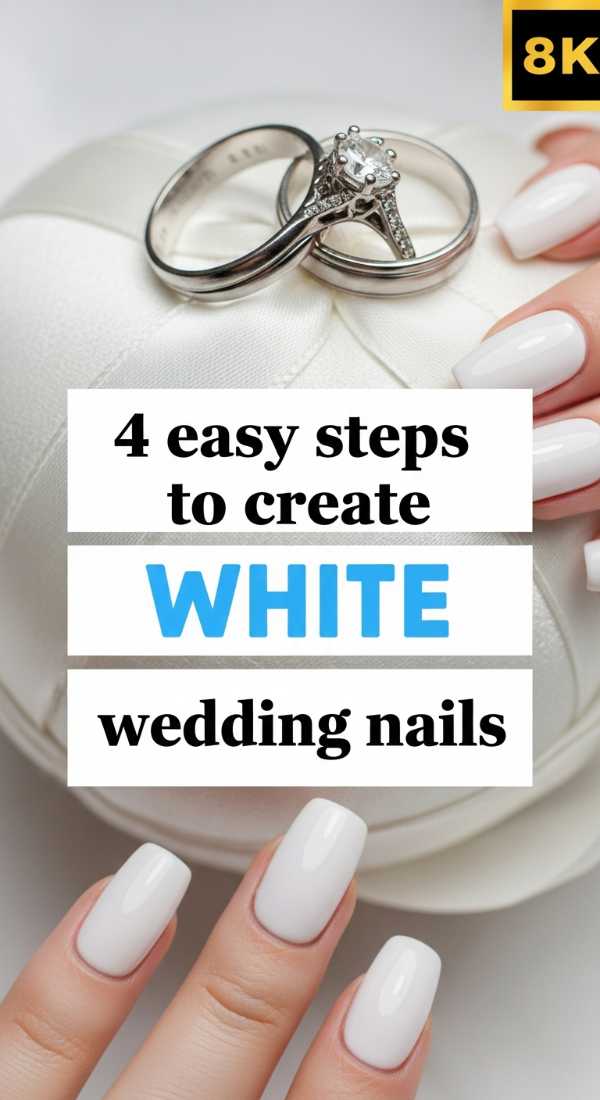
Why to love these Nails:
White nails are the ultimate bridal statement. They are striking, clean, and match your dress perfectly. A crisp white manicure looks incredible in photos, especially when holding your bouquet. It’s a bold yet classic choice that screams ‘Bride’ in the best possible way.
Essential Items:
- Opaque ‘marshmallow’ white polish
- Corrective pen
- Non-yellowing top coat
How to Prepare:
- Apply a white-tinted base coat to cancel out any natural nail discoloration.
- Apply three very thin coats of white to avoid streaks or ‘white-out’ texture.
- Use a corrective pen to ensure the edges are perfectly circular and clean.
- Finish with a thick, plumping top coat to give the white a professional gel look.
Budget Range
- Essie ‘Marshmallow’ – $10.00
- OPI ‘Funny Bunny’ – $11.50
- Olive & June ‘HD’ – $9.00
Wishing You the Most Beautiful Walk Down the Aisle
As you prepare for your beautiful day, remember that these small details are just a reflection of the joy you’re feeling inside. Whether you choose a bold black or a soft, simple nude, what matters most is that you feel like yourself. Take a deep breath, soak in every second, and let your hands carry the weight of your new, beautiful future with grace. I’m sending you so much love and light for your wedding day!