
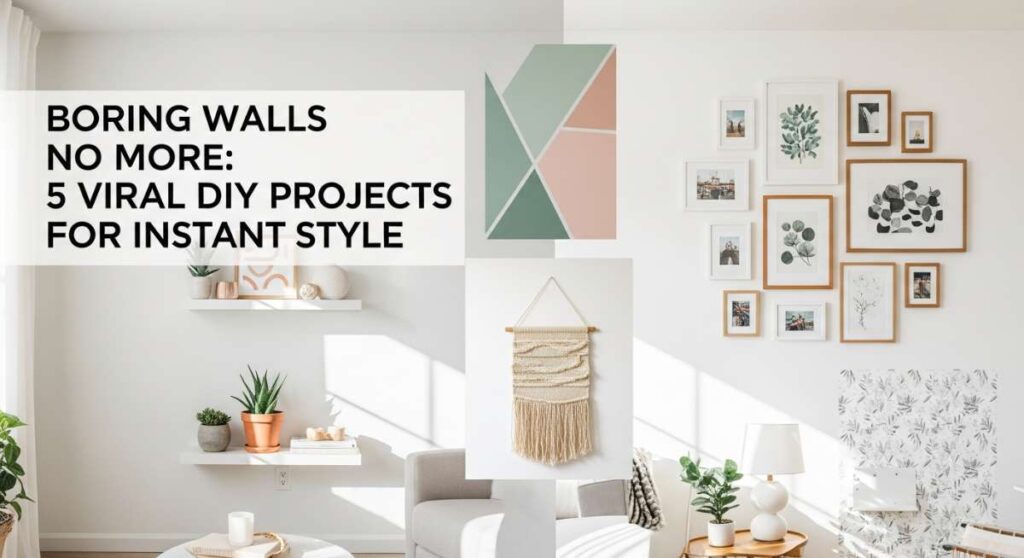
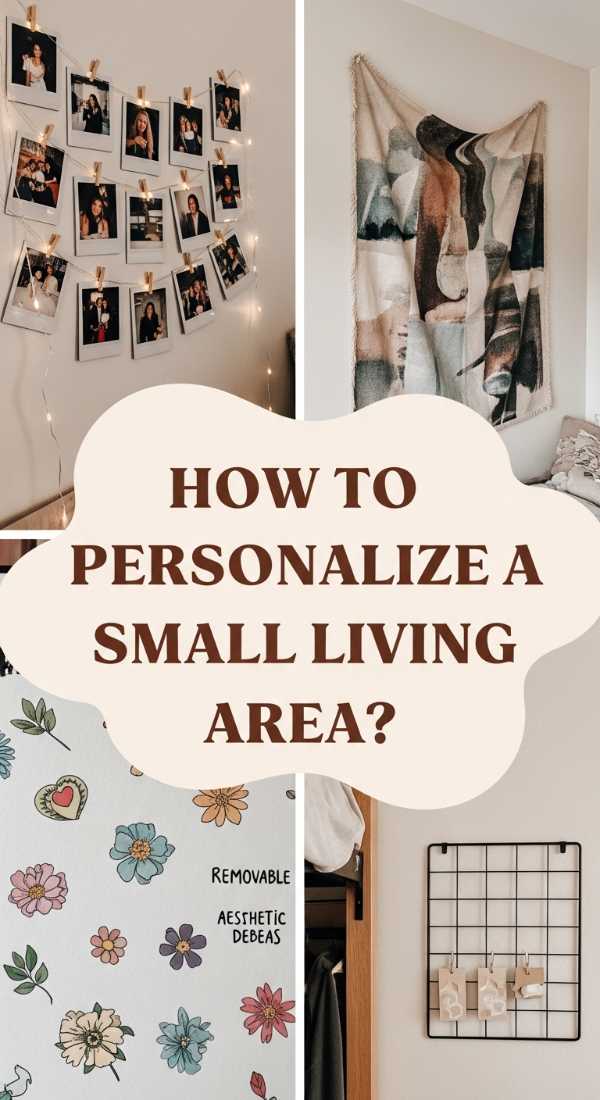
We have all been there—sitting on the sofa, scrolling through Pinterest, and then looking up at that one blank, beige wall that seems to stare right back at us with zero personality. It is incredible how a single empty space can make a whole room feel unfinished, almost like a story with the middle chapters missing. I spent years thinking I needed a massive budget or a professional interior designer to fix my ‘wall fatigue,’ but I eventually realized that the most viral, jaw-dropping homes are actually filled with personal, handmade touches that tell a unique story.
Today, I am sharing five of my favorite DIY wall projects that have been taking the internet by storm. These aren’t just about ‘decorating’; they are about creating an atmosphere that makes you sigh with relief the moment you walk through the door. Whether you are looking for a calming natural escape or a bold burst of cultural energy, these projects are designed to turn those boring vertical surfaces into the ultimate conversation starters. Let’s roll up our sleeves and bring some soul back into your living space!
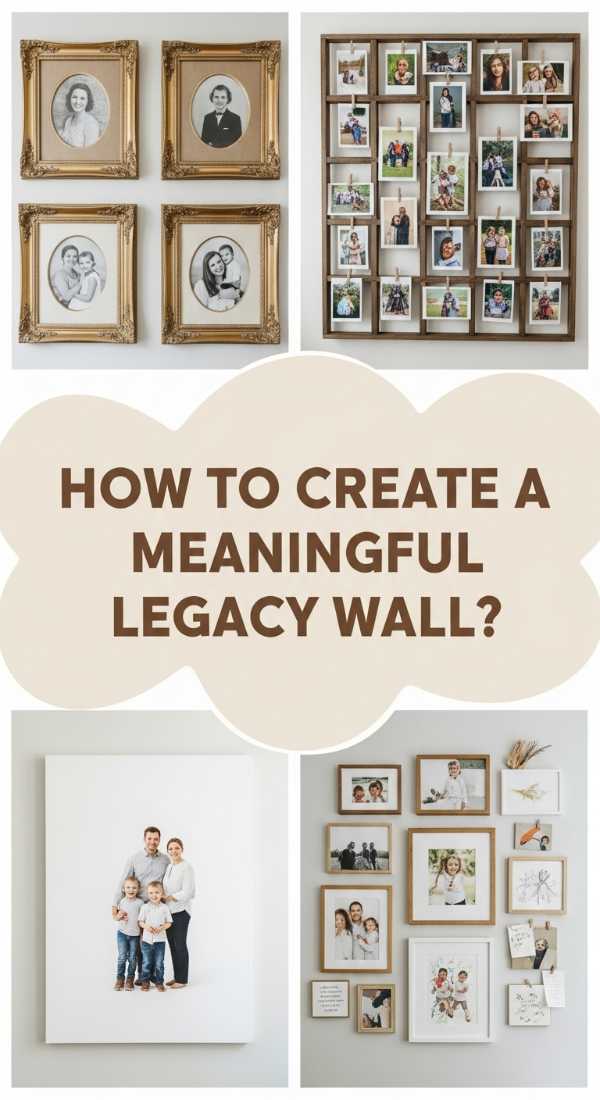
How to Create a Meaningful Legacy Wall for Your Heartfelt Memories
Why we love this
There is something deeply grounding about walking past a wall that chronicles your journey, smelling the faint, comforting scent of aged paper and wood polish as you admire your family’s history. This project transforms a cold hallway or living room into a warm embrace, utilizing varying textures of velvet-matted frames and sepia-toned photographs that feel soft to the touch. It creates a visual heartbeat for the home, where every glance reveals a smile from a loved one or a snapshot of a milestone, making the entire room feel anchored in love and tradition. The tactile richness of heavy glass and ornate moldings adds a layer of sophisticated nostalgia that modern digital screens simply cannot replicate.
Essential Elements:
- A curated collection of vintage and modern photos in various sizes.
- Coordinated frames in a mix of finishes (aged gold, dark walnut, and matte black).
- Acid-free photo mats in cream or soft white.
- Small shadow boxes for physical mementos like keys, letters, or baby shoes.
- A spirit level and heavy-duty hanging strips.
How to make it
- Curate and Edit: Start by gathering all the photos and physical items you want to include. To keep it cohesive, consider converting all photos to black and white or sepia tones before printing them on high-quality luster paper.
- Layout Planning: Lay everything out on the floor in front of the wall. Start with your largest ‘anchor’ piece in the center and build outwards, maintaining a 2-to-3-inch gap between frames for a balanced look.
- Template Creation: Trace each frame onto kraft paper and cut it out. Tape these paper templates to the wall using painter’s tape, allowing you to visualize the final result and adjust the heights without making a single hole.
- Installation: Once satisfied with the layout, hammer your nails or apply adhesive strips directly through or above the templates. Use a spirit level on every single frame to ensure they are perfectly horizontal, as even a slight tilt can disrupt the visual flow.
- Adding Depth: Intersperse your shadow boxes and maybe a few small wall-mounted candle holders to add three-dimensional interest and a soft glow to the display at night.
How to Design a Natural Woodland Retreat for a Calm Interior

Why we love this
Imagine stepping into a room that breathes with the crisp, earthy aroma of preserved moss and the rugged, tactile beauty of raw cedar wood. This woodland retreat DIY brings the restorative power of the outdoors inside, layering rich forest greens and rough-hewn bark textures that invite you to reach out and touch them. The visual serenity of organic shapes and soft, fern-like fronds creates a sanctuary of silence, effectively dampening echoes and bringing a lush, humid vitality to even the driest apartment. It is a sensory escape that mimics the dappled sunlight of a forest floor, making your home feel like a permanent vacation in the heart of the wild.
Essential Elements:
- Preserved sheet moss, reindeer moss, and mood moss in varying shades of green.
- Reclaimed wood slices or a large shadow box frame.
- Natural cork bark or driftwood pieces.
- Industrial-strength floral adhesive or hot glue.
- Miniature faux ferns or dried eucalyptus for extra texture.
How to make it
- Prepare the Base: Use a deep shadow box frame or a sturdy piece of plywood as your canvas. If using wood, sand the edges until smooth but leave the face textured for a more organic feel.
- Design the Topography: Before gluing, arrange your larger pieces—like the driftwood or thick cork bark—to create ‘hills’ and ‘valleys.’ This prevents the wall art from looking flat and boring.
- Adhering the Moss: Working in small sections, apply a generous amount of floral adhesive to the base. Press the preserved moss firmly into the glue, mixing different types (like bright green reindeer moss next to dark forest moss) to mimic the natural variation of a forest floor.
- Detailing: Tuck in small sprigs of dried eucalyptus or faux ferns into the crevices between the moss patches. This adds a delicate vertical element that catches the light beautifully.
- Curing and Hanging: Let the adhesive dry completely for at least 24 hours in a well-ventilated area to ensure the scent of the glue dissipates. Mount the piece using heavy-duty wall anchors, as the combination of wood and moss can be surprisingly heavy.
How to Style a Vibrant Cultural Sanctuary for a Bold Living Space

Why we love this
This style is an explosion of life, celebrating the rich tapestry of global craftsmanship with the intoxicating scent of hand-dyed textiles and the shimmering reflection of metallic accents. We love the way a cultural sanctuary wall pulses with energy, using deep indigos, spicy saffrons, and intricate geometric patterns to create a space that feels traveled and wise. The clinking of brass bells and the soft fringe of hanging tapestries provide a multi-sensory experience that sparks creativity and conversation. It is a bold statement of identity that turns a generic room into a vibrant, high-fashion gallery of world heritage and artistic soul.
Essential Elements:
- Hand-woven textiles or ikat fabrics.
- Brass or copper wall plates and ornamental bowls.
- Ornate carved wooden masks or sculptures.
- Woven wall fans or grass mats.
- Decorative textile hangers or vintage wooden rods.
How to make it
- Select a Focal Textile: Choose one large, vibrant piece of fabric or a rug to serve as the centerpiece. Ensure it has a bold pattern that sets the color palette for the rest of the wall.
- Mount the Textile: Use a decorative wooden rod or a minimalist magnetic hanger to display the fabric. Hanging it slightly away from the wall creates a beautiful shadow line and allows the fabric to drape naturally.
- Layering Metals: Position your brass or copper plates around the textile. The goal is to create a ‘halo’ effect where the metallic surfaces catch the ambient light and draw the eye toward the center.
- Balance with Wood: Add carved wooden elements to ground the vibrant colors. Use museum wax or small finishing nails to secure lighter wooden items, ensuring they overlap slightly with the edges of the textile for a layered look.
- Asymmetric Final Touches: Avoid perfect symmetry; instead, aim for ‘balanced chaos.’ Add a few woven fans or smaller artifacts in a cascading pattern toward one side to give the wall a sense of movement and history.
How to Arrange Bohemian Woven Treasures for a Relaxed Coastal Feel
Why we love this
There is an effortless, sun-drenched quality to a wall adorned with woven treasures that instantly lowers your blood pressure and makes you feel the phantom sea breeze on your skin. We love the tactile contrast between the scratchy, natural seagrass and the smooth, salt-washed wood, creating a visual rhythm that feels as rhythmic as the tide. These pieces carry the faint, sweet aroma of dried grasses and sunshine, filling the room with a relaxed, bohemian vibe that encourages bare feet and long afternoons of reading. The neutral palette of sandy beiges and cream whites makes the room feel twice as large and infinitely more peaceful.
Essential Elements:
- A variety of woven baskets (African bingas, seagrass trays, or rattan lids).
- Macramé wall hangings with long, flowing fringe.
- Dried palm spears or pampas grass stems.
- Clear command hooks or small finishing nails.
- Natural jute twine.
How to make it
- Collection Strategy: Gather at least 7 to 11 woven items of varying diameters. Look for different weaving patterns—some tight and geometric, others loose and organic—to create visual contrast.
- The Floor Mock-up: This is crucial for a ‘random’ but cohesive look. Arrange the baskets on the floor, overlapping some and leaving small gaps between others. Place the largest, deepest basket slightly off-center.
- Hanging the Baskets: Start with the largest basket and work your way out. Most woven baskets have a small loop on the back; if not, thread a small piece of jute twine through the weave to create a hidden hanging point.
- Integrating Macramé: Hang a macramé piece to one side of the basket cluster. The vertical lines of the fringe provide a necessary counterpoint to the circular shapes of the baskets.
- Adding Natural Botanicals: For the final viral touch, tuck a few dried palm spears or stems of pampas grass behind the edges of the baskets. Secure them with a tiny dab of hot glue if they feel loose.
How to Master Minimalist Gallery Walls for a Clean Modern Aesthetic

Why we love this
For the lover of order and precision, the minimalist gallery wall is the ultimate expression of calm, offering a crisp, museum-like quality that makes any room feel expensive and curated. We love the sharp, clean lines of identical black frames against a stark white wall, which directs all focus toward the art itself rather than the clutter of the room. This style brings a sense of architectural discipline to the home, creating a space that feels airy, intelligent, and timelessly chic. The lack of visual ‘noise’ allows your mind to rest, making it the perfect backdrop for a modern home office or a sophisticated dining area.
Essential Elements:
- Identical frames (same size, color, and profile).
- High-contrast art or photography (line drawings or architectural prints).
- Large, uniform white mats for an ‘oversized’ look.
- A laser level for surgical precision.
- Measuring tape and a pencil.
How to make it
- Choose the Grid: Decide on your grid format (e.g., a 3×3 square or a 2×4 horizontal line). Symmetry is the soul of this project, so consistency is your best friend.
- Unified Content: Select art that shares a common theme or color story. Black ink line drawings on white paper are a classic choice that never fails to look high-end.
- The Math Phase: Calculate the exact center of your wall. Measure the total width of your frame grouping including the gaps (usually 2-3 inches). Use a pencil to mark the exact center point and the top-line height.
- Laser Precision: Use a laser level to project a perfectly straight horizontal and vertical line onto the wall. This is the only way to ensure your grid doesn’t ‘drift’ as you hang the frames.
- Consistent Mounting: Use the same hardware for every frame. When hanging, start from the center and work your way out to the edges. Double-check every frame with a manual level after it is hung to ensure it hasn’t shifted.
Wrapping Up Your Wall Transformation
Transforming your home doesn’t require a demolition crew or a second mortgage; it just requires a bit of imagination and a Saturday afternoon. From the earthy textures of a woodland retreat to the sharp, sophisticated lines of a minimalist gallery, your walls are a blank canvas waiting for your story. These projects prove that DIY isn’t just about saving money—it’s about infusing your living space with your unique personality and creating a home that truly inspires you every single day. So, which project are you starting first?