
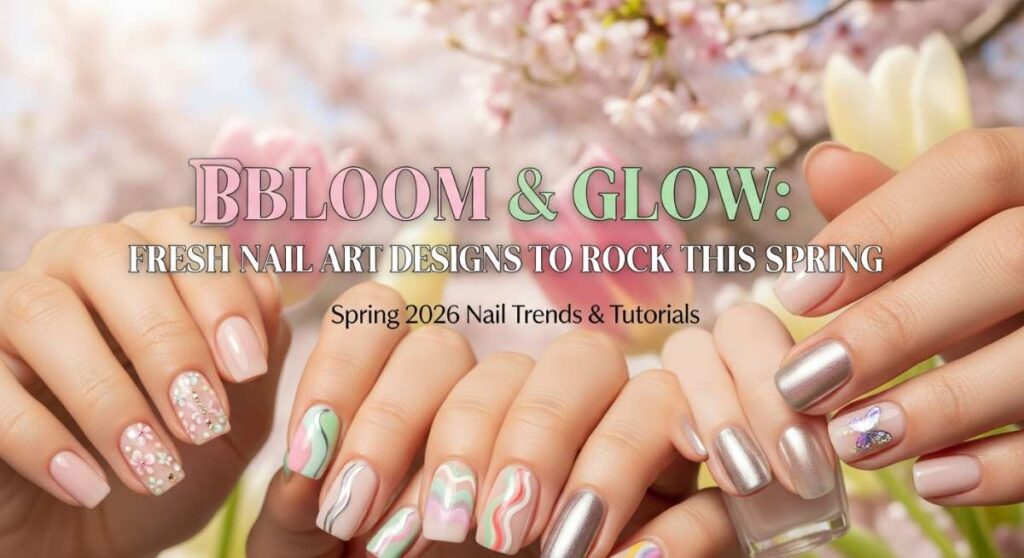
Bloom & Glow: Fresh Nail Art Designs to Rock This Spring
Hi loves! As the frost finally melts away and the first cherry blossoms peek through, there’s this magical shift in the air, isn’t there? It’s like the world is taking its first deep, fragrant breath after a long sleep. I’ve been sitting by my window, sipping chamomile tea and watching the garden wake up, and I just knew it was time for us to refresh our fingertips to match this beautiful renewal. Spring 2026 is all about that ‘Bloom & Glow’ energy—it’s softer, more intentional, and oh-so-dreamy.
Whether you’re looking for a quiet moment of self-care or a bold pop of color to celebrate the sunshine, I’ve gathered some of my favorite ways to welcome the season. This post is a love letter to your hands, featuring the most heart-fluttering trends for the months ahead. Let’s dive into these trends together, like a warm hug for your spirit and your style.
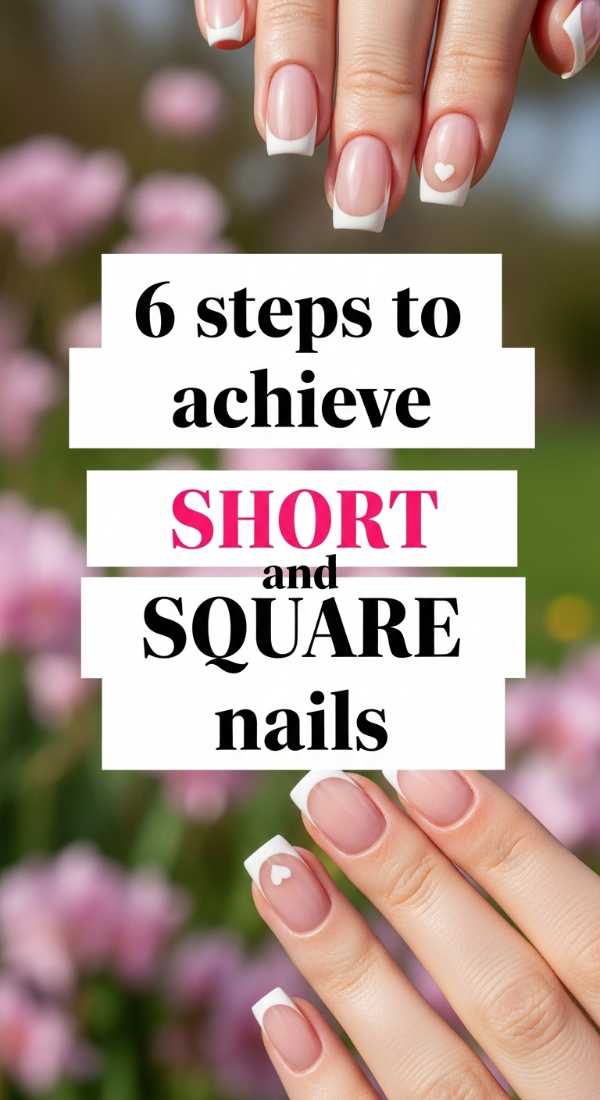
The Quiet Elegance of Short Square Nails
Why to love this Design:
There is something so grounded and chic about a short square nail. It feels practical for our busy lives but looks incredibly intentional and polished. It’s for the girl who loves her morning matcha and a clean aesthetic.
Essential Elements:
- Straight side walls
- Sharp (but slightly softened) corners
- Neutral or pastel cream finishes
How to Prepare:
- Trim nails to just above the fingertip.
- Hold the file perpendicular to the nail and file straight across.
- Turn the file to the sides and straighten the side walls.
- Softly round only the very tips of the corners to prevent snagging.
- Buff the surface to a high shine.
- Apply a nourishing cuticle oil to frame the shape.
Budget Range
- OPI Crystal File ($15)
- Essie ‘Soothe & Care’ Base Coat ($11)
- Olive & June Cuticle Serum ($16)
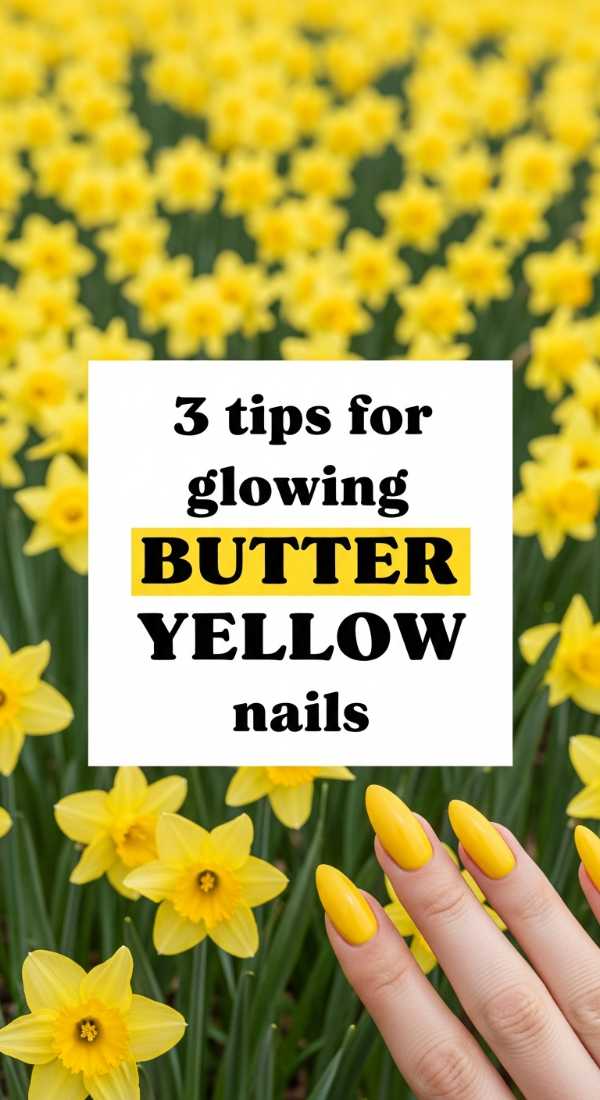
Butter Yellow: The Color of Sunlight
Why to love this Design:
If happiness was a color, it would be this glowing butter yellow. It’s softer than neon but brighter than cream, making your hands look sun-kissed even before the summer heat arrives. It’s like carrying a little piece of a daffodil field with you.
Essential Elements:
- Pale, warm yellow hues
- Creamy, opaque finish
- High-gloss top coat
How to Prepare:
- Tip 1: Always use a white base coat first to make the yellow pop without needing five layers.
- Tip 2: Choose a warm-toned yellow if you have olive skin, or a cool-toned lemon for fair skin.
- Tip 3: Apply in thin, even strokes to avoid the ‘streaky’ look yellows are known for.
Budget Range
- Zoya ‘Darcy’ ($12)
- Holo Taco ‘Butterscotch Hop’ ($13)
- Seche Vite Fast Dry Top Coat ($9)
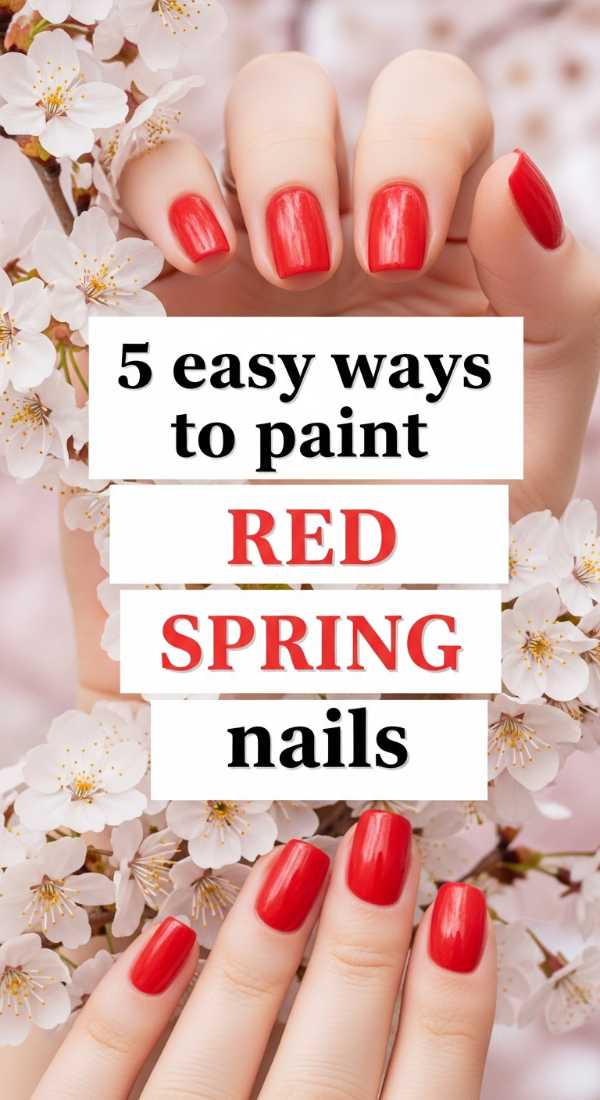
Classic Red with a Spring Twist
Why to love this Design:
Red is eternal, but for spring, we’re leaning into those juicy, poppy-inspired shades. It’s bold, romantic, and looks stunning against the soft greens of the season. It’s a power move in a garden party dress.
Essential Elements:
- Poppy red or tomato red hues
- Translucent ‘jelly’ finishes
- Micro-floral accents
How to Prepare:
- Try a ‘Red French’ with a sheer pink base.
- Add a tiny white daisy on the ring finger for a garden vibe.
- Use a matte top coat for a modern, velvet-poppy look.
- Opt for a jelly red for a glass-like, light-catching effect.
- Layer a sheer red over a silver shimmer for a hidden glow.
Budget Range
- Chanel Le Vernis in ‘Incendiaire’ ($32)
- Revlon ‘Cherry in the Snow’ ($6)
- Essie ‘Geranium’ ($10)
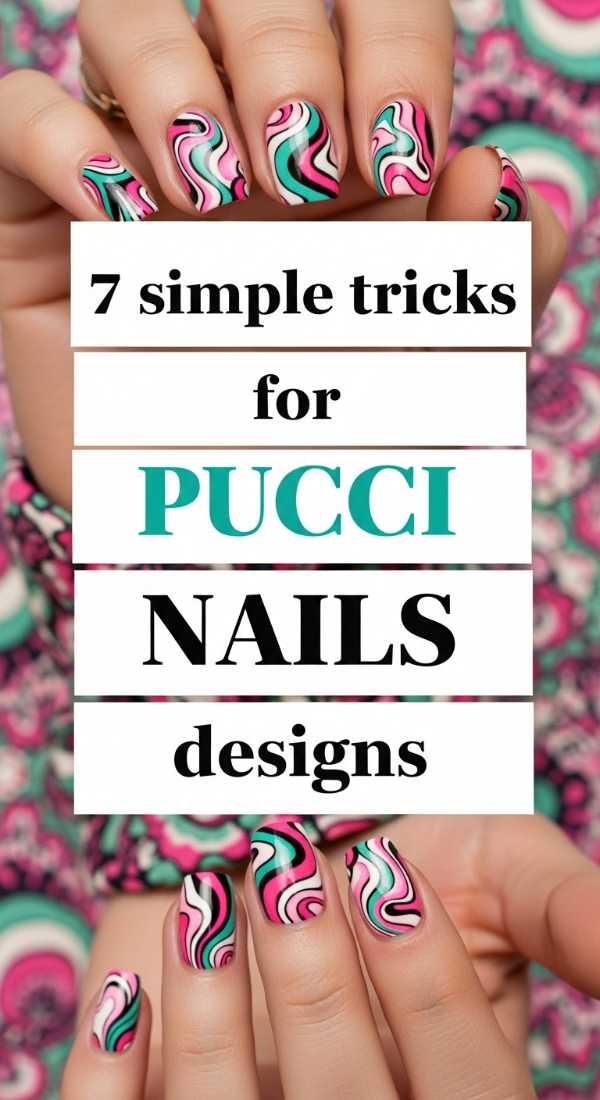
The Artistic Flair of Pucci-Inspired Nails
Why to love this Design:
Inspired by the iconic Italian fashion house, these swirls are all about movement and joy. They feel like a vintage scarf blowing in the breeze. It’s the perfect design for those who want their nails to be a conversation starter.
Essential Elements:
- Bold, contrasting pastels
- Fluid, swirling lines
- Defined black or white borders
How to Prepare:
- Trick 1: Use a long detailing brush for smooth, continuous curves.
- Trick 2: Map out your shapes with a light pencil or dotting tool first.
- Trick 3: Work with one color at a time across all nails to keep the flow consistent.
- Trick 4: Keep the ‘negative space’ balanced so the design doesn’t feel cluttered.
- Trick 5: Thin out your polish with a drop of thinner if it’s too gloppy for detail work.
- Trick 6: Flash-dry between colors to prevent bleeding.
- Trick 7: Seal with two coats of top coat to level out the ‘bumps’ from the layers.
Budget Range
- Winstonia Detailing Brush Set ($12)
- Sally Hansen ‘Insta-Dri’ Pastels ($7 each)
- Nail Art Palette ($5)
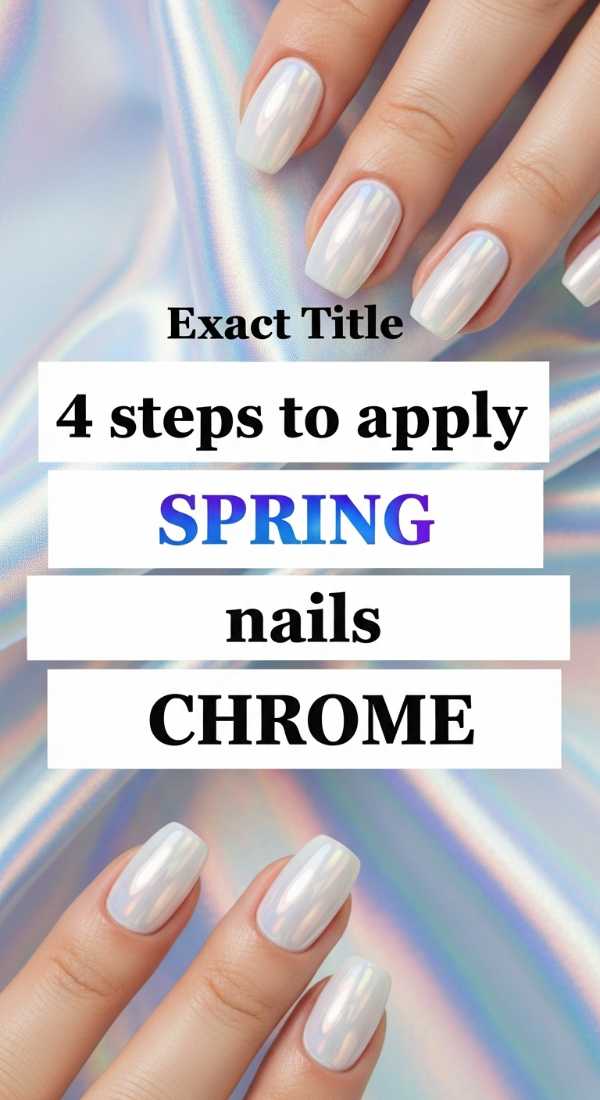
Chrome Magic: The Spring Pearlescence
Why to love this Design:
Chrome isn’t just for winter! This spring, we are obsessed with ‘Glazed Donut’ versions of lavender, mint, and peach. It gives the nails an ethereal, otherworldly glow that catches every bit of the lengthening daylight.
Essential Elements:
- Fine-milled chrome powder
- Translucent base colors
- No-wipe top coat
How to Prepare:
- Apply your base pastel color and cure/dry completely.
- Apply a no-wipe top coat and cure for only 30 seconds (it needs to be slightly tacky).
- Buff the chrome powder in using a sponge applicator until it glows.
- Finish with a final high-shine top coat to lock in the shimmer.
Budget Range
- Born Pretty Pearl Powder ($8)
- OPI ‘Funny Bunny’ ($11)
- Manicurist Paris LED Lamp ($49)
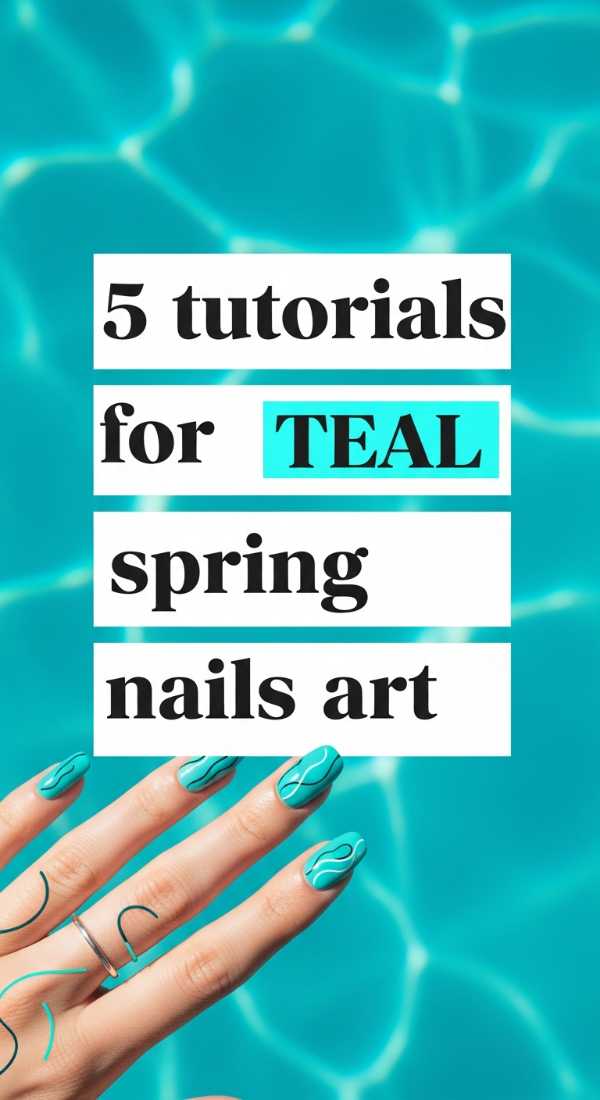
The Cool Serenity of Teal Spring Art
Why to love this Design:
Teal is the bridge between the icy winter and the tropical summer. It feels sophisticated and calming, reminding me of a quiet pond in the early morning. It’s unexpectedly fresh for the season.
Essential Elements:
- Muted teal and aqua shades
- Gold leaf accents
- Soft marble textures
How to Prepare:
- Tutorial 1: The Ombre Teal—sponge light teal onto a white base.
- Tutorial 2: Teal Marble—drop polish into water and swirl for a stone effect.
- Tutorial 3: Geometric Teal—use striping tape for sharp, modern triangles.
- Tutorial 4: Teal Dots—use a dotting tool to create ‘raindrops’ on a matte base.
- Tutorial 5: The Teal French—swap your white tips for a deep, moody teal.
Budget Range
- Lights Lacquer ‘Paper Snow’ ($13)
- Orly ‘Let The Good Times Roll’ ($15)
- Gold Leaf Flakes from Amazon ($6)
Edgy and Fresh: Black Spring Nails

Why to love this Design:
Who says you can’t wear black in spring? When paired with floral accents or sheer negative space, black looks incredibly modern and ‘cool-girl’ chic. It’s the perfect contrast to the floaty, feminine fabrics of spring fashion.
Essential Elements:
- Ultra-glossy black polish
- Negative space designs
- Delicate floral overlays
How to Prepare:
- Way 1: Black micro-French tips on a nude base.
- Way 2: Black matte base with glossy black ‘drips.’
- Way 3: Tiny black heart accents on a sheer pink nail.
- Way 4: Black outlines around pastel flower petals.
- Way 5: Half-moon black design at the cuticle.
- Way 6: Black marble with silver veins.
Budget Range
- Holo Taco ‘One-Coat Black’ ($14)
- CND Vinylux Weekly Top Coat ($15)
- Dotting Tool Set ($4)
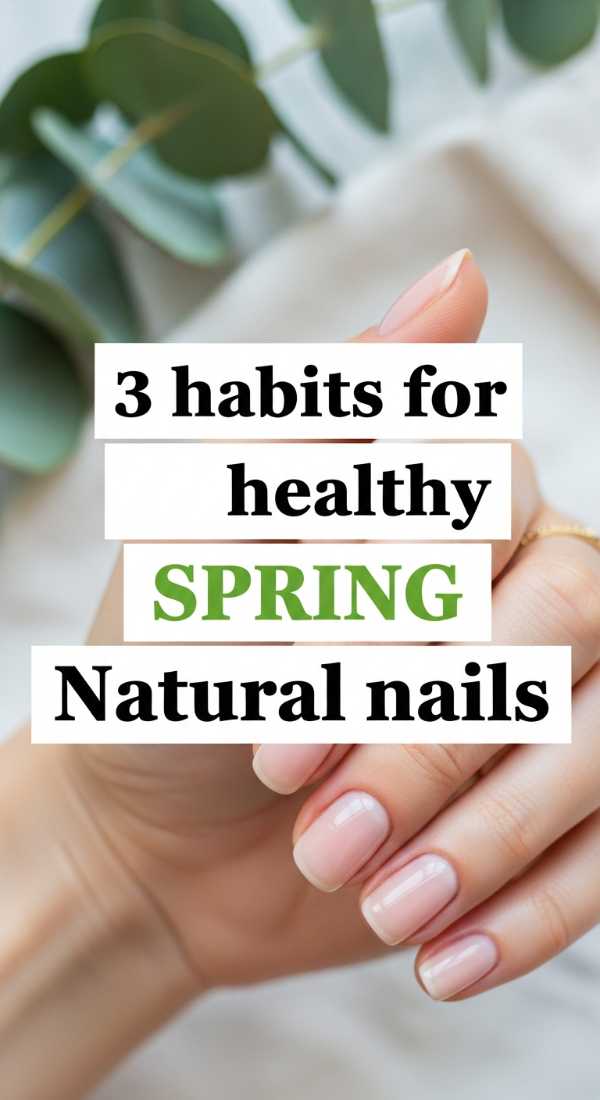
The Foundation: 3 Habits for Healthy Natural Nails
Why to love this Design:
The ‘naked nail’ trend is huge, but it only works if your canvas is healthy! Focusing on your natural nails is the ultimate act of self-love. It’s about being proud of the strength and glow of your own body.
Essential Elements:
- Hydrated cuticles
- Strong, non-peeling edges
- Natural pink nail beds
How to Prepare:
- Habit 1: Oil your cuticles every single night before bed—no excuses!
- Habit 2: Wear gloves while washing dishes to prevent water-logging and peeling.
- Habit 3: Take a ‘polish break’ for 3 days every month to let the keratin breathe.
Budget Range
- SolarOil Cuticle Care ($13)
- Burt’s Bees Lemon Butter Cuticle Cream ($6)
- Hard as Hoof Nail Strengthening Cream ($10)
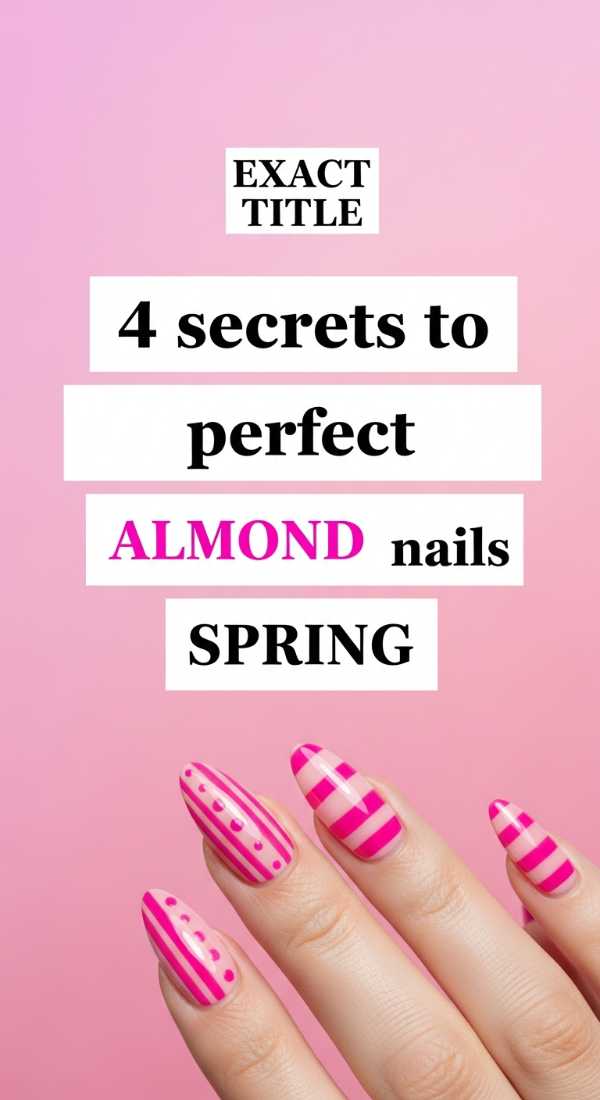
The Perfect Almond Shape for Spring
Why to love this Design:
Almond nails are the most flattering shape—they elongate the fingers and look incredibly feminine. In the spring, this shape mimics the look of a budding leaf or a flower petal. It’s pure grace.
Essential Elements:
- Tapered sides
- Rounded, soft points
- Length that extends past the finger
How to Prepare:
- Secret 1: Find the center point of your nail tip and file from the sides toward that point.
- Secret 2: Always file in one direction to prevent microscopic tears in the nail.
- Secret 3: Use a glass file for the smoothest finish on the edges.
- Secret 4: If your natural nails are short, use ‘almond’ shaped press-ons for an instant look.
Budget Range
- Static Nails Reusable Pop-On Nails ($16)
- Dashing Diva Magic Press ($11)
- Glass Nail File by Mont Bleu ($10)
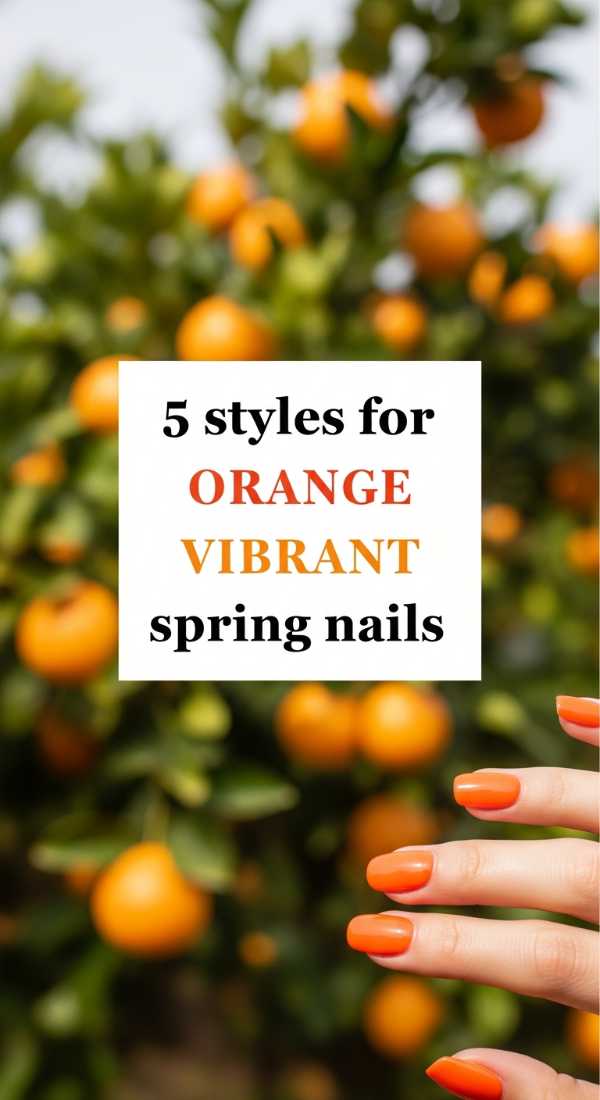
Vibrant Orange: The Energy of Spring
Why to love this Design:
Orange is the zest of life! It’s for the days when you feel vibrant, energetic, and ready to take on the world. From soft apricot to bright tangerine, it’s a color that screams sunshine and Vitamin D.
Essential Elements:
- Apricot, coral, and tangerine hues
- Cream or jelly finishes
- Fruit-inspired art
How to Prepare:
- Style 1: The ‘Apricot Crush’—a soft, creamy muted orange.
- Style 2: Tangerine Jelly—a translucent, juicy finish.
- Style 3: Orange Gradient—shading from pale peach to deep coral.
- Style 4: Citrus Art—adding tiny orange slices on a clear base.
- Style 5: Neon Coral—for the brave souls ready for the sun.
Budget Range
- Essie ‘Check In To Check Out’ ($10)
- OPI ‘Silicon Valley Girl’ ($11)
- Ella + Mila ‘Sunkissed’ ($12)
A Little Note From Me to You
I hope these designs spark a little bit of joy in your heart today. Spring is such a beautiful reminder that we can always start fresh, bloom in our own time, and add a little color to the world. Whether you choose a simple short square or a wild Pucci swirl, remember that the most beautiful thing you can wear is your own confidence. Go ahead, treat yourself to a manicure tonight—you deserve that quiet moment of beauty. Sending you so much love and sunshine!
Frequently Asked Questions
Q: How can I make my spring manicure last longer?
A: The secret is in the prep! Always swipe your nails with rubbing alcohol before applying polish to remove natural oils, and never skip the base coat.
Q: Is butter yellow flattering for all skin tones?
A: Yes! The key is finding the right undertone. If you’re cool-toned, look for a ‘lemon’ yellow. If you’re warm-toned, go for a ‘custard’ or ‘honey’ yellow.
Q: Can I achieve chrome nails at home without a UV lamp?
A: It’s tricky, but possible! Look for ‘chrome effect’ polishes or use a very fine shimmer powder over a traditional top coat when it is about 90% dry, then seal with a water-based top coat.
Q: How do I prevent my red polish from staining my natural nails?
A: Always apply two thin layers of high-quality base coat. This creates a barrier that prevents the pigments from seeping into your nail plate.